If you’ve made it this far, you’re probably eager to start sharing your own content! In this lesson, we’ll discuss how to post photos, videos, and stories. For each type of content, we’ll stick to uploading and the basic functions, including…
how to add a filter and include a caption with your photo
how to post an unedited video (which is similar to adding a photo)
how to create a 24-hour story, which may include photos or videos
Sharing photos
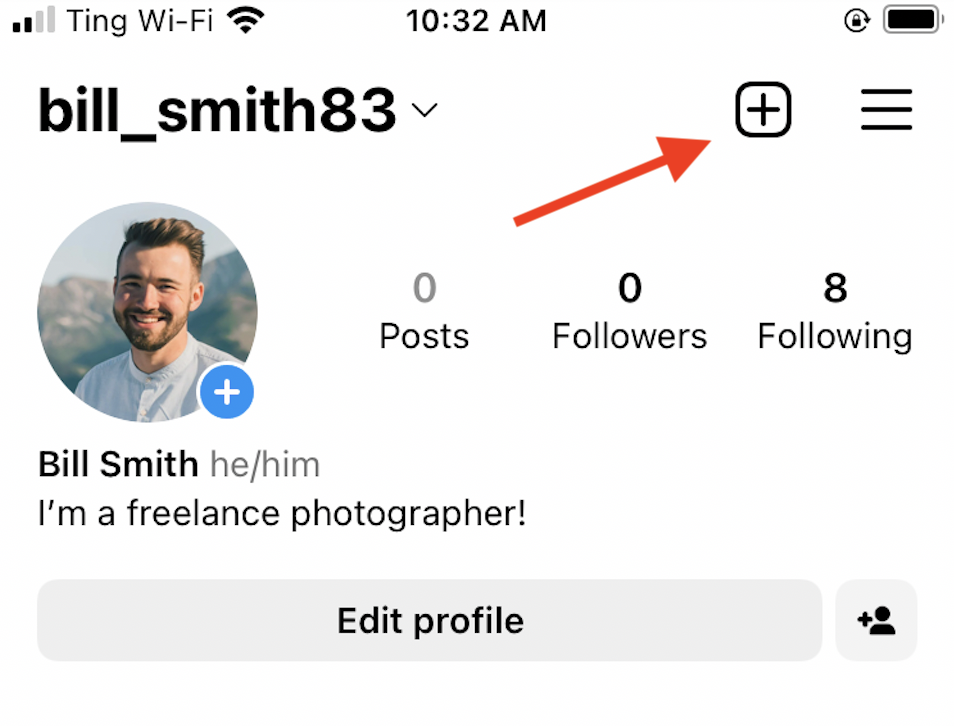
You can share a post while viewing your feed or your profile page. In this case, we’re viewing the profile page. Tap the plus icon in the upper right corner.
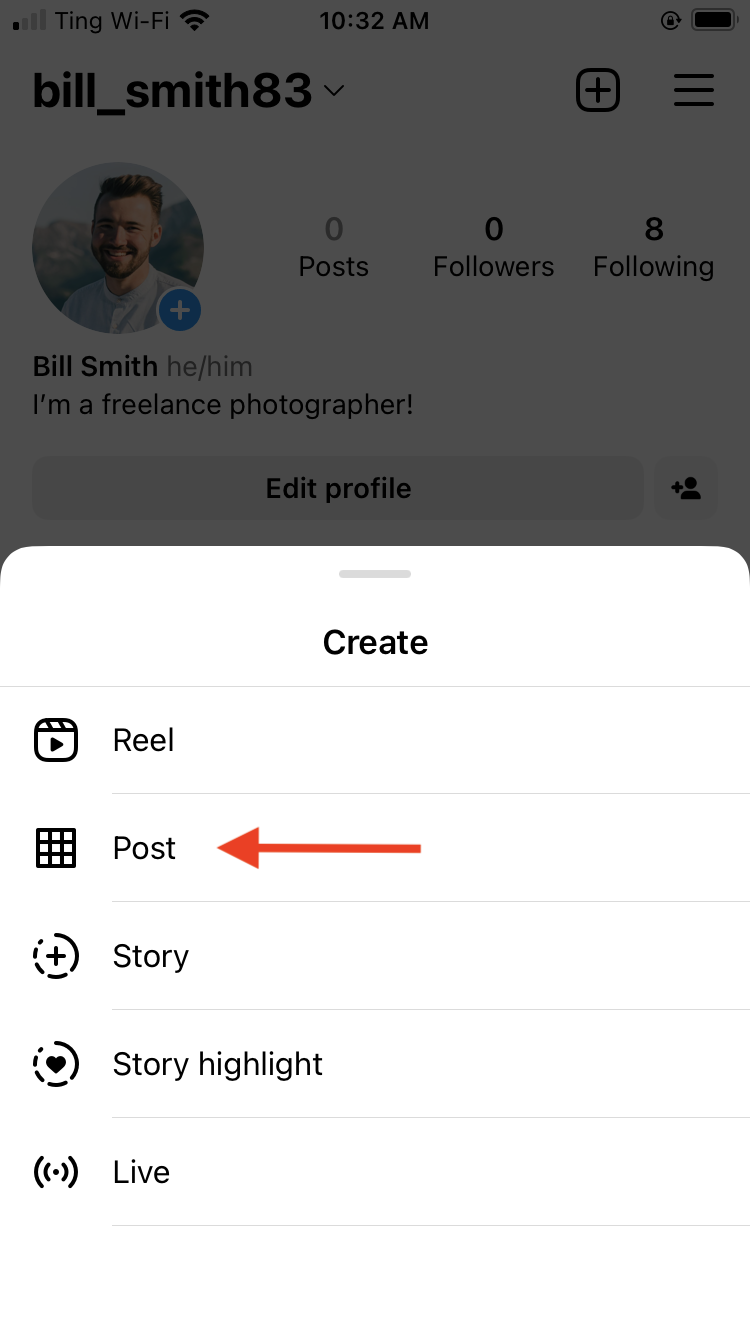
In the pop-up menu, tap Post next to the grid icon.
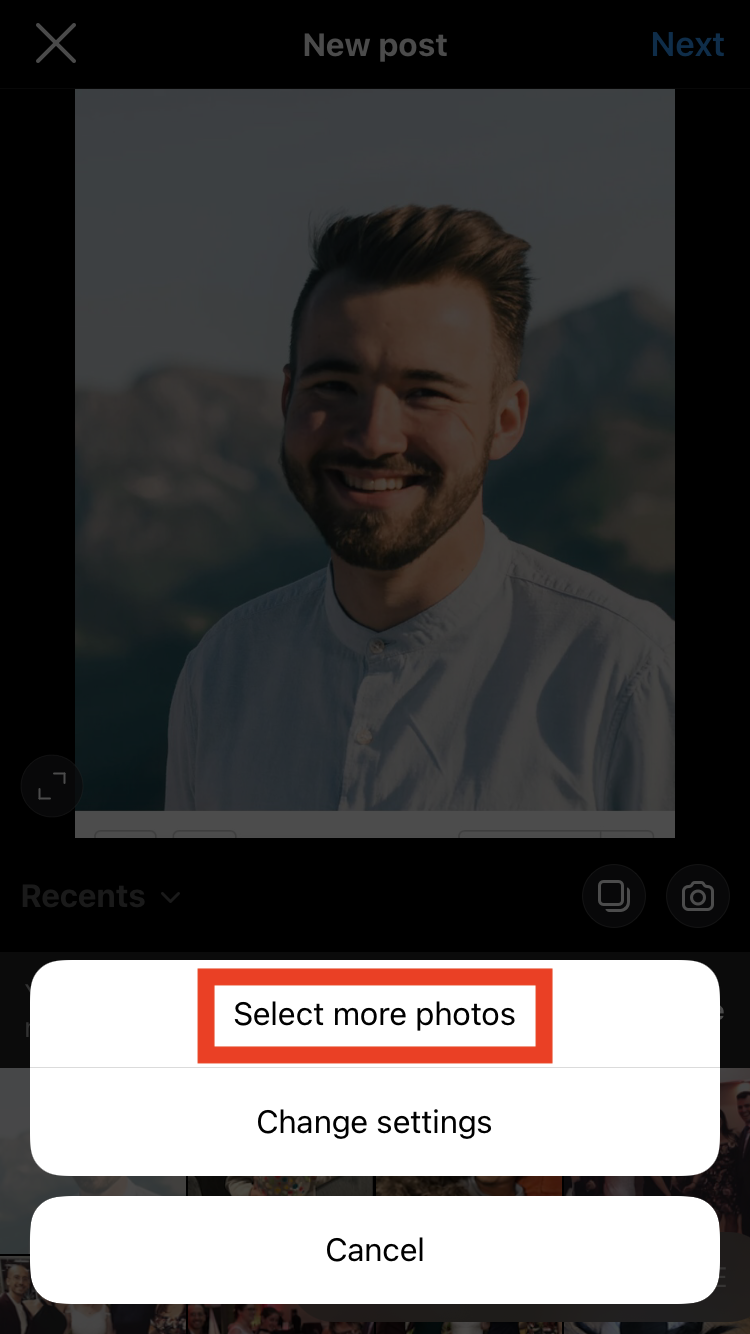
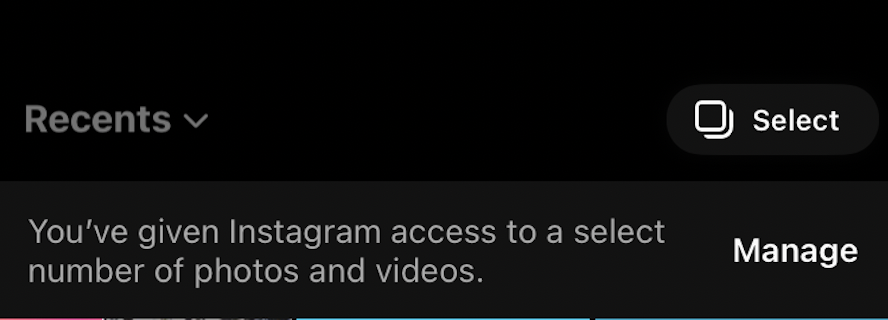
Then it will bring you to the New post page. Underneath the featured photo, it might read: “You’ve given Instagram access to a select number of photos and videos.” To add more photos to your “album,” tap Manage.
Tap Select more photos in the pop-up menu.
Select the photos you would like to give Instagram access to. A blue checkmark will appear in the corner of each photo selected. Then tap Done.
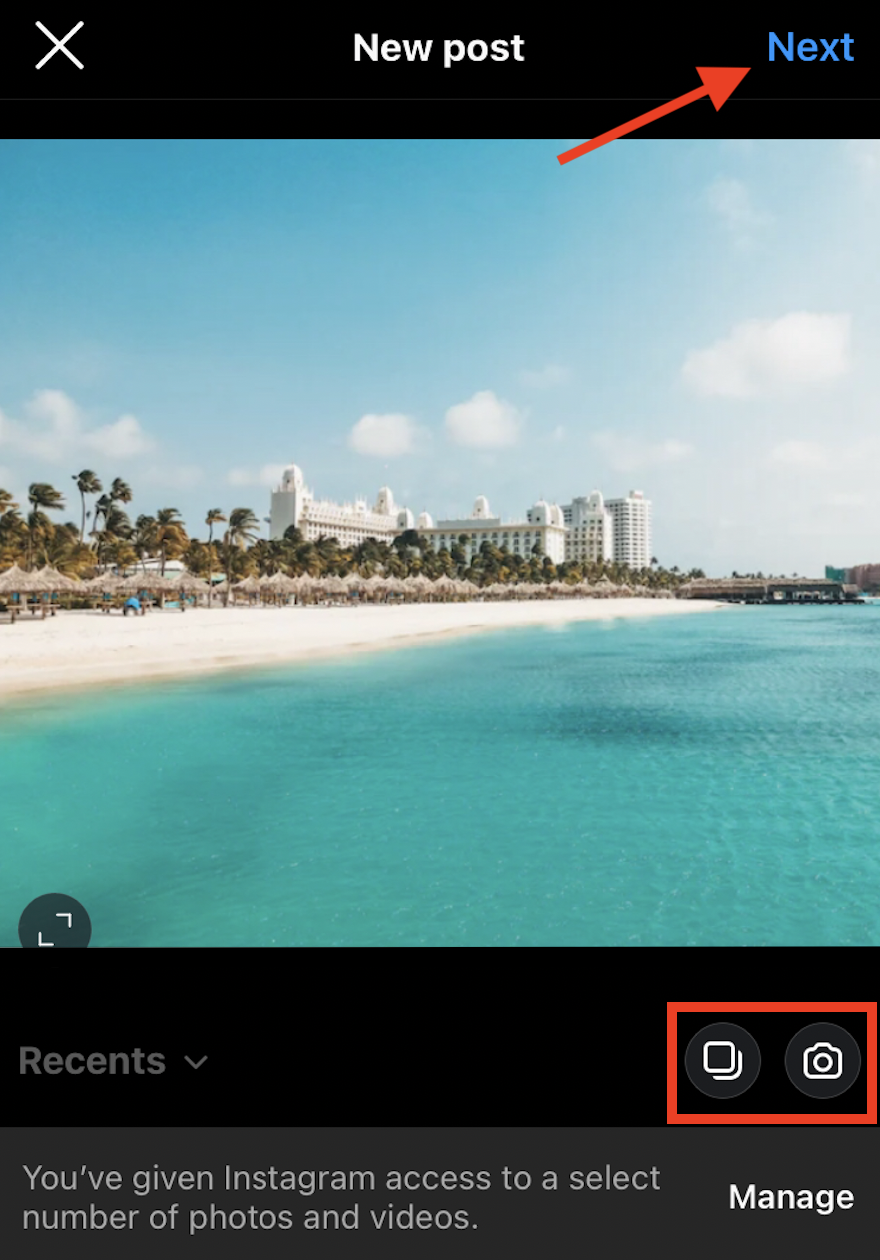
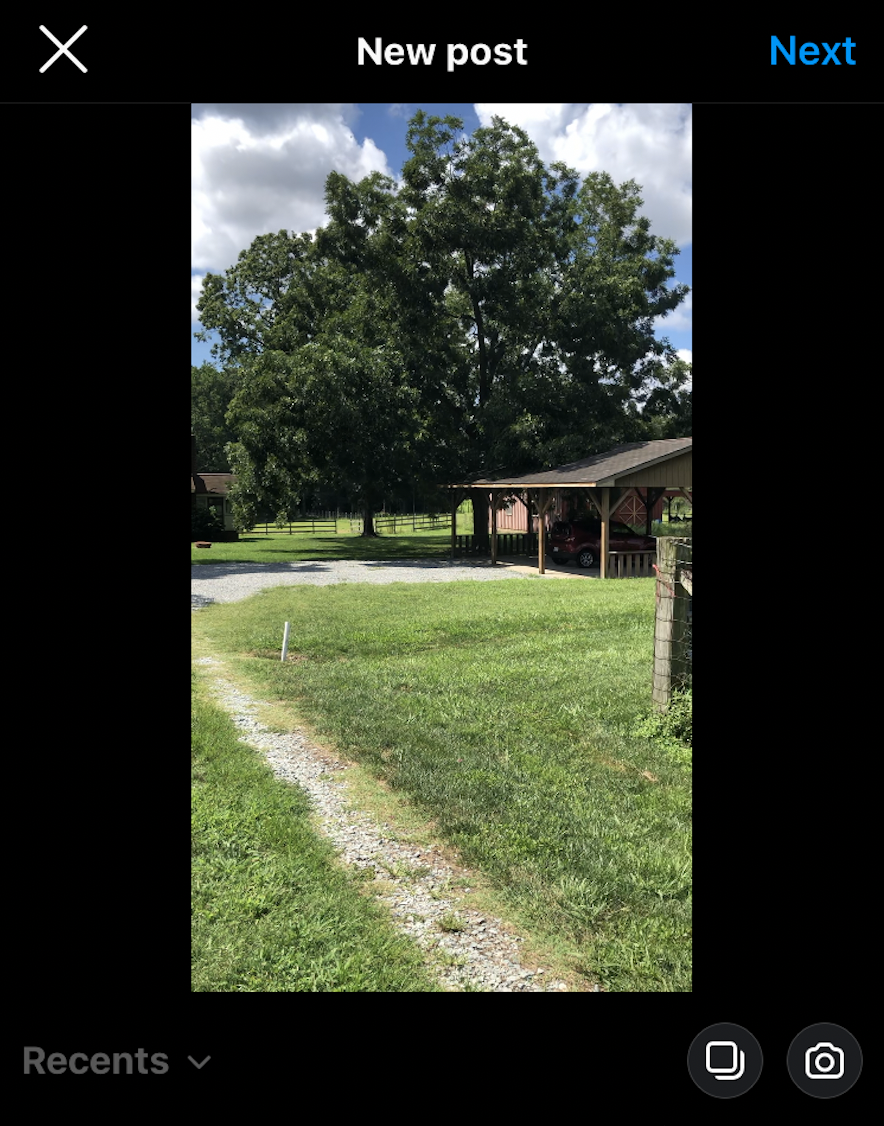
Now choose the photos you would like to post. (You can also tap the Multiple photos icon to select more than one photo, or the Camera icon to take a photo on your phone). Then tap Next.
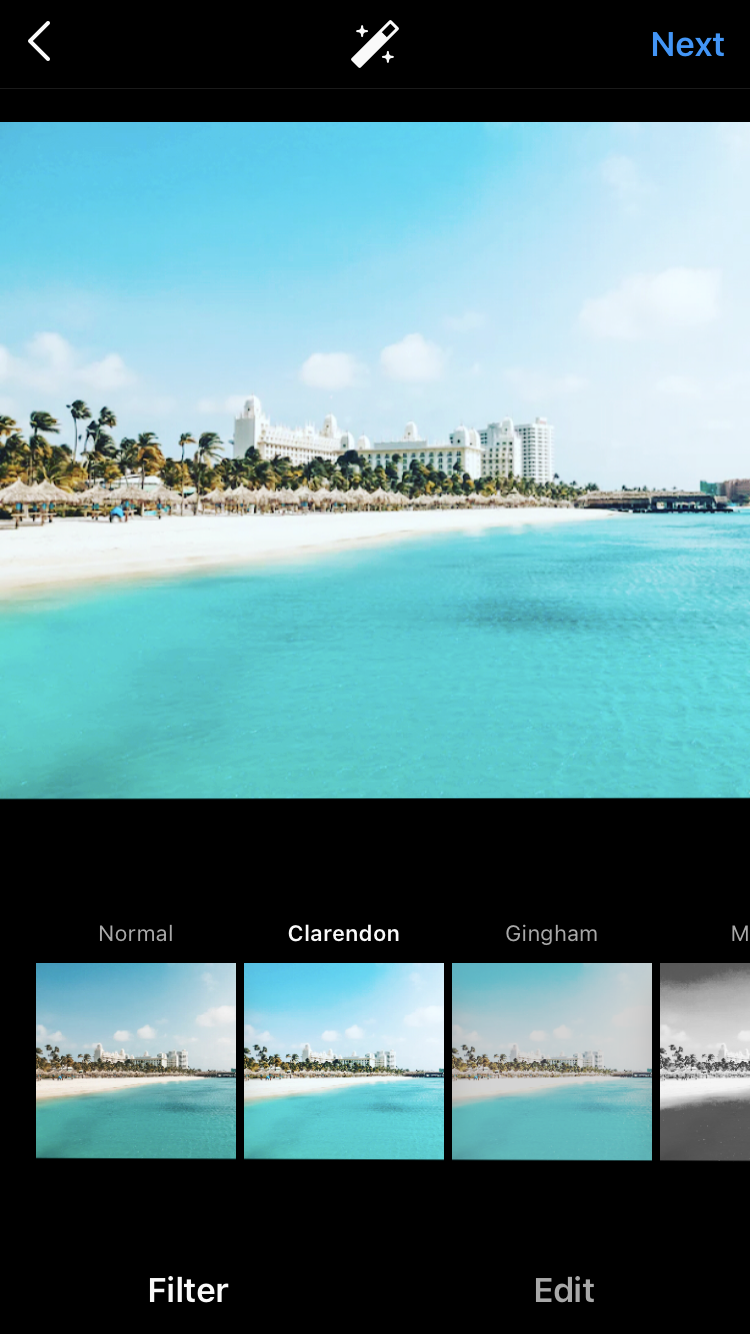
You have the ability to choose a filter. You can continuously scroll from right to left to try out the different ones. Tap the filters you’re interested in to see which one you like for your photo.
You can also tap Normal to return to the original. In this case, we chose Clarendon.
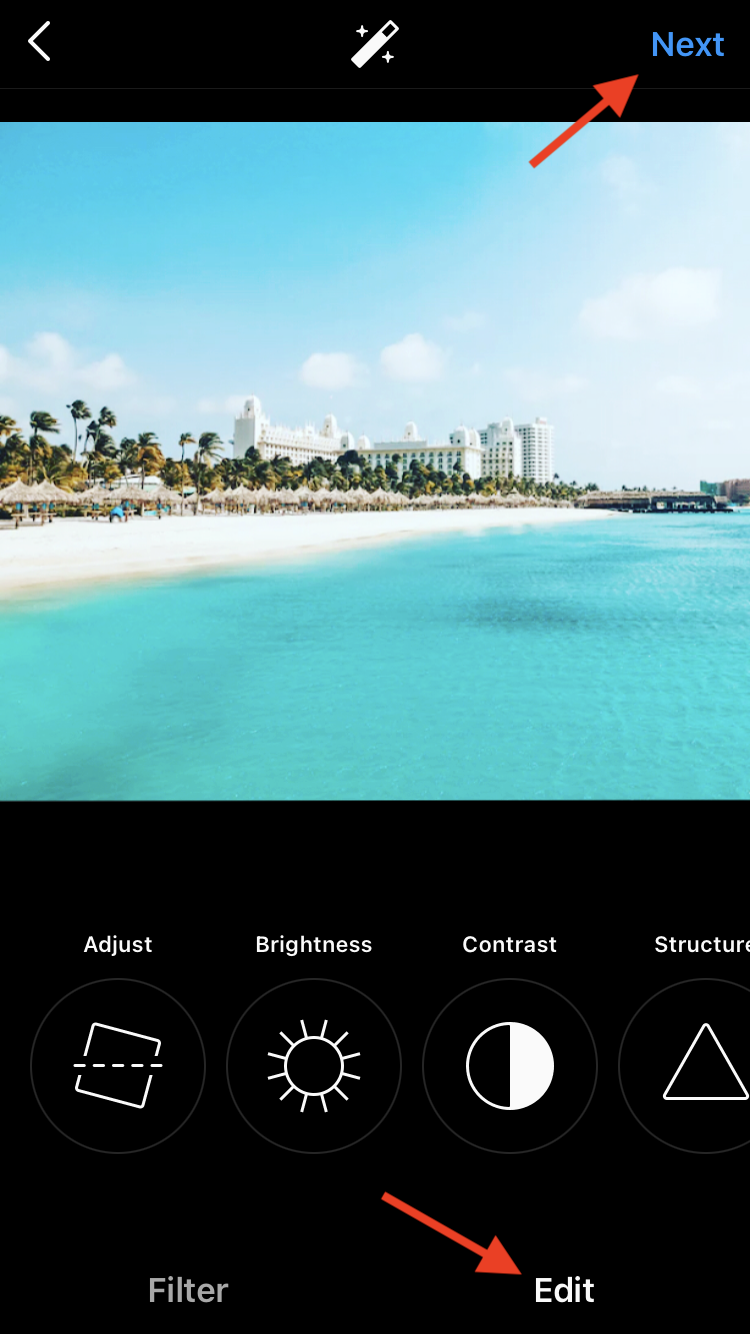
If you need to edit your photo, tap Edit. This will allow you to do things like straighten the photo, and adjust the brightness or contrast. Then tap Next.
You might get a pop-up notification about Remix for photos. This means that other people can make a video which includes your post. Tap Ok, or Manage settings if you want to exclude your content from remixes.
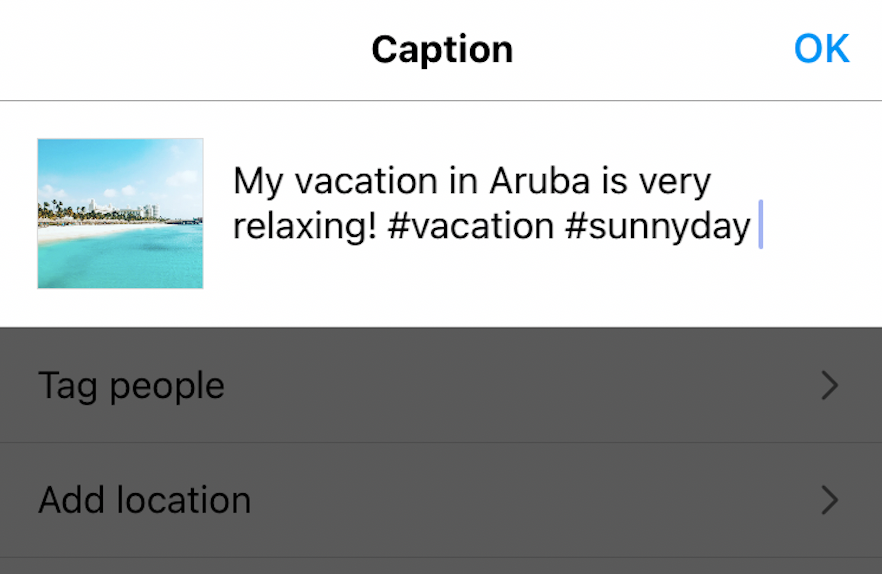
Now you can write your Caption. This is the text underneath the photo which tells viewers what your post shows.
Note: In this case, Bill included some hashtags. Hashtags are words or phrases after the pound symbol (#) which help users find your content. You can also tag other users by adding the at (@) symbol followed by their username, or add a location for where a photo was taken.
Sharing videos
Sharing a simple, unedited video is similar to sharing a photo. While Instagram refers to videos as "reels," reels generally include editing, songs, special filters, and more. Let’s stick to the basics for now.
From your profile page or your feed, tap the Plus icon in the upper right corner. Once again, tap Post in the pop-up menu.
This will bring you to your album. If you need to add the video from your phone, tap Manage, then find/select it. You can preview the video once you’ve selected it. Tap Next.
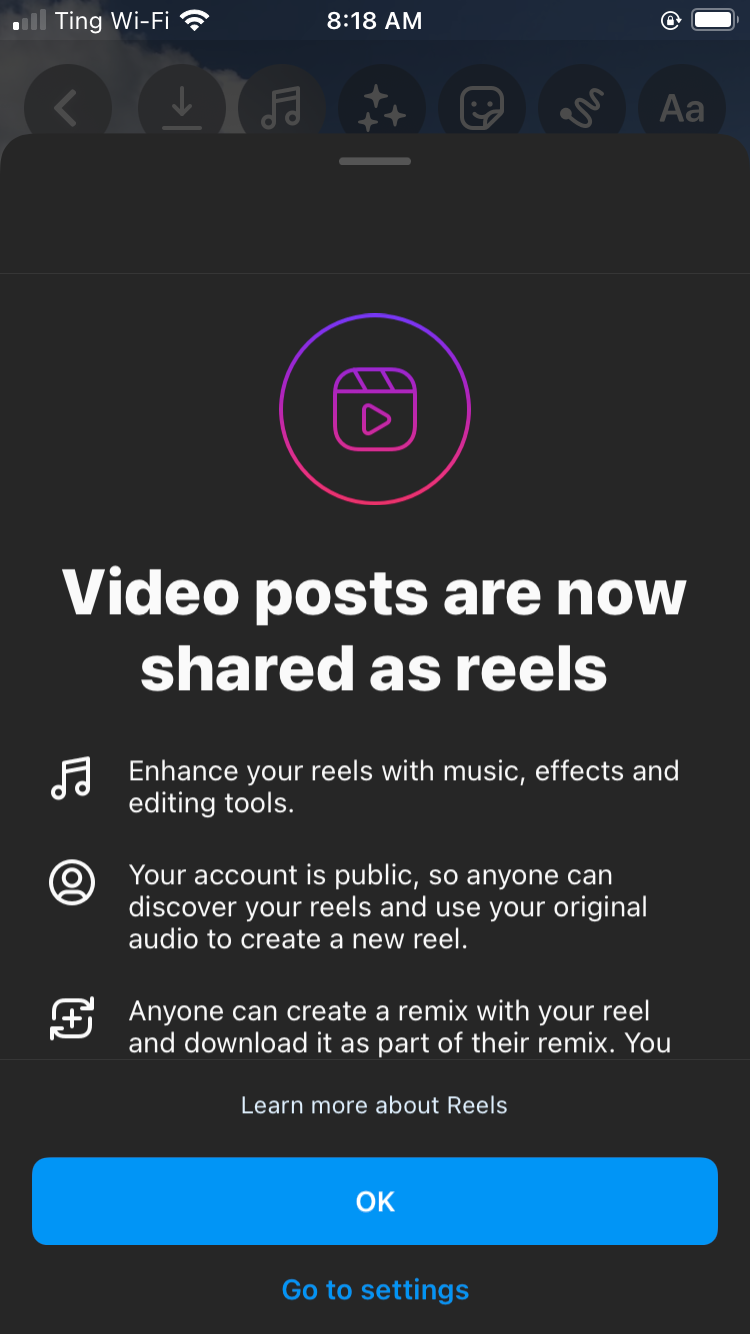
You might get a notification that “Video posts are now shared as reels.” Read through the description. Tap Ok, or Go to settings if you want to adjust your settings.
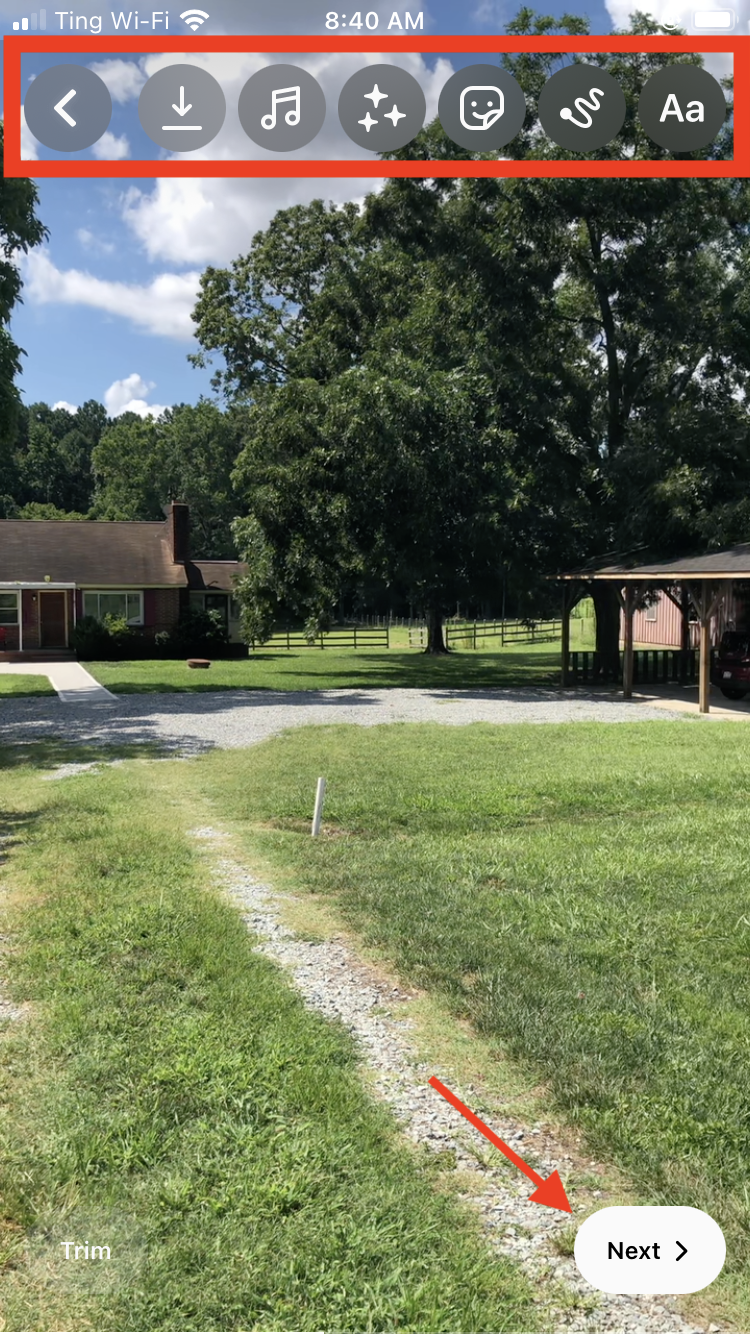
This will bring you to full-screen preview mode. You can add songs, filters, stickers, drawings, or text using the buttons at the top. Tap Next in the lower right corner.
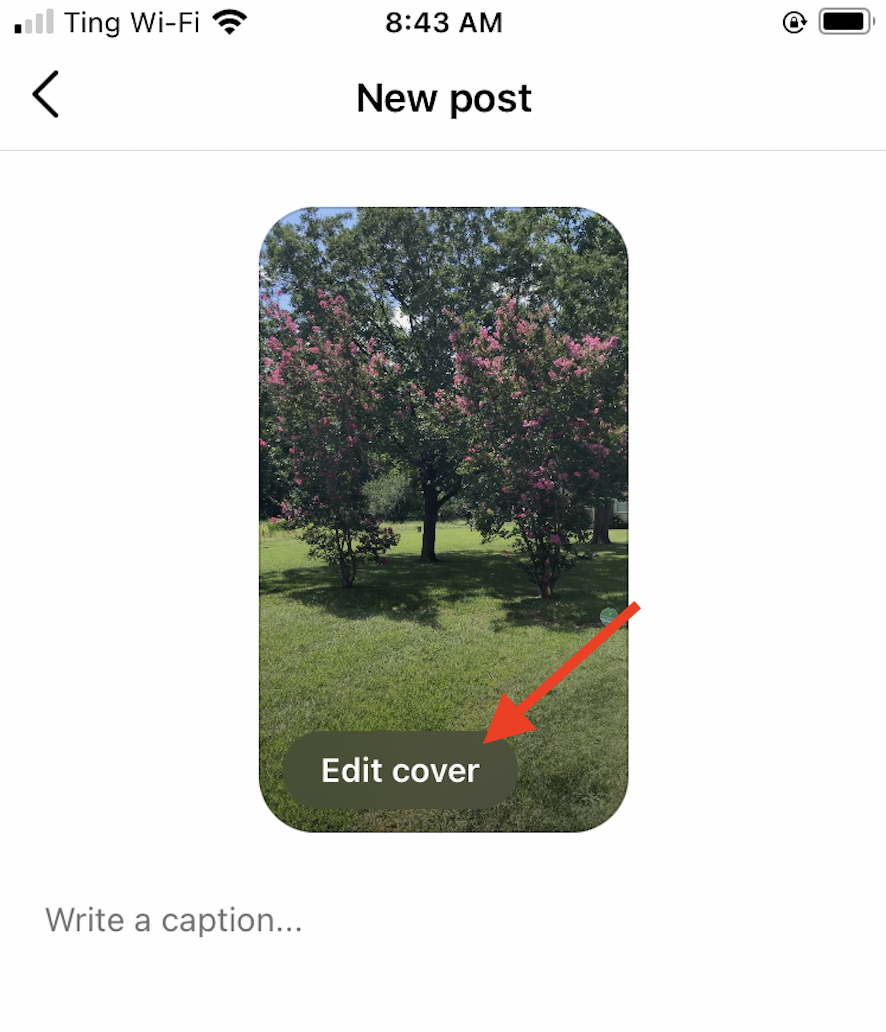
You can Edit cover, or choose the still you want to be the “cover” of your video.
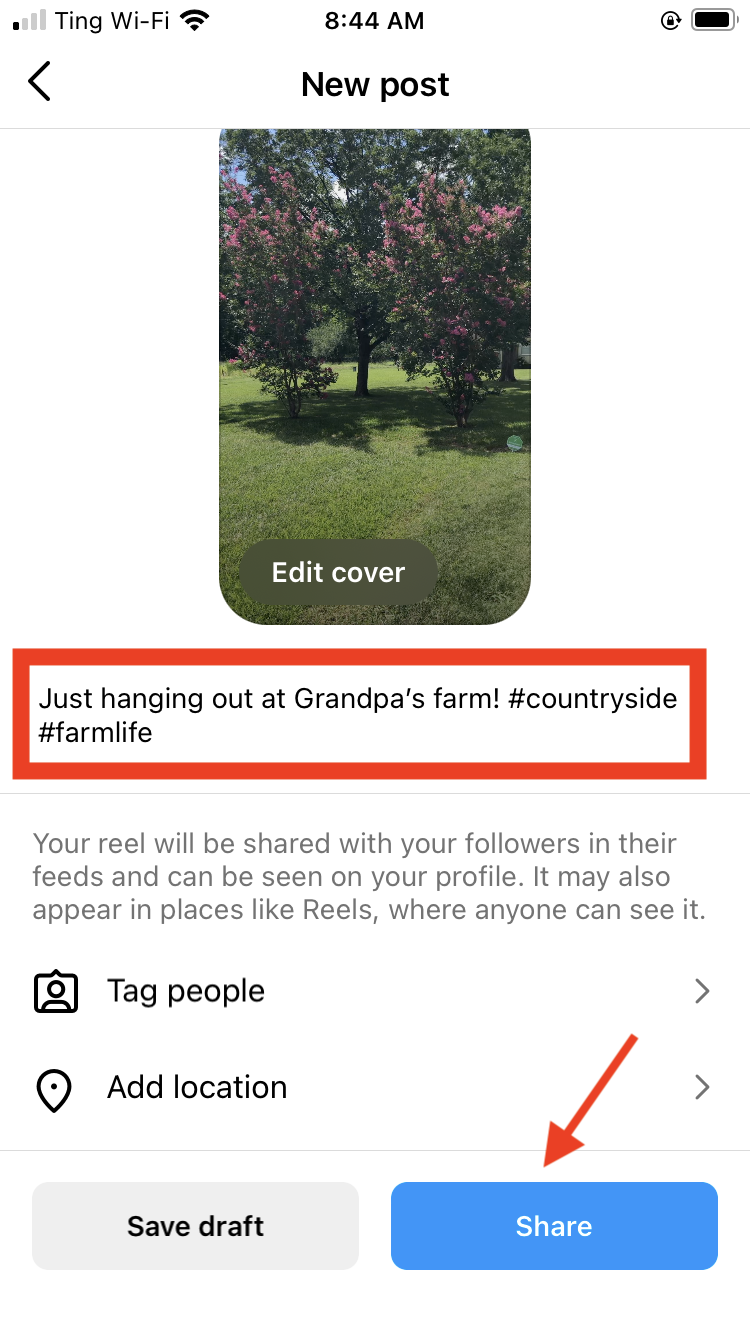
Then type your Caption. You can also tag people and add a location. Once you’re finished, tap Share.
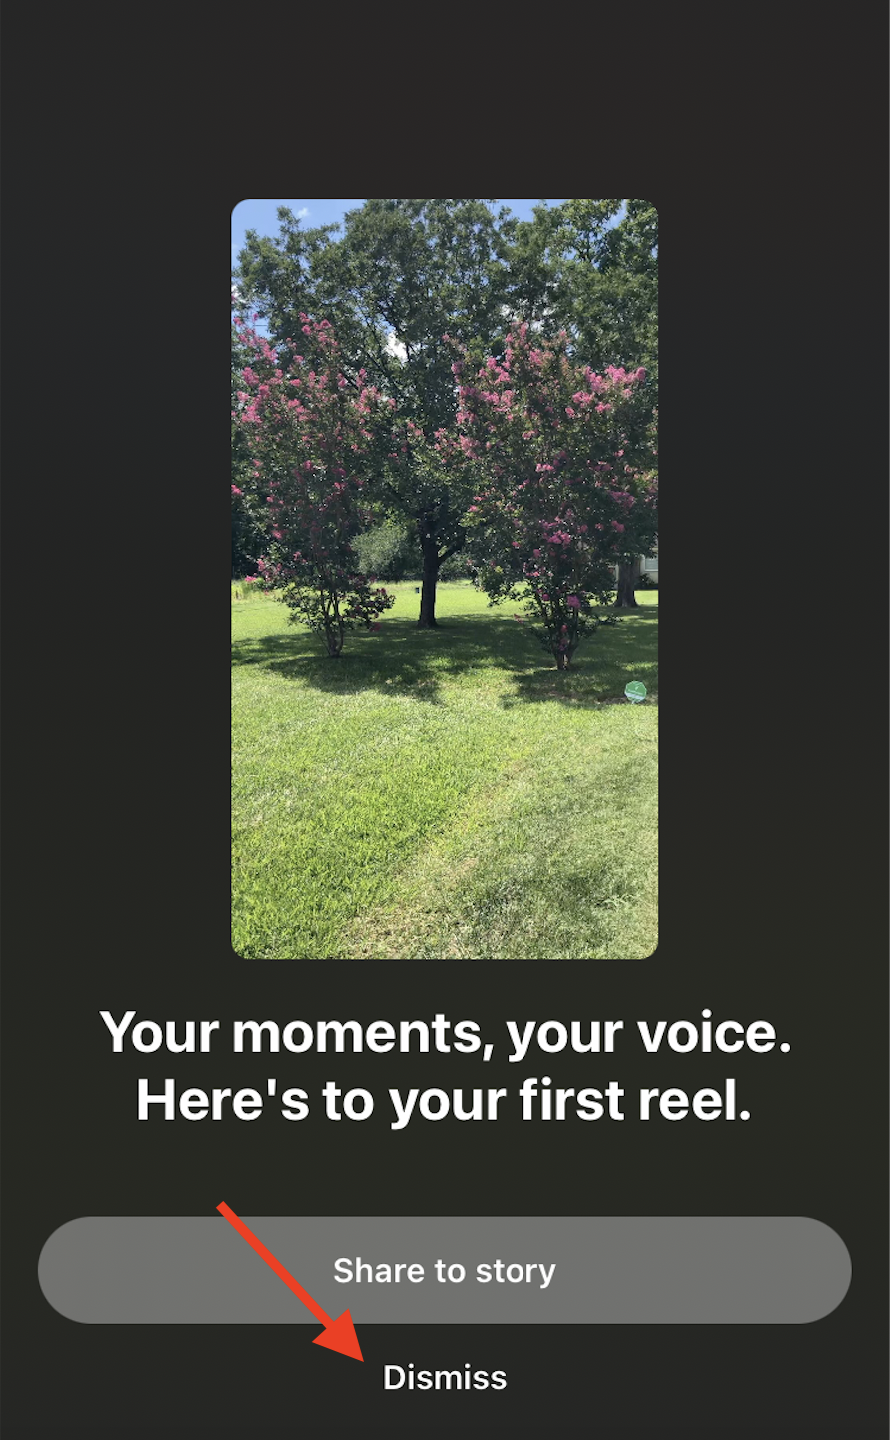
You can Share to story or Dismiss. For now, let's tap Dismiss at the bottom of the screen.
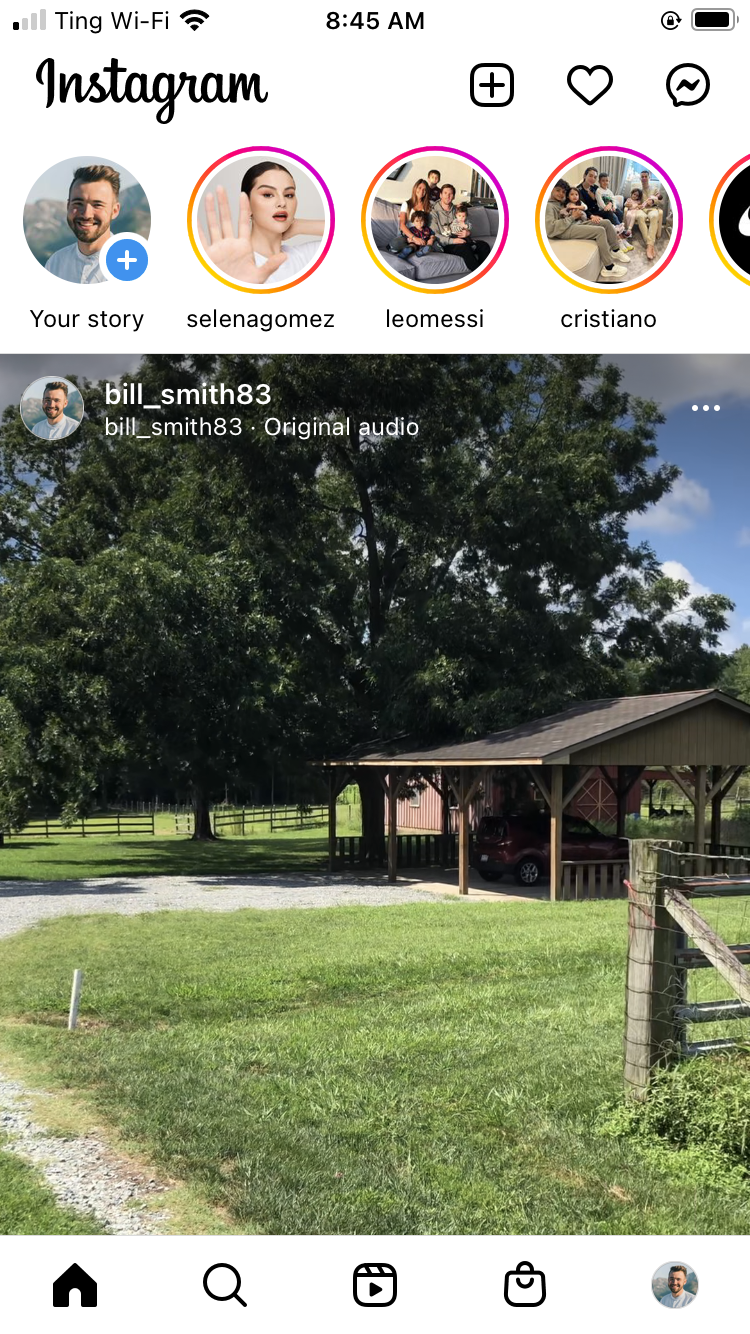
Instagram will then take you to your feed, where you will see your posted video. (If you tap it, it will play in full-screen mode).
Sharing stories
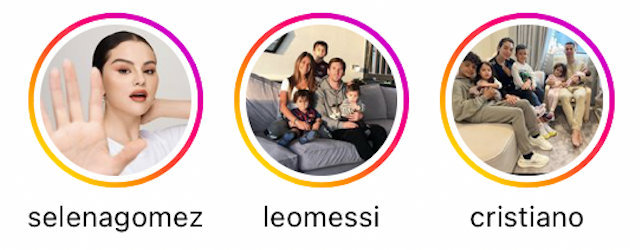
In the past two lessons, we’ve talked a little bit about stories. These consist of photos, videos, or a combination of both. A person has posted a 24-hour story if there’s a brightly colored ring around their profile picture.
Note: If the ring is green, that means you have been added to the user’s Close Friends list. The public cannot view this story, but you can!
You can add your own story from your feed page or your profile page. Tap the Blue Plus icon in the lower right corner of your profile picture.
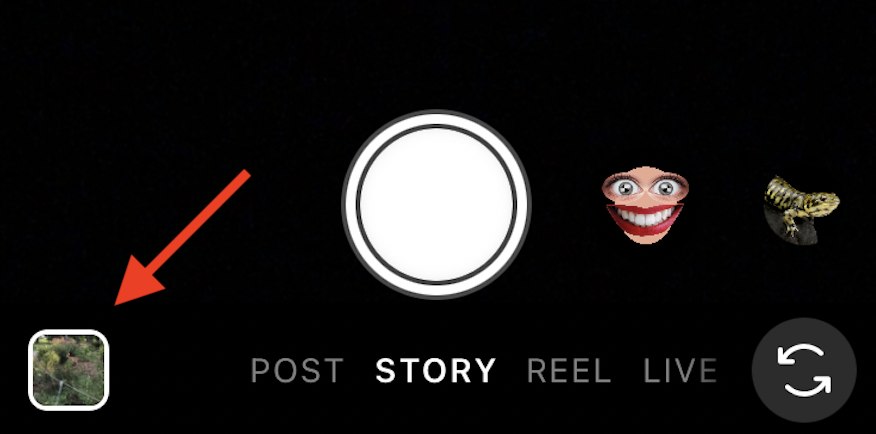
Instagram assumes you want to share a photo or video you’re taking at that moment. If you wish to do this, tap the White Button to record. Otherwise, tap the Album icon in the lower left corner.
Let’s assume you want to share some photos from earlier in the day. After going to your album, tap Manage to add more photos, or Select in order to add multiple photos to your story.
You can choose the order in which the photos/videos appear. A number will appear in the upper right corner of each photo/video that you add.
Once you’ve selected your photos/videos that you’d like to share, tap the arrow button in the bottom right corner of the screen.
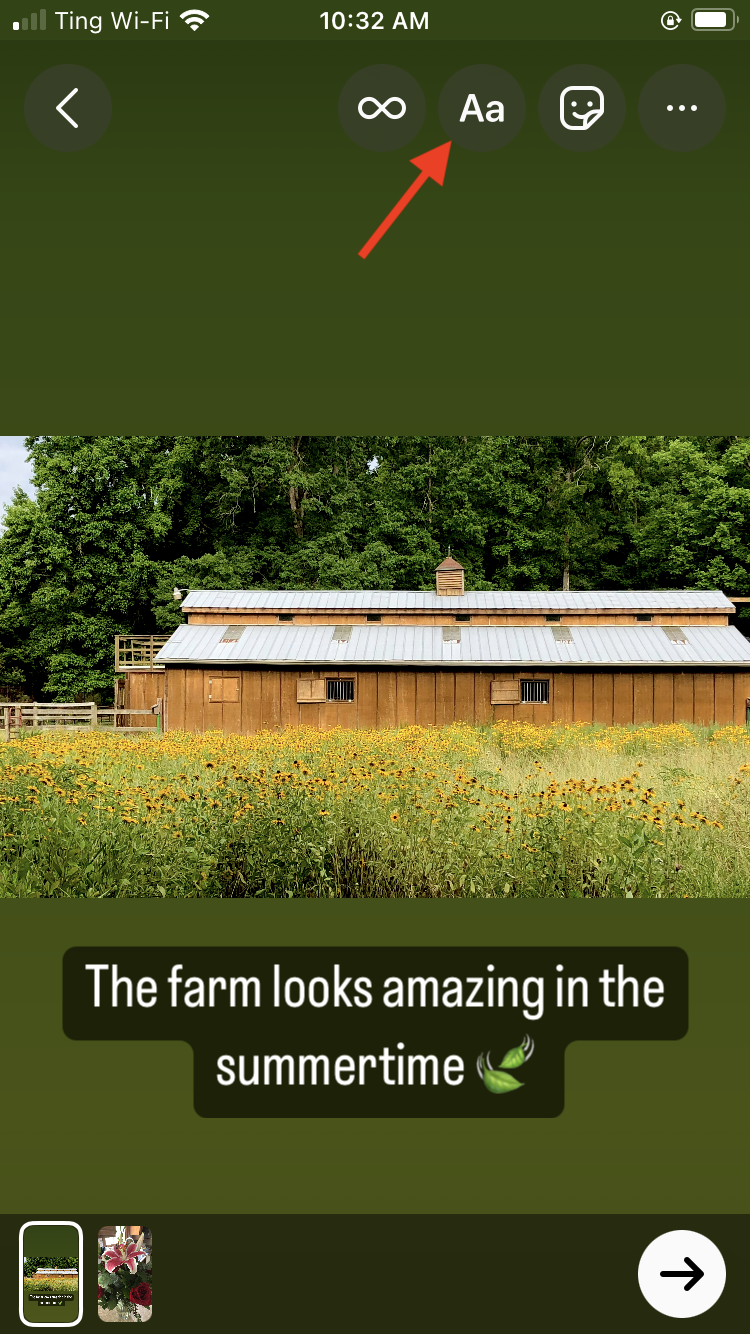
In our case, we’ve added two photos to this story. In the first photo, let’s try adding some text by tapping the Aa icon.
Tap the Arrow button in the bottom right corner to move to the next photo.
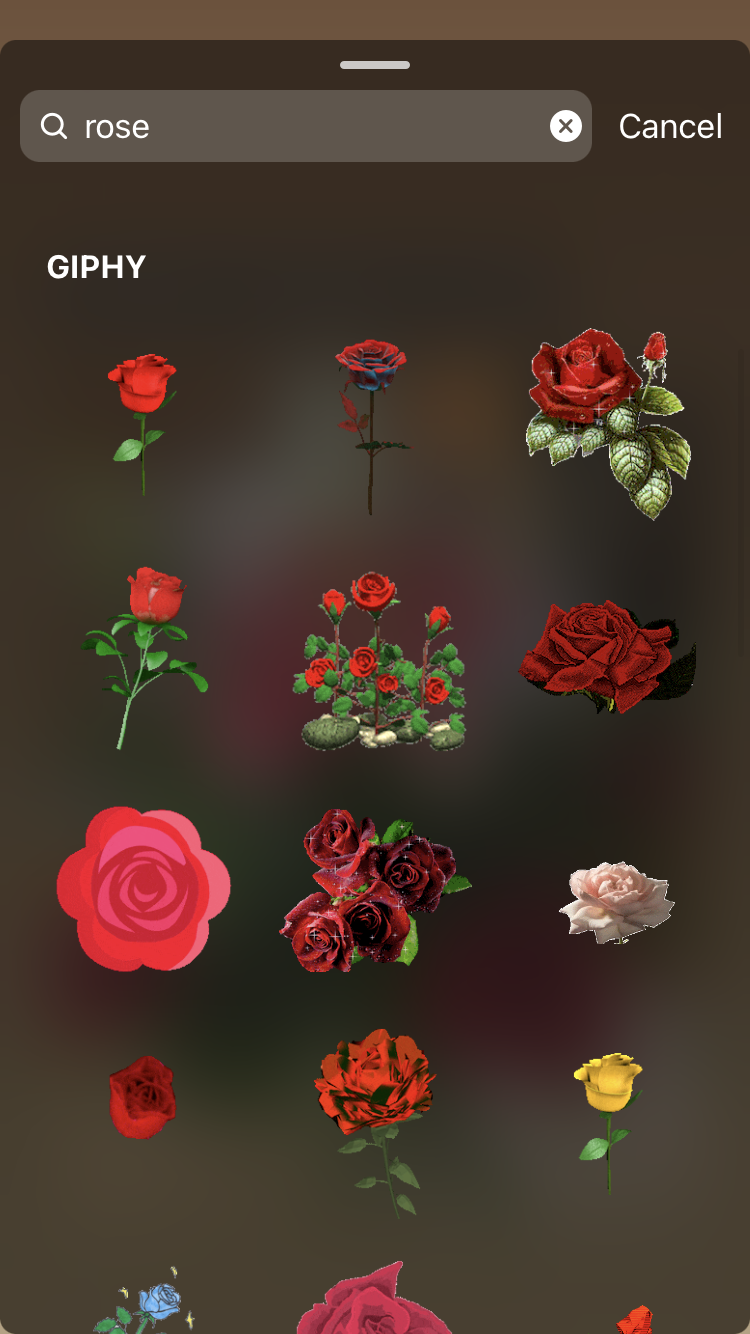
The second photo is a picture of flowers. We'll be adding a Sticker, or graphic. Tap the Smiley Face icon next to the Aa icon.
A pop-up menu will appear. You can Search for stickers based on subject. For this photo featuring flowers, let’s add a rose.
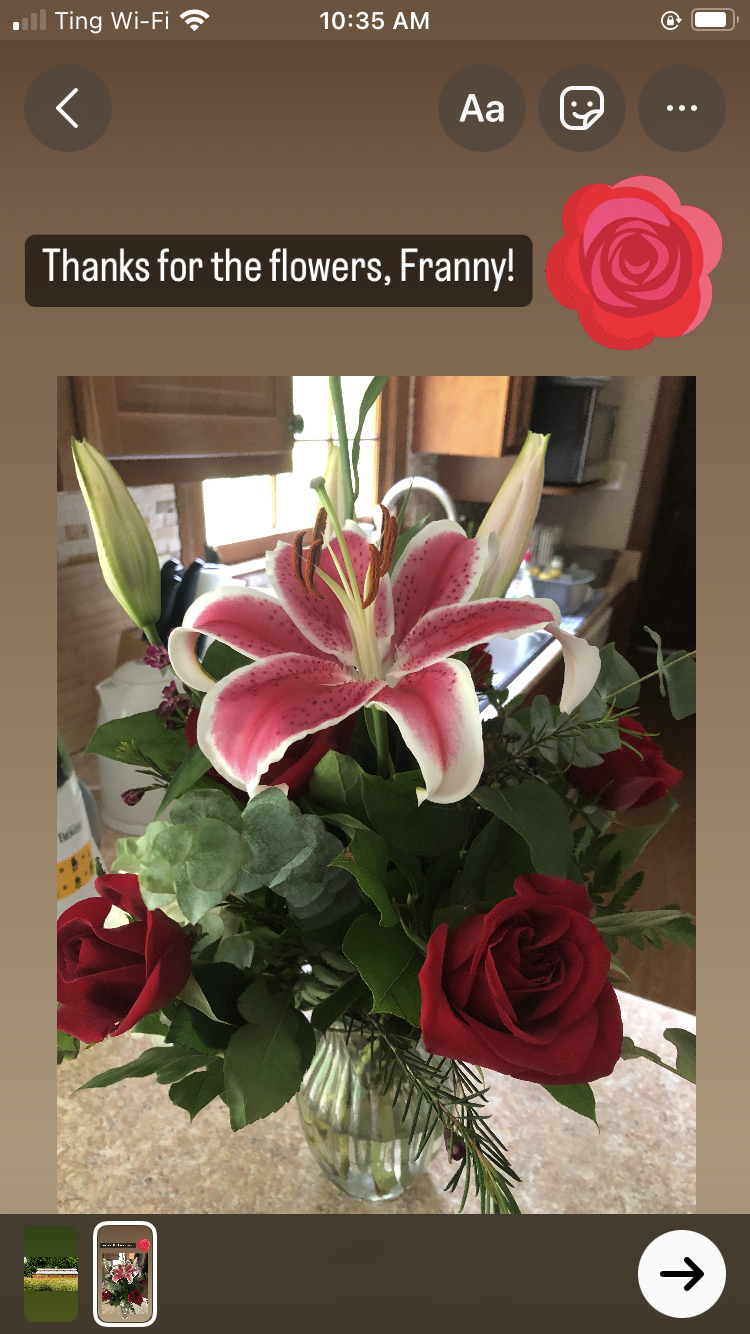
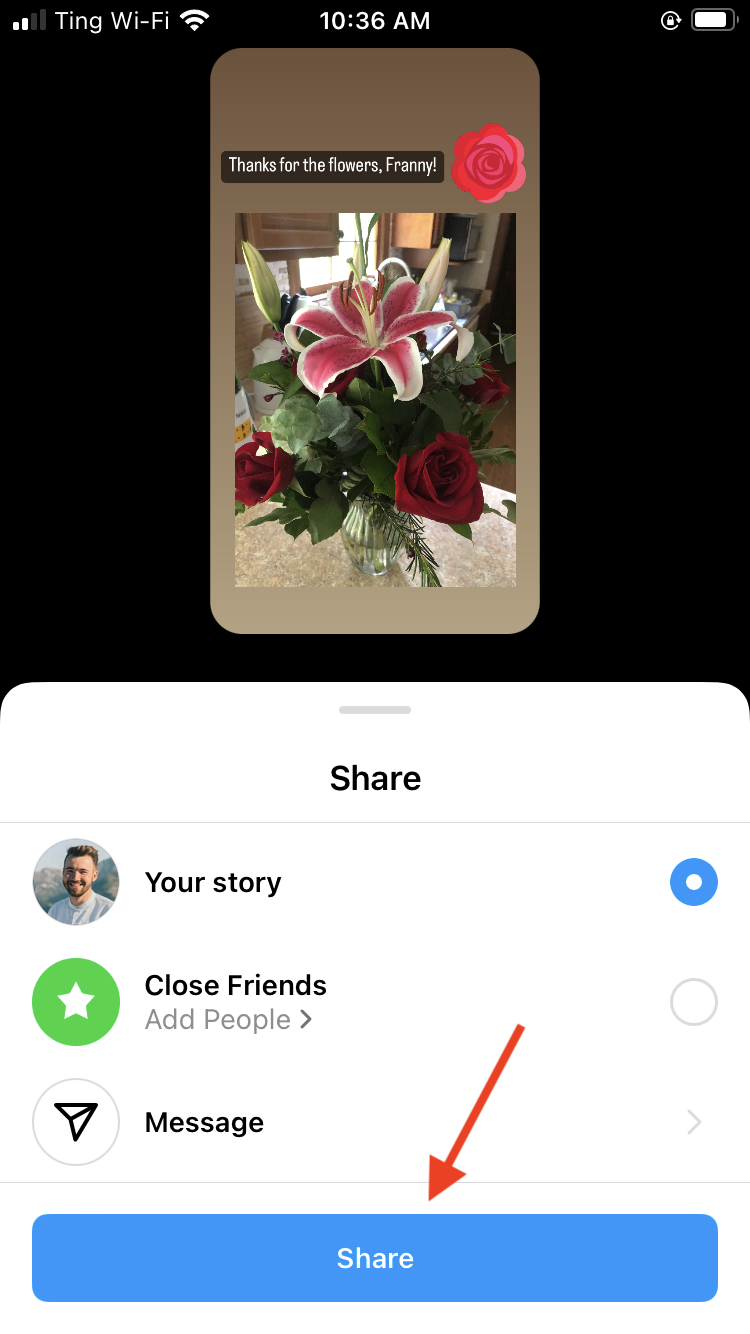
In addition to the rose, we added some text. In terms of the layout, you can move the text or the graphic around to different parts of the screen.
Once you tap the Arrow button again, a pop-up menu will appear. You can share the story publicly or to your close friends list. (You will need to add users to your close friends list in order to use this feature).
In this case, we’re posting the story publicly, so tap Share.
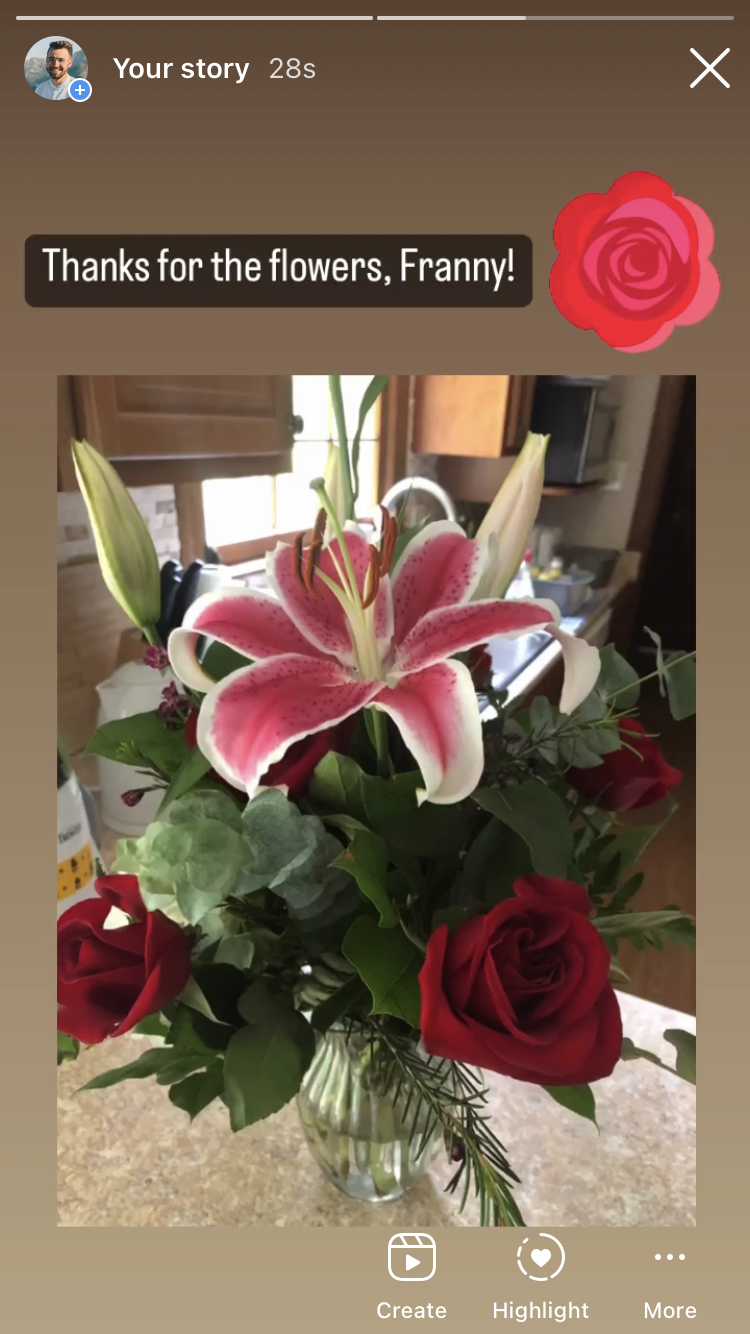
Once your 24-hour story has been shared, your profile pic will have a brightly colored ring around it, too.
If you or another user taps your profile pic, then the story will play. It will disappear after 24 hours.
Hopefully these pointers will help you to get started with sharing content! In the final lesson, we’ll talk about how to adjust your settings.