Google Forms -
Sending Forms

Google Forms
Sending Forms


/en/google-forms/adjusting-your-settings/content/
Once you've created your form and chosen the correct settings, you're ready to send it off! To get started with this process, click the Send button in the upper-right corner of the screen.

This will bring up the Send form menu. Before sending your form, you'll need to decide how to send it out. Google Forms allows you to share your forms via email, direct link, embedding, and social media sites.

Which one you choose depends on several factors, including who your audience is and what you're using the form for. Let's take a look at the various options and how to use them.
No matter which method you choose, there will be an option to Collect email addresses at the top of the menu. If you turn this on, your respondents will be required to provide their email address. This can be helpful if you want to contact them in the future.
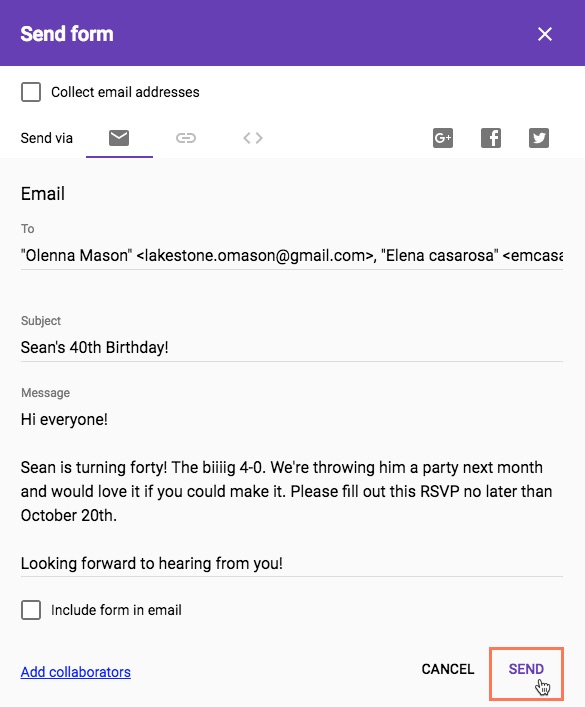
If you have email addresses for everyone you'd like to send the form to, email is probably the easiest method. Simply enter all of the information in the form shown below and click Send.

If you check Include form in email, Google Forms will include your form in the email itself, rather than providing a link to it. This could come in handy if your form is fairly short or if you'd like your recipients to respond quickly.

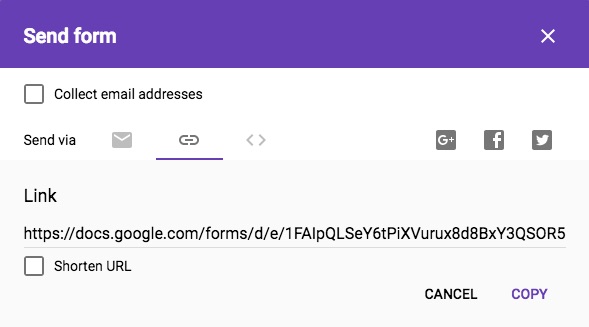
Instead of using email, Google Forms can create a link to your form that you can share wherever. When someone clicks the link, they will be taken directly to your form.

This method can be helpful if you don't know the email addresses for some of the people you'd like to send the form to. You could instead send it through a text or messaging app.
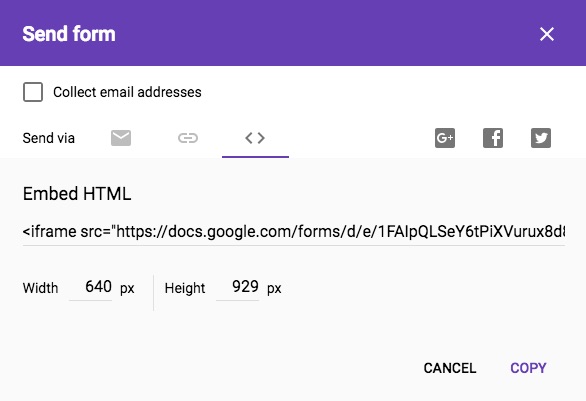
If you have a website you'd like to host the form on, you can use the embed option. This will give you some HTML code that you can copy and paste into a website editor like WordPress.

Doing so will display the form on your website. This method gives your audience easy access to your form without them having to leave your website.
You also have the option of sharing your form via social media sites like Facebook and Twitter. If you want to share your form with a wider audience, this may be a route to consider. Simply click the icon of the site you'd like to use.

This will open the site you've chosen and generate a post with a link to your form. You can then edit the post to say whatever you'd like, then share it with your friends.
Once you've shared your form with others, it's just a matter of waiting to hear back from them. Depending on your form, you may end up needing to organize or analyze these responses. We'll go over how to do this in our next lesson.
/en/google-forms/organizing-and-analyzing-responses/content/