SmartArt allows you to communicate information with graphics instead of just using text. There are a variety of styles to choose from, which you can use to illustrate many different types of ideas.
To insert a SmartArt graphic:
Place the insertion point in the document where you want the SmartArt graphic to appear.
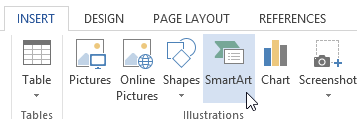
From the Insert tab, select the SmartArt command in the Illustrations group.
Clicking the SmartArt command
A dialog box will appear. Select a category on the left, choose the desired SmartArt graphic, then click OK.
Inserting a SmartArt graphic
The SmartArt graphic will appear in your document.
The inserted SmartArt graphic
To add text to a SmartArt graphic:
Select the SmartArt graphic. The SmartArt task pane will appear to the left.
The SmartArt task pane
Enter text next to each bullet in the task pane. The text will appear in the graphic and will resize to fit inside the shape.
Adding text in the SmartArt task pane
To add a new shape, press Enter. A new bullet will appear in the task pane, and a new shape will appear in the graphic. You can delete any bullets you're not using to remove the shapes.
Adding a shape
You can also add text by clicking on the desired shape and then typing. This works well if you only need to add text to a few shapes. However, for more complex SmartArt graphics, working in the task pane is often faster.
Changing the SmartArt organization
To add a shape:
Select the SmartArt graphic, then click the Design tab on the right side of the Ribbon.
Clicking the Design tab
Decide where you want the new shape to appear, and select an adjacentshape.
Selecting an adjacent shape
Click the Add Shape command in the Graphics group. A drop-down menu will appear.
Select Add Shape Before or Add Shape After to add a shape on the same level as the selected shape. Select Add Shape Above or Add Shape Below to add a shape above or below the selected shape.
Adding a shape
The new shape will appear.
The newly added shape
To promote or demote shapes:
Select the SmartArt graphic, then click the Design tab on the right side of the Ribbon.
Clicking the Design tab
Select the shape you would like to promote or demote. In our example, we'll demote a shape.
Selecting a shape to demote
To move the shape to a higher level, click the Promote command in the Create Graphic group. To move it to a lower level, click Demote.
Clicking the Demote command
The shape will move one level higher or lower.
The demoted shape
You can also demote and promote shapes from within the task pane. With the insertion point in the task pane, press the Tab key to demote a shape. Press the Backspace key (or Shift+Tab) to promote a shape. It's a lot like creating an outline with a multilevel list. For more information, you may want to review our Lists lesson.
To rearrange shapes on the same level:
Select the SmartArt graphic, then click the Design tab.
Select the shape you would like to move.
Selecting a shape to move
In the Create Graphic group, click Move Up or Move Down.
Clicking Move Up
The shape will move to a new location on the same level, and any shapes nested below it will also move.
The moved shape
Customizing SmartArt
After inserting SmartArt, there are several things you might want to change about its appearance. Whenever you select a SmartArt graphic, the Design and Format tabs will appear on the right side of the Ribbon. From there, it's easy to edit the style and layout of a SmartArt graphic.
To customize SmartArt
Word provides a variety of color schemes to use with SmartArt. To change the colors, simply select the SmartArt, click the Change Colors command, and choose the desired colors from the drop-down menu.
Changing the SmartArt color scheme
Color schemes use Theme Colors, so they will vary depending on which Theme you are using. Visit our lesson on Themes to learn more about changing and customizing themes in Word 2013.
Changing the SmartArt colors by selecting a new Theme
Word also includes several different SmartArt styles, which allow you to quickly modify the look and feel of your SmartArt. To change the style, select the desired style from the SmartArt styles group.
Changing the SmartArt style
You can add shapeeffects to your SmartArt, such as beveling and 3D rotation. Select the entire SmartArt graphic by clicking the border, selecting the Format tab, then choosing the desired Shape Effects. You can also click on an individual shape to customize it separately.
Modifying the SmartArt shape effects
To change the SmartArt layout:
If you don't like the way your information is organized within a SmartArt graphic, you can always change its layout to better fit your content.
Select the SmartArt graphic, then select the Design tab.
In the Layouts group, click the More drop-down arrow.
Clicking the More drop-down arrow
Select the desired layout, or click More Layouts... to see even more SmartArt options.
Selecting a SmartArt layout
The selected layout will appear.
The new SmartArt layout
If the new layout is too different from the original, some of your text may not show up. Before deciding on a new layout, check carefully to make sure no important information will be lost.


 Clicking the SmartArt command
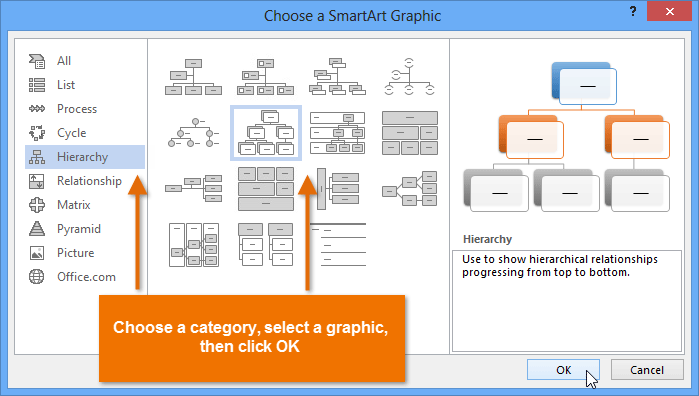 Inserting a SmartArt graphic
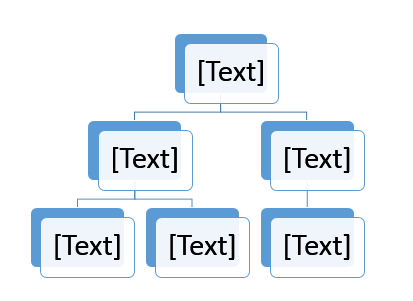 The inserted SmartArt graphic
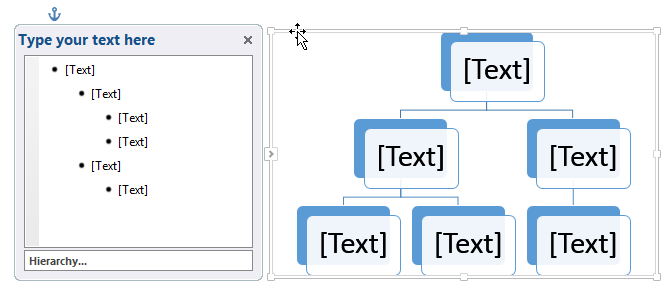 The SmartArt task pane
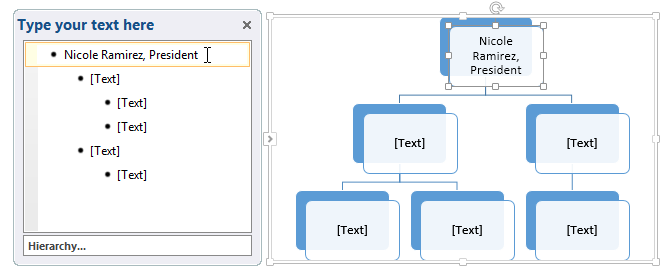 Adding text in the SmartArt task pane
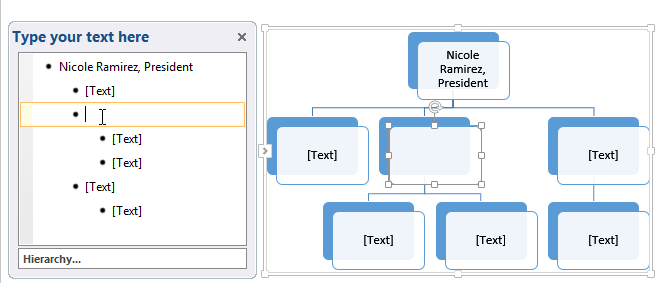 Adding a shape
 Clicking the Design tab
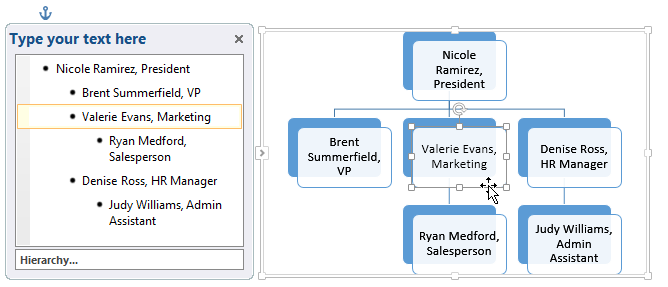 Selecting an adjacent shape
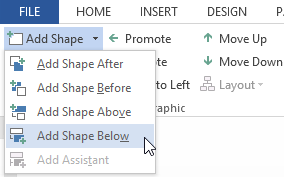 Adding a shape
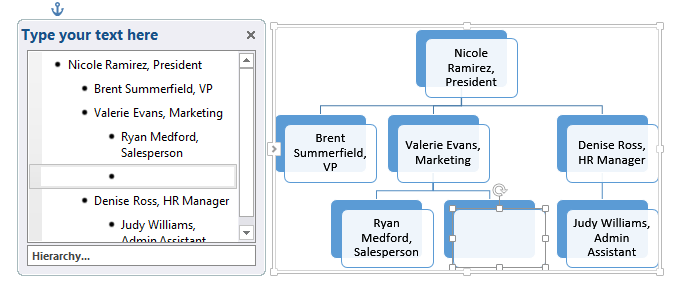 The newly added shape
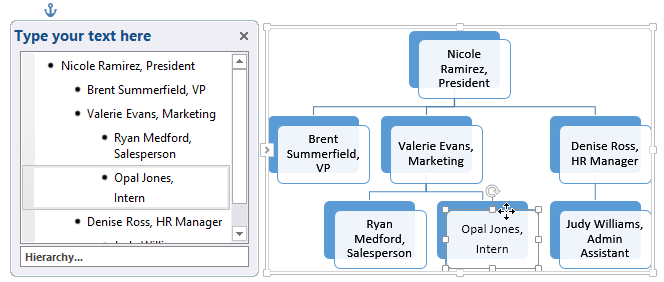 Selecting a shape to demote
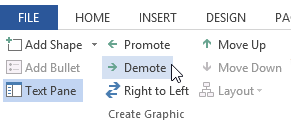 Clicking the Demote command
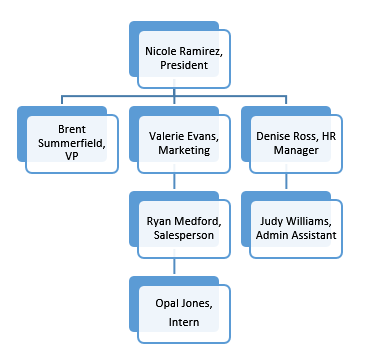 The demoted shape
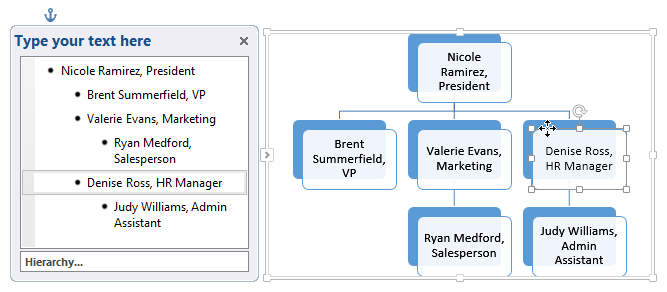 Selecting a shape to move
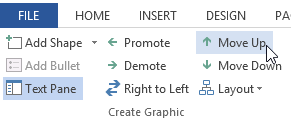 Clicking Move Up
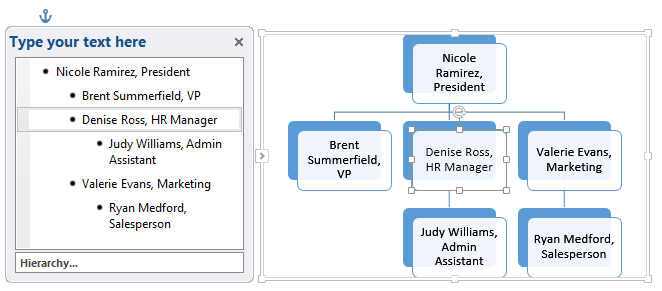 The moved shape
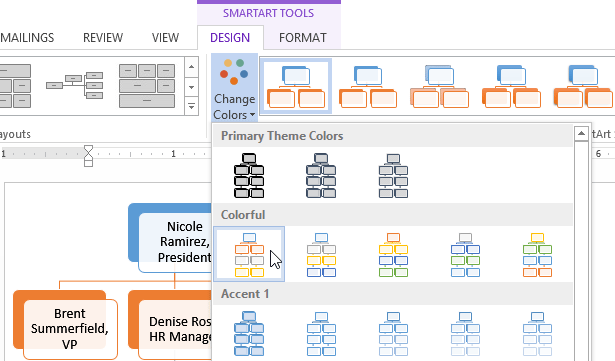 Changing the SmartArt color scheme
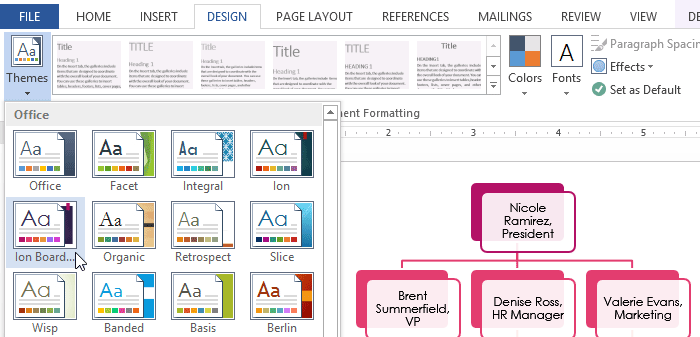 Changing the SmartArt colors by selecting a new Theme
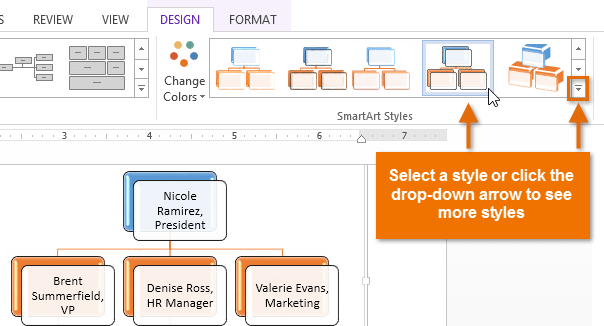 Changing the SmartArt style
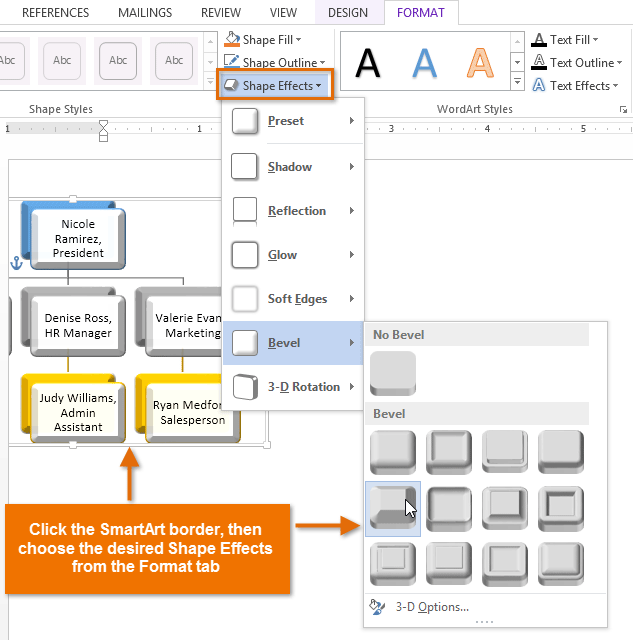 Modifying the SmartArt shape effects
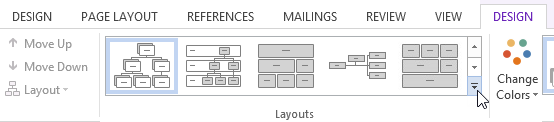 Clicking the More drop-down arrow
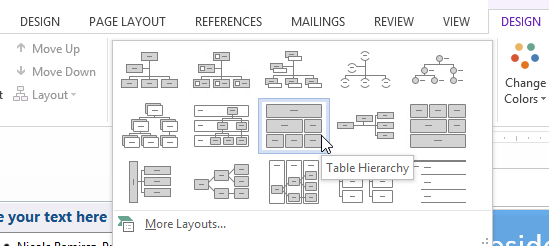 Selecting a SmartArt layout
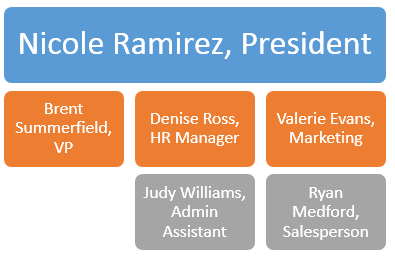 The new SmartArt layout