Bulleted and numbered lists can be used in your documents to outline, arrange, and emphasize text. In this lesson, you will learn how to modify existing bullets, insert new bulleted and numbered lists, select symbols as bullets, and format multilevel lists.
On the Home tab, click the drop-down arrow next to the Bullets command. A menu of bullet styles will appear.
Clicking the Bullets drop-down arrow
Move the mouse over the various bullet styles. A live preview of the bullet style will appear in the document. Select the bullet style you want to use.
Selecting a bullet style
The text will be formatted as a bulleted list.
A bulleted list
Options for working with lists
To remove numbers or bullets from a list, select the list and click the Bulleted or Numbered list command.
When you're editing a list, you can press Enter to start a new line, and the new line will automatically have a bullet or number. When you've reached the end of your list, press Enter twice to return to normal formatting.
By dragging the indent markers on the ruler, you can customize the indenting of your list and the distance between the text and the bullet or number.
Customizing the indentation
To create a numbered list:
When you need to organize text into a numbered list, Word offers several numbering options. You can format your list with numbers, letters, or Roman numerals.
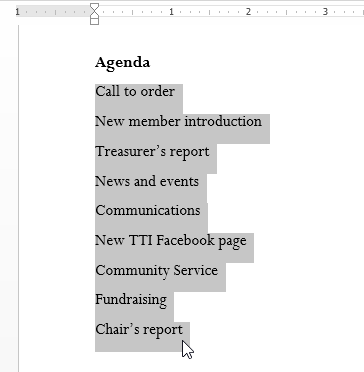
Select the text you want to format as a list.
Selecting text to format
On the Home tab, click the drop-down arrow next to the Numbering command. A menu of numbering styles will appear.
The number command
Move the mouse over the various numbering styles. A live preview of the numbering style will appear in the document. Select the numbering style you want to use.
Viewing the live preview
The text will format as a numbered list.
The formatted list
To restart a numbered list:
If you want to restart the numbering of a list, Word has a Restart at 1 option. It can be applied to numeric and alphabetical lists.
Right-click the list item you want to restart the numbering for, then select Restart at 1 from the menu that appears.
Restarting a list
The list numbering will restart.
The restarted list
Customizing bullets
Customizing the look of the bullets in your list can help you emphasize certain list items or personalize the design of your list. Word allows you to format bullets in a variety of ways. You can use symbols and different colors, or even upload a picture as a bullet.
To use a symbol as a bullet:
Select an existing list you want to format.
Selecting an existing list
On the Home tab, click the drop-down arrow next to the Bullets command. Select Define New Bullet... from the drop-down menu.
Defining a new bullet
The Define New Bullet dialog box will appear. Click the Symbol... button.
Clicking the Symbol button
The Symbol dialog box will appear.
Click the Font drop-down box and select a font. The Wingdings and Symbol fonts are good choices because they have many useful symbols.
Select the desired symbol, then click OK.
Selecting a symbol
The symbol will appear in the Preview section of the Define New Bullet dialog box. Click OK.
Preview of the new symbol
The symbol will appear in the list.
The formatted list
To change the bullet color:
Select an existing list you want to format.
Selecting a list to format
On the Home tab, click the drop-down arrow next to the Bullets command. Select Define New Bullet... from the drop-down menu.
Selecting Define New Bullet...
The Define New Bullet dialog box will appear. Click the Font button.
Clicking the Font button
The Font dialog box will appear. Click the Font Color drop-down box. A menu of font colors will appear.
Select the desired color, then click OK.
Changing the bullet color
The bullet color will appear in the Preview section of the Define New Bullet dialog box. Click OK.
Clicking OK
The bullet color will change in the list.
The new bullet color
To use a picture as a bullet:
Select an existing list you want to format.
Selecting a list to format
On the Home tab, click the drop-down arrow next to the Bullets command. Select Define New Bullet... from the drop-down menu.
Defining a new bullet
The Define New Bullet dialog box will appear. Click the Picture button.
Clicking the Picture button
The Insert Pictures dialog box will appear. From here, you can locate an image file stored on your computer or in your OneDrive (previously called SkyDrive), or you can use the search fields to search for an image online.
In our example, we'll click Browse to locate a picture stored on our computer.
Clicking Browse From a file
The Insert Picture dialog box will appear. Locate and select the desired image file, then click Insert.
Inserting a picture
The image will appear in the Preview section of the Define New Bullet dialog box. Click OK.
Preview of the picture
The image will appear in the list.
The formatted list
Not all pictures work well as bullets. Generally, it's best to use a simple graphic that has a white (or transparent) background. This ensures the bullet will have a recognizable shape.
Multilevel lists
Multilevel lists allow you to create an outline with multiple levels. Any bulleted or numbered list can be turned into a multilevel list by using the Tab key.
A multilevel list
To create a multilevel list:
Place the insertion point at the beginning of the line you want to move.
Placing the insertion point
Press the Tab key to increase the indent level of the line. The line will move to the right.
Increasing the indent level
To increase or decrease an indent level:
You can make adjustments to the organization of a multilevel list by increasing or decreasing the indent levels. There are several ways to change the indent level:
To increase the indent by more than one level, place the insertion point at the beginning of the line and press the Tab key until the desired level is reached.
Increasing the indent level more than once
To decrease the indent level, place the insertion point at the beginning of the line, then hold the Shift key and press the Tab key.
Decreasing the level of a line
You can also increase or decrease the levels of text by placing the insertion point anywhere in the line and then clicking the Increase or Decrease indent commands.
The Increase and Decrease indent commands
When formatting a multilevel list, Word will use the default bullet style. To change the style of a multilevel list, select the list, then click the Multilevel list command on the Home tab.
Formatting a multilevel list
Challenge!
Open an existing Word 2013 document. If you want, you can use our practice document.
Insert a new bulleted list into the document. If you're using the example, add Fundraising, Chair's Report, and Other business to the bottom of the list.
Create a newnumbered list.
Restart the numbering of the list so it begins with a number of your choice.
Use a symbol as a bullet. If you're using the example, change the open circles into a different symbol.
Modify the color of a bullet. If you're using the example, change the color of the green diamond bullets.
Change the style of the list. If you're using the example, change the bulleted list into a numbered list.
Use the Tab key to change the levels of some of the lines. If you're using the example, increase the level of the two bullets under the list item International Arborists Association.


 Selecting text to format
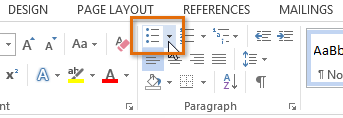 Clicking the Bullets drop-down arrow
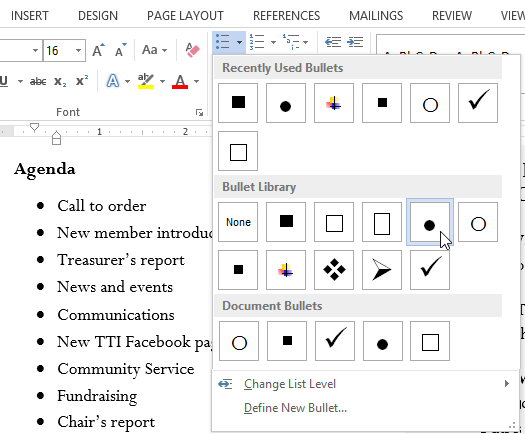 Selecting a bullet style
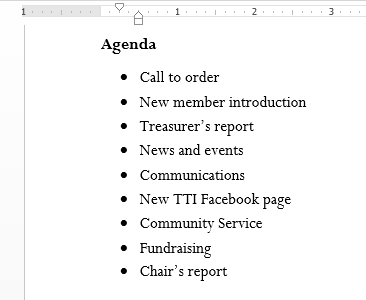 A bulleted list
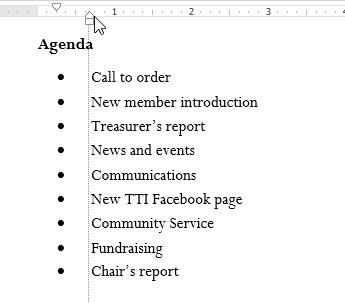 Customizing the indentation
 Selecting text to format
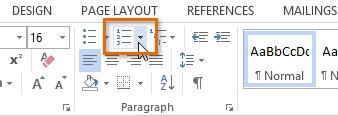 The number command
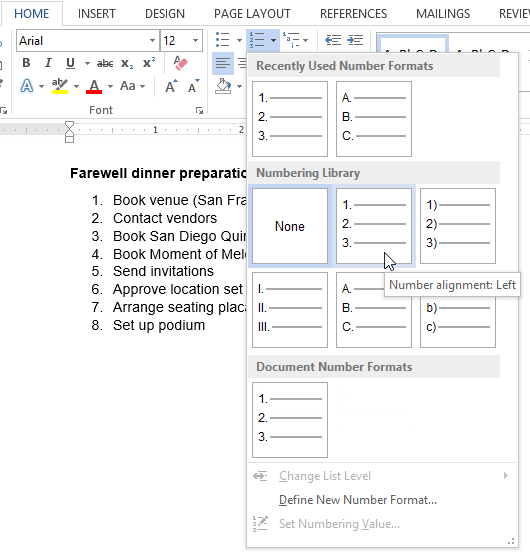 Viewing the live preview
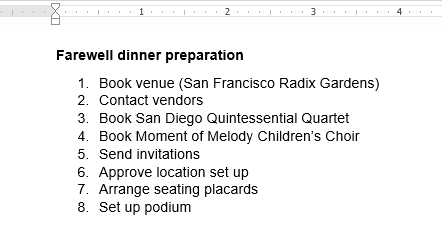 The formatted list
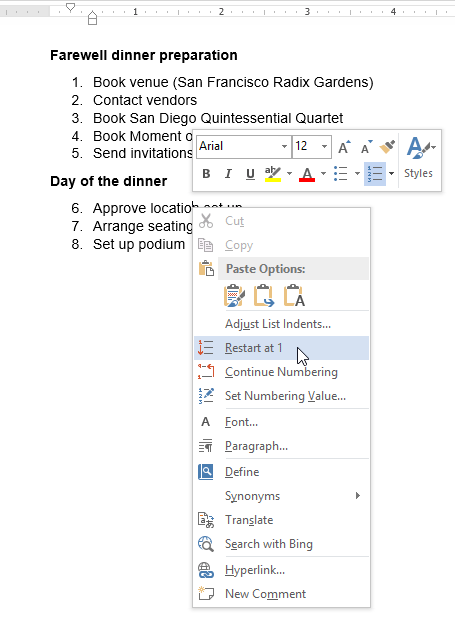 Restarting a list
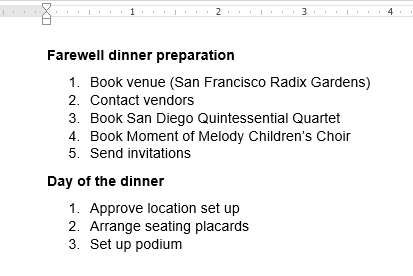 The restarted list
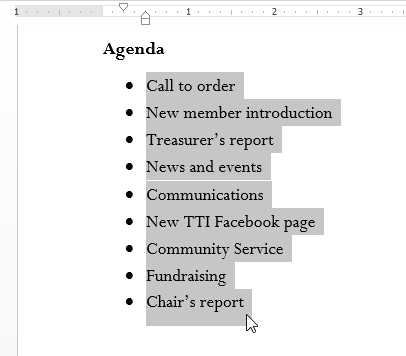 Selecting an existing list
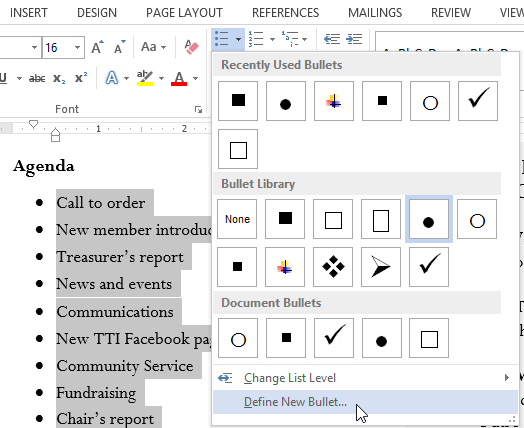 Defining a new bullet
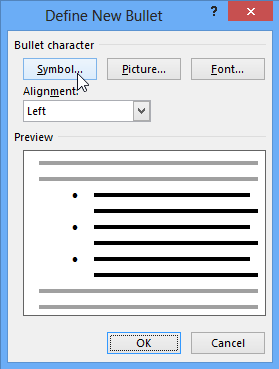 Clicking the Symbol button
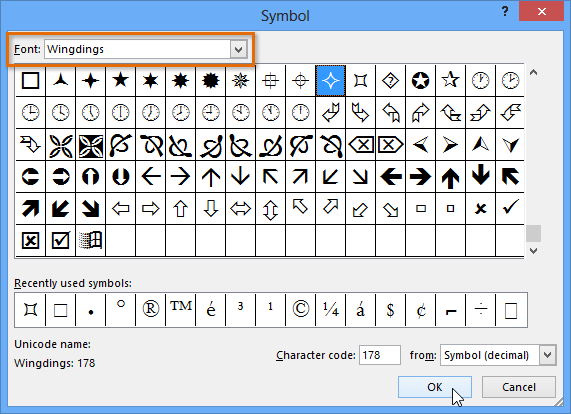 Selecting a symbol
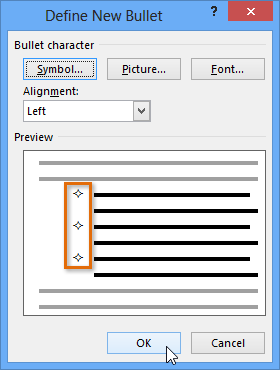 Preview of the new symbol
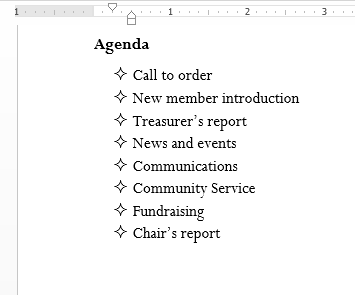 The formatted list
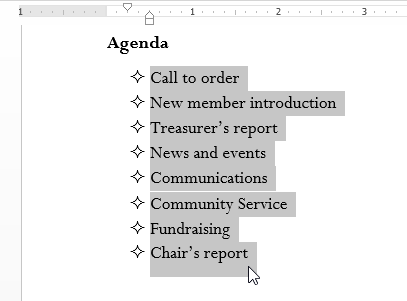 Selecting a list to format
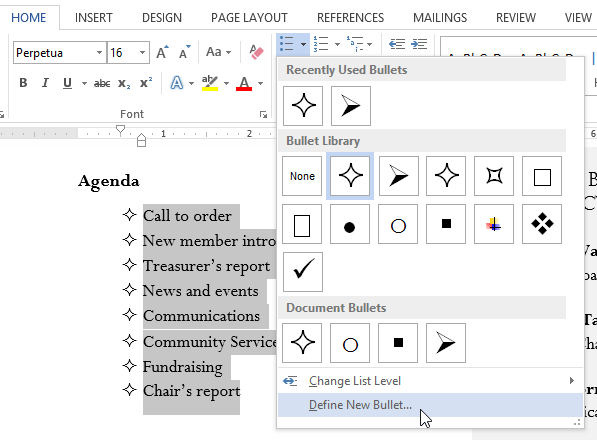 Selecting Define New Bullet...
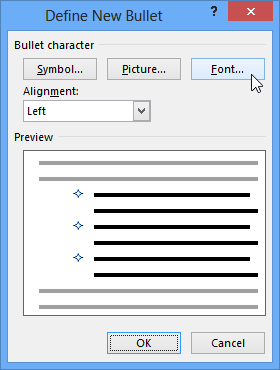 Clicking the Font button
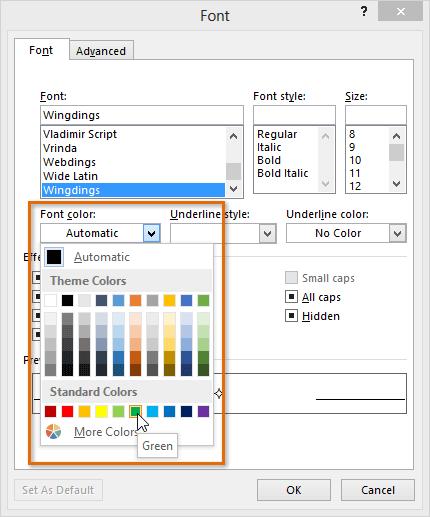 Changing the bullet color
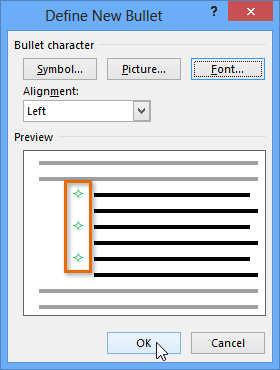 Clicking OK
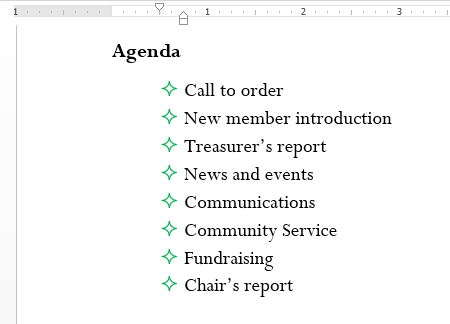 The new bullet color
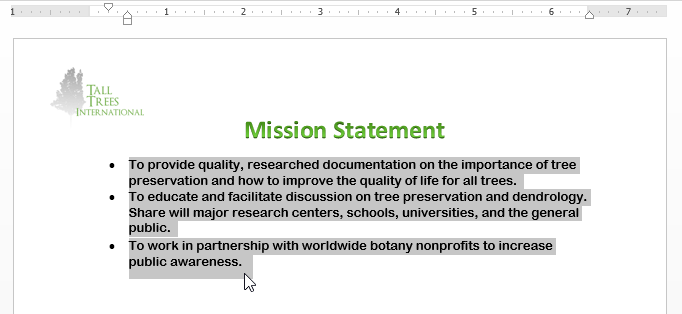 Selecting a list to format
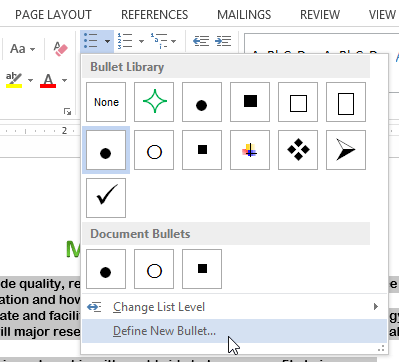 Defining a new bullet
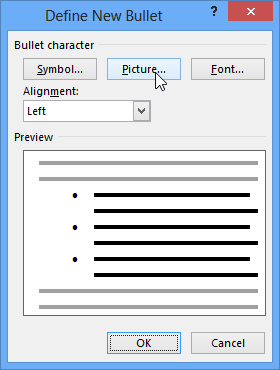 Clicking the Picture button
 Clicking Browse From a file
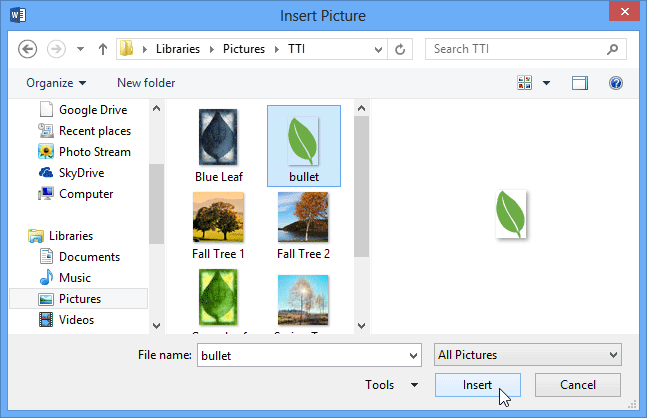 Inserting a picture
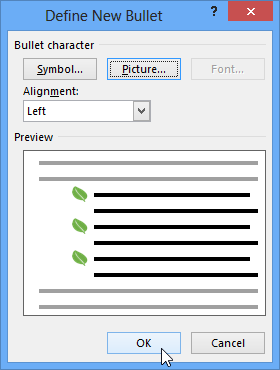 Preview of the picture
 The formatted list
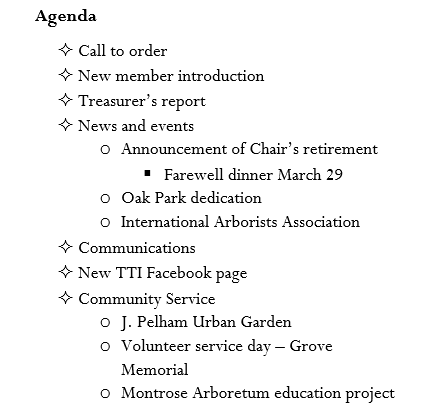 A multilevel list
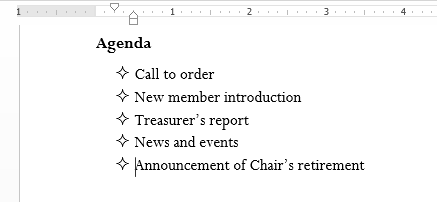 Placing the insertion point
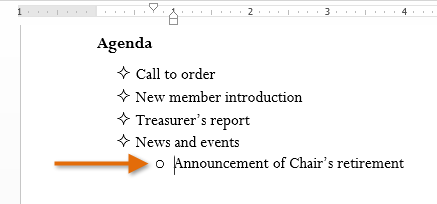 Increasing the indent level
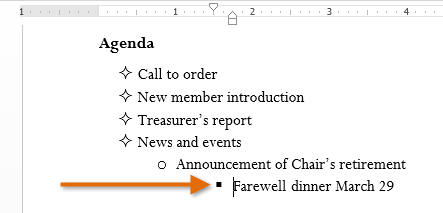 Increasing the indent level more than once
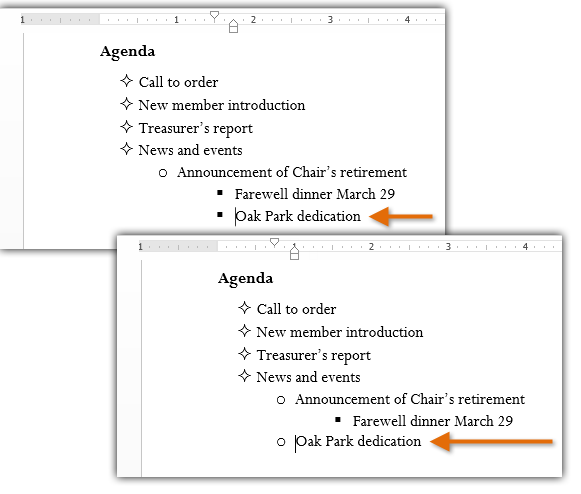 Decreasing the level of a line
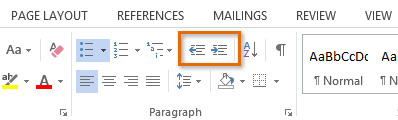 The Increase and Decrease indent commands
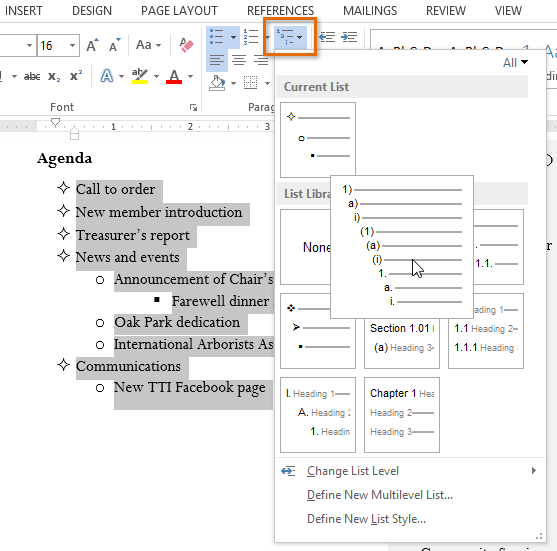 Formatting a multilevel list