Adding breaks to your document can make it appear more organized and can improve the flow of text. Depending on how you want to change the pagination or formatting of your document, you can apply a page break or a section break.
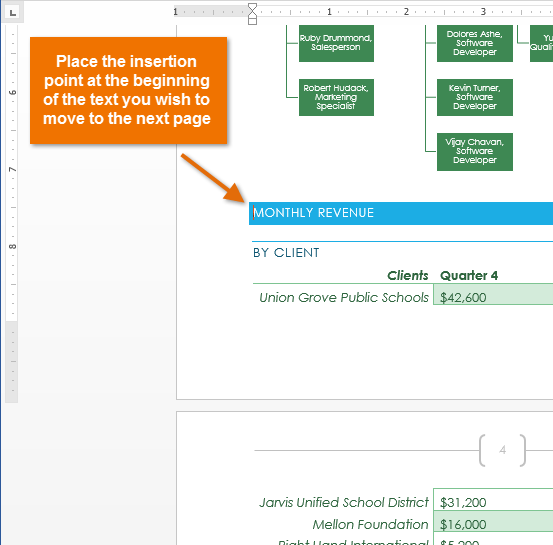
Page breaks allow you to move text to the next page before reaching the end of a page. You might use a page break if you're writing a paper that has a title page or a bibliography to ensure it starts on a new page. In our example, our chart is split between two pages. We'll add a page break so the chart will be all on one page.
Place the insertion point where you want to create the break. In our example, we'll place it at the beginning of our chart.
Placing the insertion point
On the Insert tab, click the Page Break command. Alternatively, you can press Ctrl+Enter on your keyboard.
Clicking the Page Break command
The page break will be applied to the document, and the text will move to the next page. In our example, the chart moved to the next page.
The new page break
By default, breaks are hidden. If you want to show the breaks in your document, click the Show/Hide command.
Showing a page break
Section breaks
Section breaks create a barrier between parts of a document, allowing you to format each section independently. For example, you may want one section to have two columns without adding columns to the entire document. Word offers several types of section breaks:
Section Breaks in Word
Next Page: This option adds a section break and moves text after the break to the next page of the document. This is useful for creating a new page with normal formatting after a page that contains column formatting.
Continuous: This option inserts a section break and allows you to continue working on the same page. This type of break is useful when you need to separate a paragraph from columns.
Even Page and Odd Page: These options add a section break and move the text after the break to the next even or odd page. These options may be useful when you need to begin a new section on an even or odd page (for example, a new chapter of a book).
To insert a section break:
In our example, we'll add a section break to separate a paragraph from a two-column list. This will allow us to change the formatting of the paragraph so it no longer appears formatted as a column.
Place the insertion point where you want to create the break. In our example, we'll place it at the beginning of the paragraph we want to separate from column formatting.
Placing the insertion point
On the Page Layout tab, click the Breaks command, then select the desired section break from the drop-down menu that appears. In our example, we'll select Continuous so our paragraph remains on the same page as the columns.
Selecting a section break
A section break will appear in the document.
The new section break
The text before and after the section break can now be formatted separately. Apply the formatting options you want. In our example, we'll apply one-column formatting to the paragraph so it is no longer formatted as columns.
Applying a new format
The text will be formatted in the document.
The formatted text
Other types of breaks
When you want to format the appearance of columns or modify text wrapping around an image, Word offers additional break options that can help.
Additional break options
Column: When creating multiple columns, you can apply a column break to balance the appearance of the columns. Any text following the column break will begin in the next column. To learn more about how to create columns in your document, visit our lesson on Columns.
The Column break
Text wrapping: When text has been wrapped around an image or object, you can use a text-wrapping break to end the wrapping and begin typing on the line below the image.
The Text Wrapping break
To delete a break:
By default, breaks are hidden. If you want to delete a break, you'll first need to show the breaks in your document.
On the Home tab, click the Show/Hide command.
Clicking the Show/Hide command
Locate the break you want to delete. Place the insertion point at the beginning of the break you want to delete.
Placing the insertion point
Press the Delete key. The break will be deleted from the document.
After the page break has been removed
Challenge!
Open an existing Word document. If you want, you can use our practice document.
Insert a page break somewhere in the document. If you're using the example, insert a page break to move the Clients Overview section to the next page.
Insert a section break in the document. If you're using the example, insert a Next Page section break to move the Updated Chain of Command section to the next page. Try changing the formatting of paragraph in that section.
Show the breaks using the Show/Hide command.
Delete a break. If you're using the example, delete the page break after the fourth paragraph on page 1 of the document to move the two paragraphs on page 2 onto page 1.


 Placing the insertion point
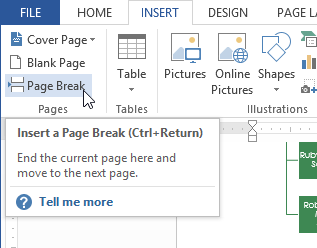 Clicking the Page Break command
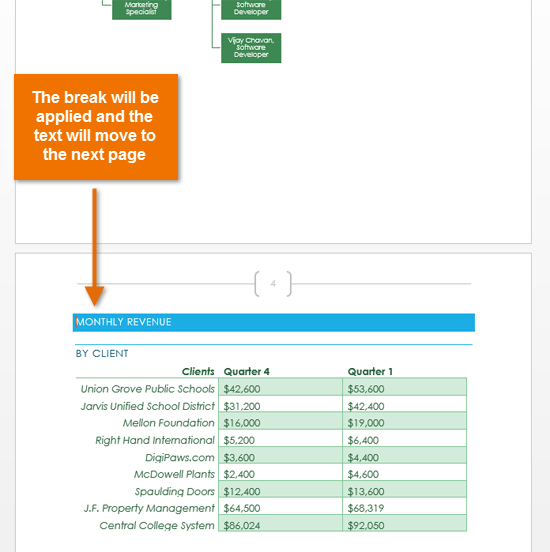 The new page break
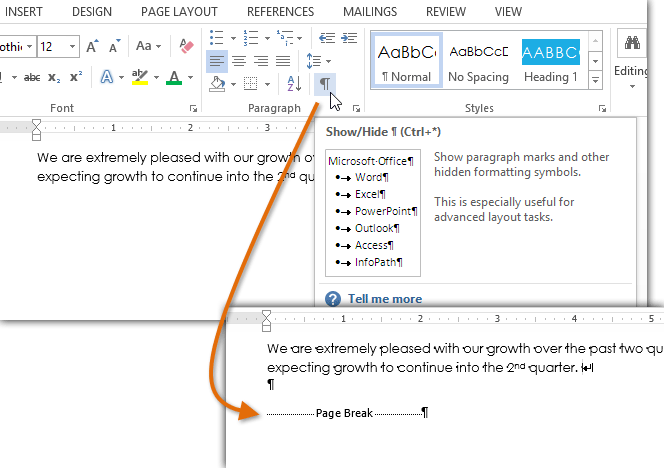 Showing a page break
 Section Breaks in Word
 Placing the insertion point
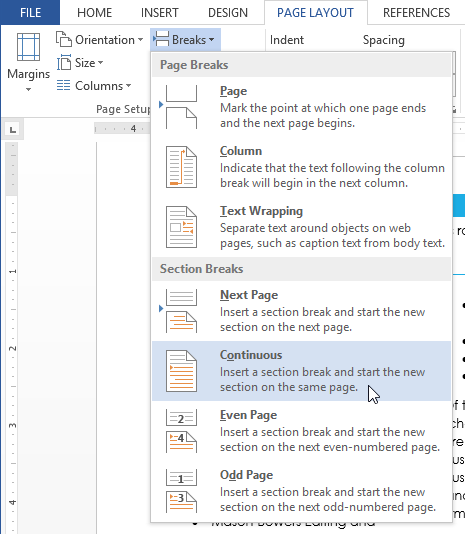 Selecting a section break
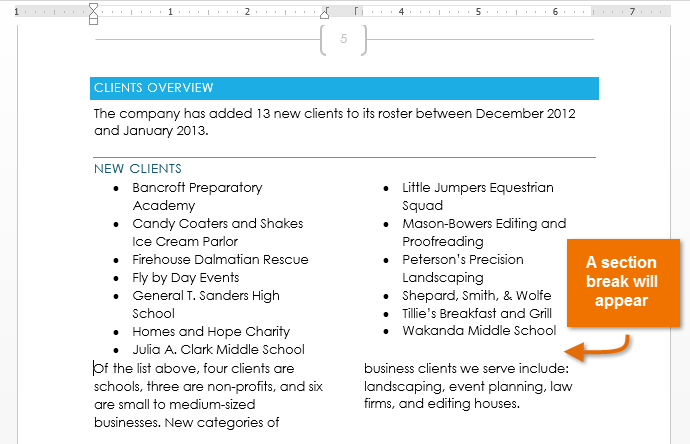 The new section break
 Applying a new format
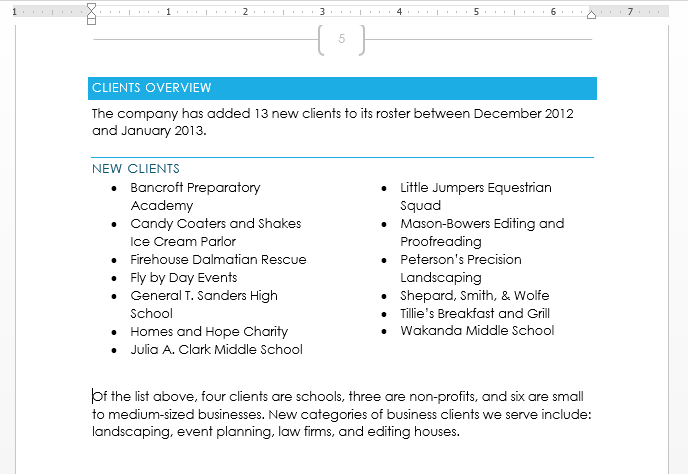 The formatted text
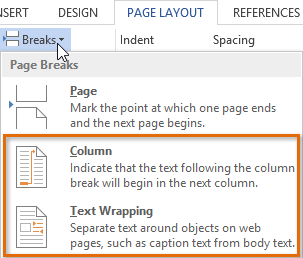 Additional break options
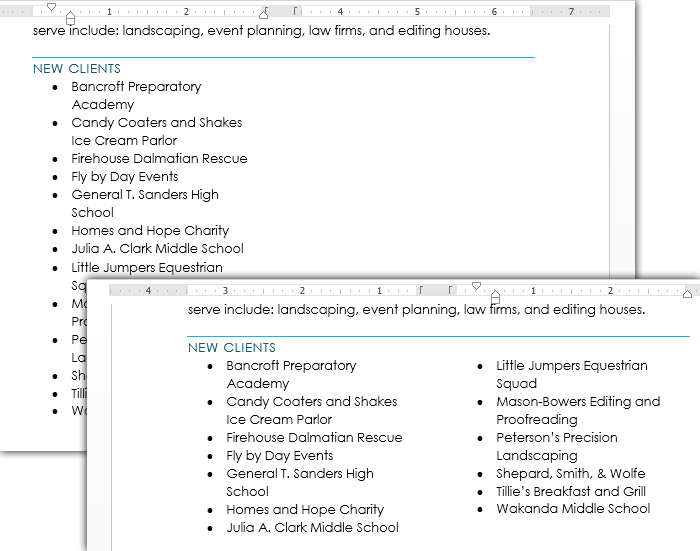 The Column break
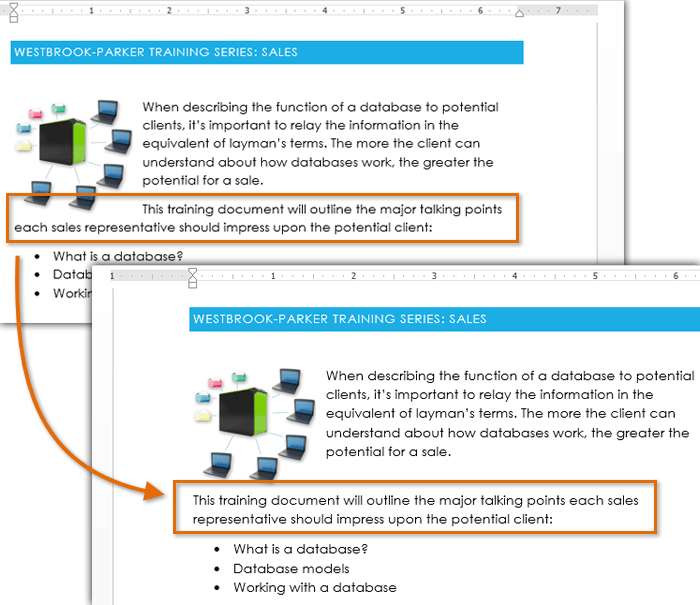 The Text Wrapping break
 Clicking the Show/Hide command
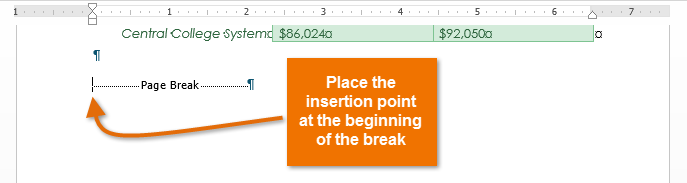 Placing the insertion point
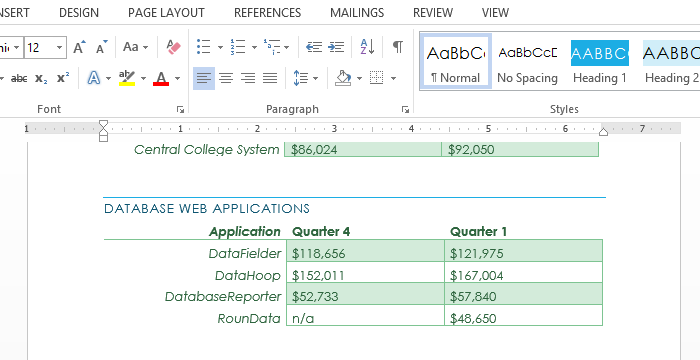 After the page break has been removed