Setting up iCloud on a Windows PC
If you're using Windows, you can still use iCloud. However, you'll first need to download and install the iCloud Control Panel to your computer. Once it's installed, you'll be able to set up iCloud.
To download and set up iCloud on a PC:
- Go the Apple Support page for the iCloud Control Panel for Windows.
- Click Download.
 Clicking Download
 - The iCloud Setup dialog box will appear. Click Save File.
 Saving the setup file
 - The iCloud setup file will download. When the download is complete, open the file.
 Opening the downloaded file
 - A security dialog box will appear. Click Run.
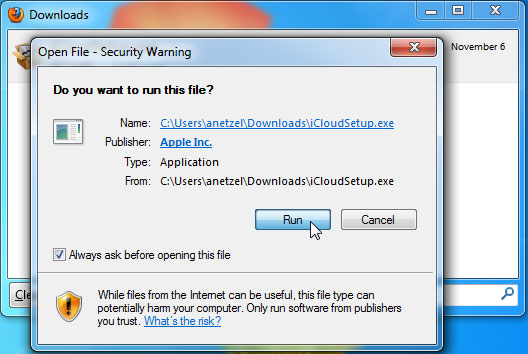 Clicking run
 - A welcome message will appear. Review the message and click Next.
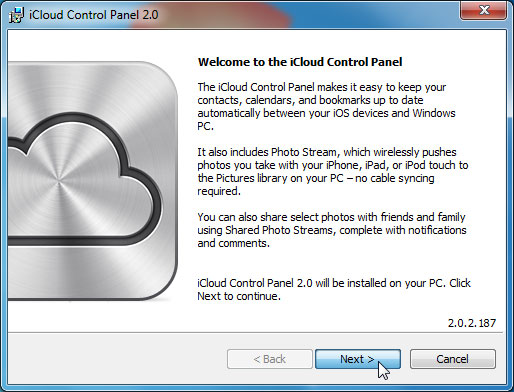 Reviewing the welcome message
 - Read and accept the License Agreement, then click Next.
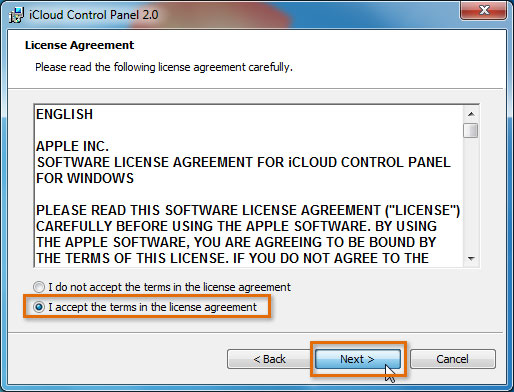 Accepting the license agreement
 - The Installation Options dialog box will appear. Click Install.
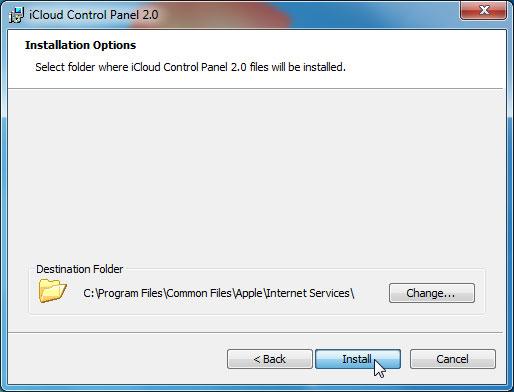 Installing iCloud
 - You will see the Welcome to iCloud dialog box. Click Finish.
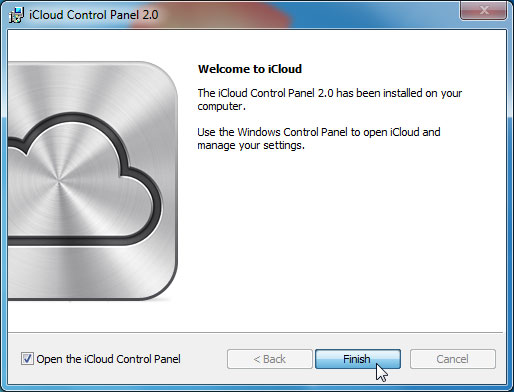 Completing the iCloud installation
 - A sign in dialog box will appear. Type in your Apple ID and password. Click Sign in.
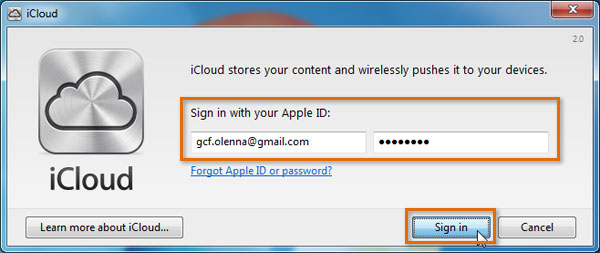 Signing in to iCloud
 - You will see a list of all of the iCloud features you can use. By default, they are all turned on. You can leave them all on or turn off as many as you wish.
- Click Close.
 Selecting iCloud features
Once installed, the iCloud Control Panel will appear in your Control Panel under your Network and Internet settings.
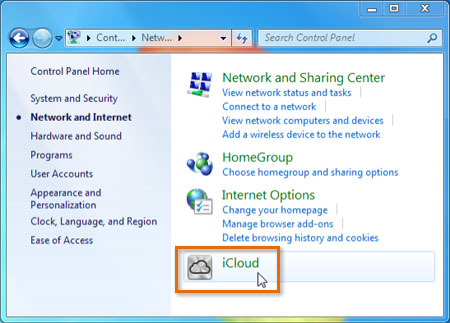 Viewing iCloud in the Control Panel
To enable automatic downloads on a PC:
To enable automatic downloads on your PC, you'll first need to download and install iTunes. Once it's installed, it will appear in your Start menu. You'll then be able to turn on automatic downloads.
- Click the Start menu, then click iTunes.
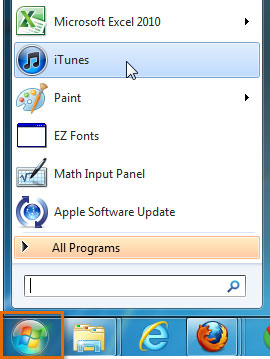 Opening iTunes
 - On the left side of the window, select iTunes Store.
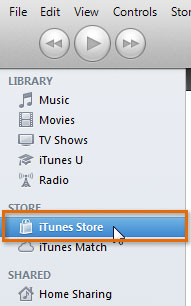 Going to the iTunes Store
 - On the right side of the window, click Sign In and type your Apple ID and password. If you are already signed in, you can skip this step.
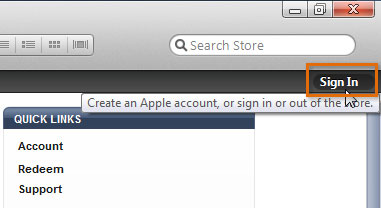 Signing in to the iTunes Store
 - At the top of the screen, click Edit, then select Preferences. The Preferences dialog box will open.
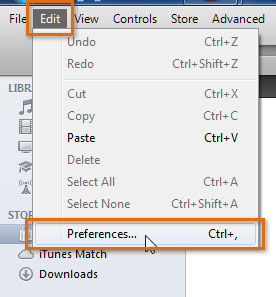 Going to the iTunes preferences
 - Click the Store tab, and place check boxes next to Music, Apps, and Books. When you're done, click OK.
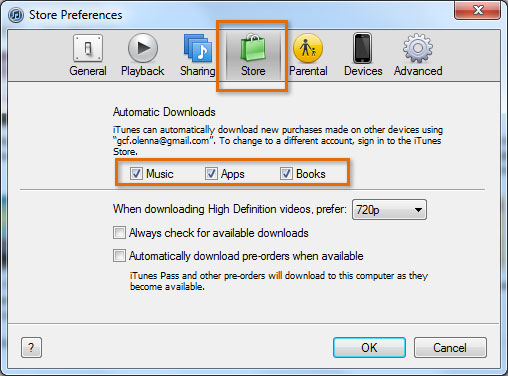 Enabling automatic downloads in iTunes preferences
To set up iCloud Photo Sharing on a PC:
iCloud Photo Sharing (previously called Photo Stream) works a little bit differently in Windows. Your photos do not sync with a specific program like iPhoto or Aperture (which are not available for Windows). Instead, they will appear in a specific folder on your computer, and you can then open them or manage them any way you like.
You can use your iCloud Control Panel to find out where your iCloud Photo Sharing folder is located. If you prefer, you can also change the location of this folder.
- From the Control Panel, go to your Network and Internet settings and click the iCloud icon. This will open up the iCloud Control Panel for Windows.
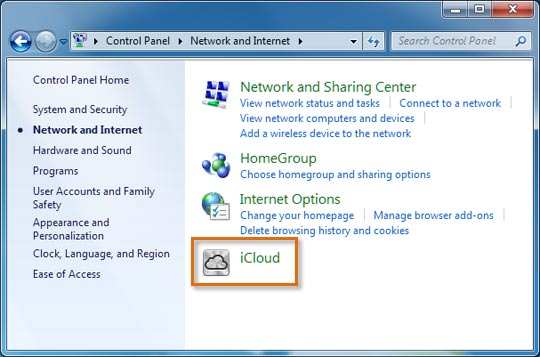 Opening the iCloud Control Panel
 - Next to iCloud Photo Sharing, click the Options button.
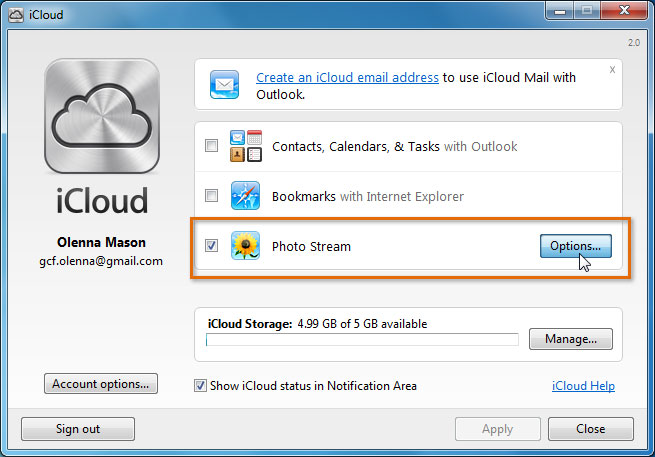 Clicking the Options button
 - You will see the location of your folder. If you want, you can change the location of this folder by clicking the Change button.
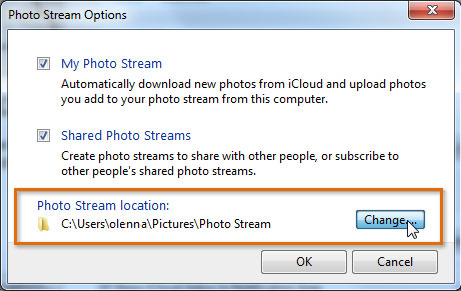 Changing the Photo Stream folder location


