Google Meet lets you schedule a video call by sending your participants a link, or through using Google Calendar. You can instantly start a call, too. In this lesson, we'll show you how to host your meeting in all three of these ways.
Watch the video below to learn how about hosting a video chat in Google Meet:
Updates: Google Meet's user interface has changed since we made this video. The updates are reflected in the steps and pictures below.
Scheduling a Video Call
First, click the New meeting button.
From the menu, click Create a meeting for later.
A dialog box appears giving you a link to copy. Click the copy icon.
You can paste the link in an email or messaging service to invite others to the meeting. It's important that you save this link so that you can access it later, too. Otherwise you won’t have the link to join the video call. We suggest writing it down or pasting it in a new Google Doc.
Click the X to close out it.
Using Google Calendar
You can also use Google Calendar to plan your meeting. Click the New meeting button.
Then select Schedule in Google Calendar from the menu.
A new tab will open which takes you to Google Calendar to create an event. You'll see that the event already has a Google Meet link provided.
After filling in the event information, click the Add guests field and type in their email addresses.
When you're done, click Save.
To send the email invitations, click Send.
The event will be added to your calendar, and you can refer back to it when needed. Before the meeting, simply click the Join with Google Meet button to begin the video call.
Instantly Starting a Video Call
Click the New meeting button.
Then select Start an instant meeting from the menu.
Some pop-ups may occur if you haven't used Google Meet before. Click Allow to approve the use of your microphone, camera, and notifications.
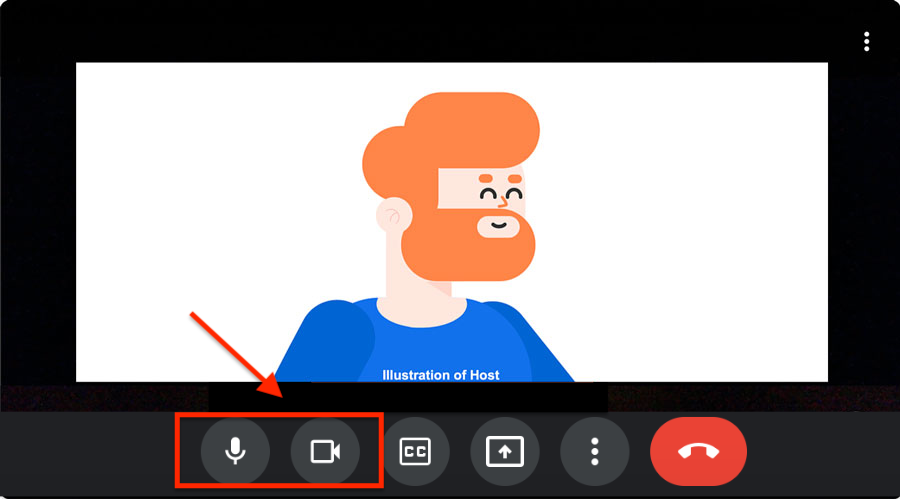
Before entering the meeting, you can select the settings you want to use. You can choose to join the meeting with your microphone and cameraon or off by clicking these icons.
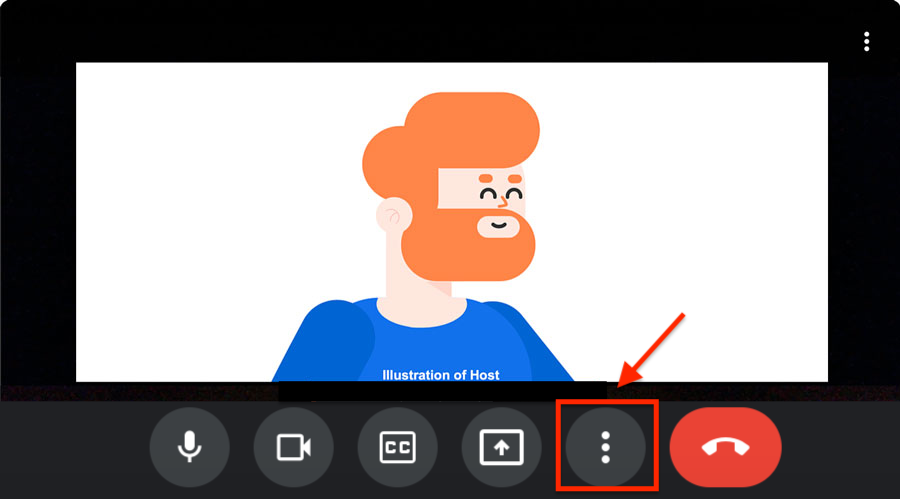
If you are using Chrome as your web browser, you also have the choice of changing your background. People use this feature to hide what is actually behind them, especially if it might be distracting to those in the video call. Click the three dots icon for More options.
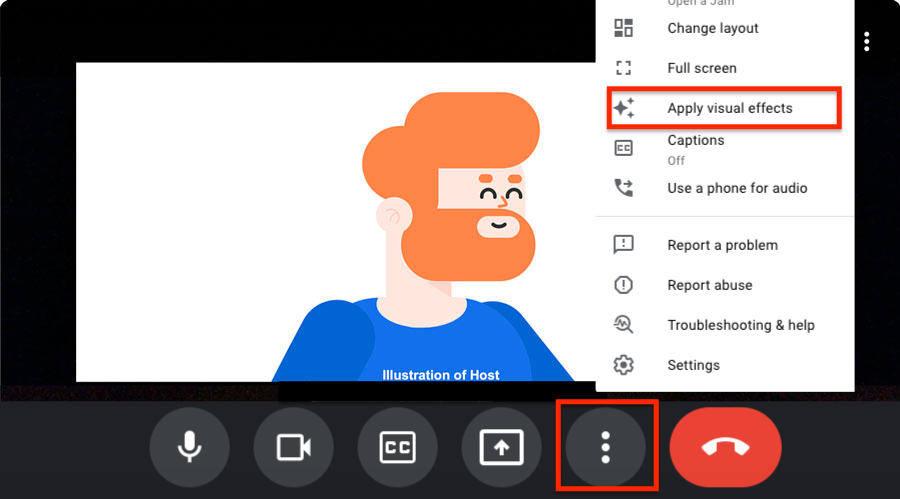
Then click Apply visual effects. You will able able to blur your background, add a new one, or apply a style filter.
To enter the meeting, click Join now.
For an instant meeting, the video call opens with a dialog box that allows you to Copy joining info or Add people to the meeting.
Click the Enter name or email field to type their email addresses.
When you're done, click the Send email button.
As the host, you are the person who permits or denies an attendee from entering the video chat. When people without an invitation join the meeting, a dialog box will pop up. You'll have the choice to Admit or Deny entry for each person. Keep in mind that those denied will not be able to join the video chat.
The Video Tile Functions
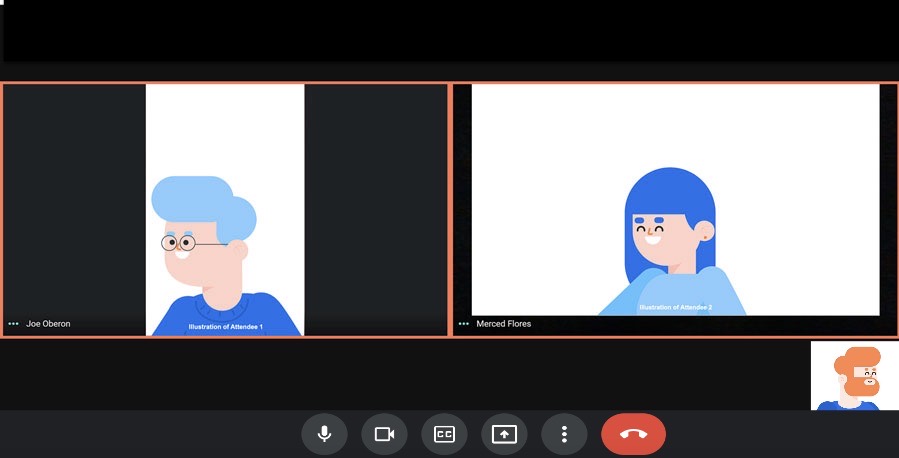
Once people have joined the video call, you can carry out your meeting. On your screen, you’ll notice your video tile as well as the tiles of the other participants.
When you hover your mouse over a person’s video tile, you can choose whether you want to pin that person’s tile to your main screen. This is helpful if there are many people in the call, but you're speaking only to one person and want to see their screen. Unpin them to see other people’s screens in the call.
You can click their microphone icon to mute them. Muting means that the individual can’t be heard because their microphone has been turned off by you. The person will then have to unmute themselves from their own device to turn on their audio again.
The circle with the minus icon lets you remove that person from the meeting. Keep in mind that this can’t be undone, and they won’t be able to rejoin the meeting.
The Right-Hand Side of the Toolbar
In the lower toolbar, you'll notice that there are more functions on the right-hand side. Let's go over the two more commonly used icons...
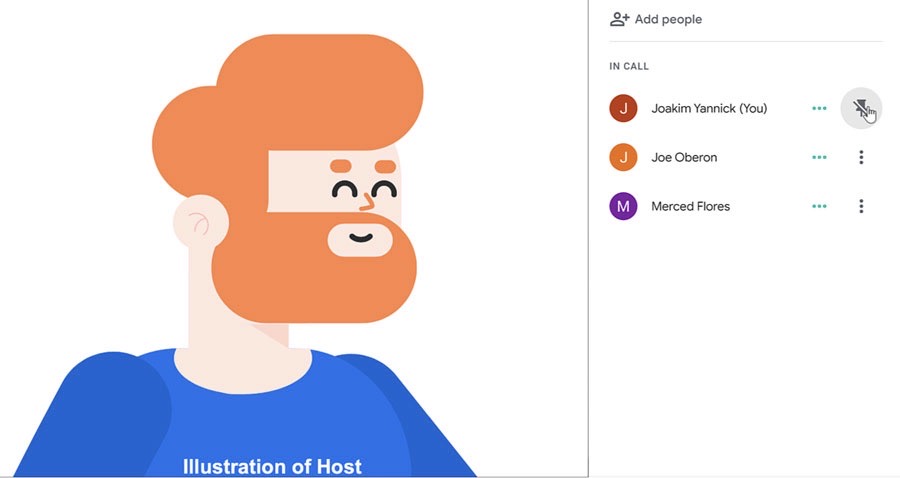
If you want to invite more people to the meeting or see who is already in the call, you can click the Show everyone icon.
To send more invitations, you can select Add people. Below, you’ll see who is in the call.
If you don’t want to see everyone in the call, you can click the pin icon next to your name to only see yourself on the screen. You can click it again to unpin yourself.
Click the Chat tab to send a message to everyone involved in the call. Type your message in the field at the bottom of the panel, and then click the arrow button to send it. You can also see messages from those who are already in the call here. When you are done, click the X to close the panel.
The "More Options" Menu
On the bottom toolbar, click the three dots icon. This will provide you with more advanced options.
In the pop-up menu, select Change layout. This will make it easier to see everyone who is a part of the meeting. Take a look at the dialog box and choose the option that works best for you. Click the X to close out of it.
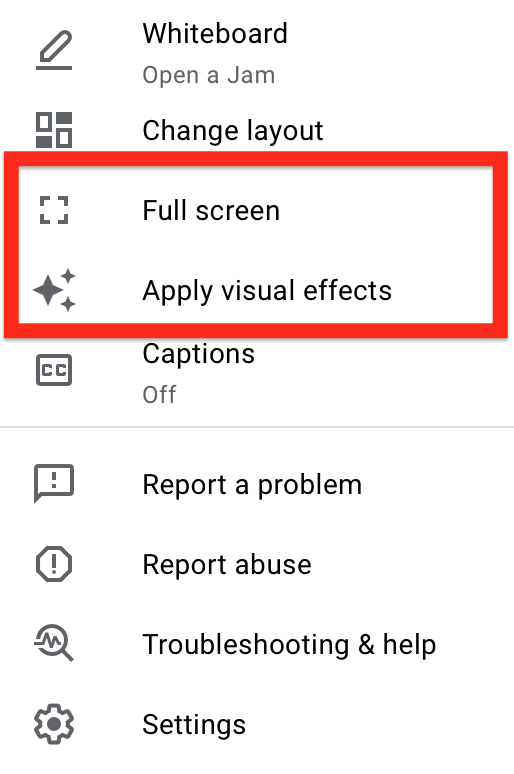
From the More options menu, you can choose Full screen if you want Google Meet to take up your entire desktop screen. If you didn’t set up a background before joining the call or want to change it, you can select Apply visual effects.
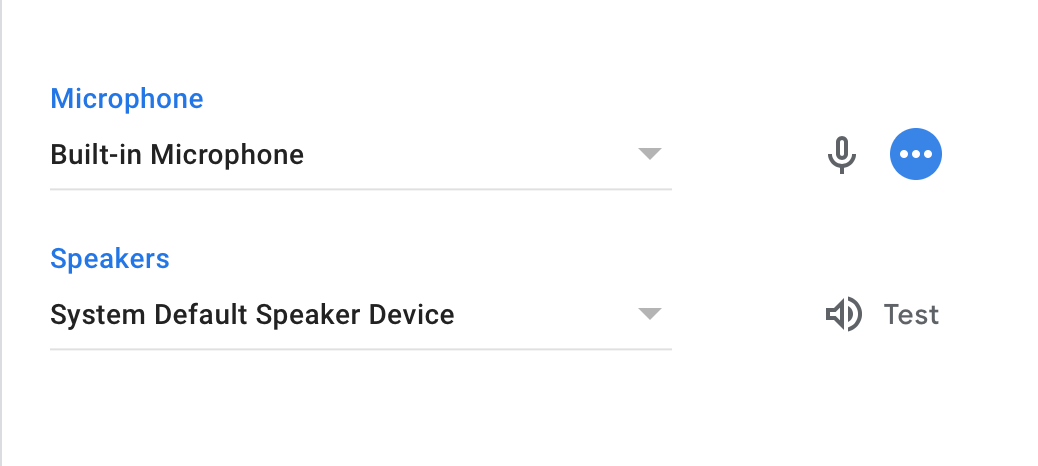
From the More options menu, you can also click Settings. Make sure you have the correct equipment selected in your Audio and Video. You can also Test your speakers to see if they are working properly. Click the X to close out of it.
These are the basics of hosting a meeting. In the next lesson you'll learn how to present using Google Slides.