
Excel 2013 -
Saving and Sharing Workbooks

Excel 2013
Saving and Sharing Workbooks

search
menu
/en/excel2013/creating-and-opening-workbooks/content/
Whenever you create a new workbook in Excel, you'll need to know how to save it in order to access and edit it later. As with previous versions of Excel, you can save files locally to your computer. But unlike older versions, Excel 2013 also lets you save a workbook to the cloud using OneDrive. You can also export and share workbooks with others directly from Excel.
Excel offers two ways to save a file: Save and Save As. These options work in similar ways, with a few important differences:
It's important to save your workbook whenever you start a new project or make changes to an existing one. Saving early and often can prevent your work from being lost. You'll also need to pay close attention to where you save the workbook so it will be easy to find later.
 Clicking the Save command
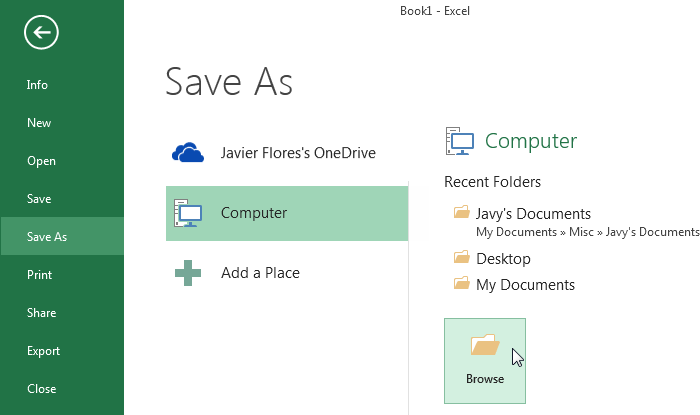 Saving a workbook locally
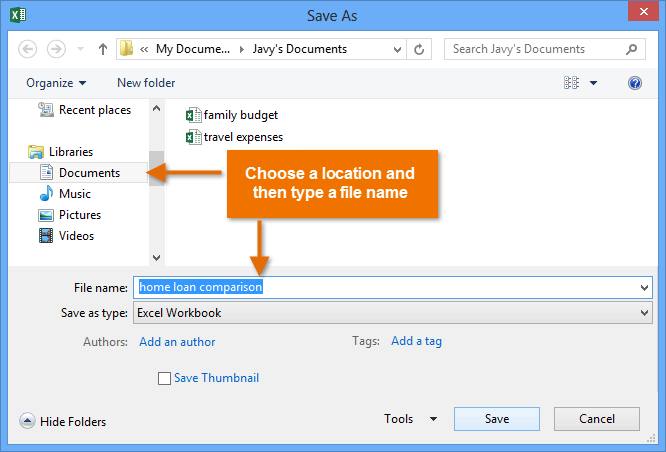 Saving a workbook
You can also access the Save command by pressing Ctrl+S on your keyboard.
If you want to save a different version of a workbook while keeping the original, you can create a copy. For example, if you have a file named Sales Data, you could save it as Sales Data 2 so you'll be able to edit the new file and still refer back to the original version.
To do this, you'll click the Save As command in Backstage view. Just like when saving a file for the first time, you'll need to choose where to save the file and give it a new file name.
 Clicking Save As
If you don't want to use OneDrive, you may be frustrated that OneDrive is selected as the default location when saving. If you find it inconvenient to select Computer each time, you can change the default save location so Computer is selected by default.
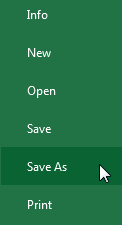
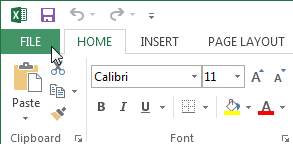 Clicking the File tab
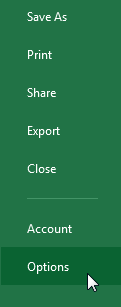 Clicking Options
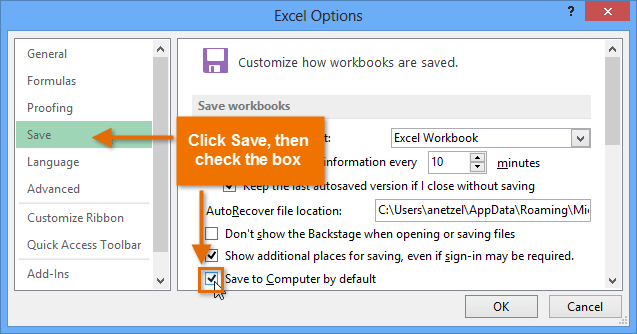 Changing the default save location
Excel automatically saves your workbooks to a temporary folder while you are working on them. If you forget to save your changes or if Excel crashes you can restore the file using AutoRecover.
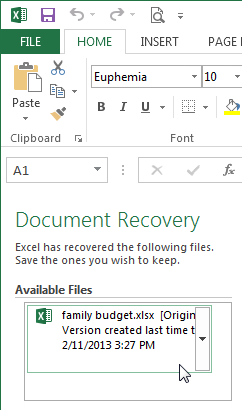 The Document Recovery pane
By default, Excel autosaves every 10 minutes. If you are editing a workbook for less than 10 minutes, Excel may not create an autosaved version.
If you don't see the file you need, you can browse all autosaved files from Backstage view. Just select the File tab, click Manage Versions, then choose Recover Unsaved Workbooks.
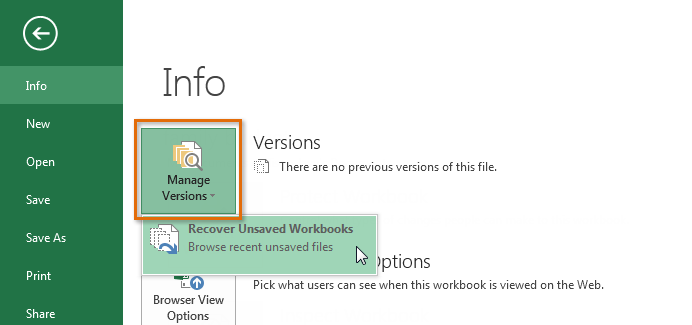 Accessing all auto-saved files
By default, Excel workbooks are saved in the .xlsx file type. However, there may be times when you need to use another file type, such as a PDF or Excel 97-2003 workbook. It's easy to export your workbook from Excel in a variety of file types.
Exporting your workbook as an Adobe Acrobat document, commonly known as a PDF file, can be especially useful if you're sharing a workbook with someone who does not have Excel. A PDF will make it possible for recipients to view but not edit the content of your workbook.
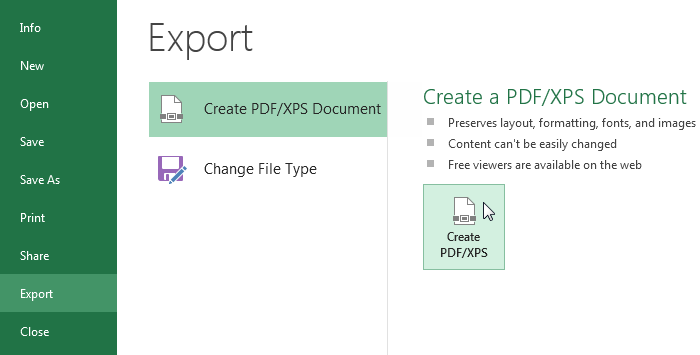 Exporting a PDF file
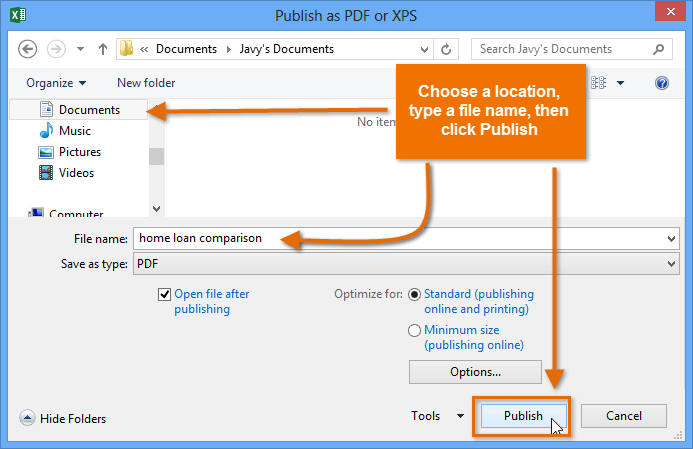 Exporting a PDF file
By default, Excel will only export the active worksheet. If you have multiple worksheets and want to save all of them in the same PDF file, click Options in the Save as dialog box. The Options dialog box will appear. Select Entire workbook, then click OK.
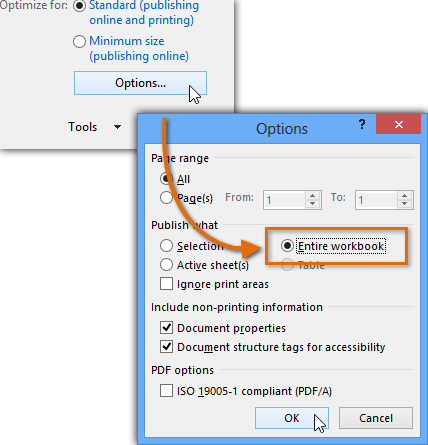 Exporting the entire workbook
Whenever you export a workbook as a PDF, you'll also need to consider how your workbook data will appear on each page of the PDF, just like printing a workbook. Visit our Page Layout lesson to learn more about what to consider before exporting a workbook as a PDF.
You may also find it helpful to export your workbook in other file types, such as an Excel 97-2003 workbook if you need to share with people using an older version of Excel, or a .CSV file if you need a plain-text version of your workbook.
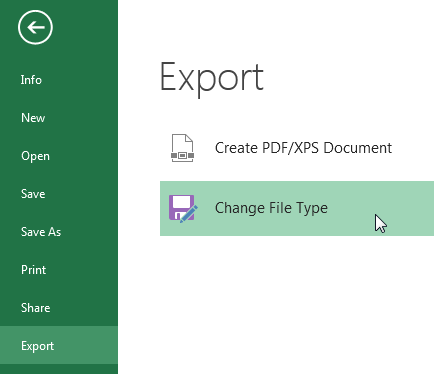 Clicking Change File Type
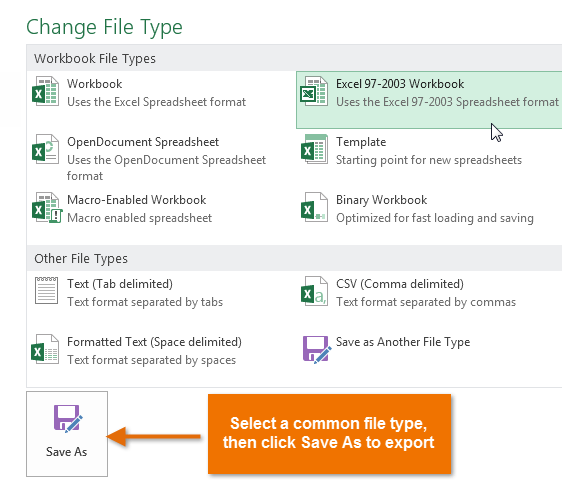 Choosing another file type
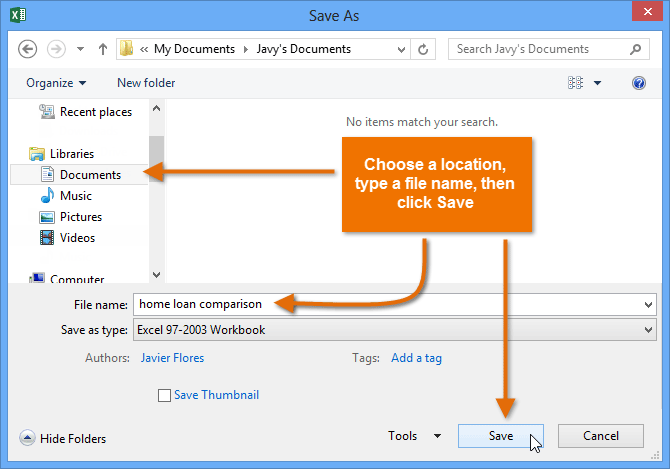 Saving as an Excel 97-2003 workbook
You can also use the Save as type: drop-down menu in the Save As dialog box to save workbooks in a variety of file types.
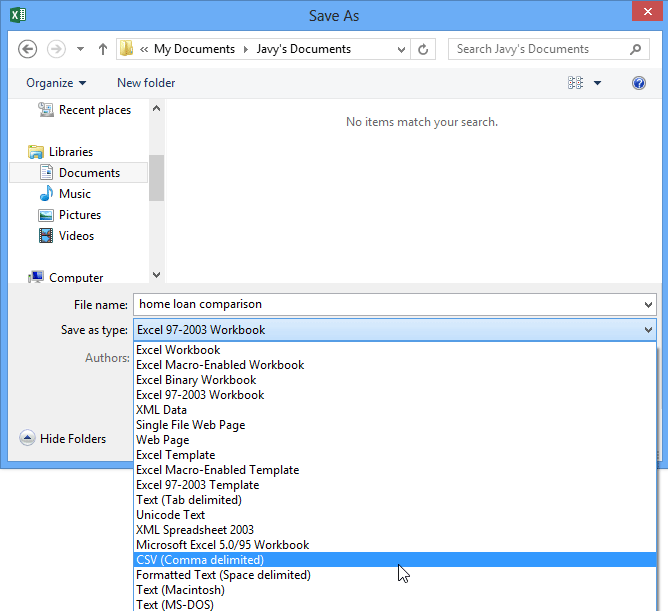 Using the Save As type menu to choose a file type
Excel 2013 makes it easy to share and collaborate on workbooks using OneDrive. In the past, if you wanted to share a file with someone you could send it as an email attachment. While convenient, this system also creates multiple versions of the same file, which can be difficult to organize.
When you share a workbook from Excel 2013, you're actually giving others access to the exact same file. This lets you and the people you share with edit the same workbook without having to keep track of multiple versions.
In order to share a workbook, it must first be saved to your OneDrive.
 Clicking Share
Click the buttons in the interactive below to learn more about different ways to share a workbook.

/en/excel2013/cell-basics/content/