
Excel 2010 -
Printing

Excel 2010
Printing

search
menu
/en/excel2010/worksheet-basics/content/
There are many choices you can make when printing an Excel workbook. You can choose what parts of a workbook to print and how the data fits on the page.
In this lesson, you will learn how to print worksheets, workbooks, and selections of cells. You will also learn how to prepare for printing by modifying page orientation, scale, margins, print titles, and page breaks.
In previous versions of Excel, there was a Print Preview option that allowed you to preview and modify a workbook before printing. You may have noticed that this feature seems to be gone in Excel 2010. It actually has not disappeared; it has just been combined with the Print window to create the Print pane, which is located in Backstage view.
Optional: You can download this example for extra practice.
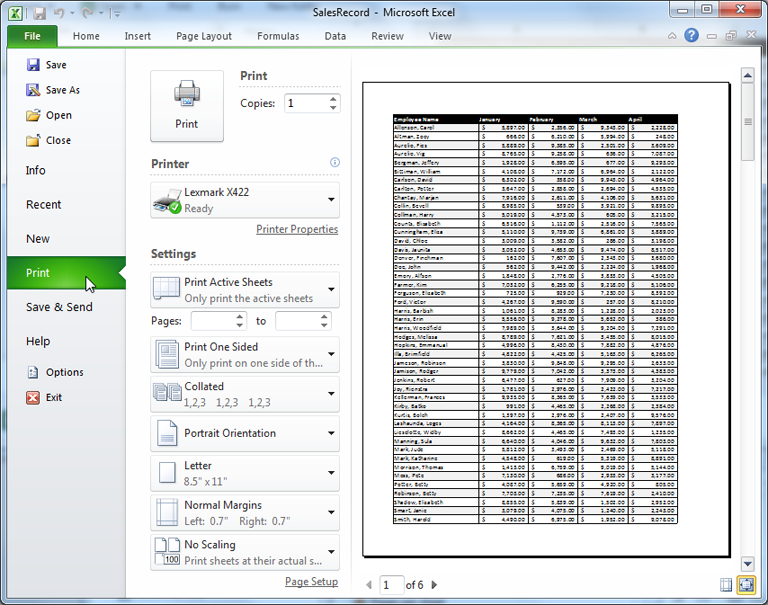
Click the buttons in the interactive below to learn about the Print pane.
The Zoom to Page button is on the right. Click it to zoom in and out in the Preview pane.
The Show Margins button is to the left of the Zoom to Page button. Click it to adjust the margins of your workbook.
Click the arrows to view a different page in the Print Preview area.
This allows you to see how your worksheets will look when printed.
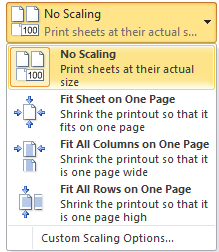
Choose how to scale your worksheets for the printed page. You can scale worksheets at their actual size, to fit all on one page, to fit all the columns on one page, or to fit all the rows on one page.
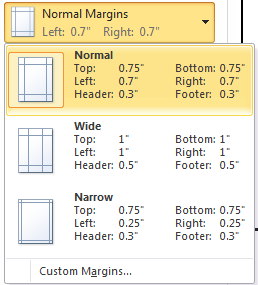
You can adjust the margins here. This is useful if parts of your worksheets are being cut off by the printer.
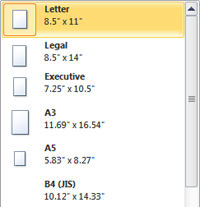
Choose the paper size you want your printer to use.
Here, you can choose portrait or landscape orientation.

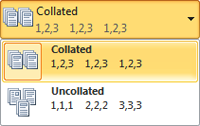
If you are printing multiple copies, choose whether you want the copies collated or uncollated.
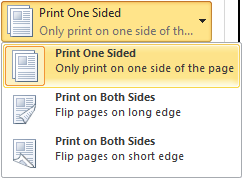
Choose whether to print on one side or both sides of the paper.
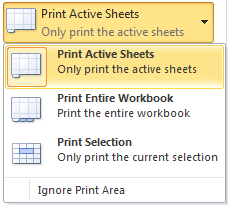
Choose whether to print the active sheets, entire workbook, or a selection of cells.
You may need to select the printer you want to use if your computer is connected to multiple printers.

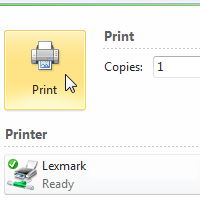
Click the Print button when you are ready to print.
If you have multiple worksheets in your workbook, you'll need to decide if you want to print the entire workbook or specific worksheets. Excel gives you the option to Print Active Sheets. A worksheet is considered active if it is selected.
 Selecting worksheets to print
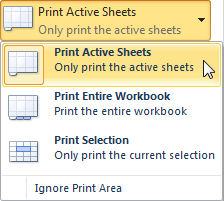 Selecting the Print Active Sheets command
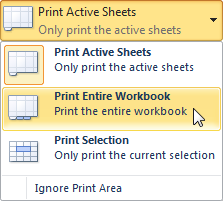 Selecting the Print Entire Workbook command
Printing a selection—sometimes called setting the print area—lets you choose which cells to print, as opposed to the entire worksheet.
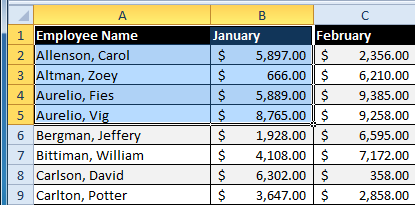 Selected cells to print
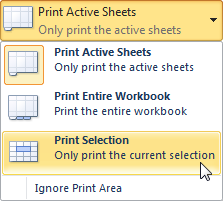 Selecting the Print Selection command
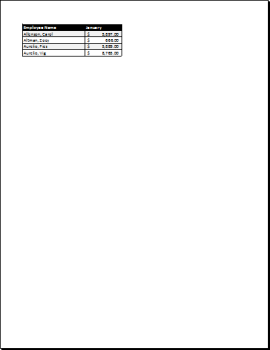 Print Preview
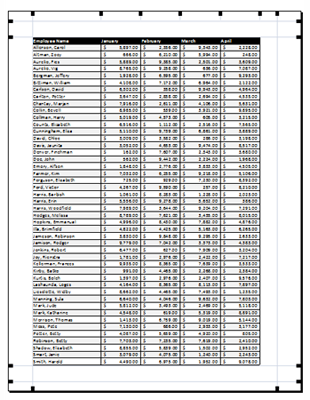
You don't have to wait until you're ready to print to set the print area. You can also set it from the Page Layout tab in advance. This will place a dotted line around your selection so you can see which cells are going to print while you work. To do this, select the cells you want to print, go to the Page Layout tab, and choose Print Area.
Change the page orientation to portrait to orient the page vertically and landscape to orient the page horizontally. Portrait is useful for worksheets needing to fit more rows on one page, while landscape is useful for worksheets needing to fit more columns on one page.
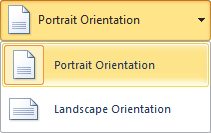 Orientation drop-down menu
 Portrait Orientation in Print Preview
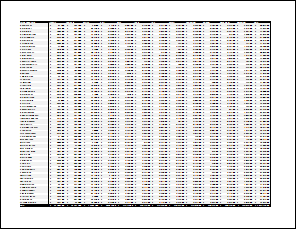 Landscape Orientation in Print Preview
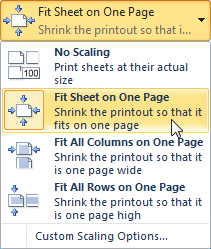 Selecting the Fit Sheet on One Page command
The margins of your worksheet may need to be adjusted to make data fit more comfortably on the printed page. You can adjust the margins in Print Preview.
 until the double arrow
 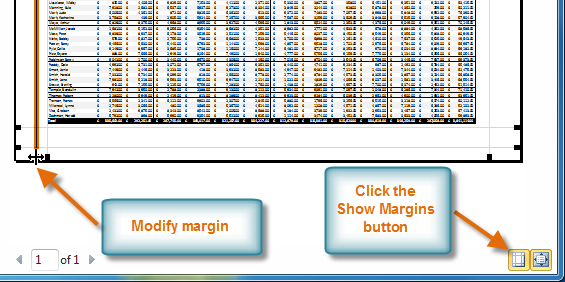 Modifying margins while in Print Preview
Imagine how difficult it would be to read a worksheet if the column and row headings only appeared on the first page. The Print Titles command allows you to select specific rows and columns to appear on each page.
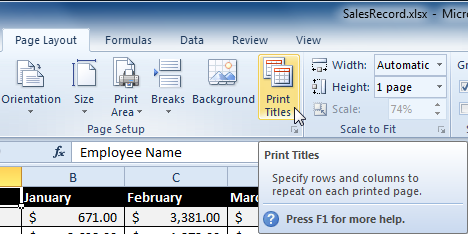 Selecting the Print Titles command
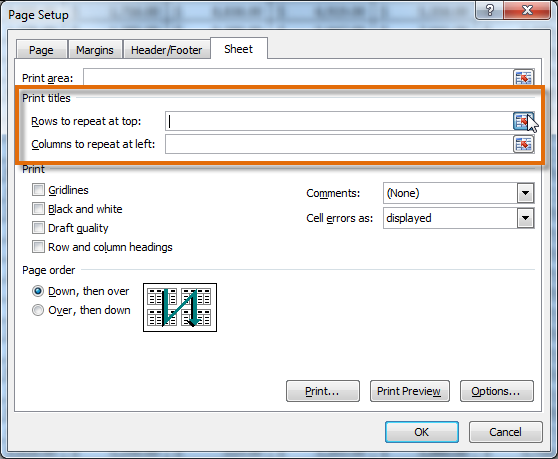 Clicking on icon
 . Click the rows you want to appear on each printed page. The Rows to repeat at top dialog box will record your selection.
 Clicking on row 1
 Clicking on icon
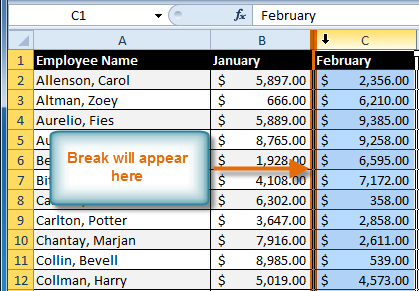 Selecting the column to the right of where the break will appear
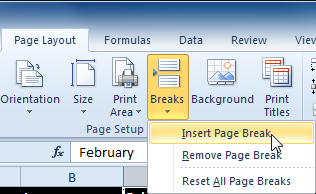 Selecting the Insert Page Break command
/en/excel2010/creating-complex-formulas/content/