Chromebook Basics -
Getting to Know the Chromebook Interface

Chromebook Basics
Getting to Know the Chromebook Interface


/en/chromebookbasics/choosing-between-a-chromebook-and-a-laptop/content/
The Chromebook interface looks fairly similar to Windows. While it's simple to navigate, there are some unique features and differences that might be confusing at first.
When you first turn on your Chromebook, you'll encounter the sign-in screen. To add an account for yourself, click the Add person button, then type your Google account information.
In our example, there are multiple icons, each one for a different Google account. Each account has its own files and settings that are kept separate from the other accounts. You can have up to 18 accounts on a single Chromebook.

You can also choose to browse as a guest. You'll be able to browse websites and download files, but your settings and information won't be saved once you log out.
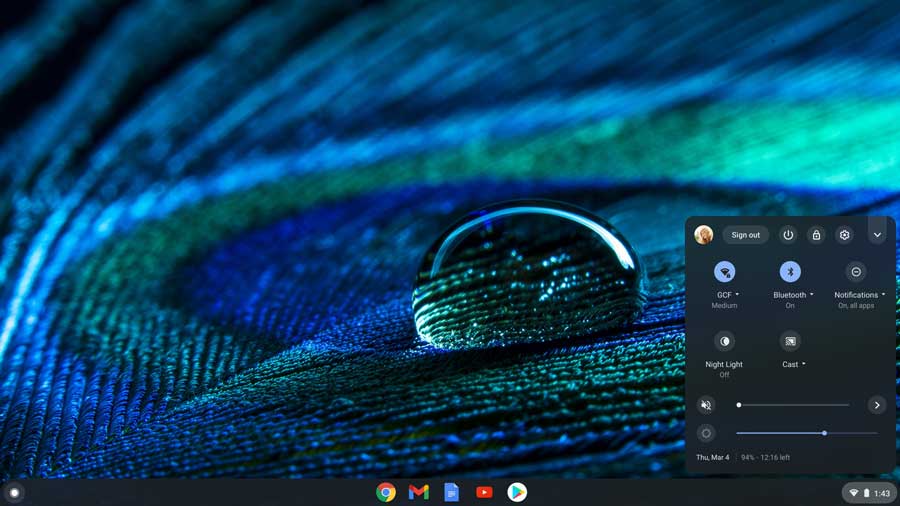
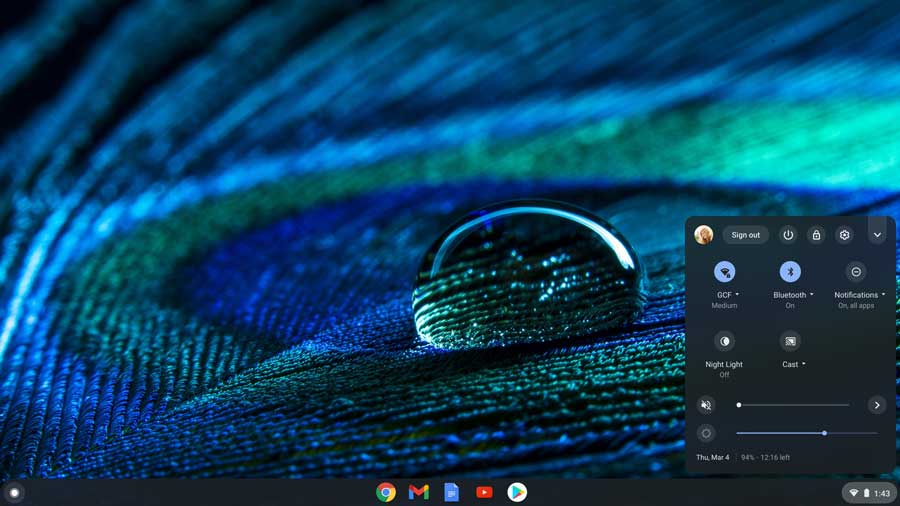
Once you log in, the first thing you'll see is the desktop. You can think of the desktop as the main workspace for your computer. From here, you can open apps, change settings, browse the Internet, and more.
Click the buttons in the interactive below to become more familiar with the Chromebook desktop.

When you click the launcher circle icon or press the search button on your keyboard, the app launcher will open. The app launcher gives you access to all of the apps on your Chromebook.
It also features a field that functions as both a search bar and an address bar. You can conduct searches of both the Internet and your Chromebook or type a URL to navigate to various websites.

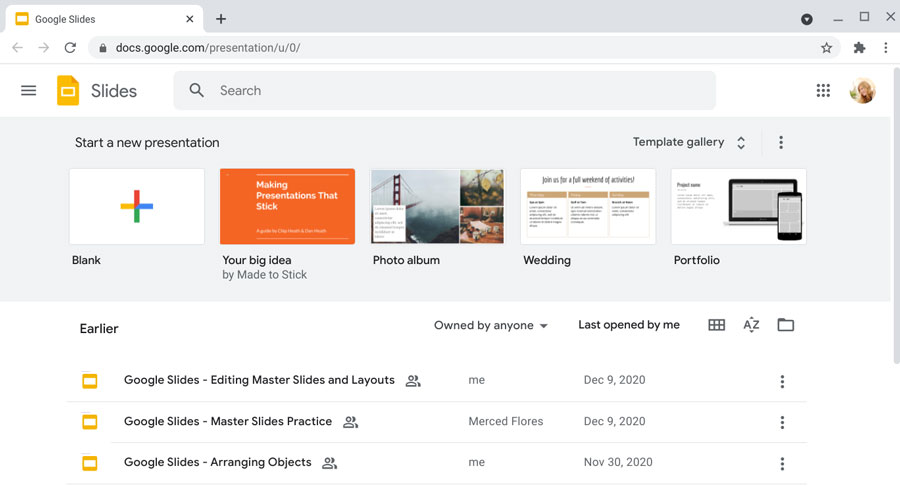
Most apps, whether launched from the app launcher or the shelf, will open in the Chrome browser. Because Chromebooks are cloud-based, most of the apps are really just bookmarks that lead to websites.

/en/chromebookbasics/migrating-to-a-chromebook/content/