
Word 2013 -
Track Changes and Comments

Word 2013
Track Changes and Comments

search
menu
/en/word2013/checking-spelling-and-grammar/content/
Let's suppose someone asks you to proofread or collaborate on a document. If you had a printed copy, you might use a red pen to cross out sentences, mark misspellings, and add comments in the margins. Word allows you to do all of these things electronically using the Track Changes and Comments features
Optional: Download our practice document.
When you turn on Track Changes, every change you make to the document will appear as a colored markup. If you delete text, it won't disappear—instead, the text will be crossed out. If you add text, it will be underlined. This allows you to see edits before making the changes permanent.
 Using Track Changes
 If there are multiple reviewers, each person will be assigned a different markup color.
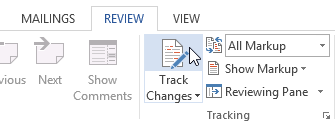 Turning on Track Changes
 Tracking changes
Tracked changes are really just suggested changes. To become permanent, they must be accepted. On the other hand, the original author may disagree with some of the tracked changes and choose to reject them.
 Selecting a tracked change to accept or reject
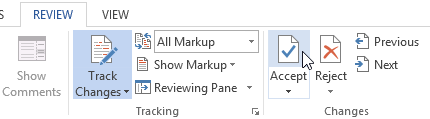 Accepting a change
 After accepting the change
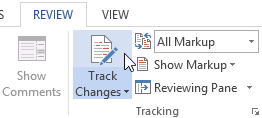 Turning off Track Changes
To accept all changes at once, click the Accept drop-down arrow, then select Accept All. If you no longer want to track your changes, you can select Accept All and Stop Tracking.
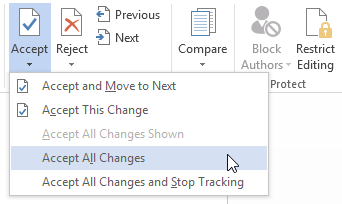 Accepting all changes
If you have a lot of tracked changes, they may become distracting if you're trying to read through the document. Fortunately, Word provides a few different ways to customize how tracked changes appear, including the option to hide tracked changes.
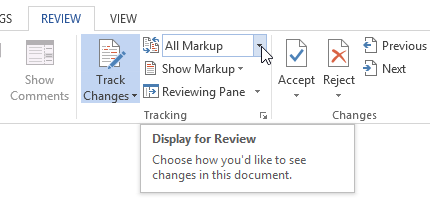 Clicking the Display for Review command
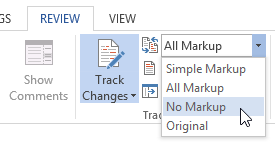 Selecting No Markup
You can also click the marker in the left margin to switch between Simple Markup and All Markup.
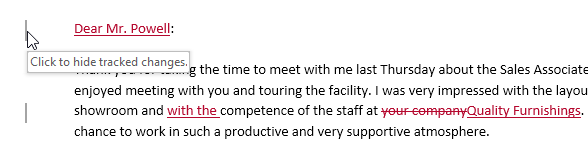 Clicking the marker to hide tracked changes
Hiding Track Changes is not the same as reviewing changes. You will still need to accept or reject the changes before sending out the final version of your document.
By default, most revisions appear inline, meaning the text itself is marked. You can also choose to show the revisions in balloons, which moves most revisions to the right margin. Removing inline markups can make the document easier to read, and balloons also give you more detailed information about some markups.
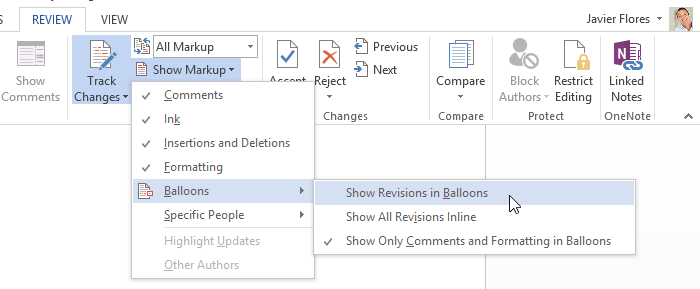 Clicking Show Revisions in Balloons
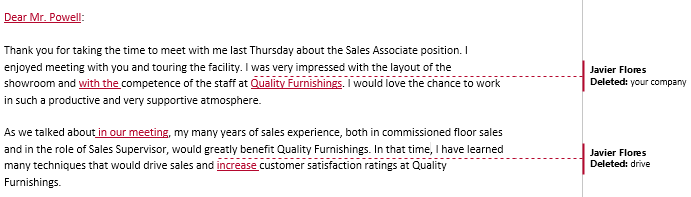 Track changes in balloons
To go back to inline markups, you can select either Show All Revisions Inline or Show Only Comments and Formatting in Balloons.
Sometimes you may want to add a comment to provide feedback instead of editing a document. While it's often used in combination with Track Changes, you don't necessarily need to have Track Changes turned on to use comments.
 Selecting text
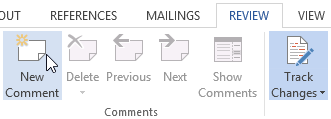 Clicking the New Comment command
 Adding a comment
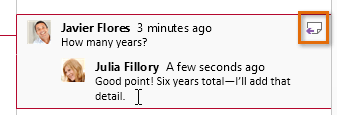
You can also respond to an existing comment. Just click the Reply button and type your response.
 Replying to a comment
 Selecting a comment to delete
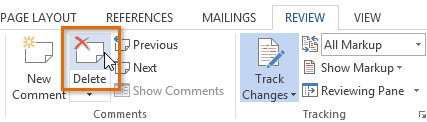 Clicking the Delete command
 After deleting the comment
To delete all comments, click the Delete drop-down arrow and select Delete All Comments in Document.
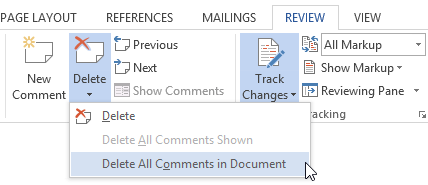 Deleting all comments
If you edit a document without tracking changes, it's still possible to use reviewing features such as Accept and Reject. You can do this by comparing two versions of the document. All you need is the original document and the revised document (the documents must also have different file names).
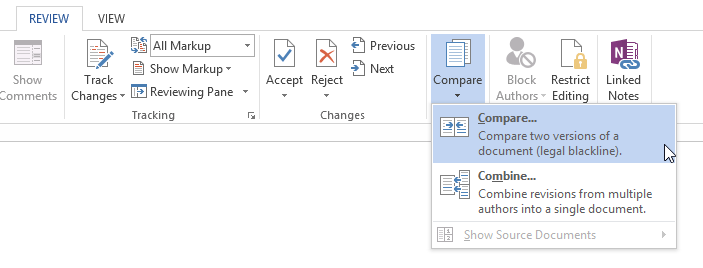 Clicking the Compare... command
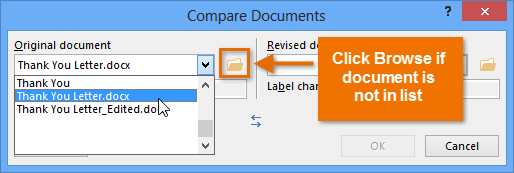 Selecting the original document
 Choosing the revised document and clicking OK
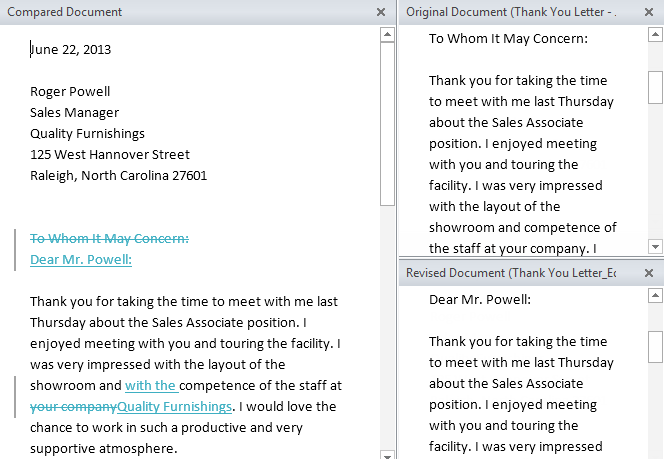 Comparing two documents
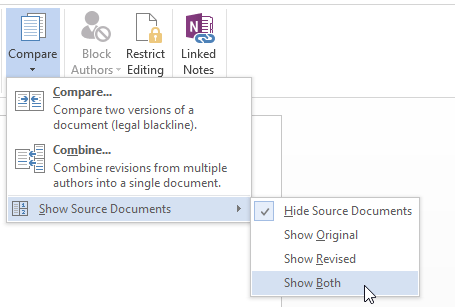
The original and revised documents will appear in a pane to the right that you can use for reference (although you can't edit them). If you don't see the pane, click Compare![]() Show Source Documents
Show Source Documents![]() Show Both.
Show Both.
 Showing both source documents
/en/word2013/finalizing-and-protecting-documents/content/