
Word 2013 -
Tables

Word 2013
Tables

search
menu
/en/word2013/arranging-objects/content/
A table is a grid of cells arranged in rows and columns. Tables are useful for various tasks such as presenting text information and numerical data. In Word, you can create a blank table, convert text to a table, and apply a variety of styles and formats to existing tables.
Optional: Download our practice document.
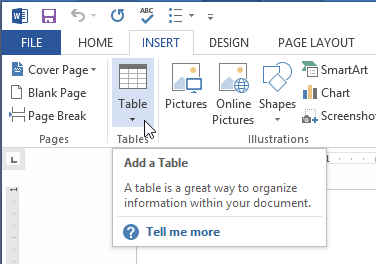 Clicking the table command
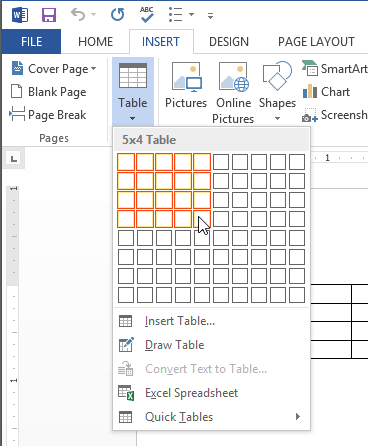 Inserting a new table
 Adding text to a table
To move the insertion point to the next cell, press the Tab key while typing. If the insertion point is in the last cell, pressing the Tab key will automatically create a new row.
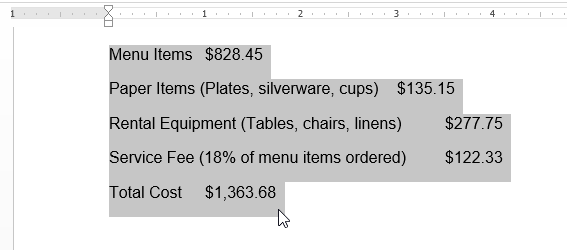
In this example, each row of information contains an item name and price, separated by tabs. Word can convert this information into a table, and it will use the tabs to separate the data into two columns.
 Selecting text to convert
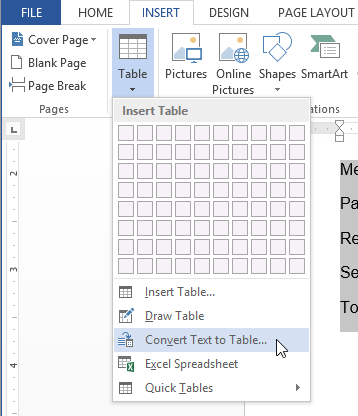 Converting text to a table
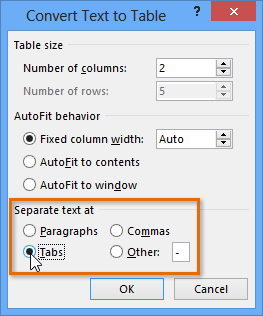 Separating text at Tabs
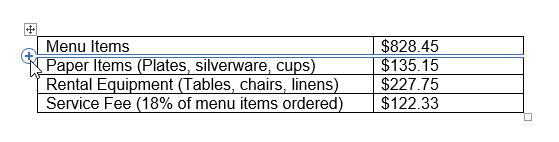
 Text converted into a table
It's easy to modify the look and feel of any table after adding it to a document. Word includes different options for customizing a table, including adding rows or columns and changing the table style.
 Clicking the plus sign
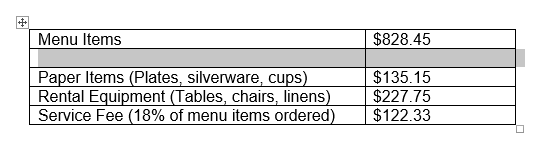 The new row
Alternatively, you can right-click the table, then hover the mouse over Insert to see various row and column options.
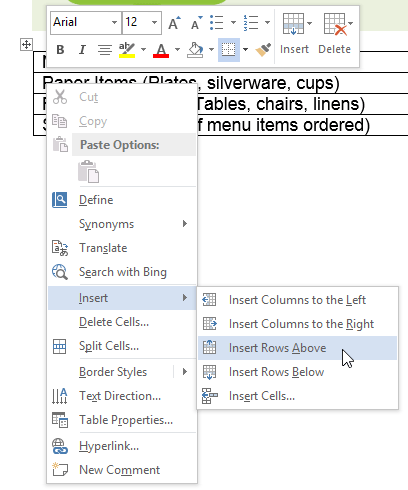 Adding a row
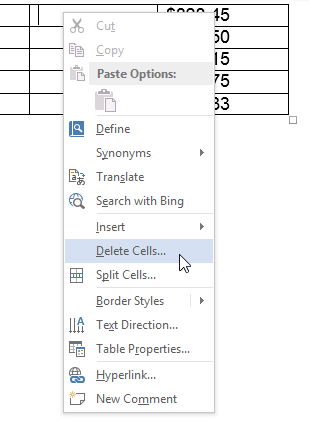 Selecting Delete Cells
 Deleting a column
 Clicking the Design tab
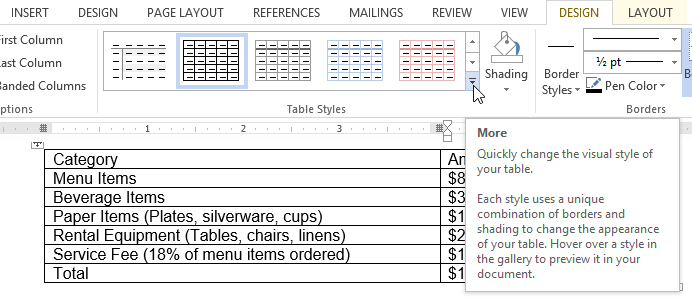 Clicking the More drop-down arrow
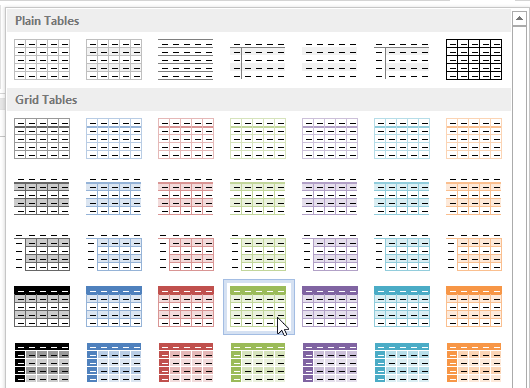 Choosing a new table style
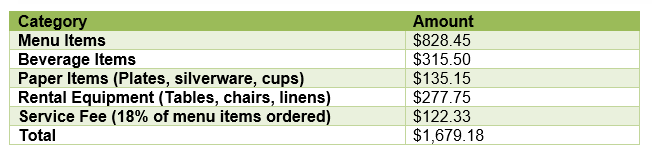 The new table style
Once you've chosen a table style, you can turn various options on or off to change the appearance of the table. There are six options: Header Row, Total Row, Banded Rows, First Column, Last Column, and Banded Columns.
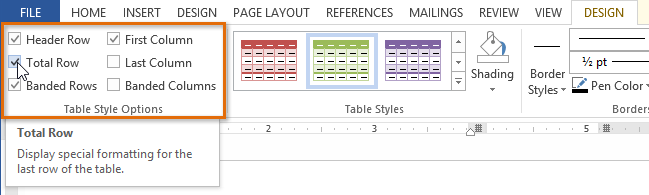 Checking the Total Row option
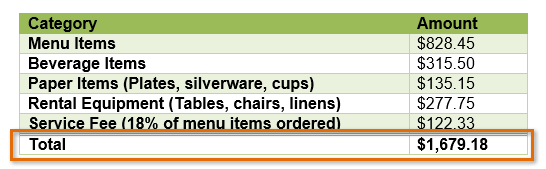 The table with a total row
Depending on which Table Style you're using, certain Table Style Options may have a somewhat different effect. You may need to experiment to get the exact look you want.
 Highlighted cells
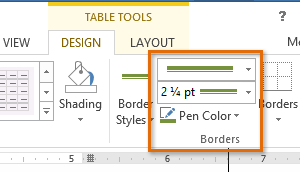 Line Style, Line Weight, and Pen Color commands
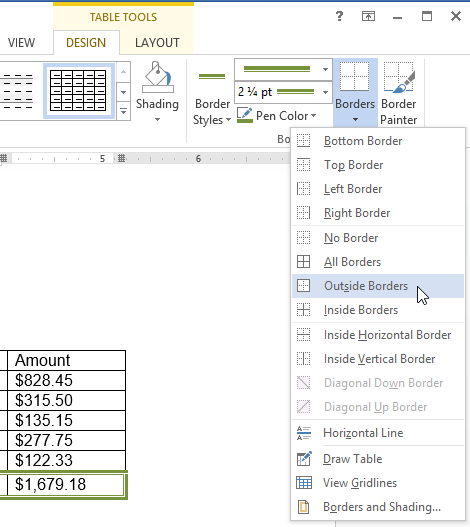 Selecting a border type
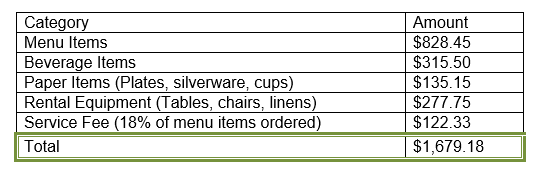 The finished border
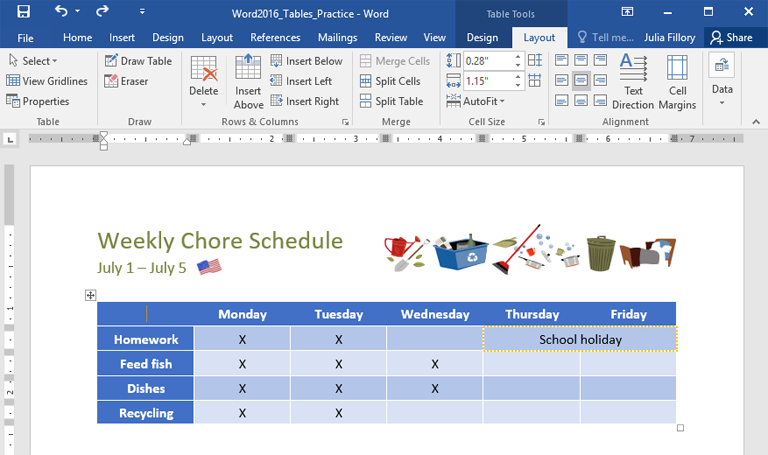
When you select a table in Word 2013, the Layout tab appears under Table Tools on the Ribbon. From the Layout tab, you can make a variety of modifications to the table.
Click the buttons in the interactive below to learn about the different ways you can modify a table with the Layout tab.
By changing the alignment of your cells, you can control exactly where the text is located. In the example below, the text has been aligned to the center.
/en/word2013/charts/content/