
Word 2013 -
Mail Merge

Word 2013
Mail Merge

search
menu
/en/word2013/themes/content/
Mail Merge is a useful tool that allows you to produce multiple letters, labels, envelopes, name tags, and more using information stored in a list, database, or spreadsheet. When performing a Mail Merge, you will need a Word document (you can start with an existing one or create a new one) and a recipient list, which is typically an Excel workbook
Optional: If you'd like to work along with the lesson, you can download the examples below:
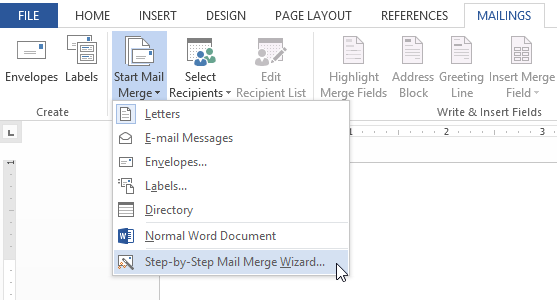 Opening the Mail Merge Wizard
The Mail Merge pane appears and will guide you through the six main steps to complete a merge. The following example demonstrates how to create a form letter and merge the letter with a recipient list.
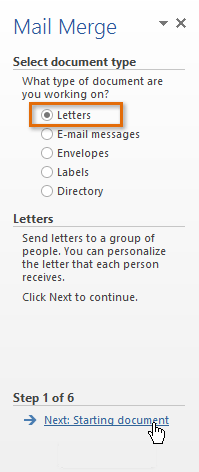 Selecting Letters and clicking Next
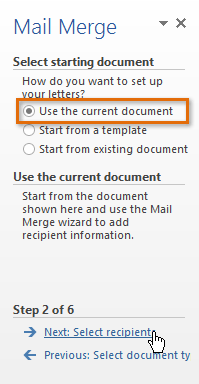 Selecting Use the current document and clicking Next
Now you'll need an address list so Word can automatically place each address into the document. The list can be in an existing file, such as an Excel workbook, or you can type a new address list from within the Mail Merge Wizard.
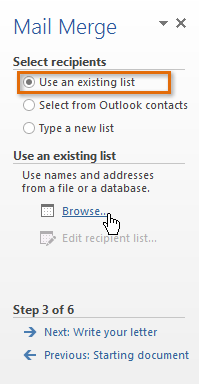 Clicking Browse...
 Opening the Address List
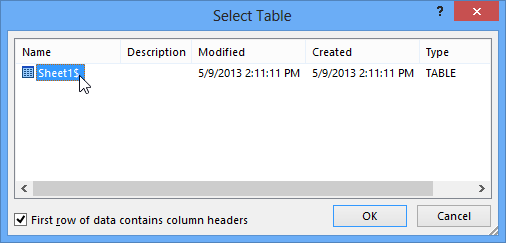 Selecting a worksheet
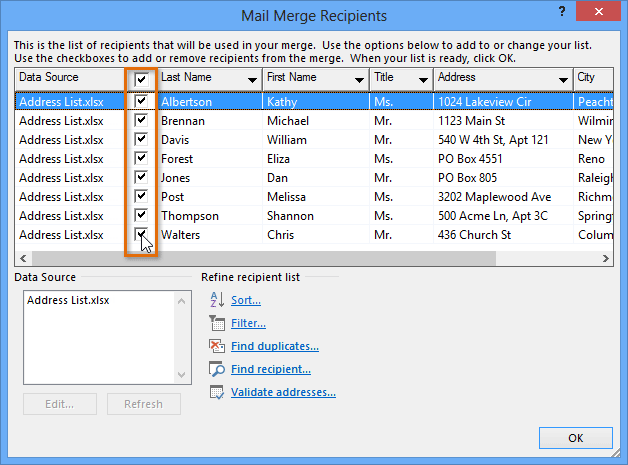 Selecting recipients to include or exclude
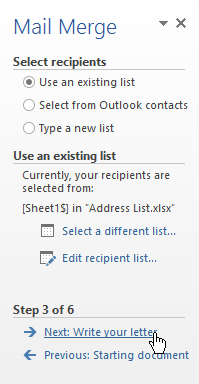 Clicking Next
If you don't have an existing address list, you can click the Type a new list button and click Create. You can then type your address list.
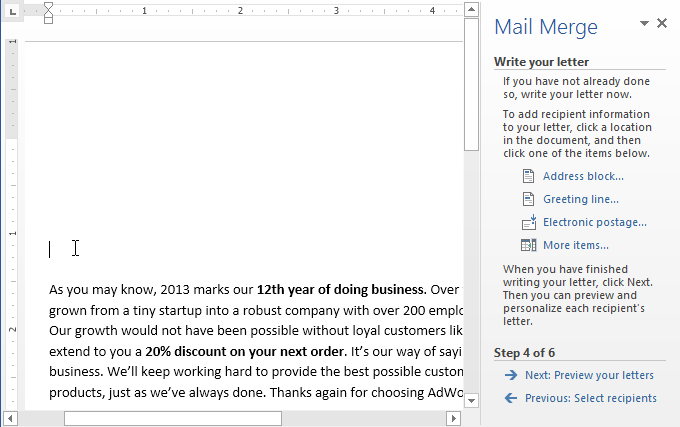
Now you're ready to write your letter. When it's printed, each copy of the letter will basically be the same; only the recipient data (such as the name and address) will be different. You'll need to add placeholders for the recipient data so Mail Merge knows exactly where to add the data.
 Placing the insertion point in the desired location
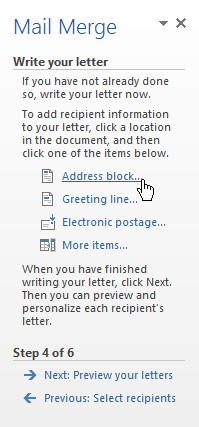 Clicking Address block...
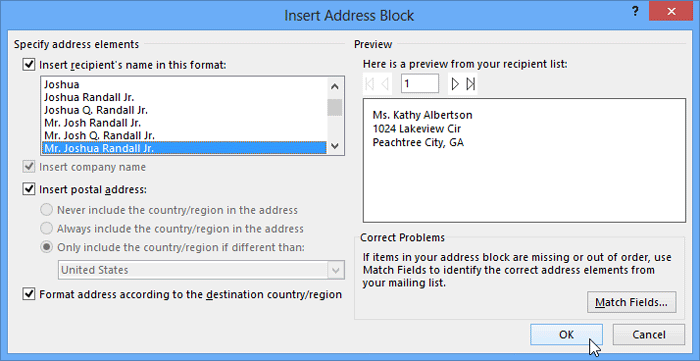 Adjusting the address block formatting
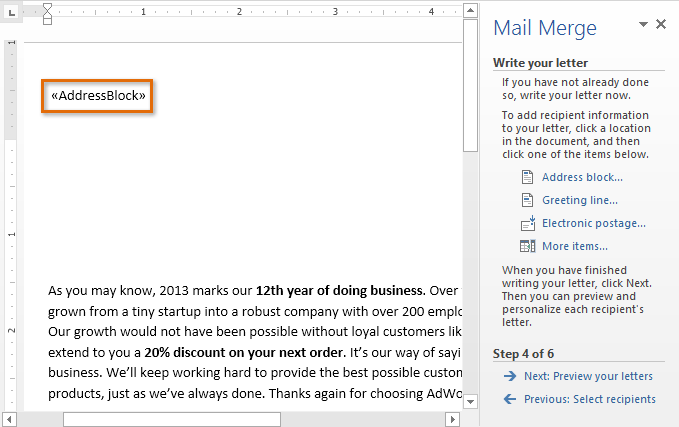 The AddressBlock placeholder
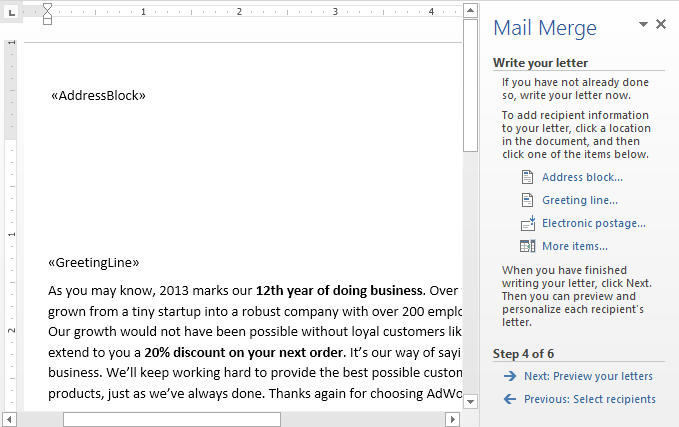 The GreetingLine placeholder
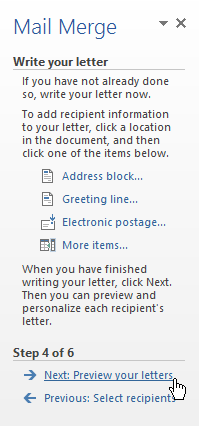 Clicking Next
For some letters, you'll only need to add an Address block and Greeting line. Sometimes, however, you may want to place recipient data within the body of the letter to personalize it even further.
 Previewing the letters
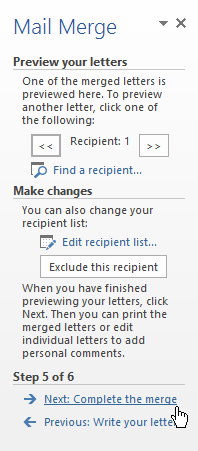 Clicking Next
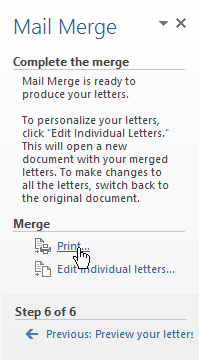 Printing the letters
 Clicking OK
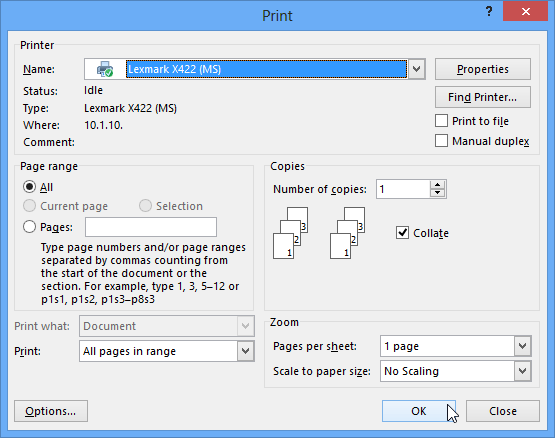 The Print dialog box
/en/word2013/customizing-the-ribbon/content/