
Word -
Getting Started with Word

Word
Getting Started with Word

search
menu
Microsoft Word is a word processing application that allows you to create a variety of documents, including letters, resumes, and more. In this lesson, you'll learn how to navigate the Word interface and become familiar with some of its most important features, such as the Ribbon, Quick Access Toolbar, and Backstage view.
Watch the video below to become more familiar with Word.
The procedures in this tutorial will work for all recent versions of Microsoft Word, including Word 2019, Word 2016, and Office 365. There may be some slight differences, but for the most part these versions are similar. However, if you're using an earlier version, you may want to refer to one of our other Word tutorials instead.
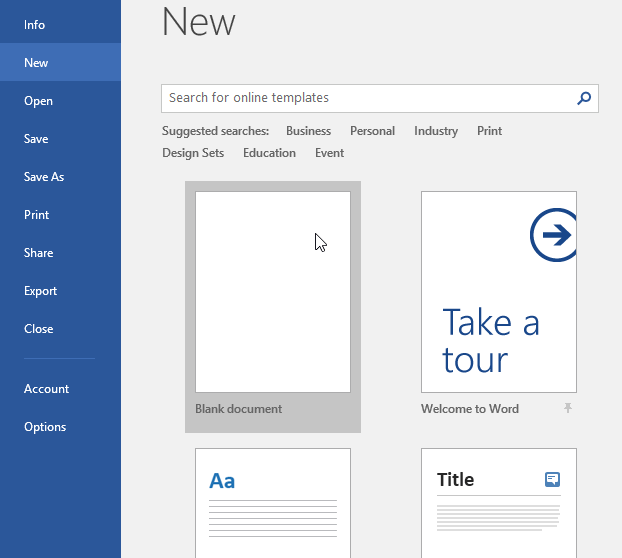
When you open Word for the first time, the Start Screen will appear. From here, you'll be able to create a new document, choose a template, and access your recently edited documents. From the Start Screen, locate and select Blank document to access the Word interface.
Click the buttons in the interactive below to learn more about the Word interface.
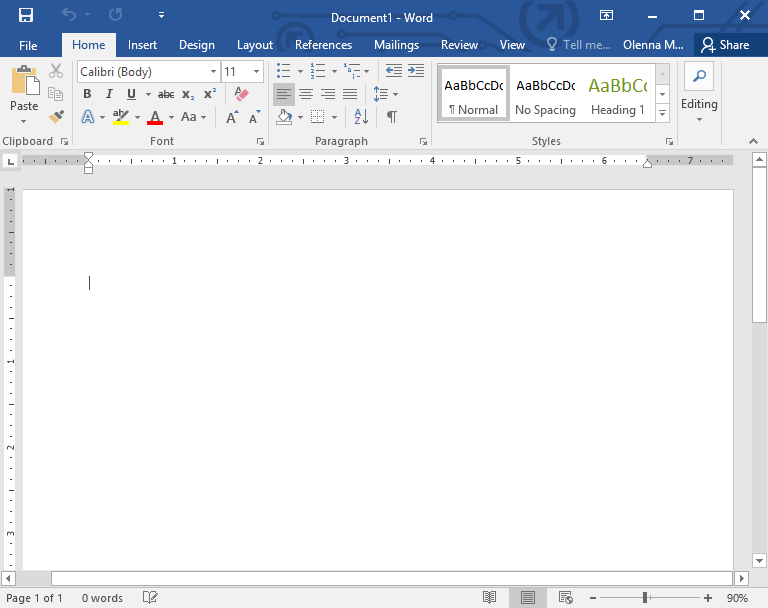
All recent versions of Word include the Ribbon and the Quick Access Toolbar, where you'll find commands to perform common tasks in Word, as well as Backstage view.
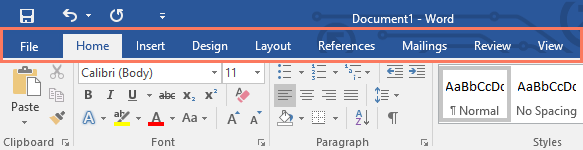
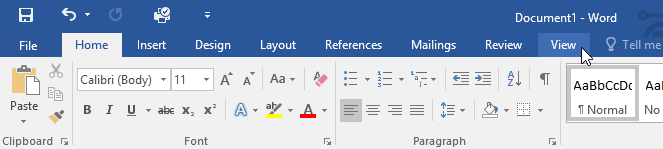
Word uses a tabbed Ribbon system instead of traditional menus. The Ribbon contains multiple tabs, which you can find near the top of the Word window.
Each tab contains several groups of related commands. For example, the Font group on the Home tab contains commands for formatting text in your document.
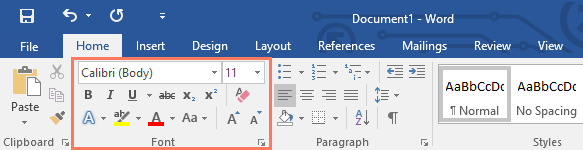
Some groups also have a small arrow in the bottom-right corner that you can click for even more options.
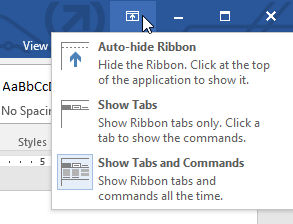
If you find that the Ribbon takes up too much screen space, you can hide it. To do this, click the Ribbon Display Options arrow in the upper-right corner of the Ribbon, then select the desired option from the drop-down menu:
To learn how to add custom tabs and commands to the Ribbon, review our Extra on Customizing the Ribbon.
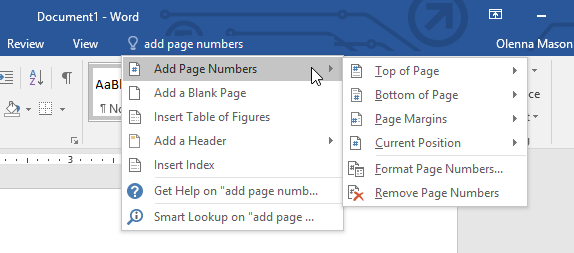
If you're having trouble finding a command you want, the Tell Me feature can help. It works just like a regular search bar. Type what you're looking for, and a list of options will appear. You can then use the command directly from the menu without having to find it on the Ribbon.
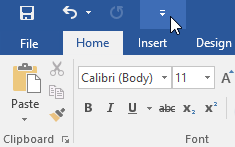
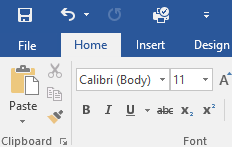
Located just above the Ribbon, the Quick Access Toolbar lets you access common commands no matter which tab is selected. By default, it shows the Save, Undo, and Redo commands, but you can add other commands depending on your needs.

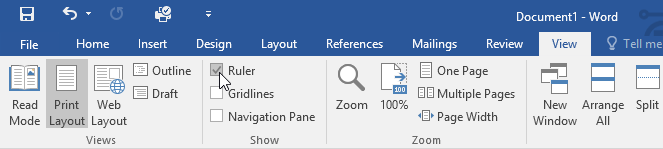
The Ruler is located at the top and to the left of your document. It makes it easier to adjust your document with precision. If you want, you can hide the Ruler to create more screen space.
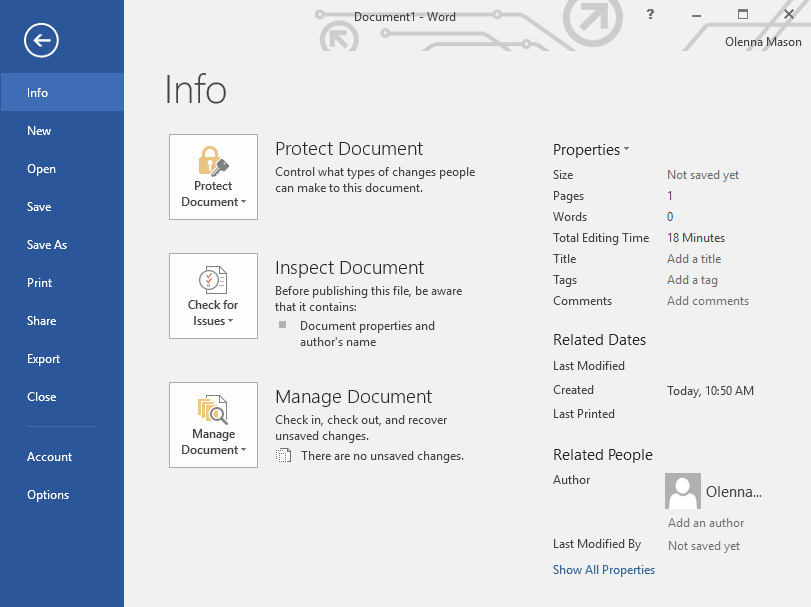
Backstage view gives you various options for saving, opening a file, printing, and sharing your document. To access Backstage view, click the File tab on the Ribbon.

Click the buttons in the interactive below to learn more about using Backstage view.
Word has a variety of viewing options that change how your document is displayed. You can choose to view your document in Read Mode, Print Layout, or Web Layout. These views can be useful for various tasks, especially if you're planning to print the document. You can also zoom in and out to make your document easier to read.
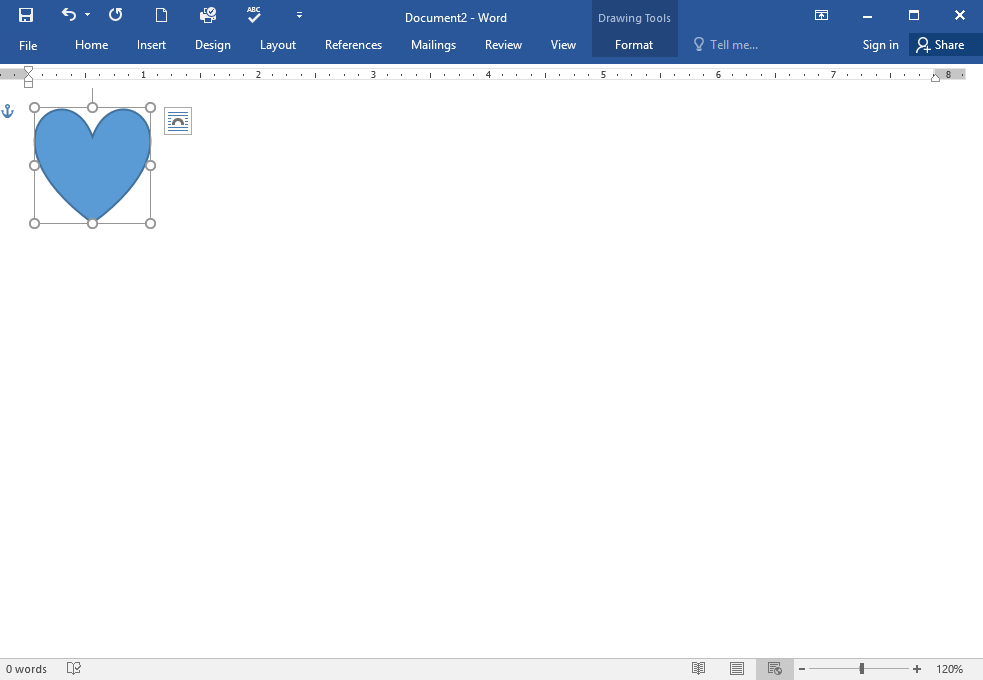
Switching between different document views is easy. Just locate and select the desired document view command in the bottom-right corner of the Word window.
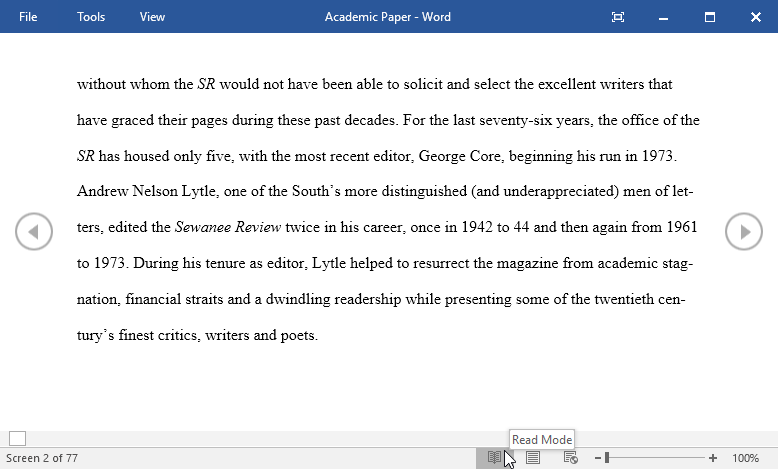


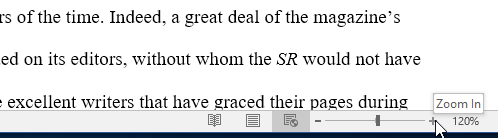
To zoom in or out, click and drag the zoom control slider in the bottom-right corner of the Word window. You can also select the + or - commands to zoom in or out by smaller increments. The number next to the slider displays the current zoom percentage, also called the zoom level.
Change the Ribbon Display Options back to Show Tabs and Commands, and change the Document View back to Print Layout.
/en/word/understanding-onedrive/content/