Prezi: Creating a Prezi

Lesson 2: Creating a Prezi

/en/prezi/what-is-prezi/content/

Creating a prezi

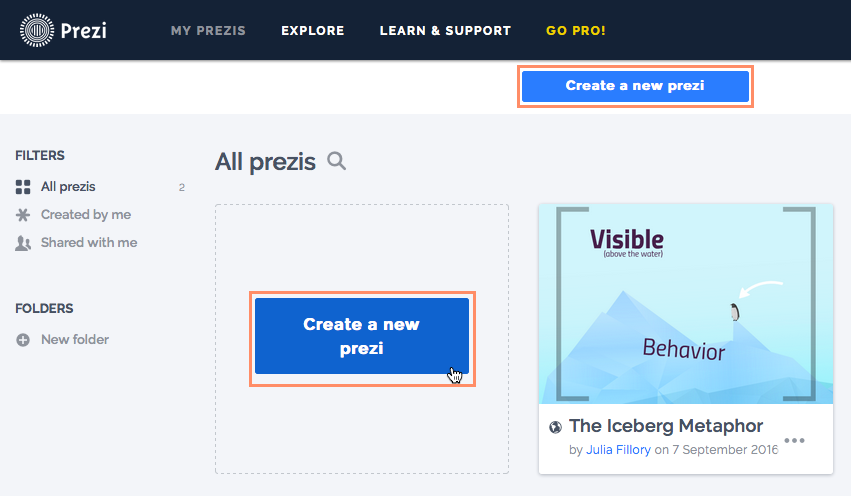
Before creating your very own prezi, you'll need to make sure you have an account. It's easy to sign up for one, and as long as you don't mind your presentations being available to the public, it's completely free. There are options to upgrade your account, which along with various features allows you to make your prezis private.

To create a new prezi:

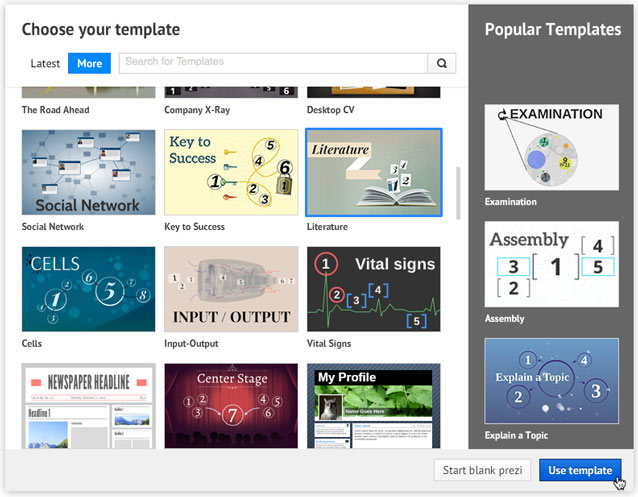
In our example, we'll be creating a prezi from a template. Templates are pre-designed canvases from which you can build presentations. While it is possible to build a prezi from scratch, it's fairly time consuming and can be pretty difficult. Prezi offers a variety of templates to fit most presentation needs.

  1. From the Prezi Dashboard, click Create a new prezi.
  2. A new tab will open with a Choose your template menu. Select a template you want to use, then click Use template. In our example, we'll be using the Literature template.
  3. A prezi with the template you've selected will appear, ready for you to edit.

Getting to know Prezi

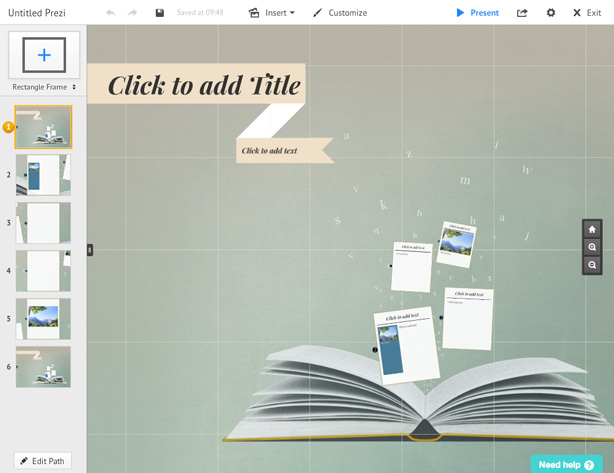
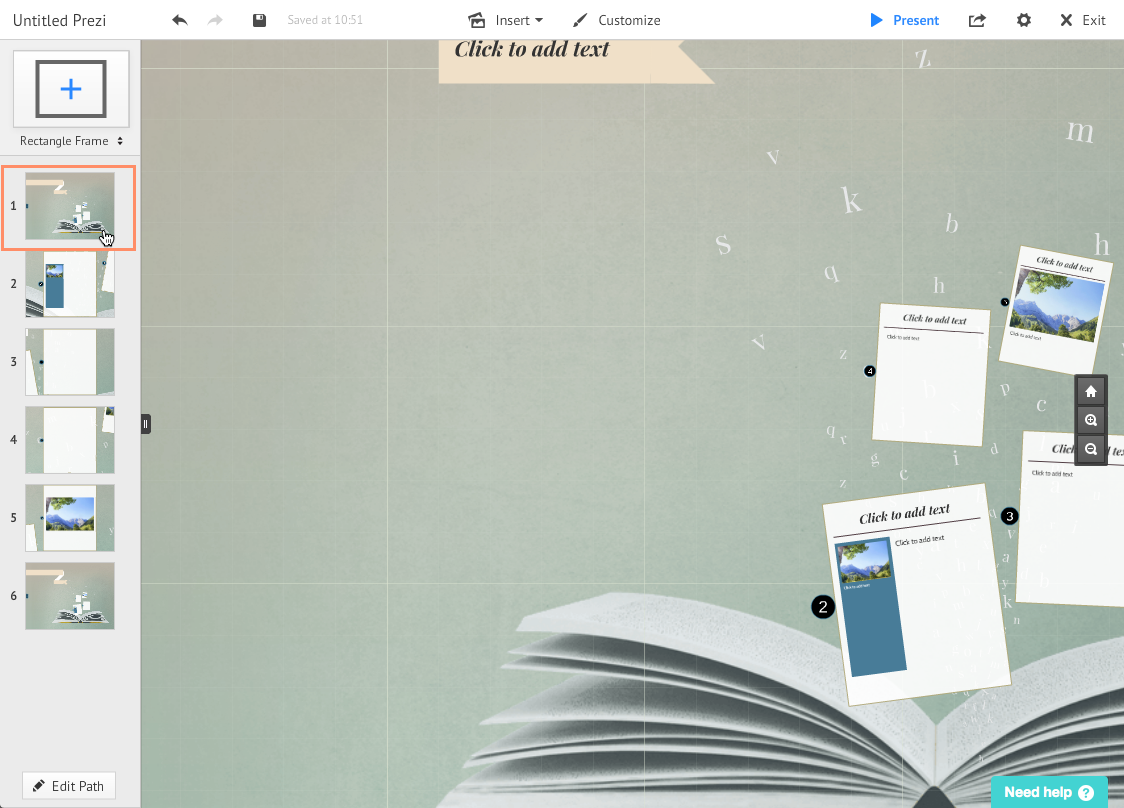
Before we move forward with editing our first prezi, let's get to know Prezi's interface. It probably looks different from other presentation software you may have used in the past. While Prezi is relatively simple to use, its interface has several features you'll want to become familiar with.

Click the buttons in the interactive below to become more familiar with the Prezi interface.

edit hotspots

Undo/Redo Buttons

Click the undo or redo button to undo or redo recent actions.

Save Button

Clicking Save will save the current version of your prezi. Your prezi also saves automatically as you work on it.

Insert Button

The Insert button allows you to insert a variety of elements into your prezi, including pictures, shapes, and videos.

Customize Button

Clicking Customize will allow you to change the overall look of your prezi, including its background and color scheme.

Present Button

Click Present to view your prezi, frame to frame.

Share Button

Using the Share button, you'll be able to share your prezi with others via email, Facebook, or by creating a link to your prezi.

Settings

In the Settings menu, you'll be able to turn keyboard shortcuts on and off. You can also change the aspect ratio to make sure your prezi fits a certain screen or projector you may be using.

Add New Frame

The Add New Frame button allows you to create a new frame for your prezi. You can customize the shape and size of your frame after adding it.

Frame Navigation Pane

In the Frame Navigation pane, you'll find all of the frames currently in your prezi. From here, you can click a frame to view how it will look in your presentation. You can also reorder your frames from this toolbar.

Navigation Pane

In the Navigation pane, you can zoom in and out of your canvas or click the Show overview button to view your canvas as a whole.

Edit Path

With the Edit Path tool, you can customize the path your presentation takes from frame to frame and add animations to your transitions.

To edit placeholder text:

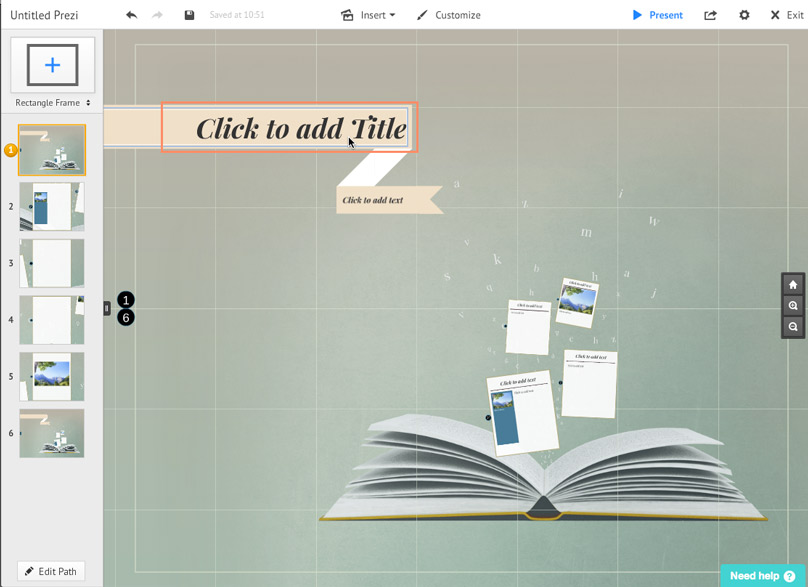
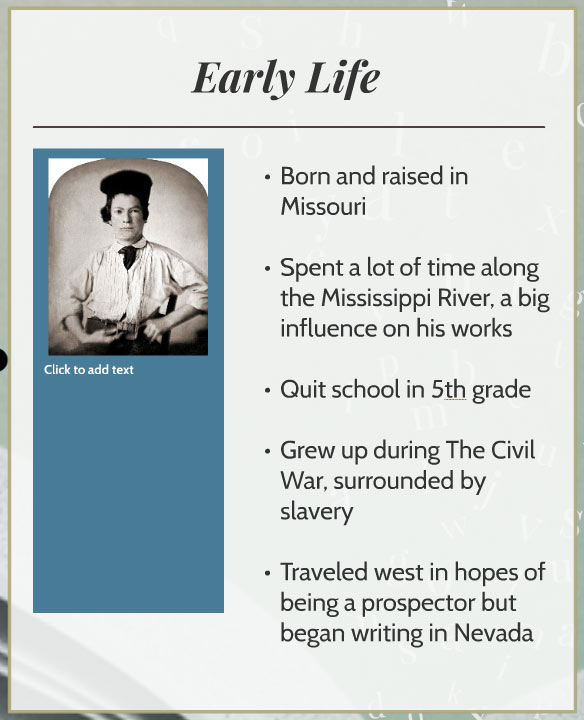
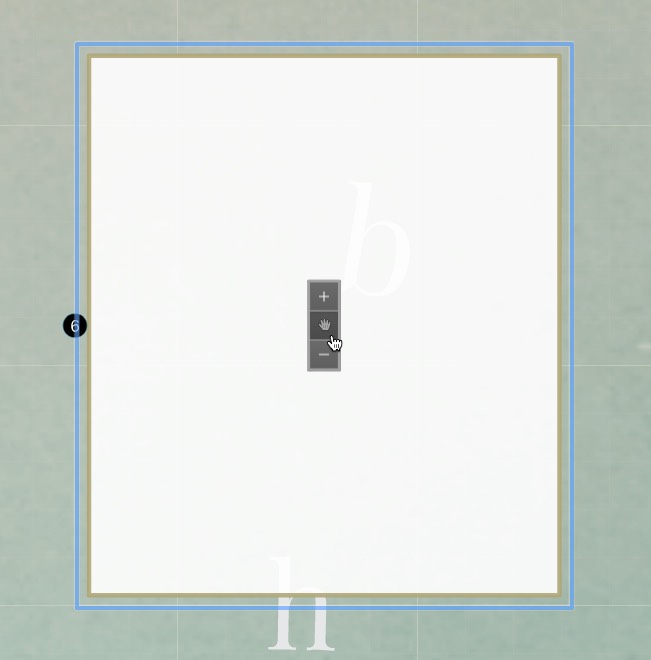
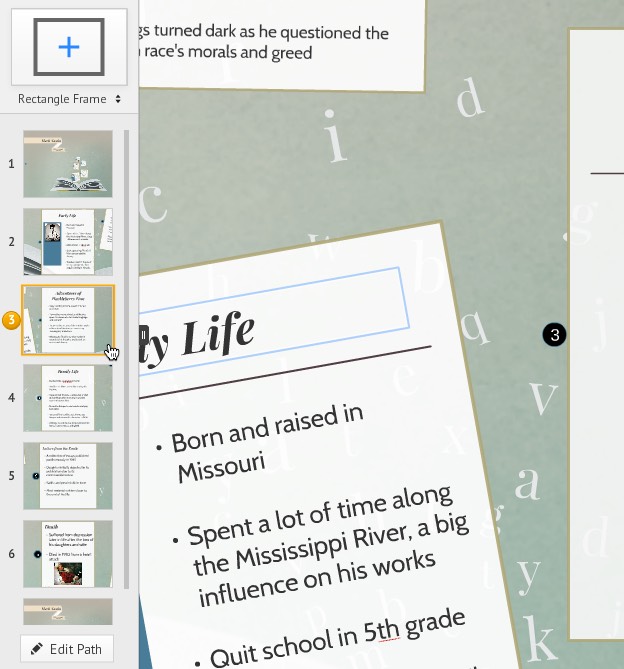
Prezi templates have preset frames, as shown in the frame navigation pane. Within these frames, there's something called placeholder text. This is text you can replace with your own content.

  1. Click the first frame in the frame navigation pane. The screen will then zoom in or out to show you how the frame will appear in your prezi.
  2. Click any of the placeholder text and start typing to replace the text. In our example, we'll change the title.
  3. Click the next frame. Prezi will then zoom in to that frame, and you can edit the placeholder text there. Continue working through each frame until all text is complete.

To replace images:

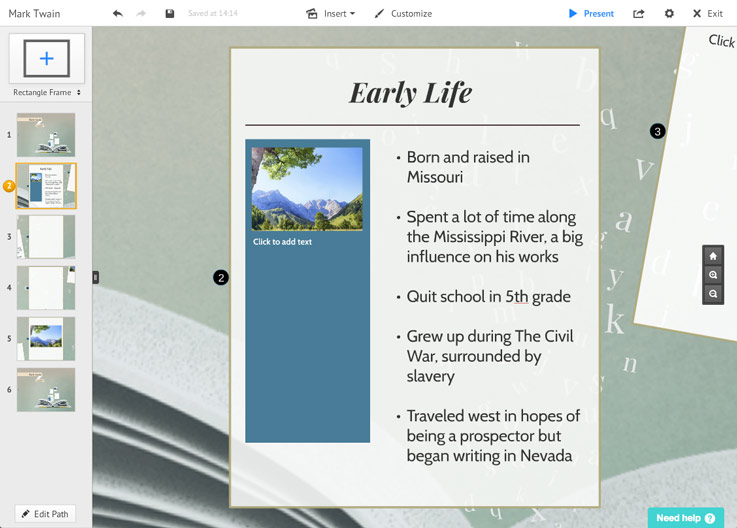
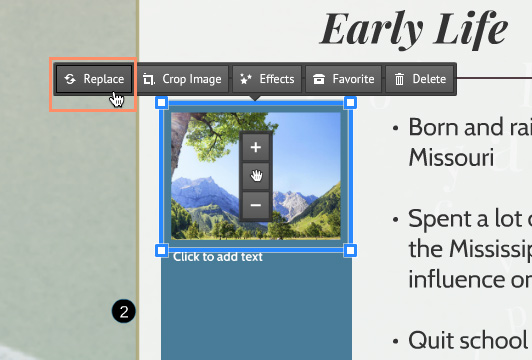
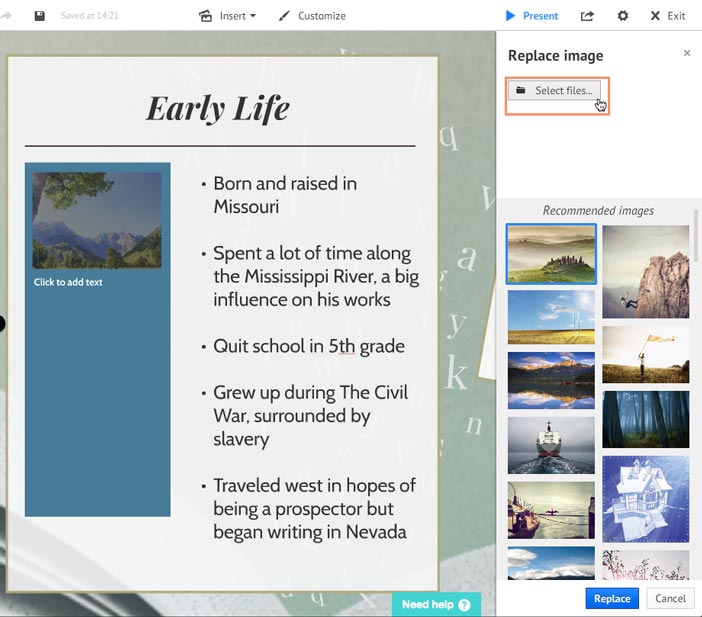
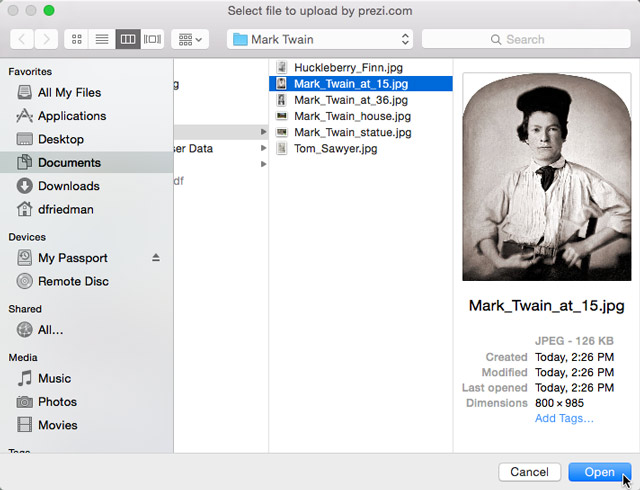
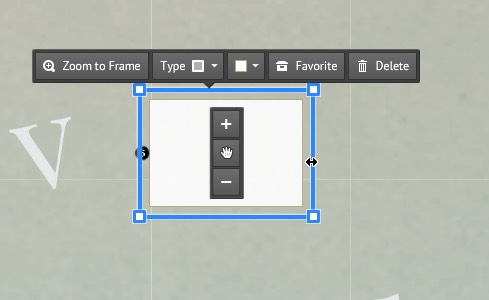
In addition to placeholder text, some templates include sample pictures in certain frames. You'll probably want to replace these with pictures more relevant to the content of the prezi you're creating.

  1. Click the picture you want to replace, then select Replace.

  2. A Replace image pane will appear on the right side of the window. You can either choose from recommended images or upload one of your own. In our example, we'll upload our own picture by clicking Select files...

  3. In the menu that appears, locate and select the image you want to use instead, then click Open.
  4. The picture will be replaced.
  5. Continue going through frames until you've filled all of the frames with content.

Working with frames

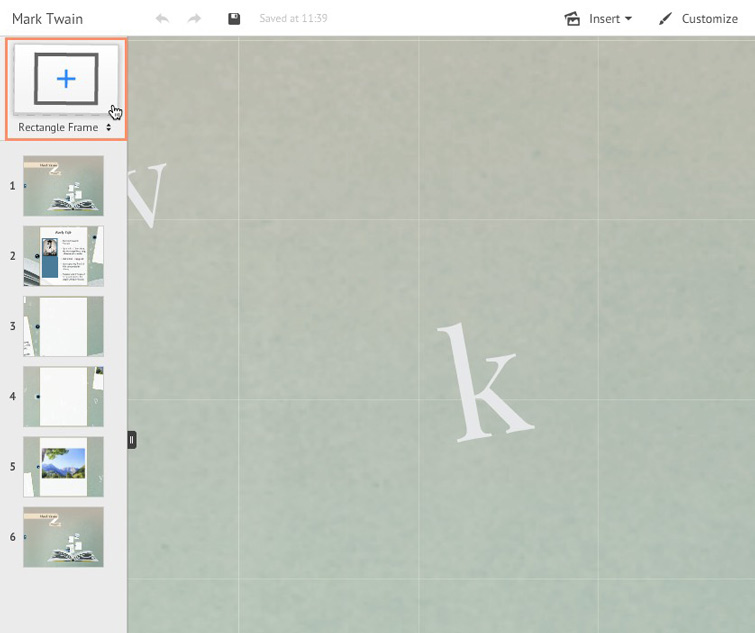
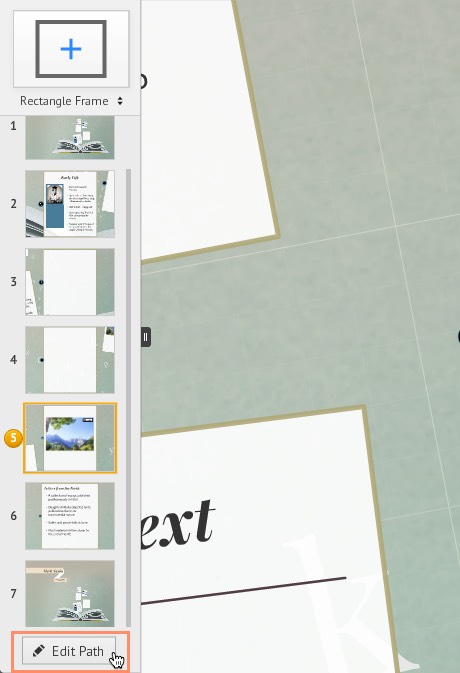
As mentioned previously, Prezi uses things called frames instead of slides. When creating a prezi, it's important to know how to add, delete, and reorder frames to make sure your prezi is a good fit for the information you want to communicate.

Adding frames

Sometimes a template may have less frames than you need for everything you'd like to include in your prezi. Luckily, Prezi makes it easy to add frames to your presentation.

  1. Locate and zoom in or out to the area where you'd like to add a frame, then click the add new frame button located at the top of the frame navigation pane. Below the add new frame button, you have the option of choosing from rectangle, circle, brackets, or an invisible frame.
  2. A new frame will appear. Click and drag the blue sides and the corners to resize the frame to the shape you want.
  3. Once you've finished resizing your frame, drag the frame to your desired location using the hand icon in the center. In our example, we want the new frame to be slightly smaller than the current final frame and placed next to it at a slight angle. This placement aligns with and continues the current path of this template.
  4. From here, you can double-click anywhere on the frame to bring up the text editor to type any information you want to include in your prezi.

Deleting frames

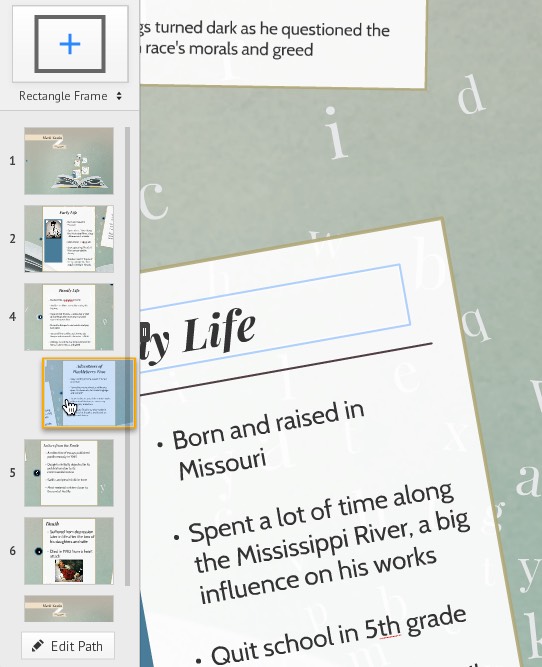
Sometimes a template may have too many frames for the prezi you want to make, or you may not like one of the preset frames.

  1. Select Edit Path at the bottom of the frame navigation pane.
  2. Locate the frame you'd like to delete on the frame navigation pane and hover your cursor over it. You'll notice that a red circle with an X appears in the top-right corner of the frame. Click the red circle.
  3. The frame will be deleted from the path of your prezi.

To change the frame order:

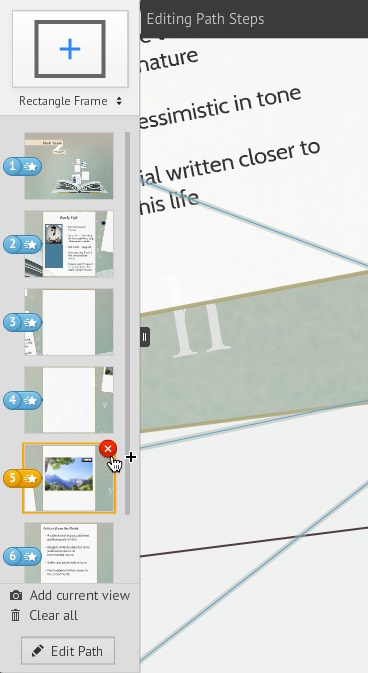
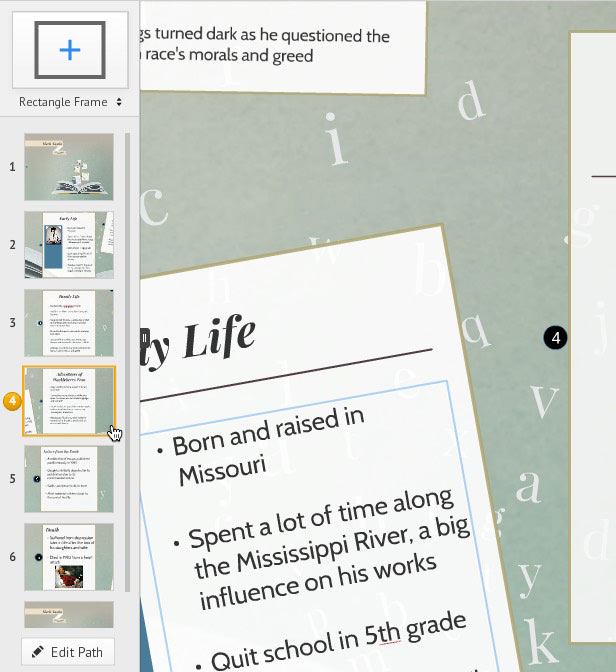
Once you've completed your prezi, you may find that you want to reorder the frames.

  1. In the frame navigation pane, select the frame you'd like to move.
  2. Click and drag the frame to the position you would like to order it.
  3. Release the frame. The frame will now be reordered.

    Customizing your prezi

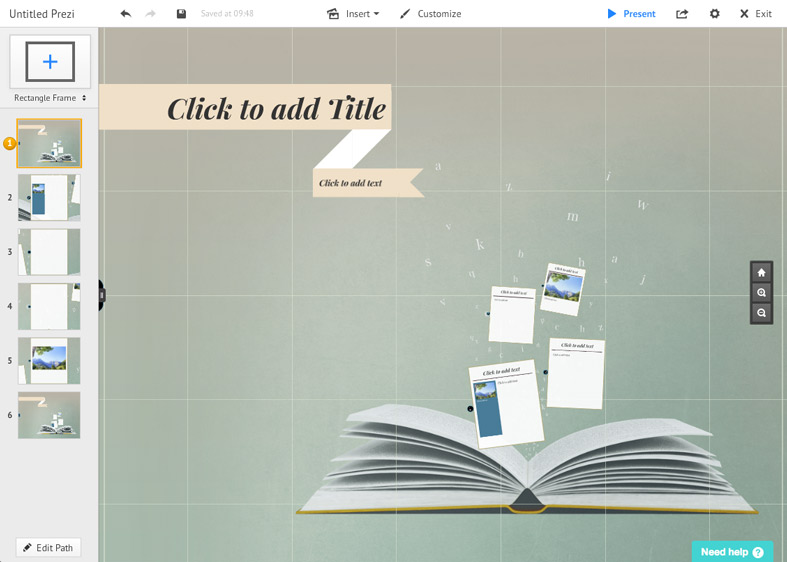
    In order to communicate an idea most effectively, you may want to include pictures, videos, or background music. You may also find that you want to change the color scheme of your prezi to better reflect the theme of your content. Prezi makes customizing things easy with the help of two buttons in the editor's interface: the Insert button and the Customize button.

    Adding pictures, videos, shapes, and more

    When creating your prezi, you may want to include more than just words to get your point across. Prezi has an Insert button that allows you to insert pictures, videos, shapes, and background music. These can help to both communicate ideas more effectively and to make your prezi more engaging to your audience.

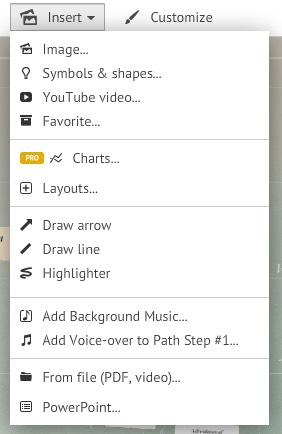
    Prezi provides a variety pictures and shapes for you to choose from, and you can include also include YouTube videos. You'll also find premade layouts for frames and paths in the Insert menu.

    Changing the background and theme

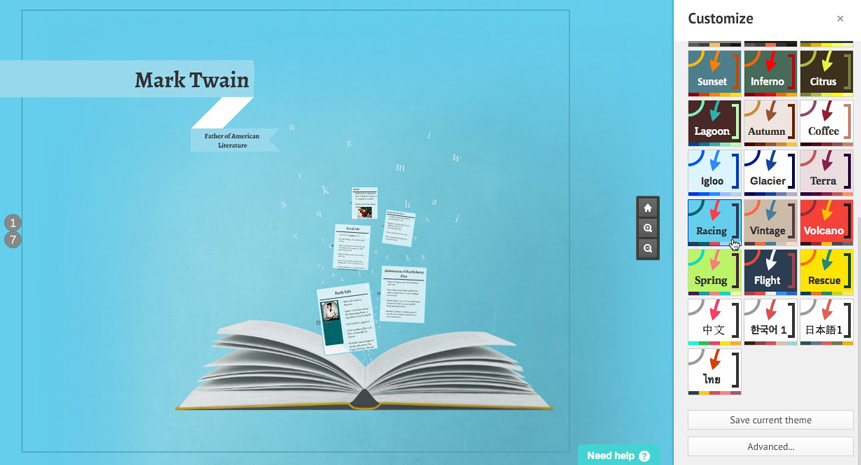
    Located at the top of the Prezi interface, the Customize button opens a pane on the right side of the window that lets you change the background and theme of your prezi. The Customize tool allows you to keep the physical layout and look of the template you chose while changing only the color scheme and font. There are more than 24 themes to choose from, and you always have the option of clicking Revert to original if you don't like the changes you've made.

    /en/prezi/presenting-with-prezi/content/

    chatsimple