
Photoshop Basics -
Saving Images

Photoshop Basics
Saving Images

search
menu
/en/photoshopbasics/basic-tasks-in-photoshop/content/
In Photoshop, saving works a bit differently from most other applications. Instead of working with one main file type—like .docx in Microsoft Word—Photoshop offers a variety of ways to save your images. In this lesson, we'll cover the different saving options in Photoshop, along with some common reasons to save files in different formats.
If you'd like to follow along, you can download our example file.
When saving a file in Photoshop, you have several options and file formats to choose from:
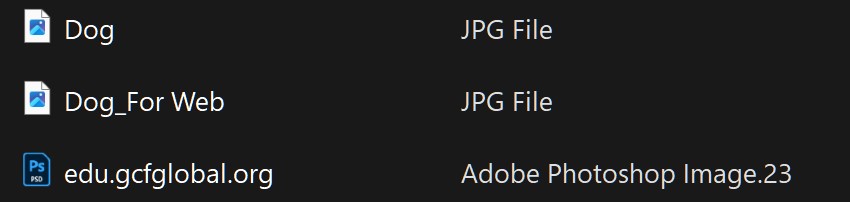
In the image below, you can see three different versions of an image file: the original JPEG file, an edited PSD version, and a final JPEG version that's been resized and saved for the Web. You can see that the Web version has a much smaller file size than the original and PSD versions.
Ultimately, the saving option you choose will depend on what you need to do with the image. Let's take a look at a couple of scenarios to see why you might choose different saving options.
Scenario 1
Let's say you're asked to create a new header image for a company website. You've been given a photo to include, and you need to add some text with the company name. Because you'll likely edit and revise this type of project, you'll want to save it as a PSD file. This way, you can easily continue editing the file later on. And because it will eventually be posted online, you'll also want to use Save for Web to create a new JPEG version of the finished image.
Scenario 2
Let’s say you're planning to share some photos from a recent vacation with your friends. You'd just like to make some quick adjustments in Photoshop, like cropping and rotating, before sharing them. In this case, you could open the original image files in Photoshop, make the necessary adjustments, then save a new version of the edited photos as JPEGs. Because none of these edits are too complicated, you probably don’t need to save a separate PSD version of each image.
As you can see, the saving option you choose will vary from project to project. Before saving an image, take a moment to consider the type of files you'll need. As you start to gain more experience with Photoshop, this process will begin to feel quick and natural.
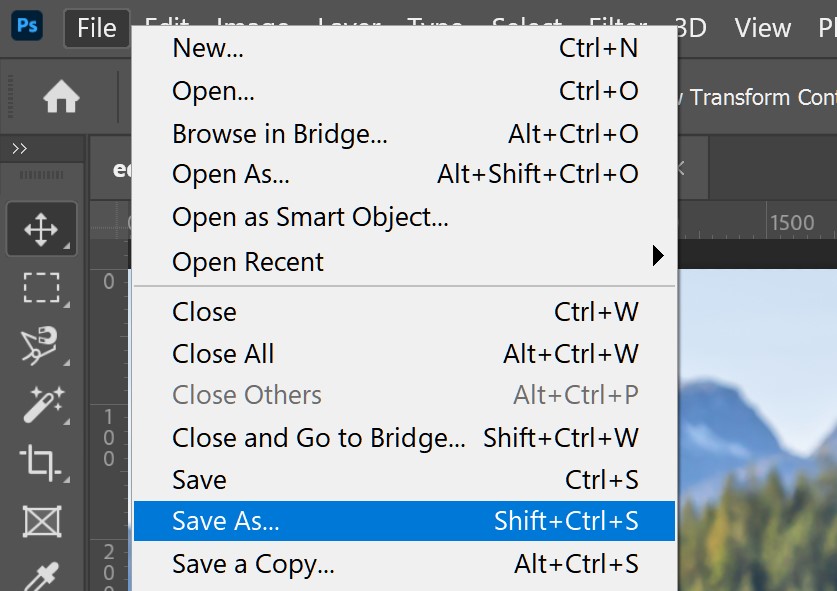
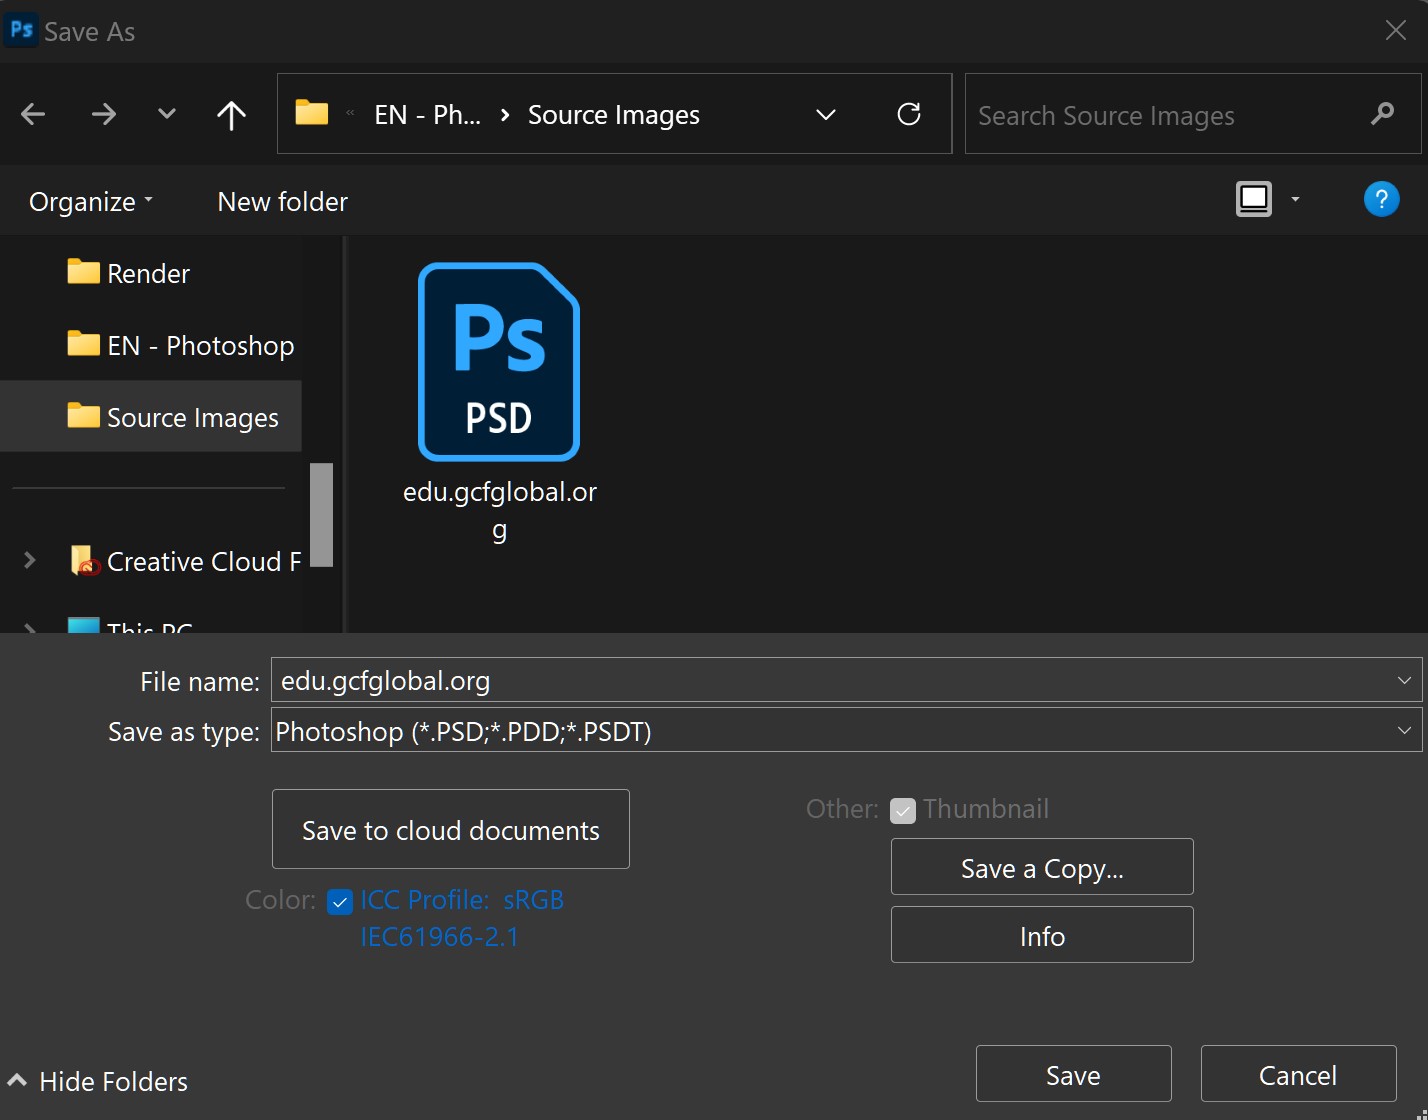
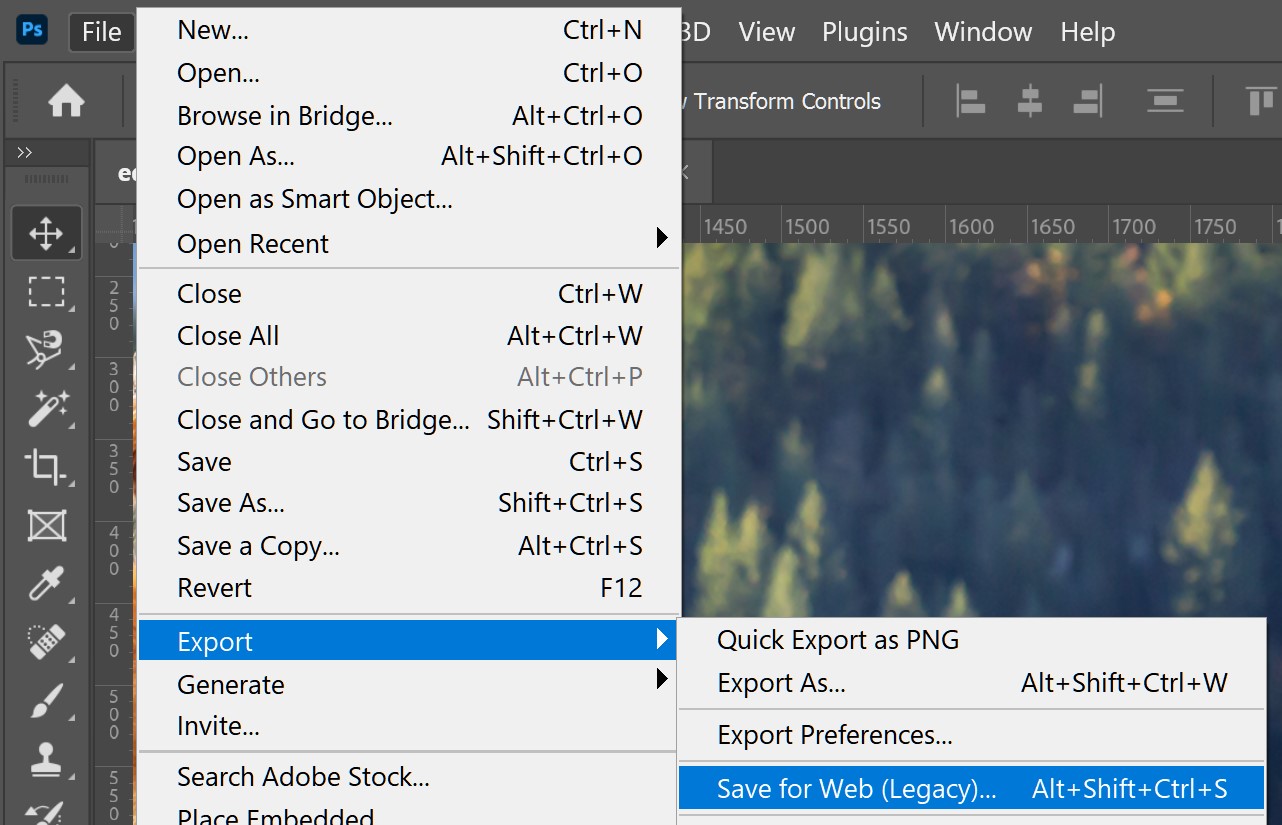
You'll use the Save As command to save files in the PSD format, as well as other common formats like JPEG and PNG.
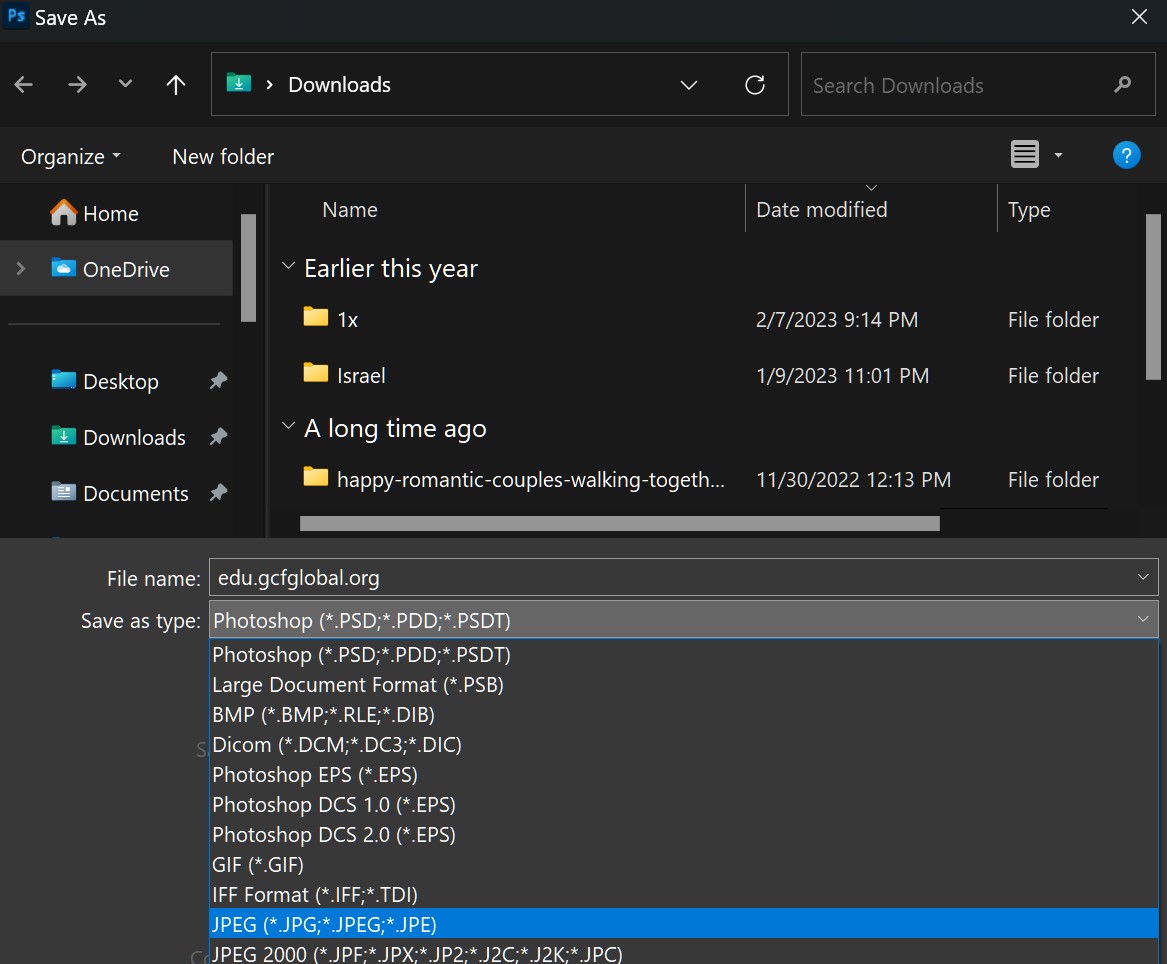
Sometimes when you're saving the file, you haven't activated all of the possible formats. You need to tick the box Enable legacy “Save as.” Go to Edit > Preferences > Ctrl + K > File handling > enable Legacy “Save as”> OK.
Open the example file in Photoshop and try saving it in different file formats, like PSD and JPEG. Notice how the PSD format preserves the individual layers, while the JPEG format does not.
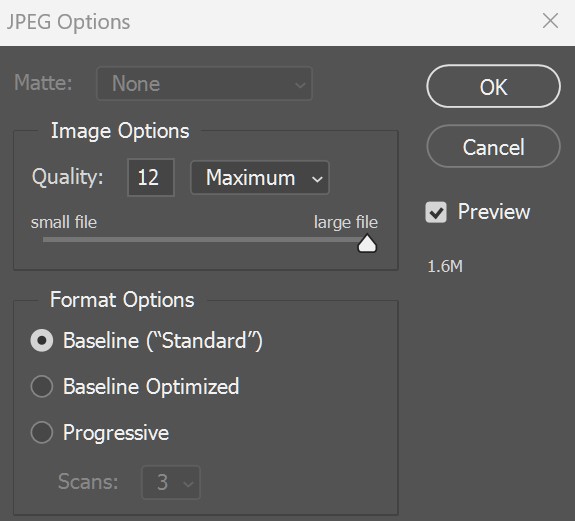
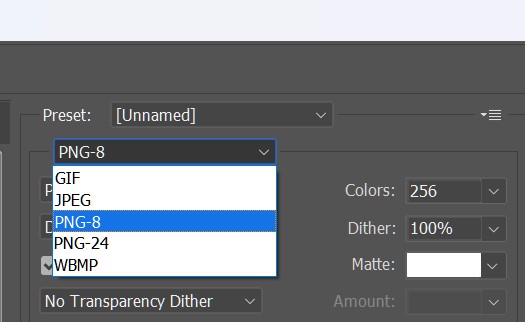
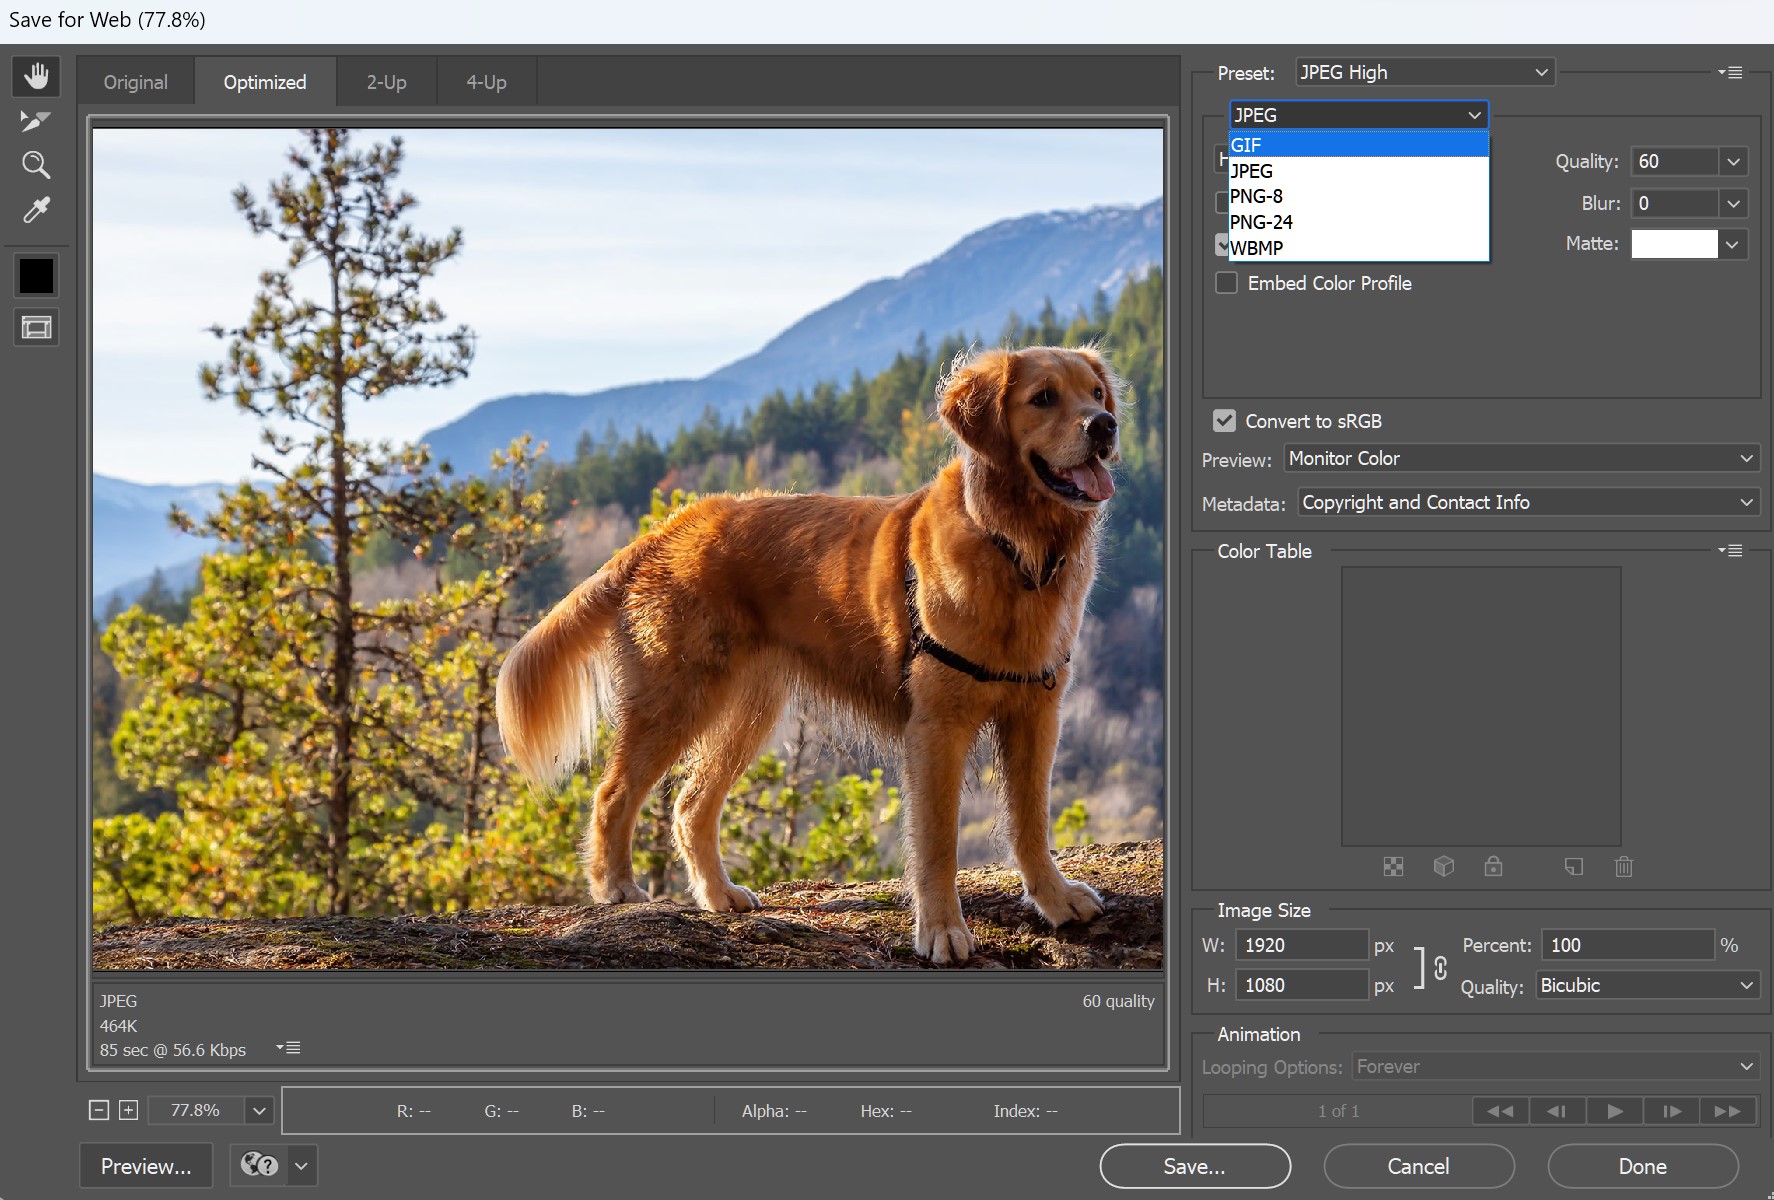
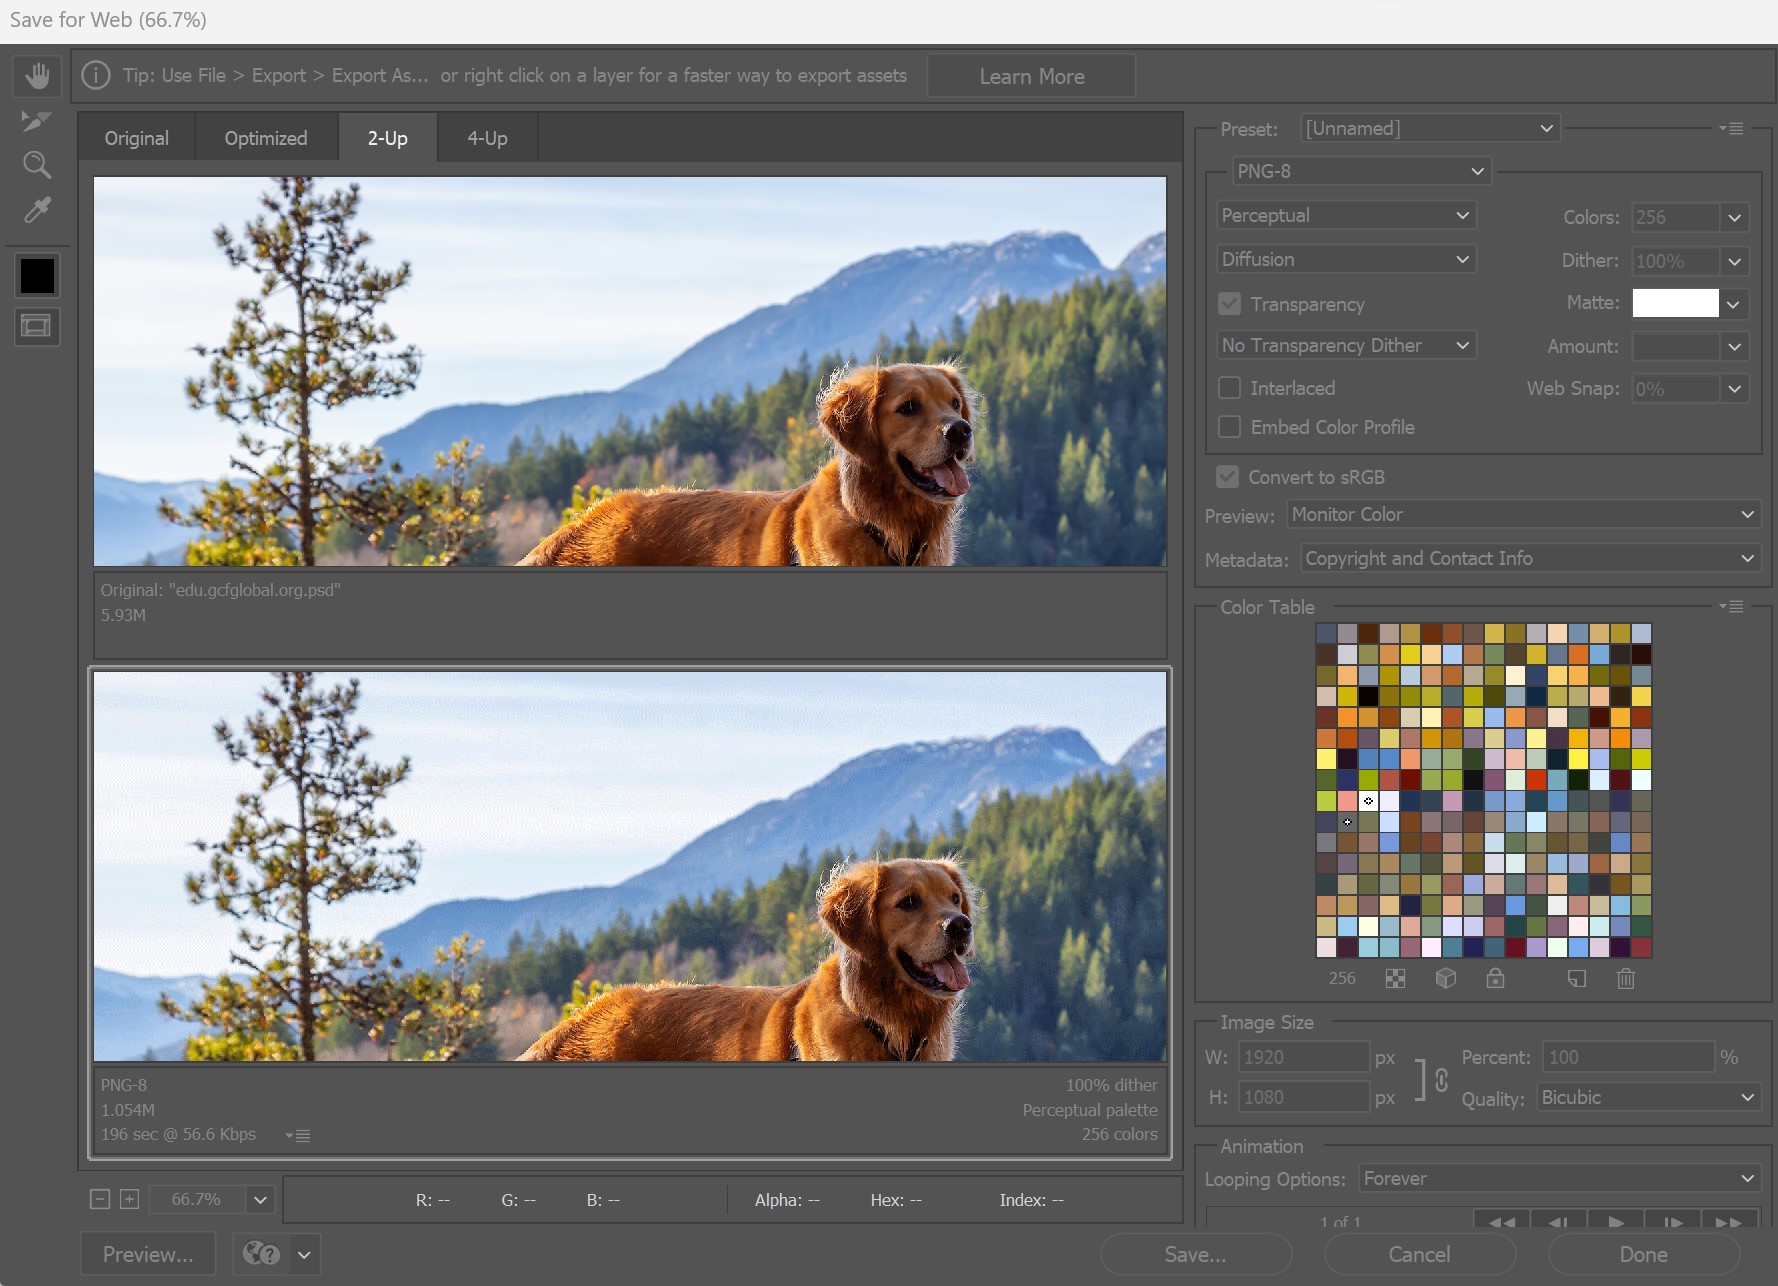
When you use the Save for Web feature, you'll need to make a few decisions about the image you're saving:
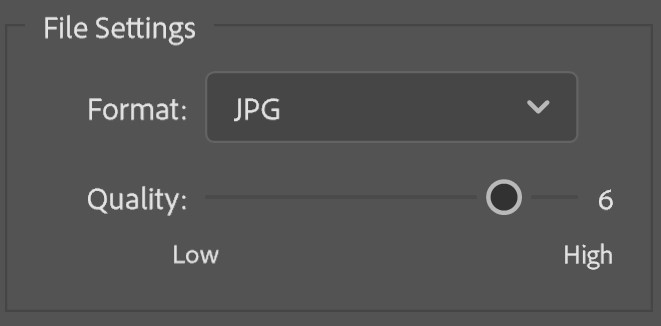
Drag the slider in the interactive below to adjust the JPEG compression quality. Remember, higher quality levels will also increase the file size. Try to find a setting that looks good while keeping the file size relatively small.
For best results, we recommend using the Chrome web browser with these interactives.
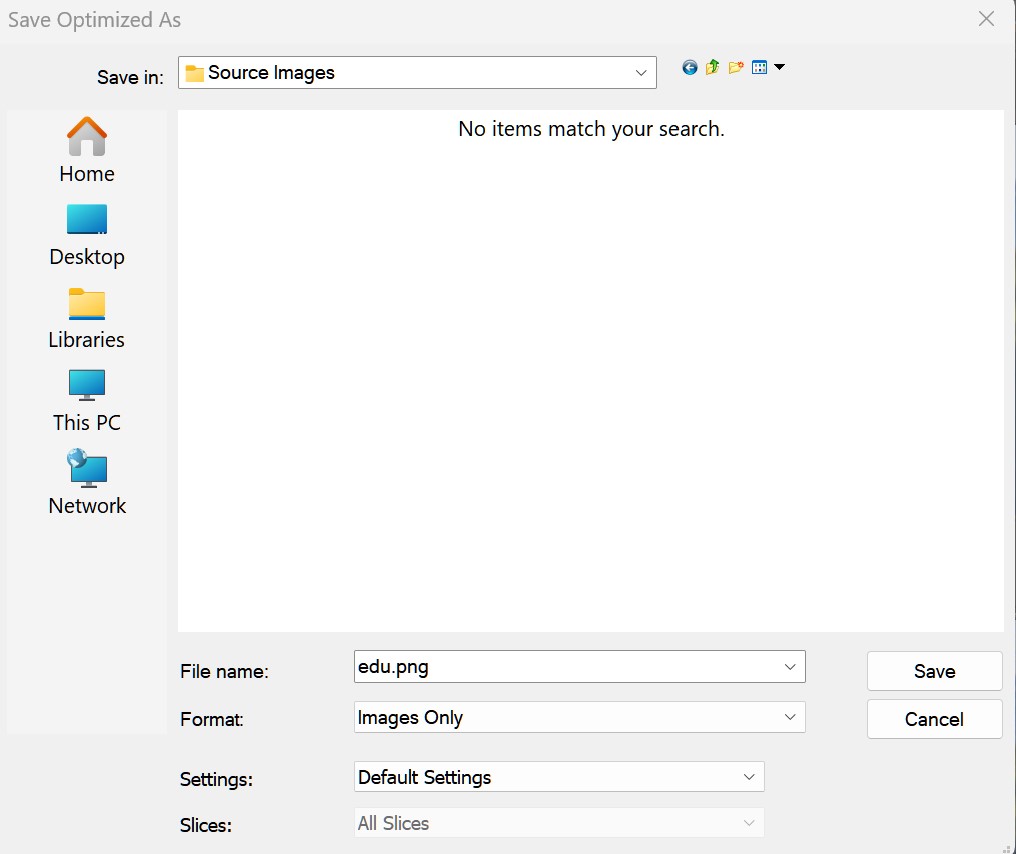
Open the example file in Photoshop and use Save for Web to save a new version of the image. Try out different file formats and quality settings to see how they affect the image's quality and file size.
/en/photoshopbasics/understanding-layers/content/