
Outlook 2010 -
Managing Contacts

Outlook 2010
Managing Contacts

search
menu
/en/outlook2010/organizing-and-managing-email/content/
Contacts view is the central place for all your contacts in Outlook 2010. Maintaining a detailed contacts list will make sending emails and scheduling meetings much easier.
In this lesson, you'll learn how to add, manage, and organize your contacts. We'll also talk about how to import contacts.
Outlook 2010 keeps all of your contacts organized in Contacts view. Once you've added contacts to Outlook, you'll use the same contact information to send emails, schedule meetings, and assign tasks. Keeping a detailed contacts list can be especially helpful in the workplace, as you may need to communicate with many different people every day.
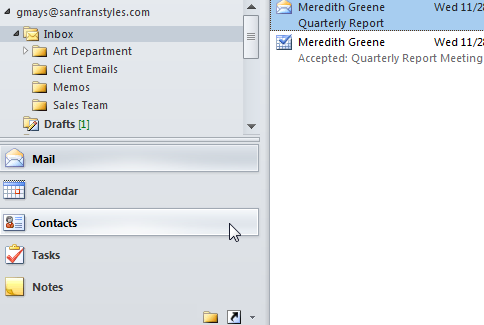 Navigating to Contacts view
Click the buttons in the interactive below to become more familiar with the Contacts view interface.
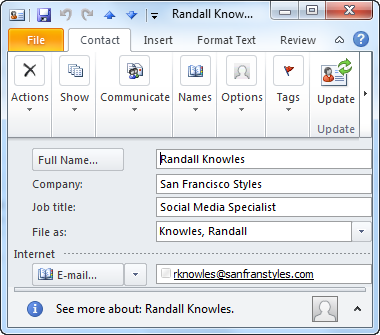
Double-click a contact to edit the contact's information. The Contact dialog box will appear. Edit the information as desired.
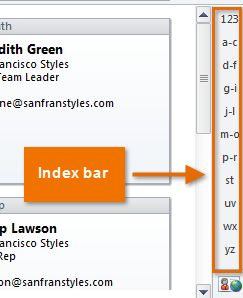
If you have a lot of contacts, you can jump directly to a specific point in your contacts list using the Index bar.
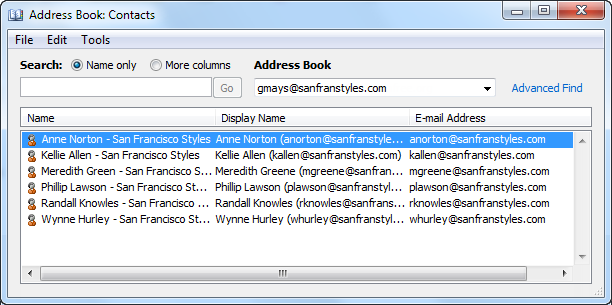
Open the Address Book to see a full list of your contacts. You can also navigate between other address books available over your network.
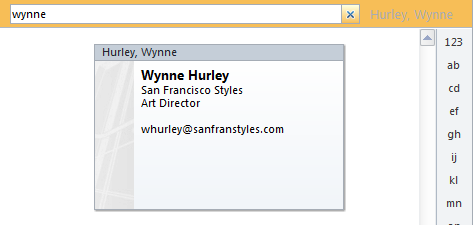
If you're having trouble finding a contact, you can find them quickly using the Search bar.
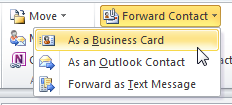
It's easy to share contact information with someone else. For example, if a co-worker requested an email address of a new client, you could forward their contact information.
The commands in the Actions group allow you to access advanced options, such as Mail merge.
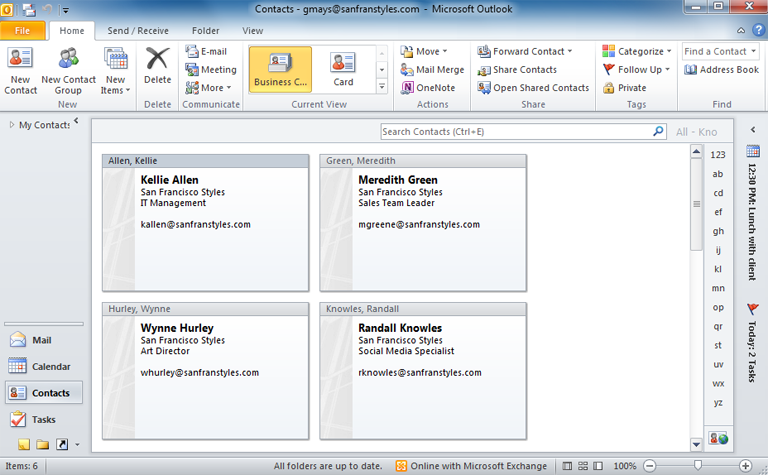
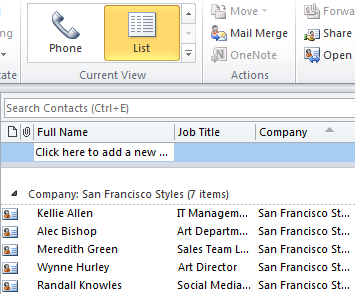
There are several different view options for Contacts view. By default, your contacts appear as business cards, but you can also view them in small card, phonebook, or list format.
Use the commands in the Communicate group to quickly compose an email or request a meeting with the selected contact.
The Delete command will delete the currently selected contact from the contacts list.
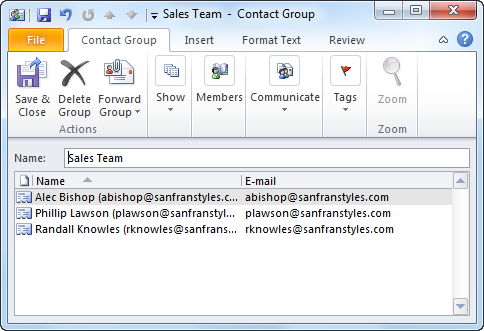
If you frequently work with the same group of people, you can create a contact group for quick access.
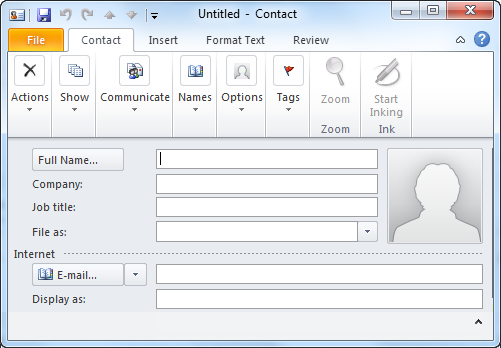
Click the New Contact command to create a new contact. The Contact dialog box will appear. From here, you'll enter the desired contact information.
Your contacts will appear in the View pane.
There are two ways to add contacts:
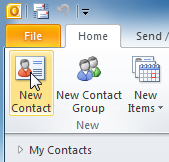 Clicking New Contact
 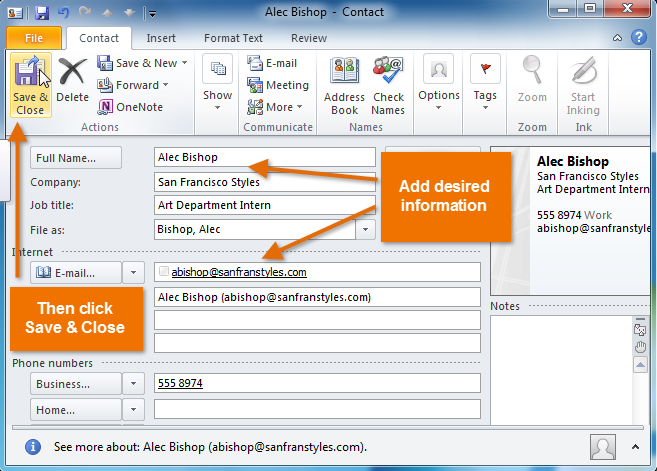 Adding contact information
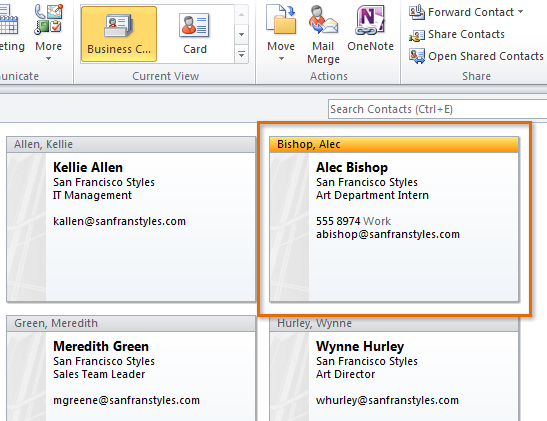 The added contact
In order to import contacts to Outlook, you must first export those contacts to a file, most commonly a Comma Separated Value file, also known as CSV. Most email applications will provide instructions on how to export your existing contacts. Once you've exported your contacts, you're ready to import them to Outlook.
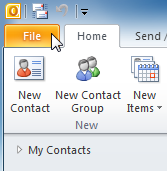 Clicking the File tab
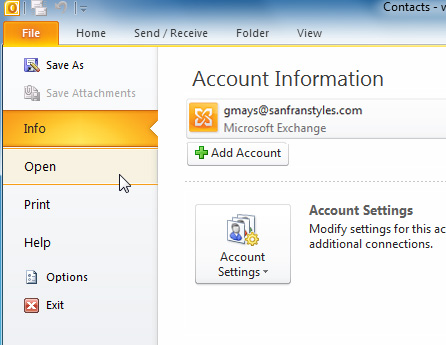 Clicking Open from Backstage view
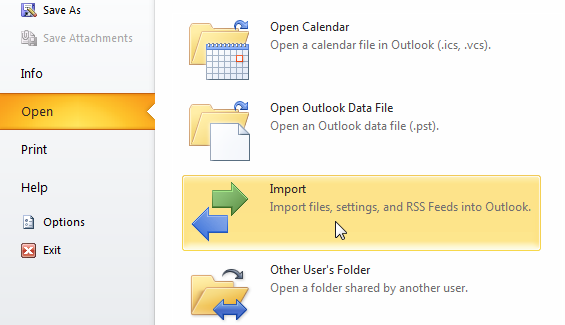 Clicking Import
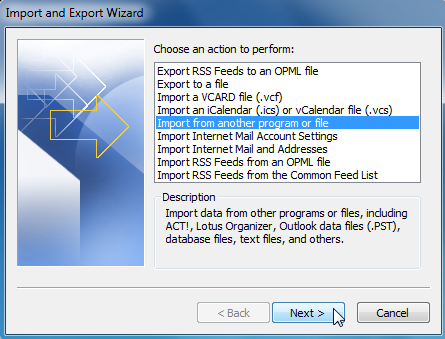 The Import and Export Wizard
If you use Gmail, follow these instructions for exporting Gmail contacts.
Once you're familiar with the basics of Contacts view, you can start taking advantage of its most helpful features with these additional tips.
Contact groups are especially convenient for sending messages to a group of people, such as a specific team in your workplace.
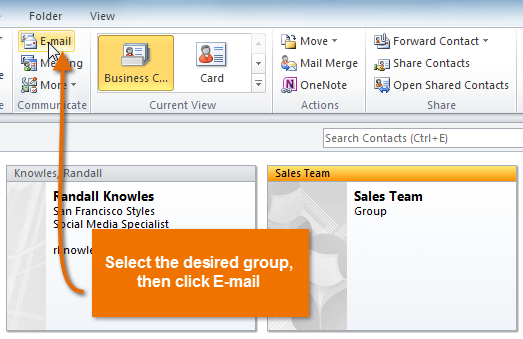 Creating a group email
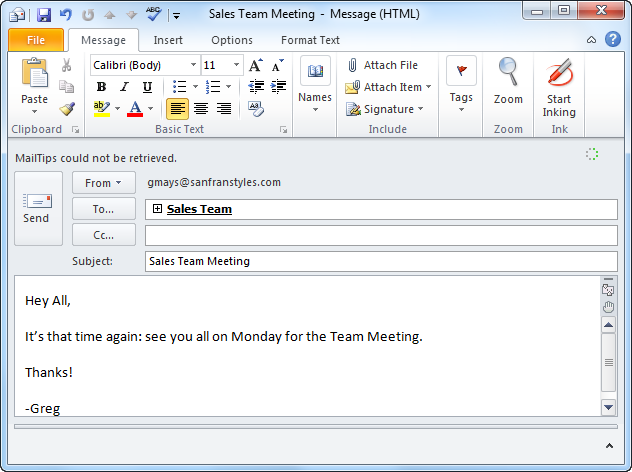 The contact group copied into the To: field
If you want to use Outlook 2010 to manage projects and tasks, you can assign tasks (also known as To-Do's) to your contacts. Your contact will receive a notification about the task, and you'll be notified when the task is completed.
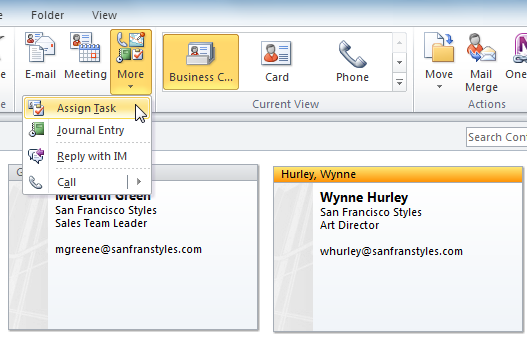 Assigning a task to a contact
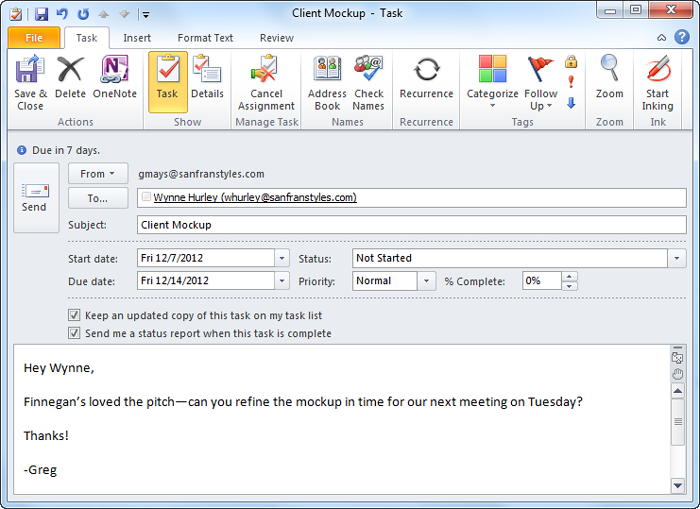 Assigning a task
If you need to access your contacts list away from your computer, it's easy to print contacts.
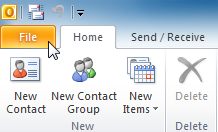 Clicking the File tab
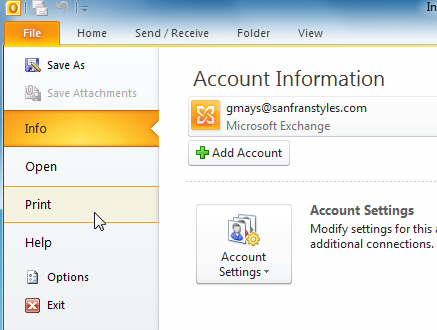 Clicking Print in Backstage view
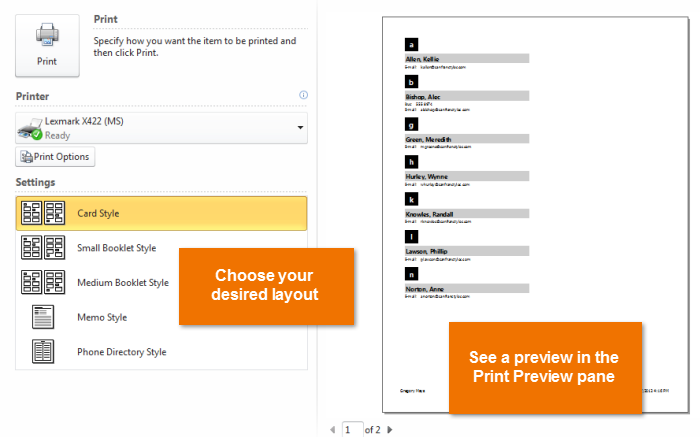 Printing a contacts list
/en/outlook2010/managing-your-calendars/content/