OS X Mountain Lion -
Everyday Tasks

OS X Mountain Lion
Everyday Tasks


/en/macosxmountainlion/communication/content/
OS X Mountain Lion comes with several different apps that can help you with the things you do every day. Depending on your lifestyle and personality, this could include almost anything. Maybe you like to spend a lot of time online. Perhaps you need an app that'll help you keep track of to-dos. No matter what, Apple has you covered with the apps below.
Best of all, these apps are available for other Apple devices too—including the iPad, iPhone, and iPod Touch.
There are many benefits to using these apps if you have more than one Apple device. They're designed specifically so you can open the same app anywhere (on your iPad, iPhone, iPod Touch, or Mac) and still experience the same look, feel, and functionality. All of your information will be there too, including your bookmarks, browser history, meetings, to-dos, and more.
We'll be using the iPad for most of the demonstrations in this lesson, but if you have another device, don't worry. The corresponding apps for the iPhone, iPod Touch, and Mac are fairly similar. The important thing is that you get to know some of the basic tools and features and come away with a solid understanding of what each app can do. Then you can explore the apps some more on your own.
Safari is a web browser that comes built into the iPad, iPhone, iPod Touch, and Mac. It's what you'll use to access the Internet on your device, using familiar features like the address bar, search bar, and navigation buttons.
Safari lets you do all of the things you're used to doing with your web browser—but when you sync with iCloud you can do even more. For example, you can access your bookmarks on any device. You can even sync your open tabs so you can seamlessly switch back and forth between the devices you own.
Click the arrows to view Safari on each device.
If you have a Mac with OS X Lion or earlier, certain syncing features will not be available.

Use iCloud to sync the Safari app. To find out if you already have it enabled, visit your device's iCloud settings. Remember, you have to configure each device separately.
As you already know, the Safari app is different on each device—but there are many similarities when it comes to basic tools and features. Use the interactive below to learn how to perform several common tasks in the Mac version.

Use the back and forward buttons to navigate between pages that you've visited.
Click the iCloud button to access any webpages you've left open in Safari on another device (including your iPad, iPhone, iPod Touch, and Mac).
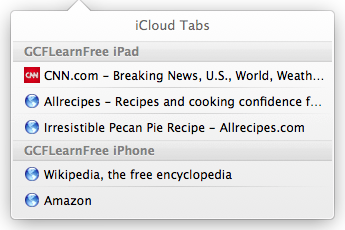
Use the Share button to create a bookmark, save the page to your reading list, and more. You can even email the link to your friends, or share it on Twitter or Facebook.

The address bar displays the URL for the current page. To navigate to a new page, just enter a new address. You can also use the bar to search the web.
Note: The mobile version of Safari has a separate search bar.

The Reader feature allows you to view web articles in a large, easy-to-read format, free of any ads or clutter. That way, you can focus on the text without the webpage getting in the way.

View all of your open tabs at once, so you can easily navigate between them.
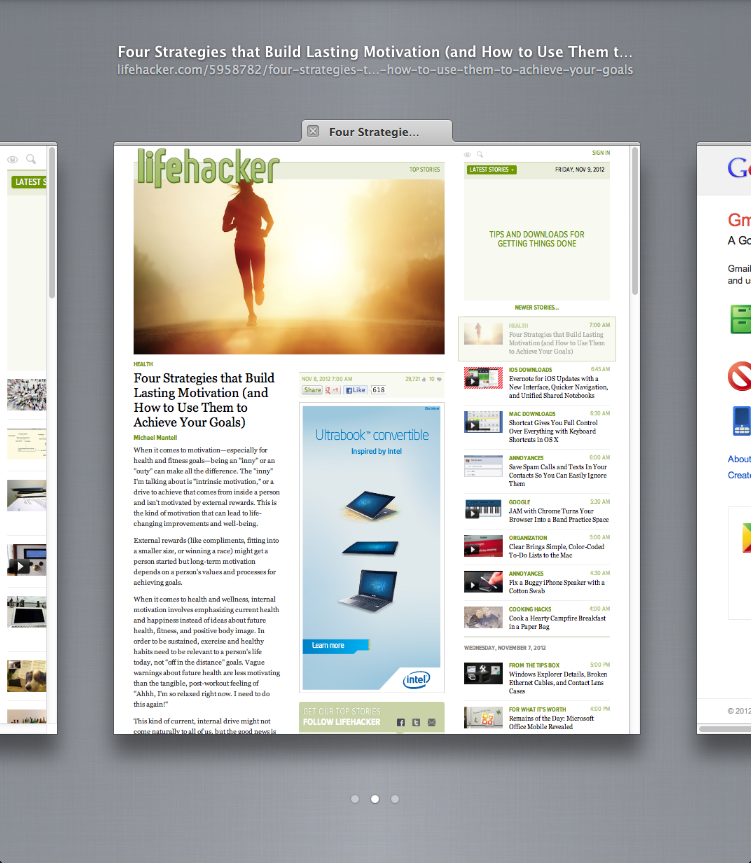
Use this button to open a new blank tab.
Bookmarks that you've added to the bookmarks bar will appear here for easy access.
Safari allows you to browse or open links in separate tabs, which can make it easier to multitask. To navigate to a different tab, click the one you want.
Under Top Sites, you can view your most visited sites, as well as your browser history.
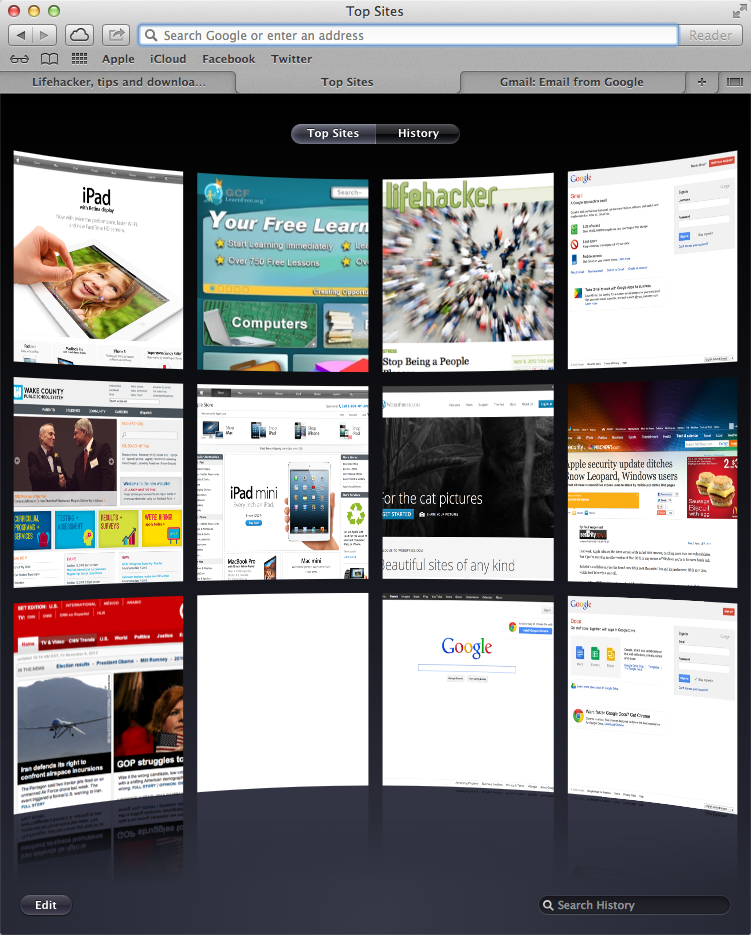
Use this button to access your bookmarks.
If you have Safari synced via iCloud, you'll be able to access all your bookmarks anytime—no matter which device you're using.
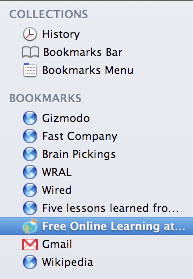
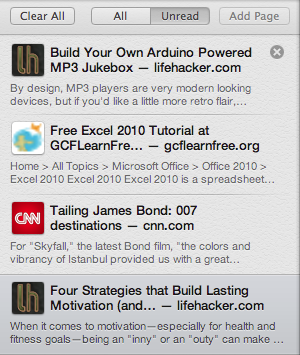
If you find an article or website that you'd like to read later, you can save it to your offline reading list. Safari will download a copy of the site, so you can read it anytime, anywhere.

Once you know your way around the app, consider these tips for getting the most out of Safari.

Sometimes it can be difficult to read webpages in the mobile version of Safari. Luckily, there are two ways to zoom in and out—which technique you like best will depend on your personal preferences.
Some people like to double-tap to zoom in, which enlarges the page to about 150% every time (which is perfect for reading small text). Others like to use the pinch gesture, which offers more control over how large (or small) the page appears.
If you find an article or website you'd like to look at later, you can save it to your reading list. Safari will actually download a copy of the site so you can read it anytime, anywhere—even if you don't have access to the Internet.
This feature works great if you have Safari synced via iCloud. For example, you could add a website to your reading list on your Mac, then read it on your iPad while you're out running errands. You won't even have to use your device's cellular signal or Wi-Fi because the feature makes the webpage available offline.
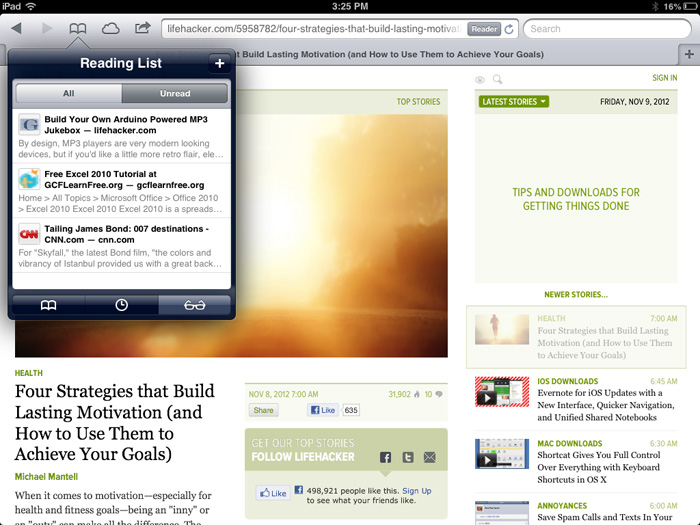 Accessing your reading list
You can use the Calendar app to manage your schedule by adding meetings, appointments, and other events—all in an environment that's flexible and easy to use. The app comes with several useful features, including alerts for important events.
You can even sync the app with other calendars, like your calendar in Google, Yahoo!, and Outlook. This way, you can add, edit, and delete events all in one place, without having to keep track of more than one calendar.
Click the arrows to view Calendar on each device.
If you have Mac OS X Lion or earlier, the app will be called iCal instead.

Use iCloud to sync the Calendar app. To find out if you already have it enabled, visit your device's iCloud settings. Remember, you have to configure each device separately.
As you already know, the Calendar app is different on each device—but there are many similarities when it comes to basic tools and features. Use the interactive below to learn how to perform several common tasks in the iPad version.
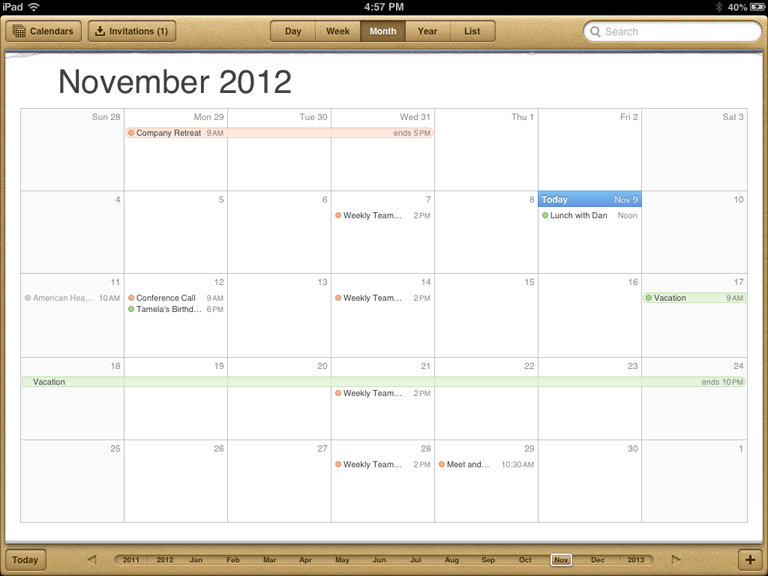
Use this button to create a new calendar event. You can also press and hold a time slot on your calendar.
Press and hold a time slot to create a new calendar event. You can also use the + button in the bottom right corner.

Tap to view or edit an event.
There are many different ways to navigate your calendar. Look to the options at the bottom to quickly jump to a different day, week, month, or even year. The options will vary depending on your current view.
Tap Today to quickly jump to today's events, no matter where you are in your calendar.
Change your calendar view to Day. This option is useful for viewing your full schedule (from morning to night) one day at a time.
When someone invites you to one of their events, you'll be notified here. If you choose Accept or Maybe, the event will be added to your calendar.
Here, you can manage all your different calendars, including calendars that are synced from other services, and calendars that you've created yourself.
Here, you can search for events by keyword. You can even enter a friend or coworker's name, and find events that include them as an invitee (or inviter)
Change your calendar view to List. This allows you to view your schedule and a list of your events side by side.
Change your calendar view to Year. From here, you can easily navigate to a specific day.
Change your calendar view to Month (currently pictured).
Change your calendar view to Week. This option is also useful for viewing your full schedule—but this time, for an entire week.
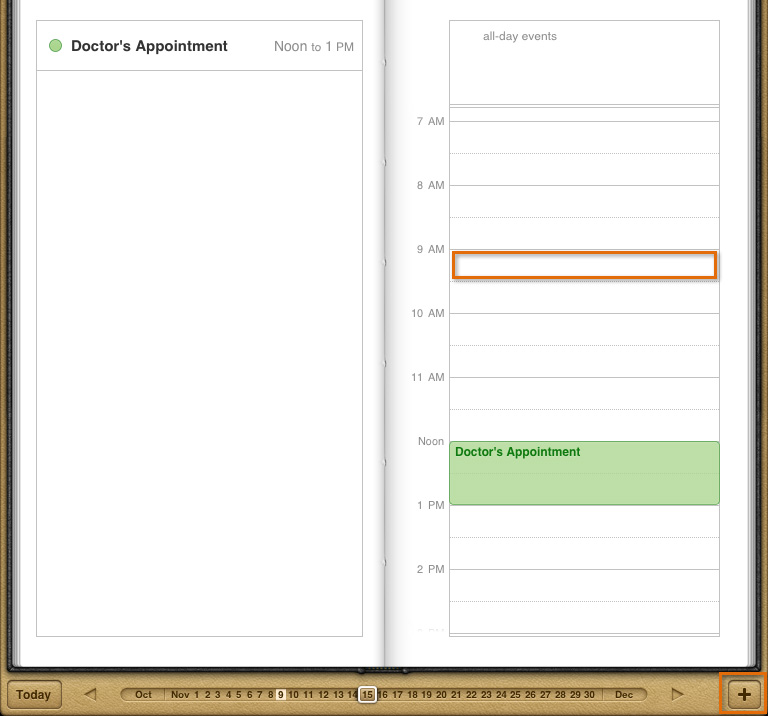 Creating a new calendar event
Use the interactive below to learn more about event details.

Use this field to add notes about the event. You can enter whatever you like.
Here, you can attach a link to the event. This option is especially useful if the event is a webinar—that way, invitees will know where to go.
Give the event a title that will make it easy to reference on your calendar. You can also list a location if you want.
If your friends or colleagues are using a compatible calendar (iCloud, Microsoft Exchange, or CalDAV), you can invite them to the event too. If they accept, the event will be added to their calendar.
Use this option to set an alert for the event. You can choose a few minutes or even a few days in advance.
If you have multiple calendars (for example, one for work, and one for your personal schedule), you can decide where to add the event.
Remember, each calendar is color-coded, so you'll be able to tell the events apart.
Set your availability as busy or free. Busy identifies the time as reserved if someone else tries to invite you to one of their events.
Tap to fine-tune the date and time for your event. Choose All-day if you want to reserve the entire day on your calendar.
Here, you can control whether or not the event is going to repeat in the future. This is a great way to schedule recurring meetings and appointments.
Tap Cancel to close the event without saving.
Tap Done to save.

Once you know your way around the app, consider these tips for getting the most out of Calendar.
If you've set up an alert for one of your calendar events, your device can notify you in several different ways depending on your settings. By default, you should receive at least a pop-up alert. Visit the app's settings to customize your notifications or set up even more alerts.
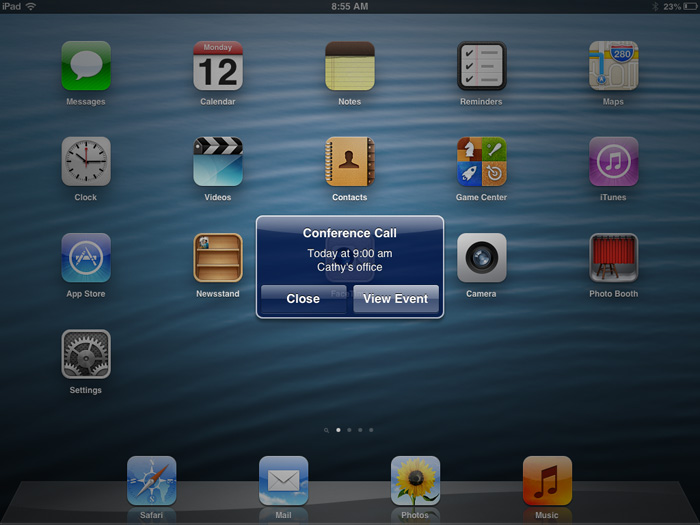 Calendar notifications
If you're an especially busy person, you may want to create separate calendars for the different things that occupy your time. For example, you could create a calendar for work or a calendar for keeping track of your personal schedule. Each calendar will be color-coded in the app so you can easily tell them apart.
To create a new calendar, tap Edit under Calendars. Then choose Add Calendar and follow the app's instructions.
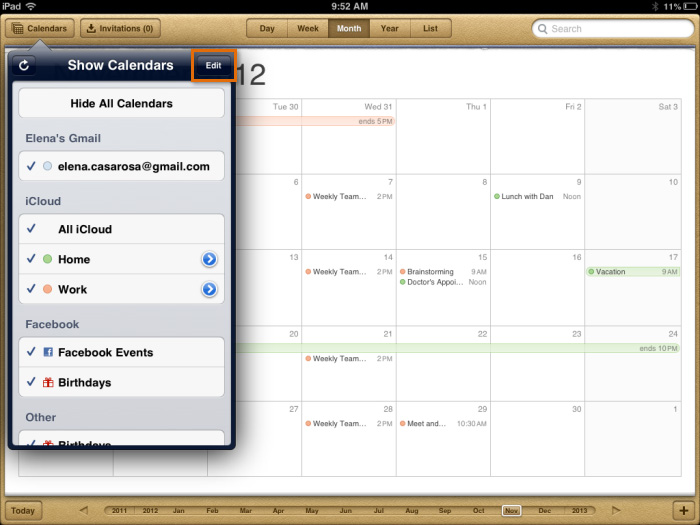 Managing your calendars
If you already have a calendar with another service—for example, Google, Yahoo!, Hotmail, or Outlook—you can sync it with the Calendar app. This will allow you to add, edit, and delete events all in one place so you don't have to visit each calendar separately.
You may have even synced your calendar already, if you've already set up the Mail app. To find out if this is the case, navigate to Mail, Contacts, and Calendars in your device's settings, then review your list of accounts. If your account is synced (including your calendar), it will be indicated here. To add a new account, tap Add Account.
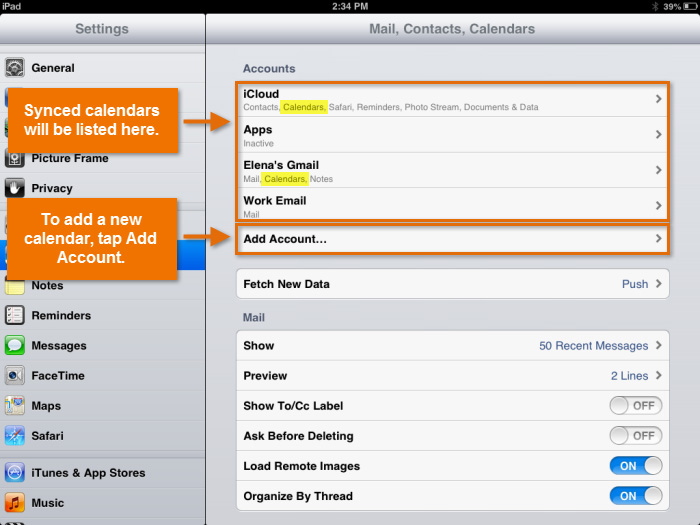 Managing synced calendars
How well syncing works for you will depend on your particular calendar. For example, if you have multiple calendars tied to one Google account (for work, school, or other activities), they may not all sync properly. We recommend giving this feature a try, and with that in mind paying special attention to whether or not your information is syncing.
If you have Siri on your device, it works well with the Calendar app. Try asking it to create events for you instead of performing the task yourself. For example, you could say, "Add book club meeting next Saturday on the 24th at 2:00". Siri will transcribe the event (including the date and time) and add it to the app.
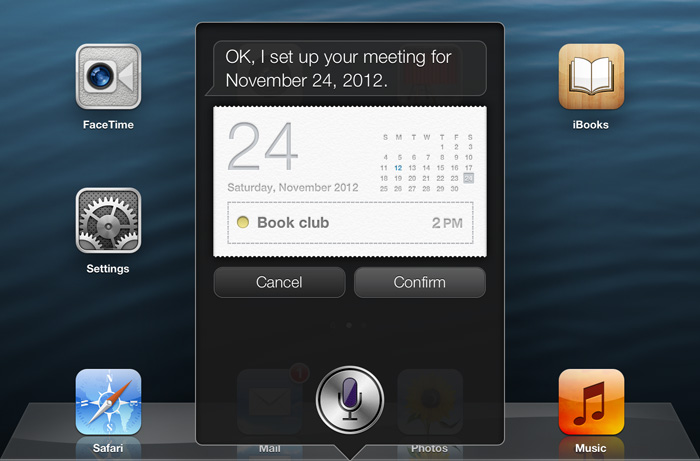 Using Siri to create a calendar event
Reminders is a simple but effective app for managing your to-do list. One of its most useful features is the fact that it can notify you exactly when certain items are due using a small, unobtrusive pop-up window. This makes it easy to address the reminder or dismiss it if you don't have time.
You can also use the app to create other types of checklists, such as a shopping list, packing list, or list of family chores. Sync the app with your other devices, and you'll be able to check things off anytime.
Click the arrows to view Reminders on each device.
Reminders for Mac was introduced with OS X Mountain Lion. If you have OS X Lion or earlier, the app is part of iCal instead.

Use iCloud to sync the Reminders app. To find out if you already have it enabled, visit your device's iCloud settings. Remember, you have to configure each device separately.
As you already know, the Reminders app is different on each device—but there are many similarities when it comes to basic tools and features. Use the interactive below to learn how to perform several common tasks in the iPhone version.

You can quickly navigate to completed reminders using the option at the top of your list. (You may need to scroll all the way to the top to get the option to appear.)
Tap to create a new reminder. You can also use the + button in the upper right corner.
Tap any item on your list to edit details like the due date, priority, and whether or not the task is going to repeat.
Use the check boxes to mark off reminders as you complete them.
Use this button to create a new reminder. You can also tap an empty line on your list.
Here, you can quickly manage the items on your list. Tap the minus button to delete a reminder—or drag and drop different items to rearrange them.
Tap the Lists button to manage different reminder lists. You can create a new list, or navigate to an existing one. You can also view completed items, or items that are due today.
To quickly delete an item, swipe right, then tap Delete.
To quickly switch between different lists, swipe left or swipe right in the area above your list.
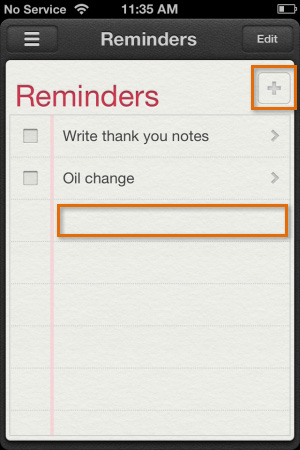 Creating a new reminder
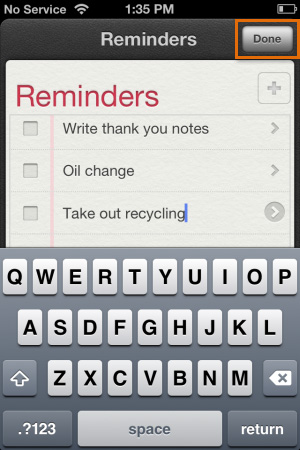 Saving the reminder
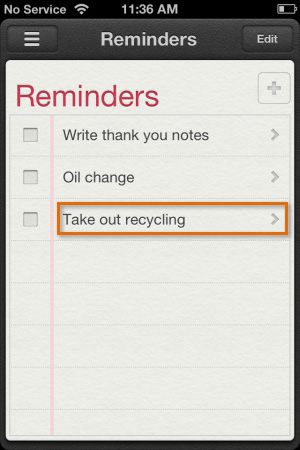 Editing a reminder
Use the interactive below to learn more about reminder details.

Tap Delete to delete the reminder all together.
Use this field to add your own notes about the reminder. You can enter whatever you like.
Want to move the reminder to a different list? You can do that here. You'll be able to choose from all the lists you've created in the app.
Use priority to mark the importance of the reminder. This is useful if you have lots of reminders to keep track of.
Use this option to set a due date for the reminder. You can even set the reminder to repeat at a regular interval (daily, weekly, monthly, or yearly).
Here, you can set a location-based alert. The app will remind you when you leave or arrive at a specific location; for example, your home or office.
Location services have to be enabled in order for this feature to work.
Tap Done to save.
Tap Cancel to abandon your edits without making any changes.

Once you know your way around the app, consider these tips for getting the most out of Reminders.
If you've set up an alert for one of your reminders, your device can notify you in several different ways depending on your settings. By default, you should receive a pop-up alert, as well as the badge app icon. Visit the app's settings to customize your notifications or set up even more alerts.
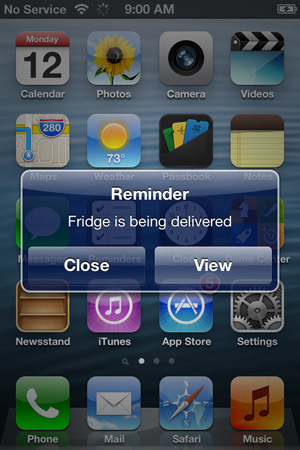 Reminders notifications
Reminders is such a simple app, there's only one thing that can make it even simpler—Siri. If you have Siri on your device, try asking it to set reminders for you instead of performing the task yourself. For example, you could say, "Remind me about the dance recital at 7:00 PM next Wednesday". Siri will transcribe the reminder (including the date and time) and add it to the app.
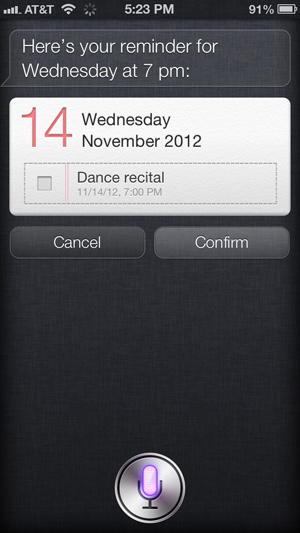 Using Siri to create a reminder
You can also use voice dictation to compose reminders instead of relying on the keyboard. This can be useful if you need to add something lengthy and don't feel like typing. Just tap the microphone icon on your keyboard. Then say your message out loud, and Siri will try to transcribe it for you.
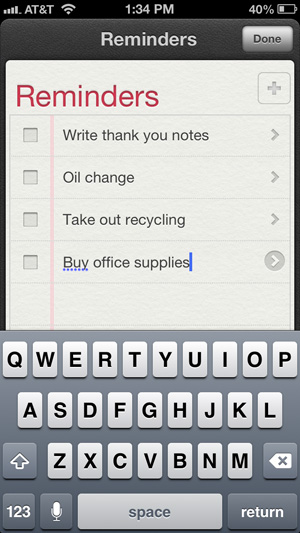 Voice dictation in Reminders
Notes is a great app for taking quick notes or jotting down something you want to remember later. All you have to do is open the app and type whatever you want. If you have more than one Apple device, you can also sync the app via iCloud. This will give you access to all of your notes anytime, no matter which device you're using.
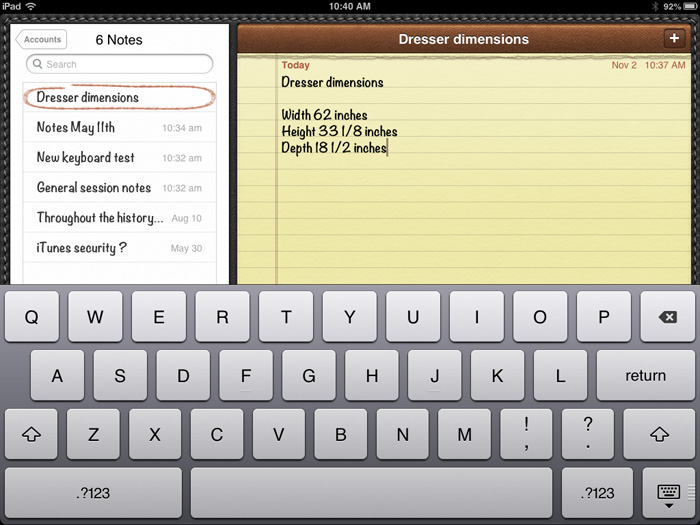 The Notes app
Feeling lost? Maps can help you find your way with simple turn-by-turn directions and live traffic updates. You can also search for local restaurants and businesses, view buildings in 3D mode, and explore entire countries, all without ever leaving home.
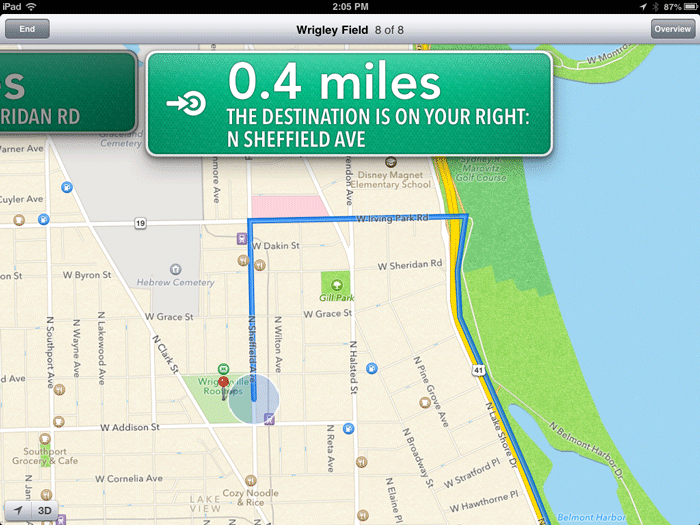 The Maps app
Maps is available for the iPad, iPhone, and iPod Touch only.
Passbook can be used to store items you'd normally have to carry with you. This includes boarding passes, concert tickets, gift cards, and other items that have barcodes. The app will actually make barcodes scannable so you don't have to carry a hard copy—you can ask the ticketing agent or sales associate to scan your device instead.
To use Passbook, you'll need to download special apps from the App Store. For example, if you have an American Airlines boarding pass you'll need to download the American Airlines app for Passbook. Don't worry—the app will guide you through the process.
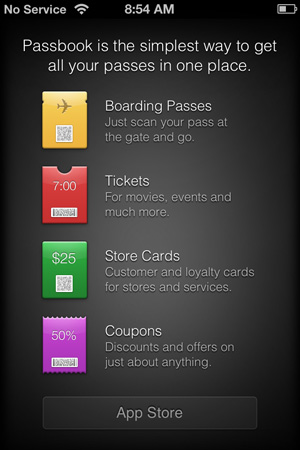 The Passbook app
Passbook is available for the iPhone and iPod Touch only.
Use the Weather app to check the weather in your city. Alternatively, it can be set to your current location instead (this can be useful if you travel frequently). You can even add more than one city so you can keep track of the weather in different parts of the world.
 The Weather app
Weather is available for the iPhone and iPod Touch only.
Much like the Weather app, Clock can be customized to show you the time in different parts of the world. It also comes with other useful features, including an alarm, stopwatch, and timer. If you have Siri on your device, try asking Siri to set an alarm or a timer for you instead of opening the app.
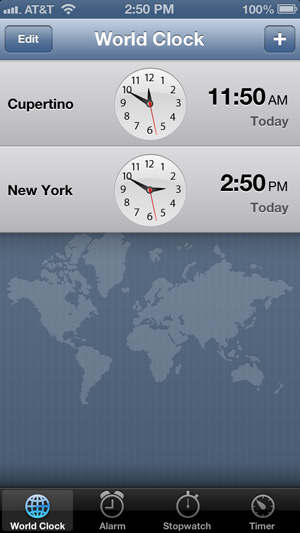 The Clock app
Clock is available for the iPad, iPhone, and iPod Touch only.
There are several other tools you may encounter on your device. They're less robust than the apps above, but they can be just as useful when it comes to simple everyday tasks.
Other mobile apps can be downloaded in the App Store, including apps from third-party developers. There, you'll find a variety of tools that can help you with the things you do every day. These include:
Remember, the App Store is filled with thousands of choices. If you have something particular in mind (maybe an app for your favorite service), just search for it. There's a good chance you'll find what you're looking for.
/en/macosxmountainlion/camera-and-photos/content/