Lesson 11: Adding Pictures and Shapes
/en/googleslides/text-basics/content/
Adding pictures and shapes
Adding pictures and shapes can make your presentations more interesting and engaging. The picture and shape tools in Google Slides also let you customize your images by cropping, reordering, changing colors, and adding other formatting.
Inserting pictures
You can insert a picture from a file on your computer onto any slide. Google Slides even includes tools for finding online pictures and adding screenshots to your presentation.
To insert a picture:
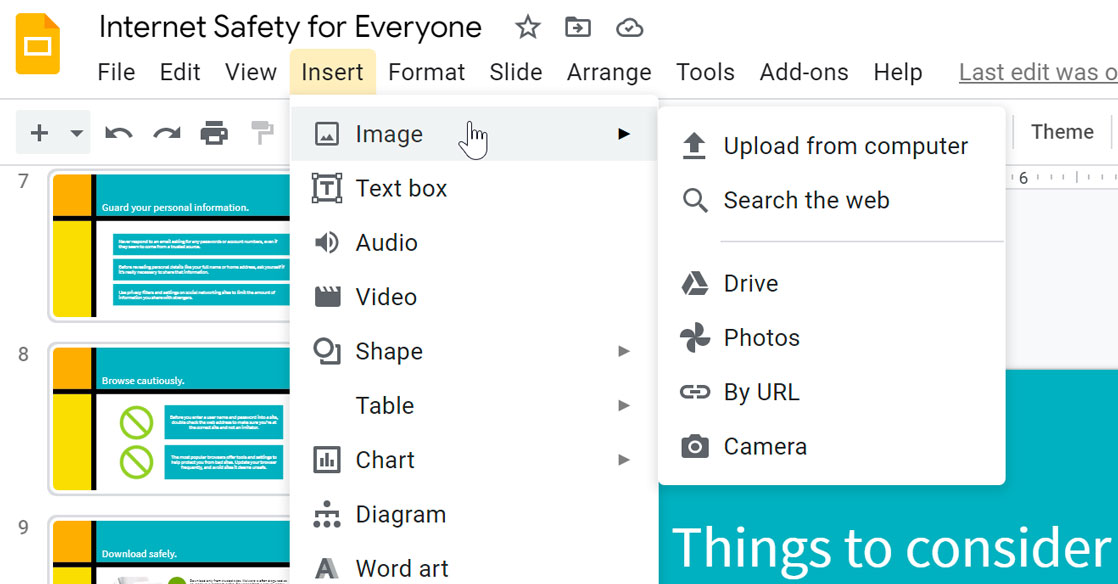
- Open the Insert menu, then select Image.
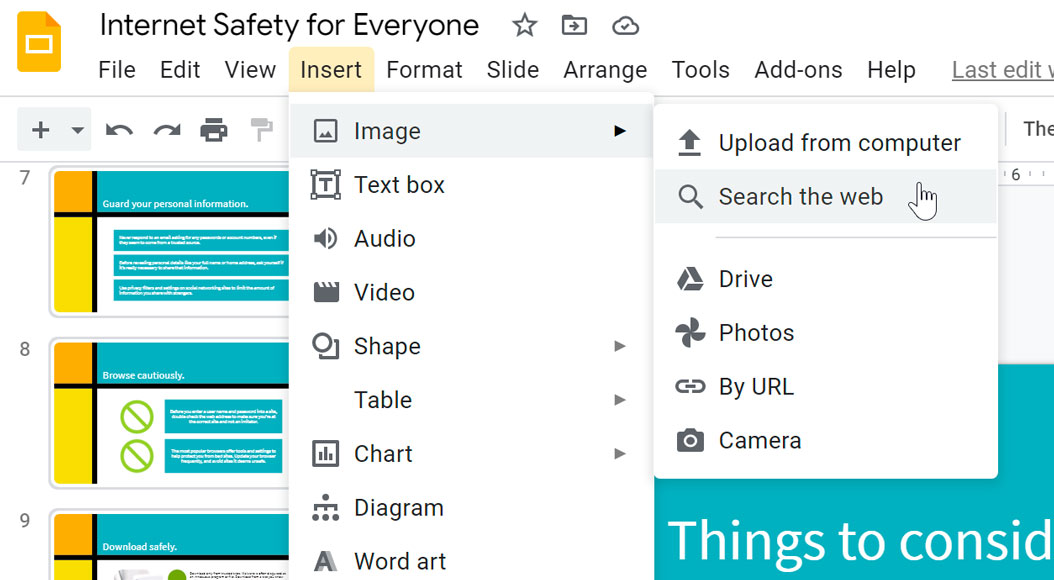
- You can choose an image from a number of sources. In our example, we'll Search the web.
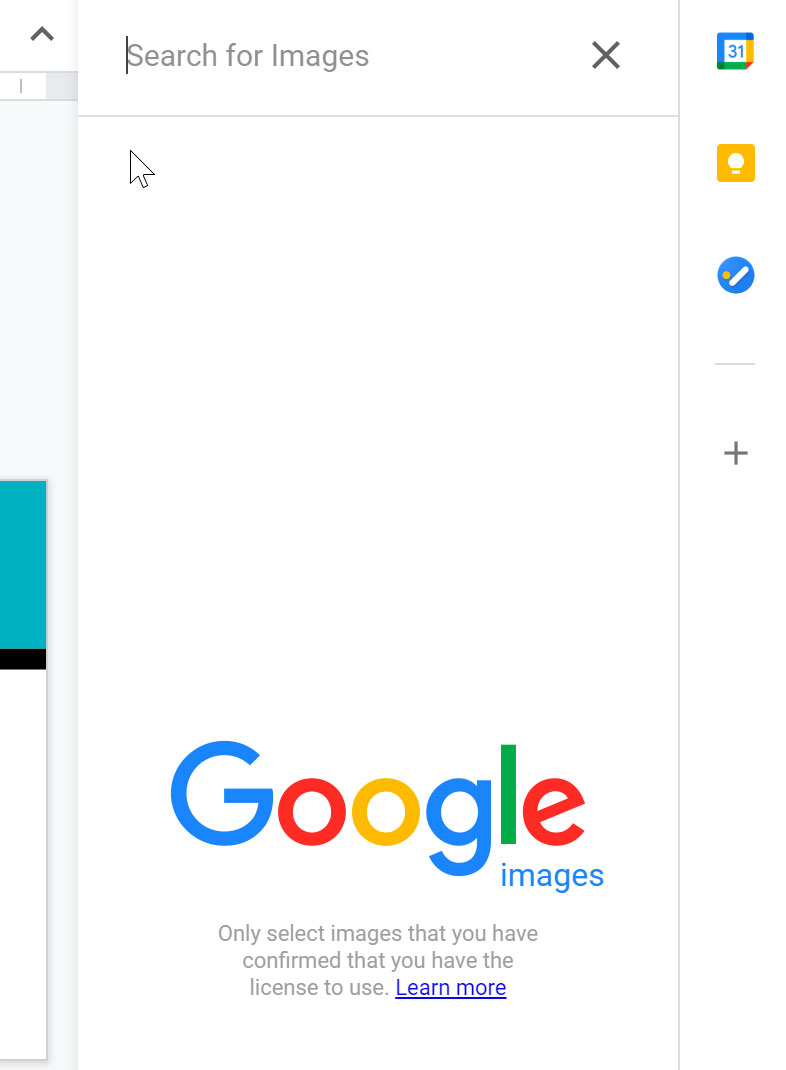
- The Google images search pane will appear on the right. Enter your search terms to find an image you're interested in.
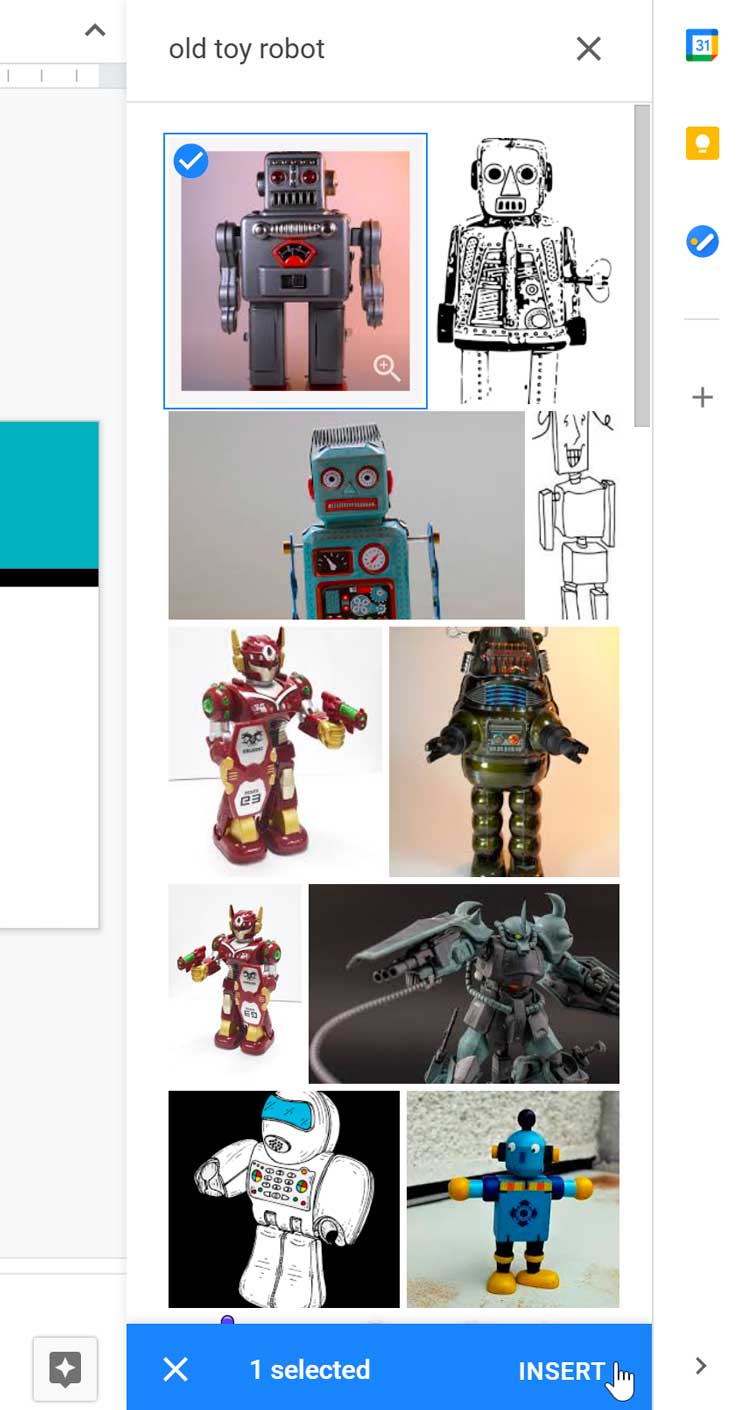
- Click the desired image, then click Insert.
- The image will appear on the selected slide.
Formatting pictures
There are a variety of ways to format the pictures in your slide show. Google Slides has tools to resize and rotate the picture, crop the picture, adjust the image, and more.
To crop an image:
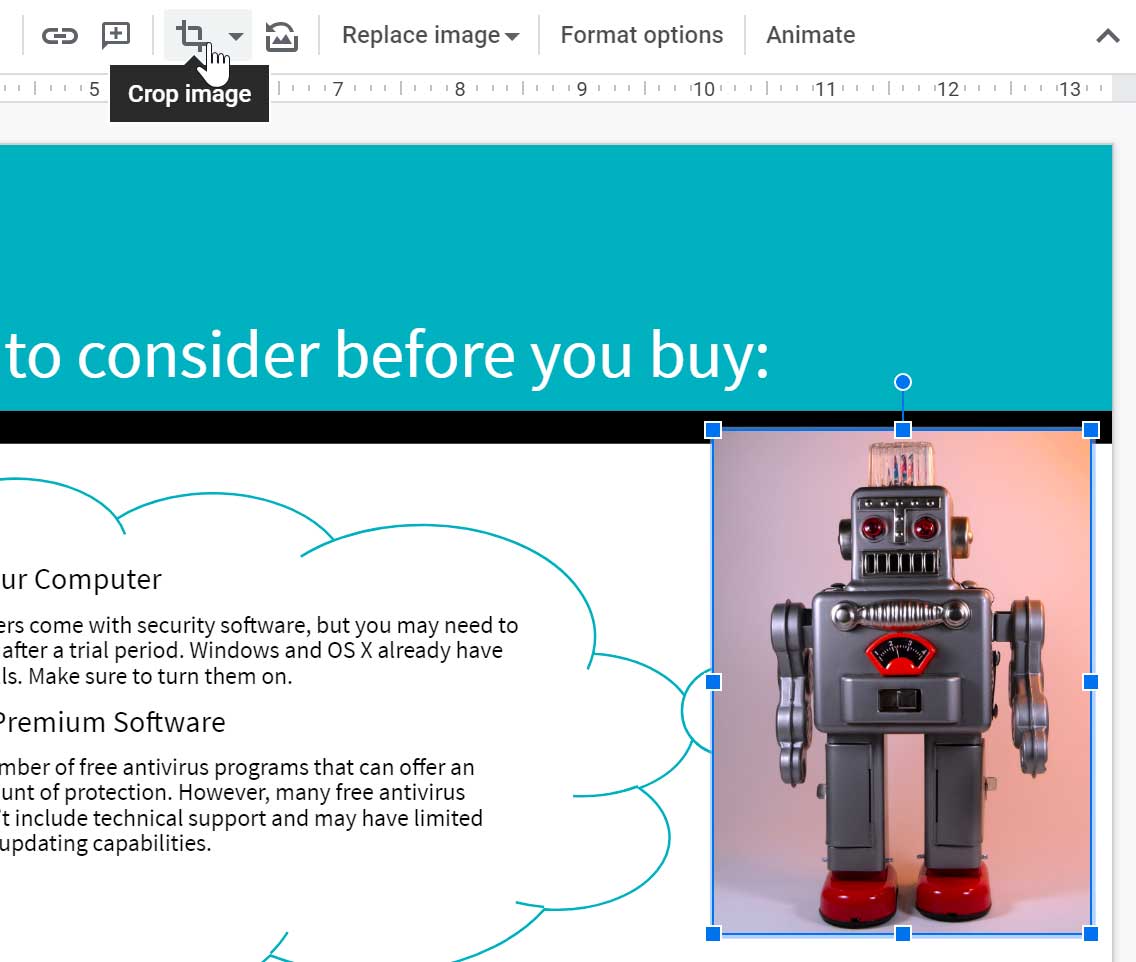
- Select the image you'd like to crop, then click the Crop command.
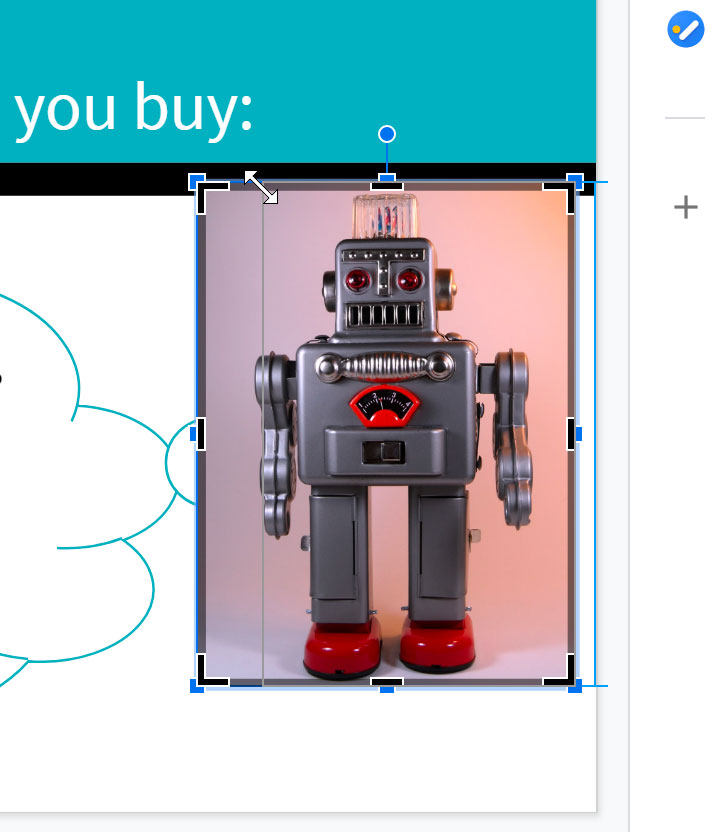
- Cropping handles will appear around the image. Click and drag one of the handles to crop the image. Make sure the mouse is right over the black cropping handle so you don't accidentally select a resizing handle.
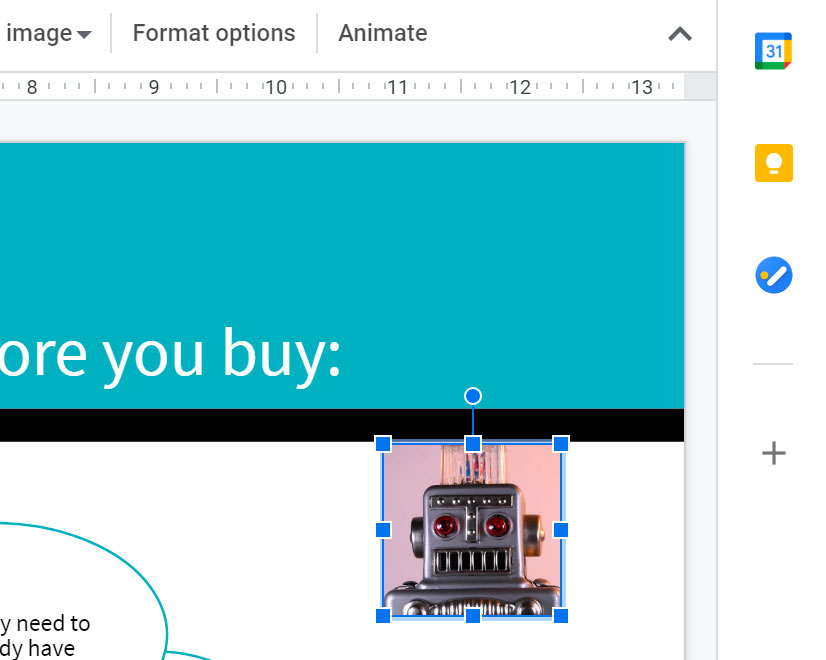
- Click the Crop command again. The image will be cropped.
To crop an image to a shape:
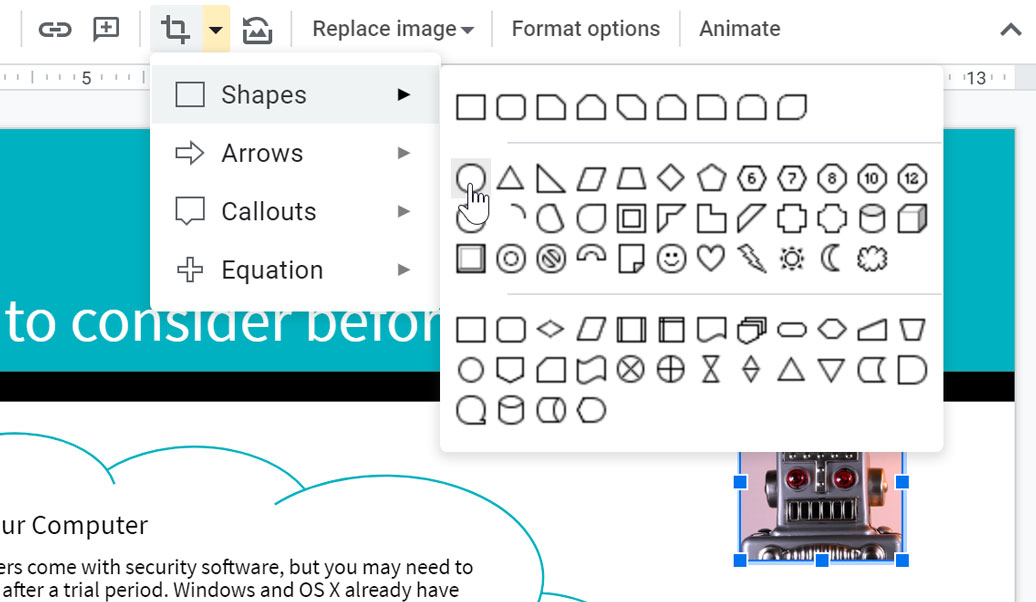
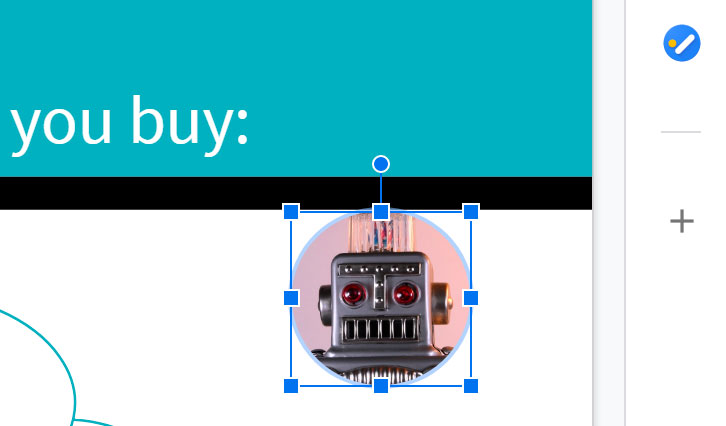
- Select the image you want to crop, then click the Mask Image drop-down arrow next to the Crop command. From the drop-down menu, hover over a category; then, choose the desired shape that you want to insert.
- The image will appear formatted as the shape.
After cropping the image to a shape, you can click the crop button again to use the cropping handles and adjust the size and proportions of the shape.
Image options
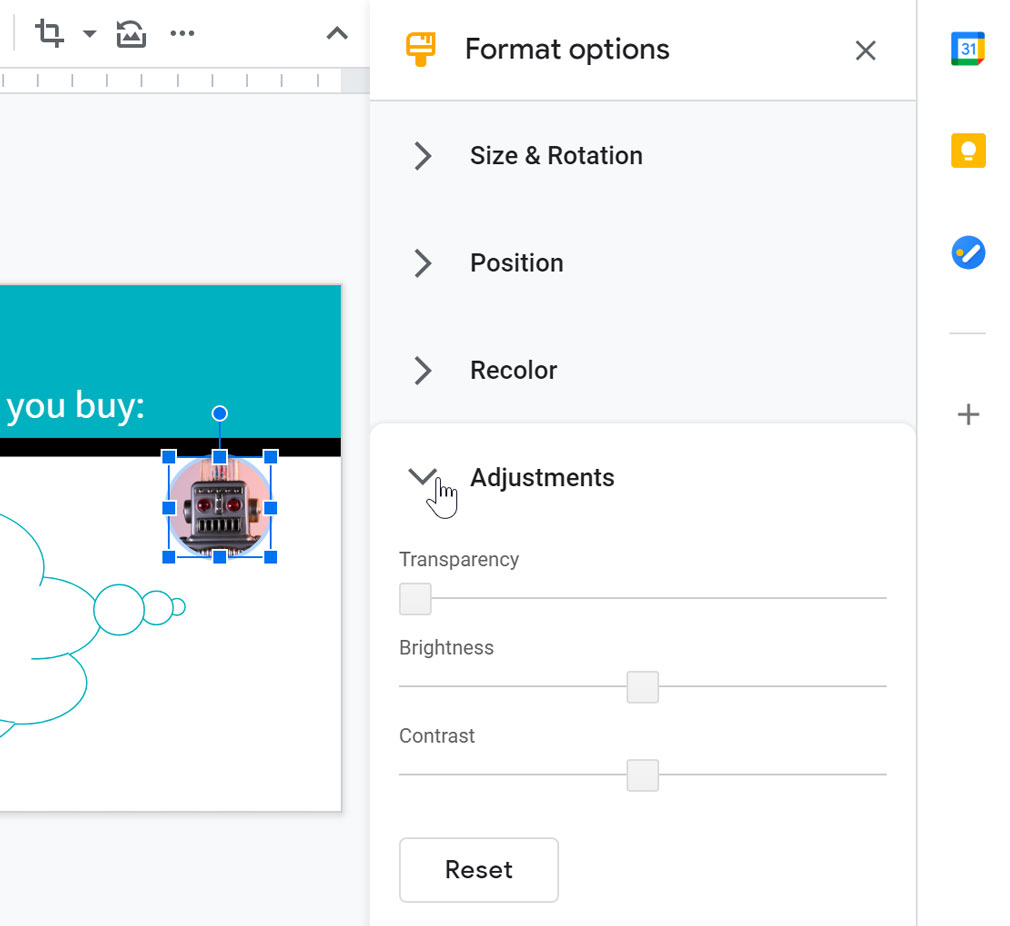
You can adjust an image's transparency, brightness, contrast, and more. To do this, select the image, then click Format options on the toolbar or in the Format menu. The Format options pane will open.
Moving and resizing pictures
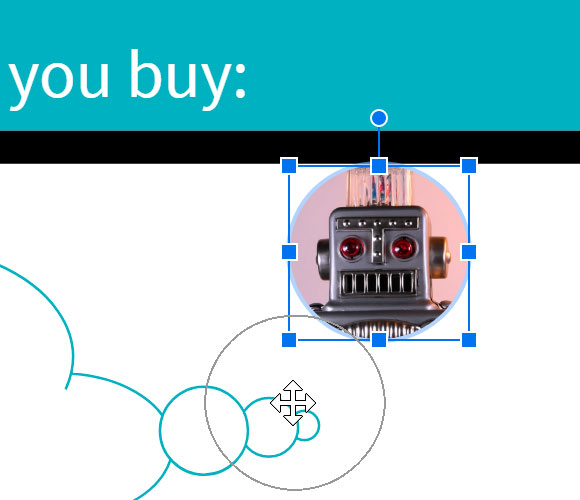
- To move an image: Select the image, then drag it to the desired location.
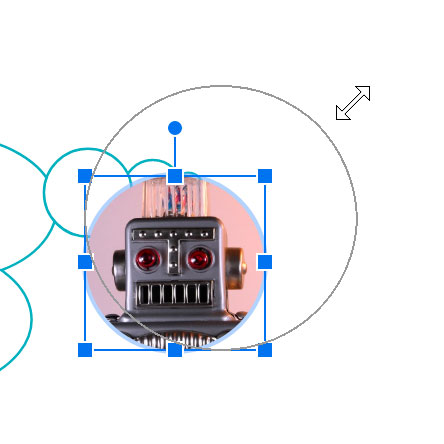
- To resize an image: Select the image you want to resize. Sizing handles will appear. Click and drag the sizing handles until the image is the desired size. You can use the corner sizing handles to change the image's height and width at the same time.
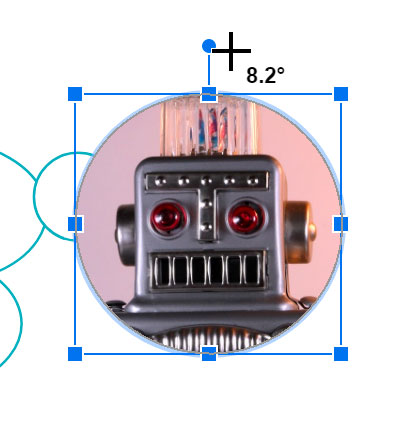
- To rotate an image: When the image is selected, click and drag the rotation handle above the image.
Inserting shapes
Shapes are a great way to make your presentation more interesting. Google Slides gives you a lot of different shapes to choose from, and they can be customized to suit your needs, allowing you to use your own color palette, preferences, and more.
To insert a shape:
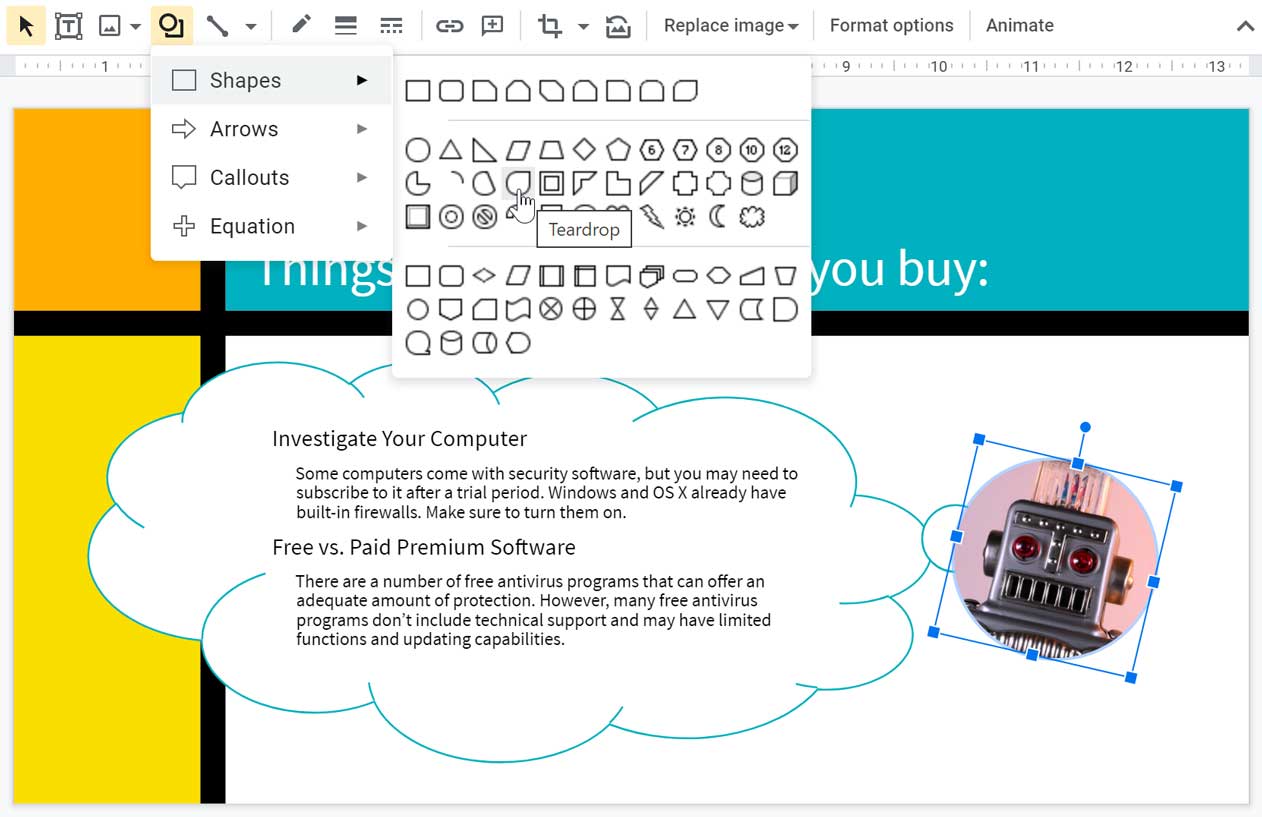
- Click the Shape command on the toolbar to open the drop-down menu. Hover over one of the categories, then choose a shape.
- Click and drag in the desired location to add the shape to the slide. In our example, we'll draw the shape on top of the robot image for now.
- The shape will appear on the slide.
Formatting shapes
In Google Slides, you can modify shapes in a variety of ways to suit your needs. Shapes can be moved and resized just like images, and they have a few other options for adjustment.
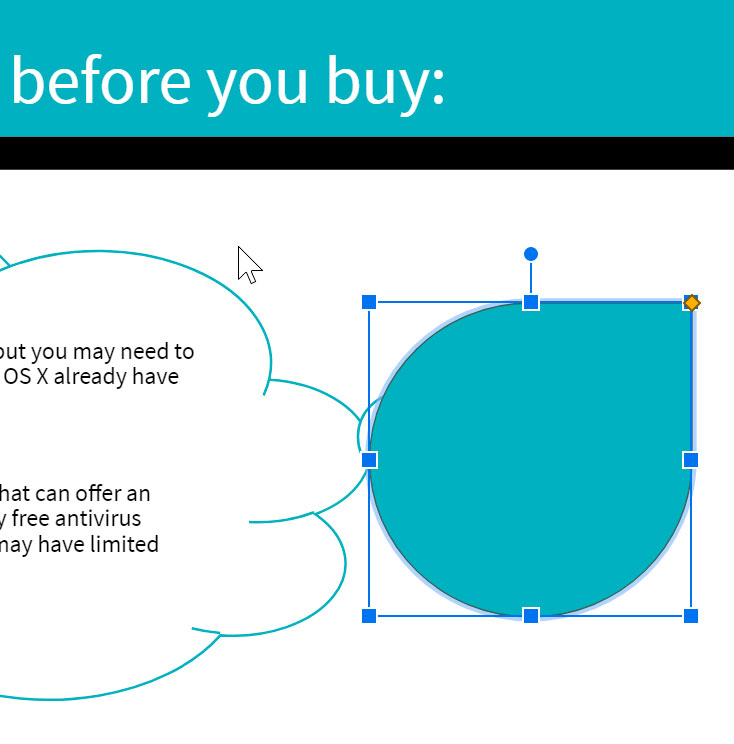
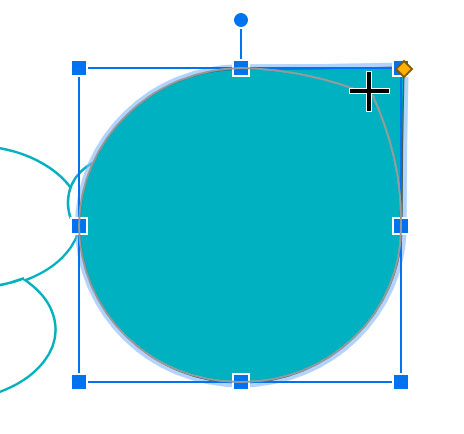
Some shapes have the option to change their dimensions and proportions. To adjust the proportion of a shape, select it, then click and drag the diamond handle.
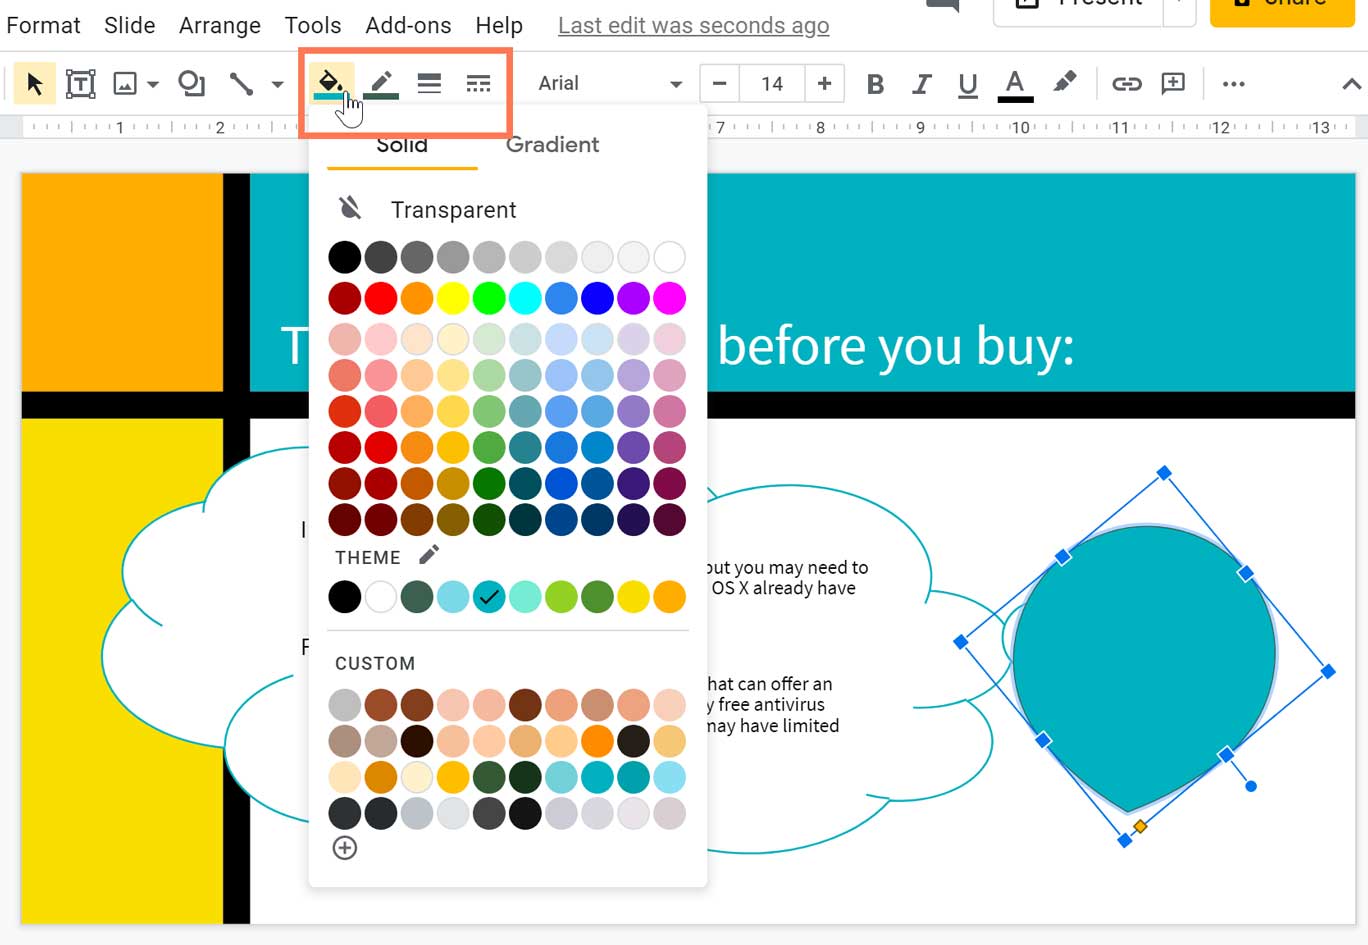
You can further customize shapes by changing their fill color, line color, line weight, and line dash. Select a shape, then click one of the four shape format commands to see the menu for that option.
Reordering objects
In Google Slides, each slide may have multiple items, such as pictures, shapes, and text boxes. When objects are inserted into a slide, they are placed on levels according to the order in which they were inserted into the slide.
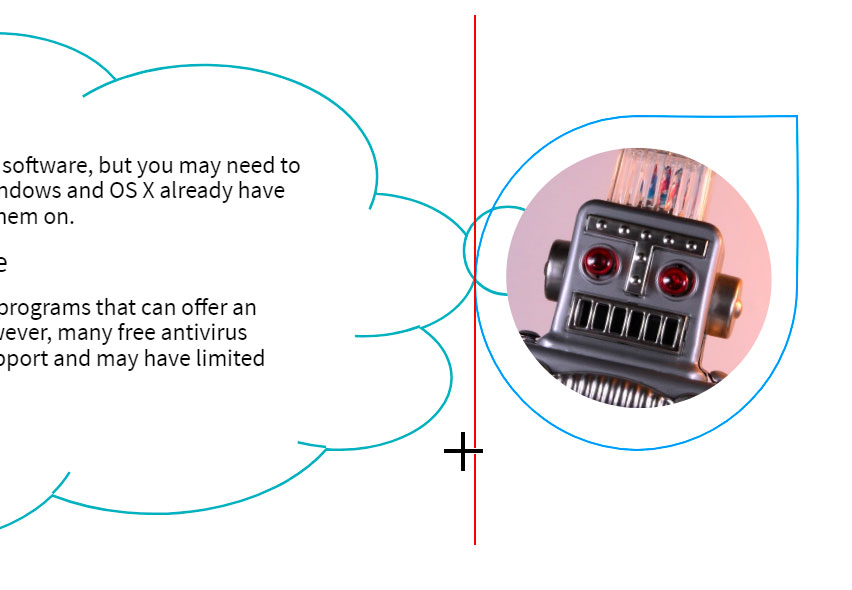
In our example, we drew a teardrop shape on the top level, obscuring the robot picture behind it. We can reorder it to put it behind the other objects.
To reorder an object:
- Select the object you want to reorder.
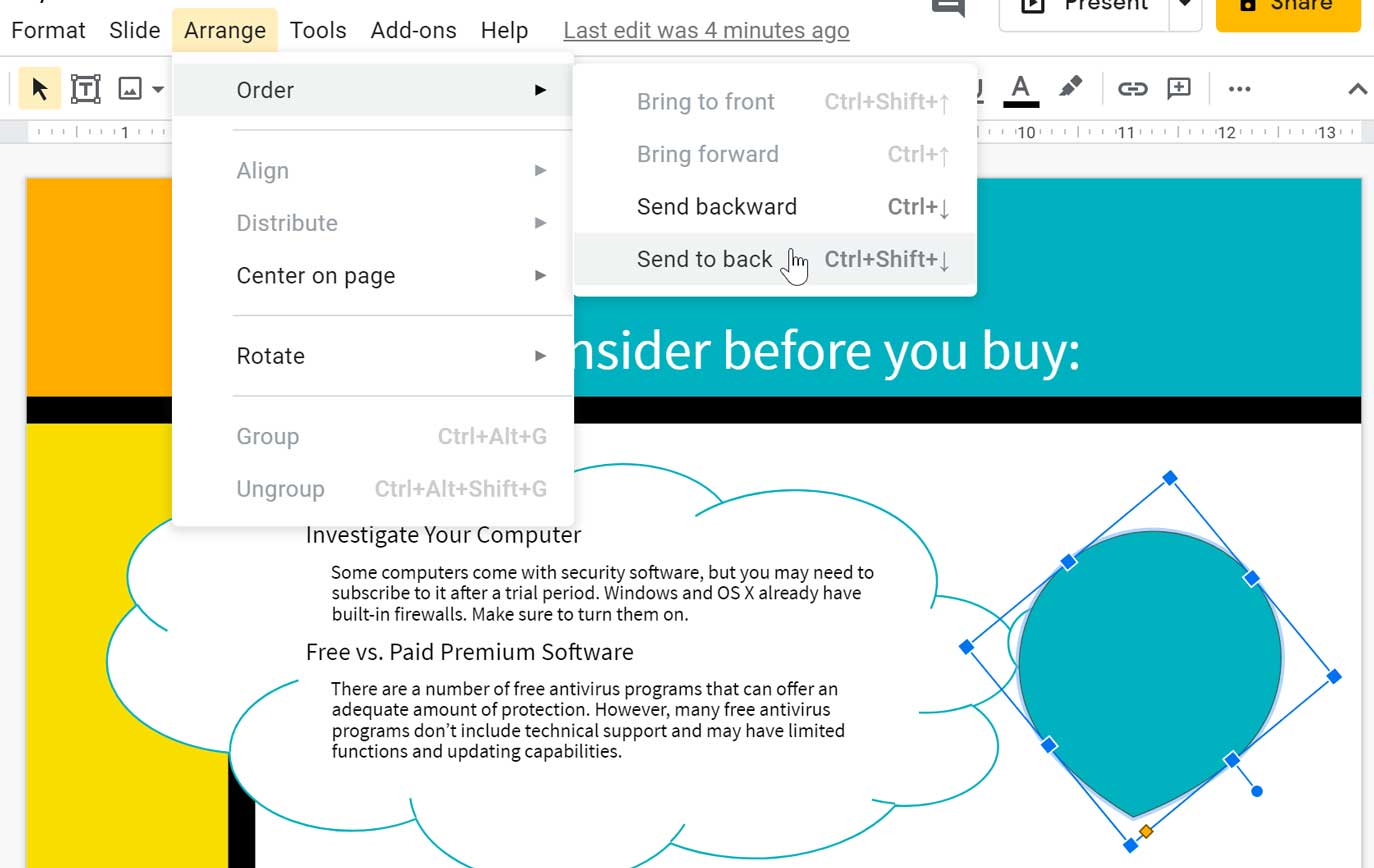
- Open the Arrange menu, select Order, then choose how you'd like to reorder the object. In our example, we'll select Send to back.
- The object will reorder. In our example, the shape is a nice background for the robot image.
You can arrange multiple overlapping objects using the Order commands. In our example, we selected the robot image and used the Send backward command. The robot image is behind the cloud, but in front of the teardrop shape.
Challenge!
- Open our example file. Make sure you're signed in to Google, then click File > Make a copy.
- Select slide 15 and resize the picture of the robot so it's as tall as the slide.
- Crop the robot so the robot's hands and everything below them are no longer showing.
- Move the robot to the lower-right part of the slide.
- To the left of the robot picture, insert a speech bubble shape.
Hint: Speech bubbles can be found in the callout category. - With the shape still selected, drag the yellow diamond handle toward the robot's mouth, then type the words Go forth and be safe!
- Change the font size of the text to 30 pt and the alignment of the text to center align.
- Change the fill color of the shape.
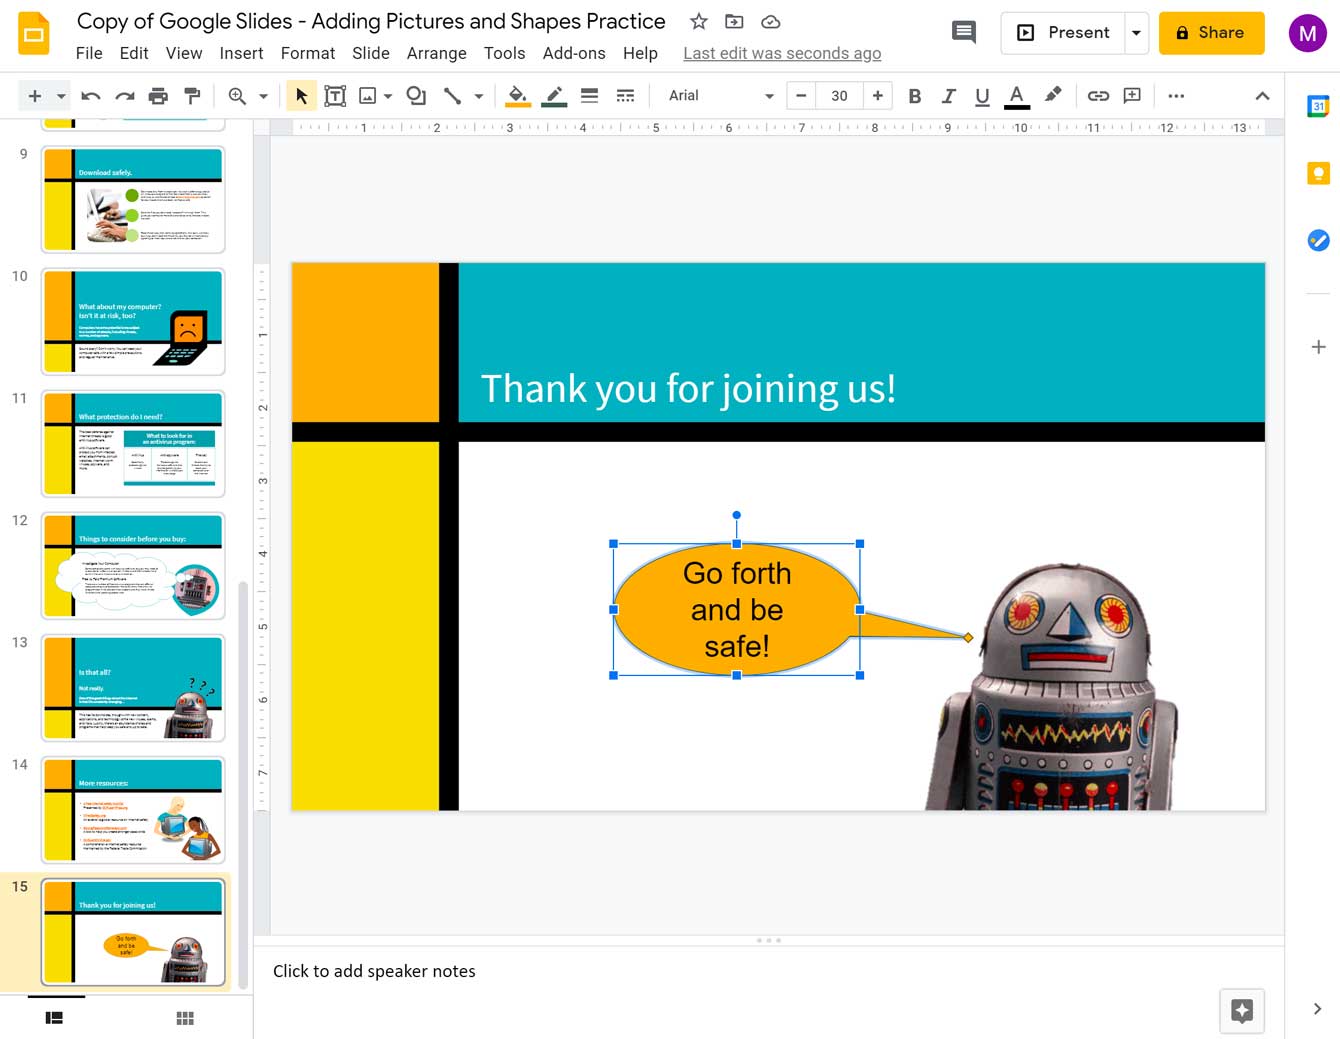
- When you're finished, your slide should look something like this:
/en/googleslides/adding-transitions-and-animations/content/


