A table is a grid of cells arranged into rows and columns. Tables can be customized and are useful for various tasks, like presenting text information and numerical data.
In this lesson, you'll learn how to create a blank table, modify an existing table, and edit table properties.
Inserting and modifying tables
Watch the video below to learn how to work with tables in Google Docs.
To insert a table:
Place the insertion point at the location where you want to insert a table.
Click Insert and hover the mouse over Table.A grid of squares appears.
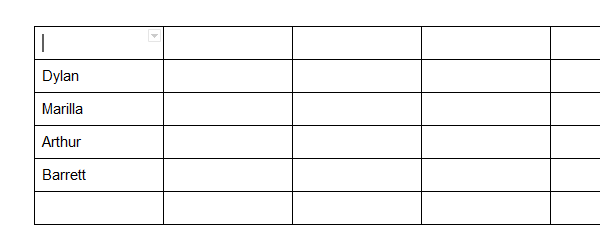
Drag the mouse over the grid of squares to select the number of columns and rows in the table.
Click the mouse, and the table appears in the document. The insertion point will now be in the top-left cell.
To delete the table, right-click anywhere on the table and select Delete table from the menu that appears.
To add an additional row:
Right-click in a row adjacent to the location where you want to add a row, then select Insert row above or Insert row below from the menu that appears.
The new row appears in the table.
To add an additional column:
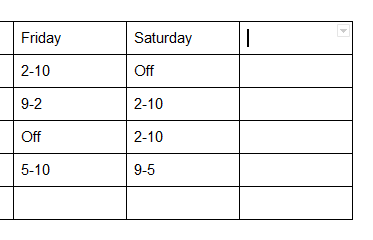
Right-click in a column adjacent to the location where you want the new column to appear, then select Insert column left or Insert column right from the menu that appears.
The new column appears in the table.
To delete a row or column:
Right-click the mouse in the row or column you want to delete, then select Delete row or Delete column from the menu that appears.
Editing table properties
In Google Docs, you can make modifications to an existing table by adjusting the table properties like cell dimensions, alignment, border size, and color.
To modify cell dimensions:
You can modify the dimensions of cells by adjusting their border lines.
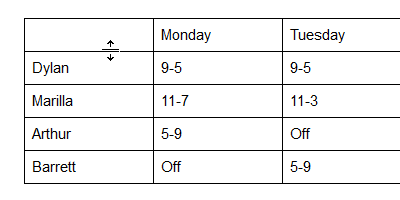
Hover over the border line you want to modify. The cursor will change into a double arrow.
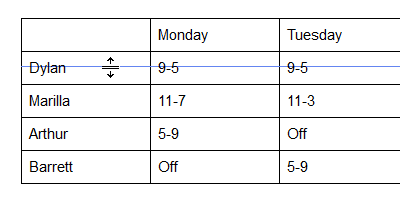
Click and drag the border line. A blue guide line will appear to help you see the new length and width of the cell.
Release the mouse at the desired location. The cell dimensions will change.
You can also enter exact cell dimensions using the Table Properties dialog box. Right-click the cell you want to modify, then select Table properties from the menu that appears.
To modify horizontal cell alignment:
You can modify the horizontal alignment of a cell so its contents are aligned to the left, center, or right side of the cell. In Google Docs, horizontal cell alignment is changed by selecting one of the four alignment buttons in the shortcut toolbar.
Select the cell or cells you want to align.
Click the desired alignment button from the four options in the shortcut toolbar.
The text will realign.
To modify vertical cell alignment:
Vertical cell alignment refers to aligning the contents of a cell to the top, middle, or bottom area of a cell. In Google Docs, you can change the vertical alignment of a cell by modifying the Cell vertical alignment in the Table properties dialog box.
Select the cell or cells you want to align.
Right-click and select Table properties from the menu that appears.
The Table Properties dialog box appears. Click the Cell vertical alignment box.
Select the desired alignment.
Click OK. The text will realign.
To modify border size:
Right-click anywhere in the table. Select Table properties from the menu that appears.
The Table Properties dialog box will appear. Click the Tableborder size drop-down arrow, then select the desired size.
Click OK. The new border size will appear in the document.
To change cell background color:
Select the cell or cells you want to modify.
Right-click and select Table properties from the menu that appears.
The Table Properties dialog box will appear. Click the Cell background color drop-down arrow, then select the desired color.
Click OK. The new color will be applied to the cells.
To modify border color:
Right-click anywhere in the table. Select Table properties from the menu that appears.
The Table Properties dialog box will appear. Click the Tableborder color drop-down arrow, then select the desired color.
Click OK. The new border color will be applied to the table.
Challenge!
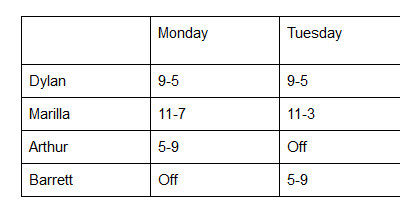
Open our example file. Make sure you're signed in to Google, then click File > Make a copy.
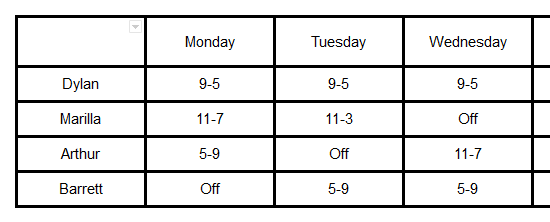
Insert a row at the bottom of the table, and type your name into the first column.
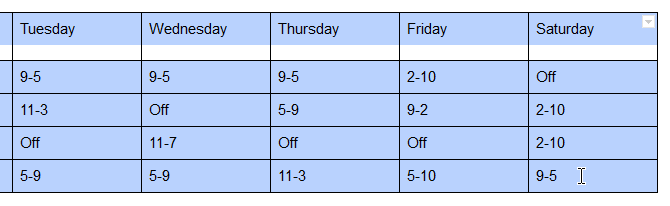
Delete the column with the Monday header.
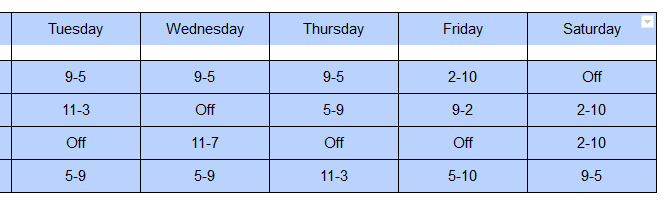
Select the cells containing Tuesday, Wednesday, Thursday, Friday, and Saturday, and change the background color to light blue.
Select all of the cells. Change the horizontal cell alignment to center and the vertical cell alignment to middle.
Make the first row's height larger.
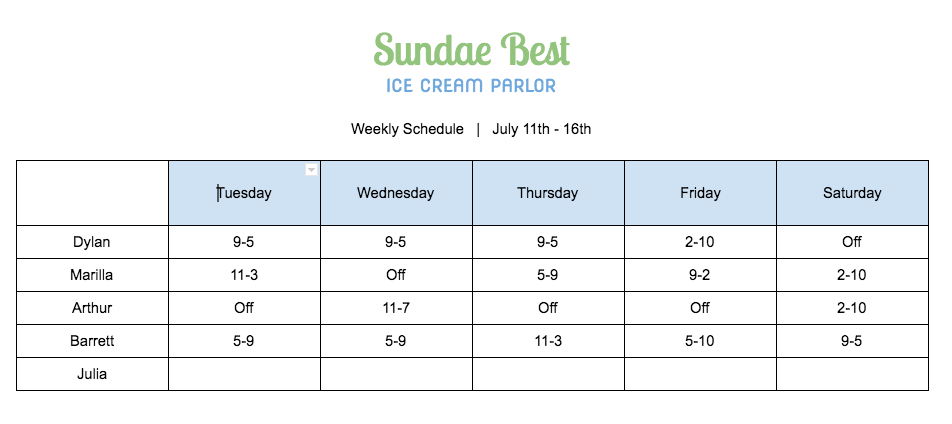
When you're finished, your document should look something like this: