Google Docs -
Inserting Text Boxes and Shapes

Google Docs
Inserting Text Boxes and Shapes


/en/googledocuments/inserting-images/content/
Google Docs has a drawing tool that's designed for inserting text boxes and shapes into your document. Although they're not necessary for every document, text boxes and shapes can be used to set important details apart from the rest of your document or to organize information. For example, rectangles, lines, and arrows can be used together to create a flow chart.
In this lesson, you'll learn the drawing tool's commands and how to insert a drawing or text box into your document. You'll also learn how to format and change the order of text boxes and shapes.
Watch the video below to learn more about inserting text boxes and shapes in Google Docs.
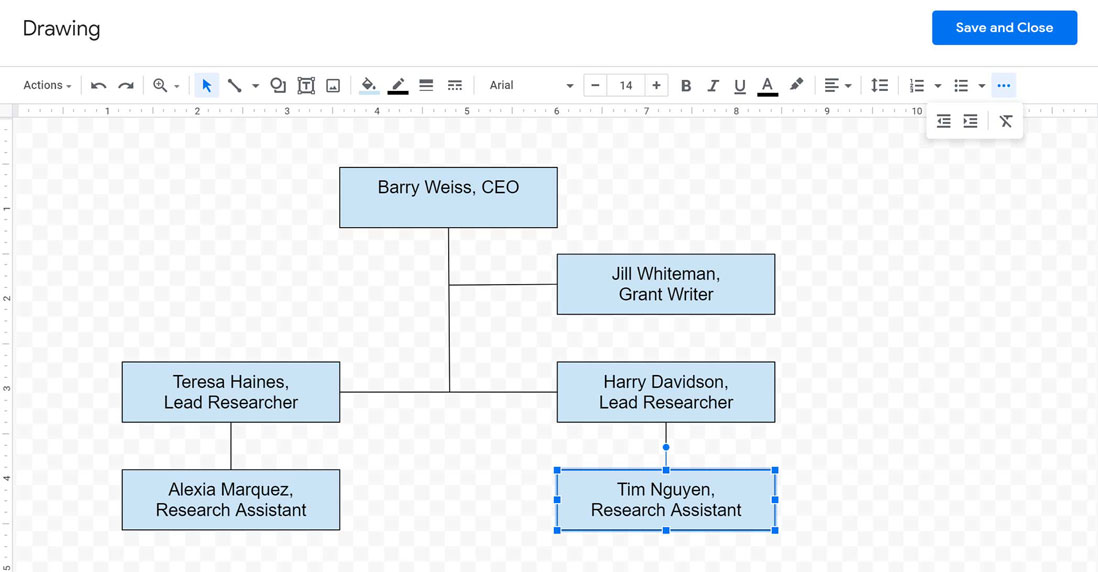
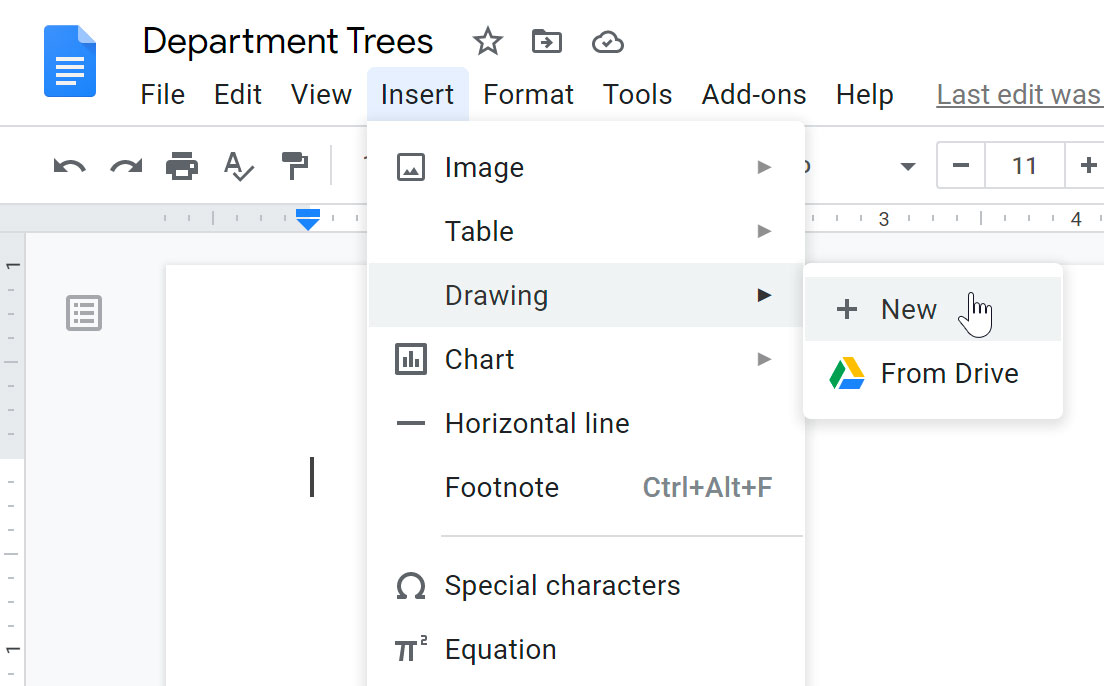
When you're ready to add a text box or shape to your document, you'll work with the drawing tool. It offers a variety of shapes, arrows, callouts, and line styles that are easily customized for your needs. For example, you can create a diagram using shapes and add text to each shape to highlight important information. The drawing tool opens as a dialog box in your document, and this is where you'll create, format, and edit text boxes and shapes using the drawing tool's commands.
Click the buttons in the interactive below to become familiar with the drawing tool's commands.
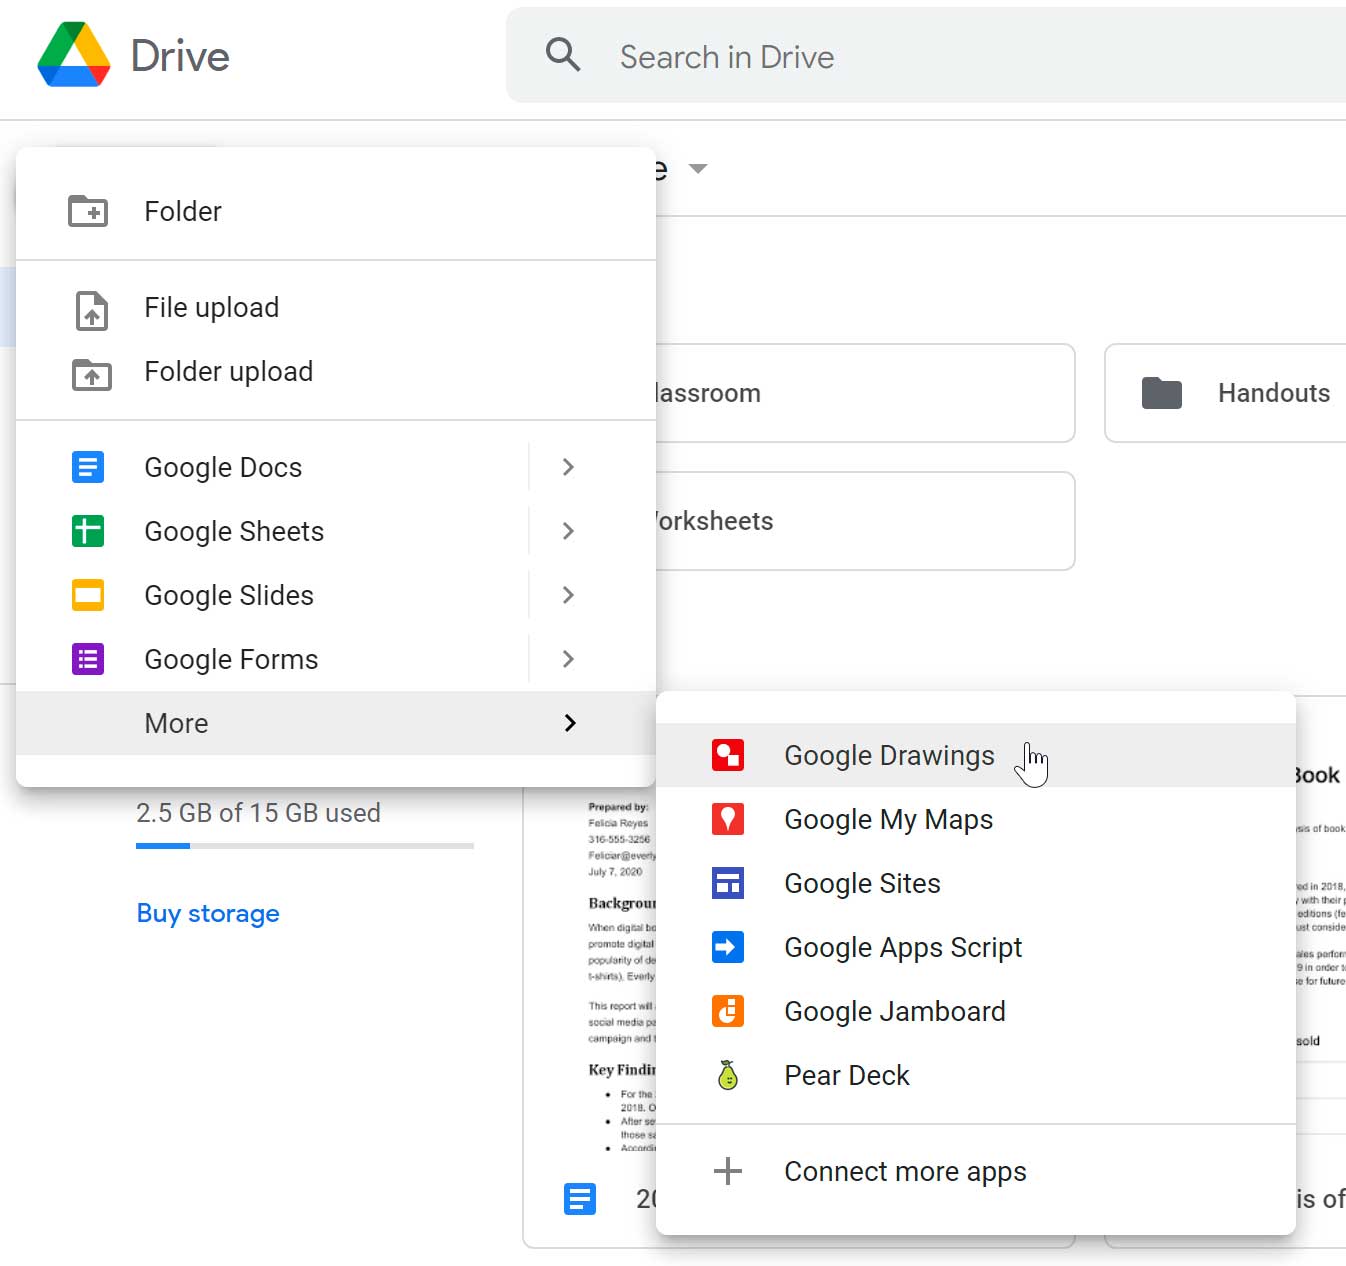
Google Docs has a standalone version of the drawing application. This version has more features than the Documents Drawing app, including the ability to upload your own images as part of the drawing. If you want more features, you can use the standalone version to create your drawing. Then you can download the drawing as an image to your Google Drive and insert it into your document.
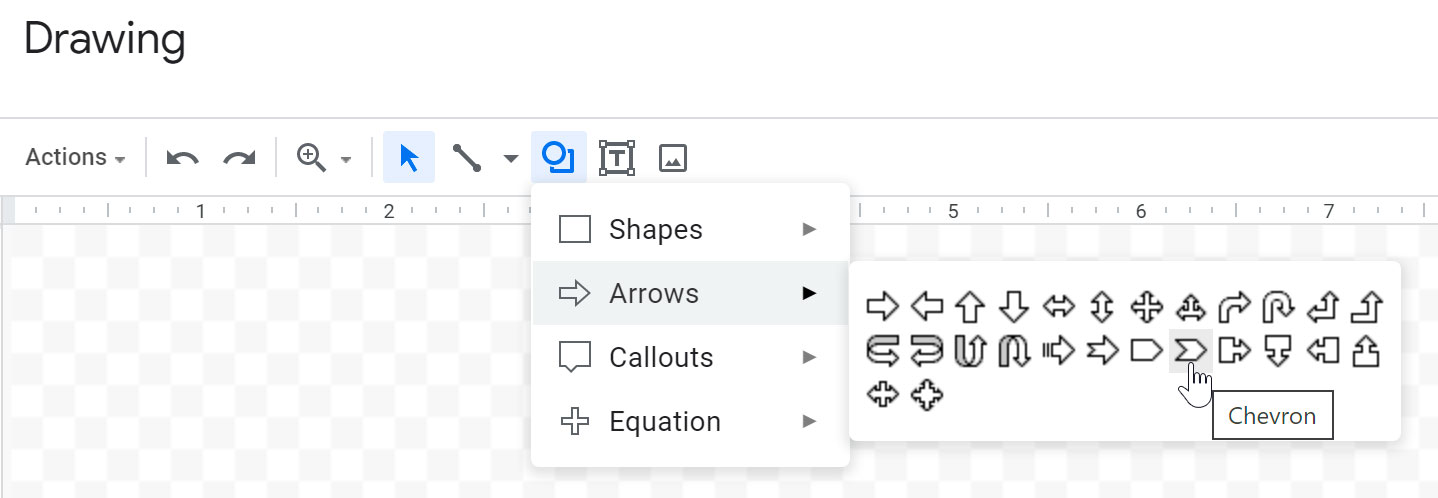
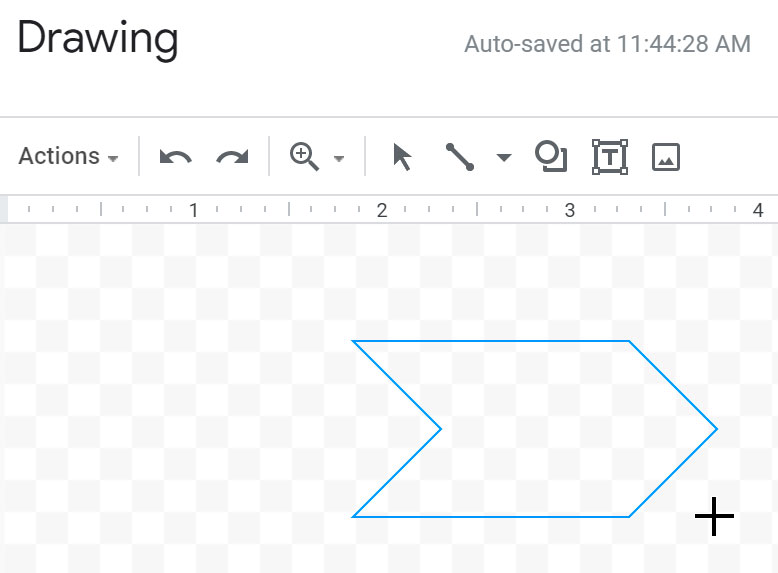
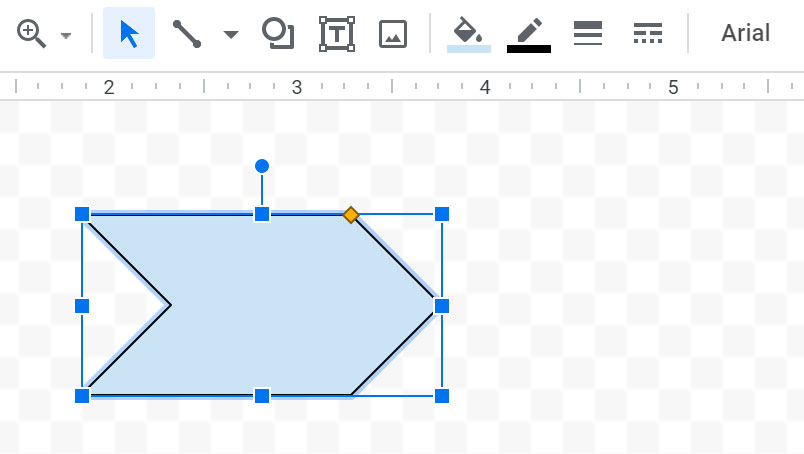
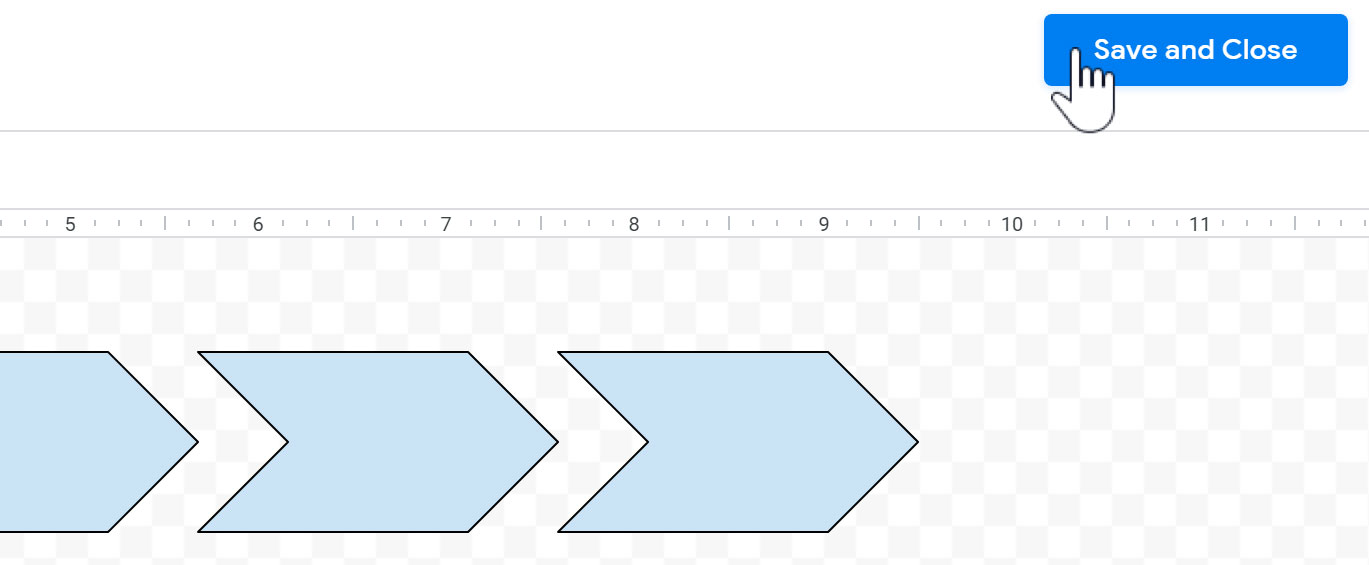
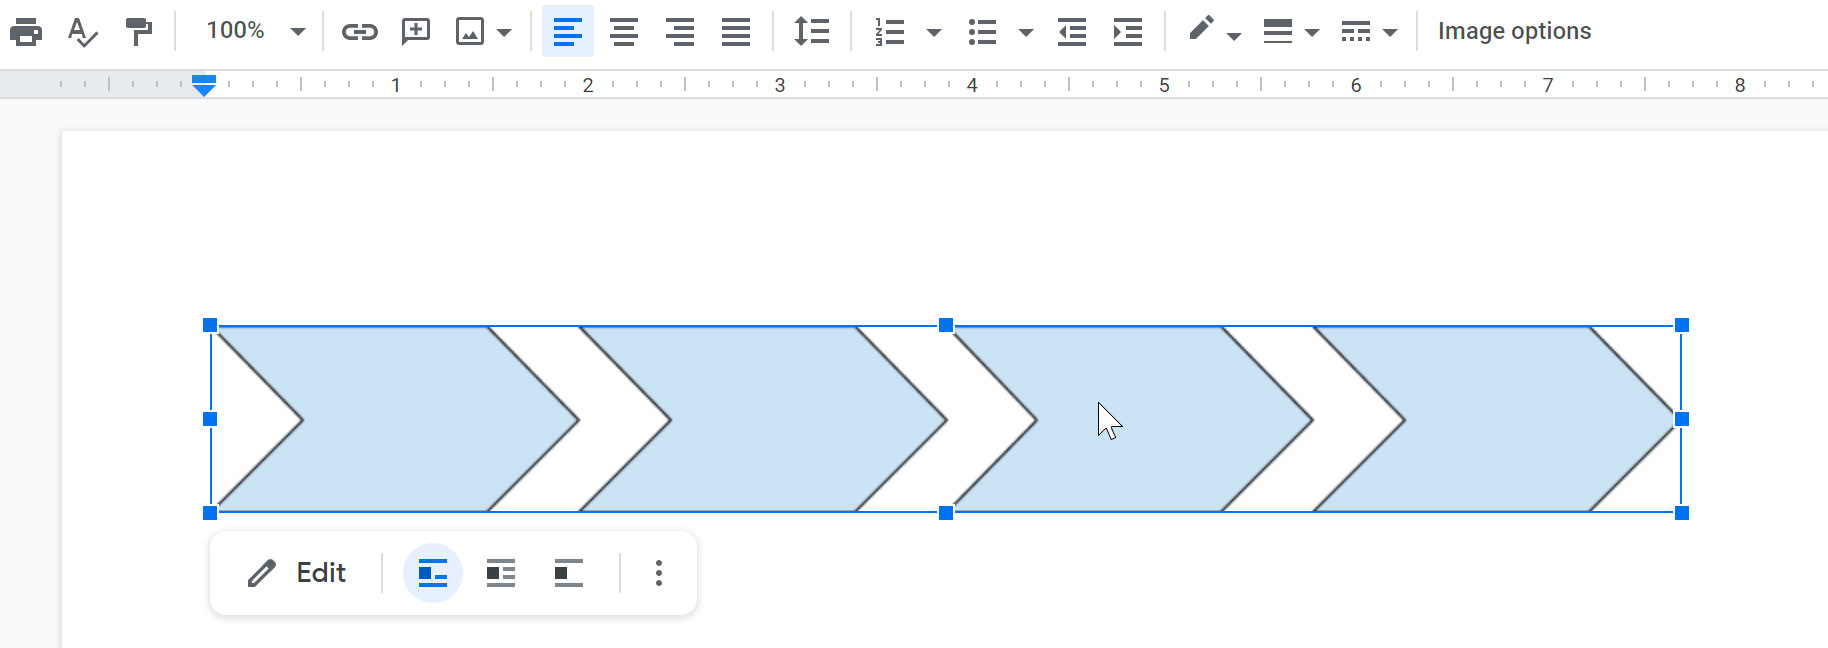
You can add a variety of shapes to your document, including arrows, callouts, squares, stars, and flowchart shapes. Shapes are customizable, so you can add text and change the background color and line width. You may find shapes useful for creating diagrams and flow charts, and they can add visual appeal to your document as well.

To delete a shape from your document, select it and press the Backspace or Delete key on your keyboard.
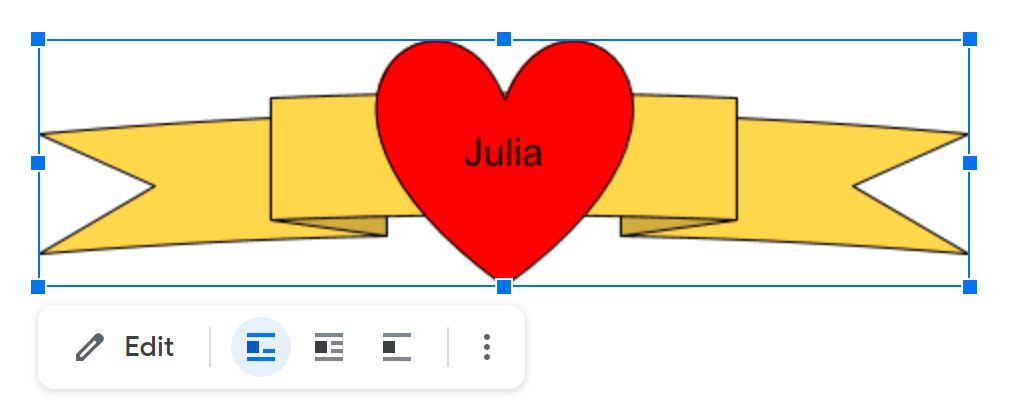
To reopen the drawing tool to edit the shape, select the desired shape and click Edit from the options that appear below the drawing.

You may want to insert a text box into your document to draw attention to specific text or to have the ability to easily move text around within your document. Text boxes are similar to shapes. You can apply many of the same formatting options, like changing the background color and line style.
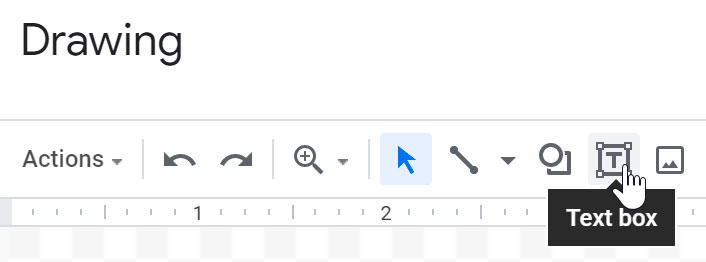
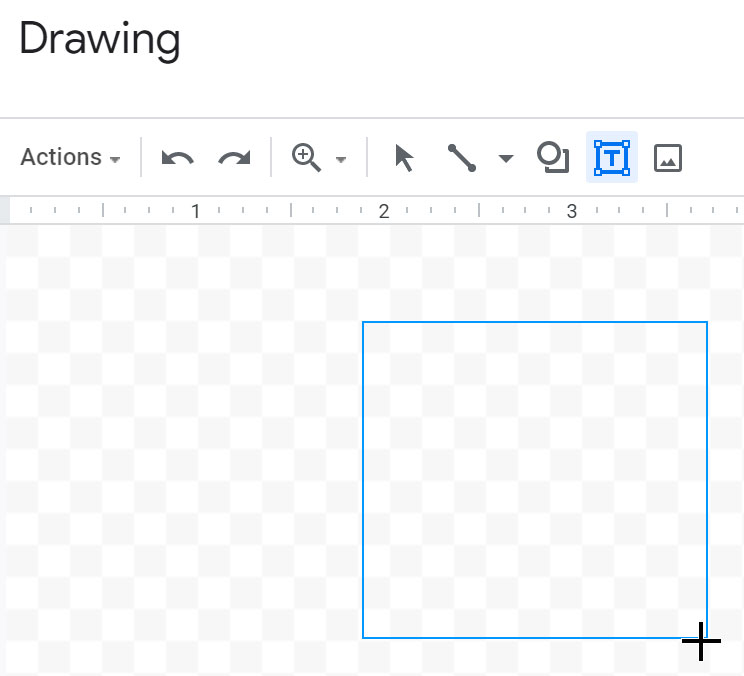
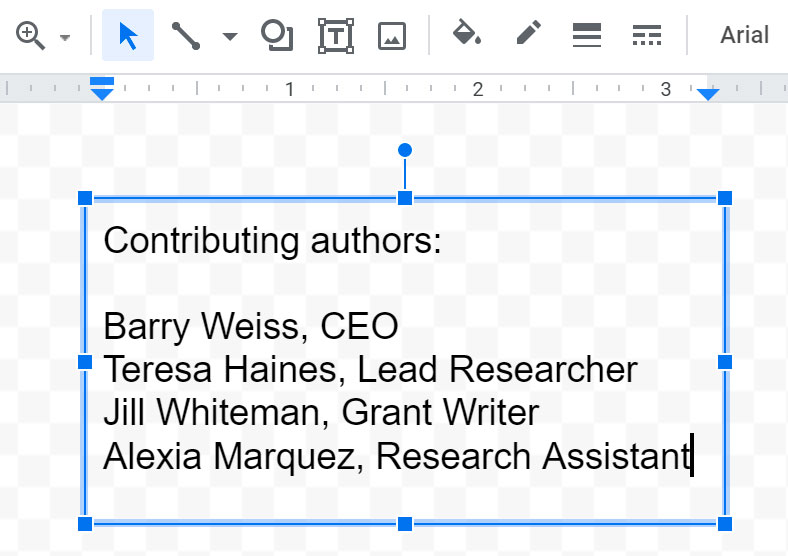
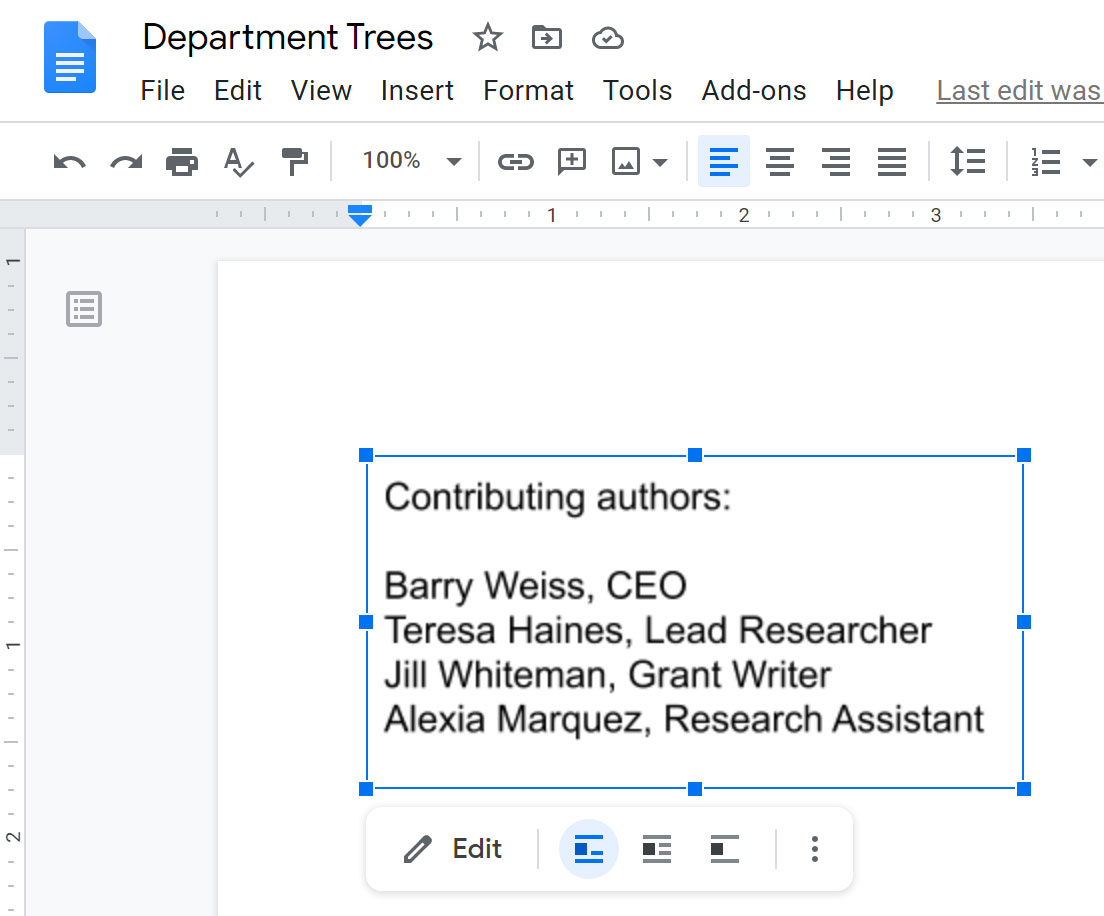
The drawing tool has a variety of line and shape tools you can use to format your text box or shape. You can also modify the size and color of the font inside the text box or shape, as well as the colors of the background and lines.
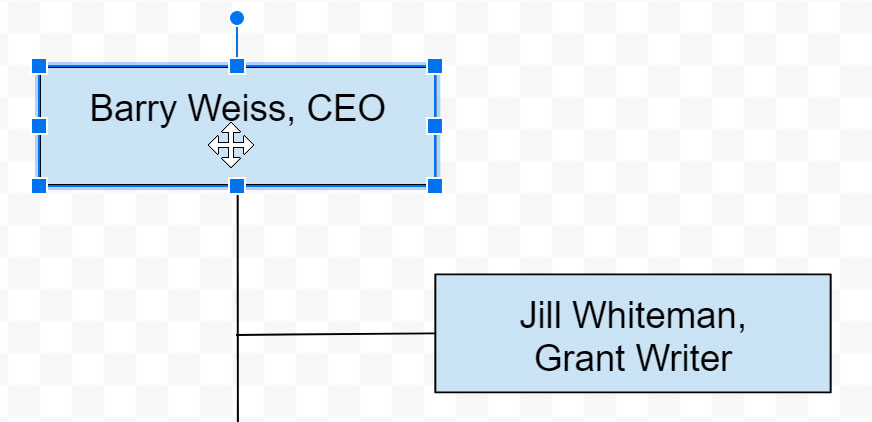
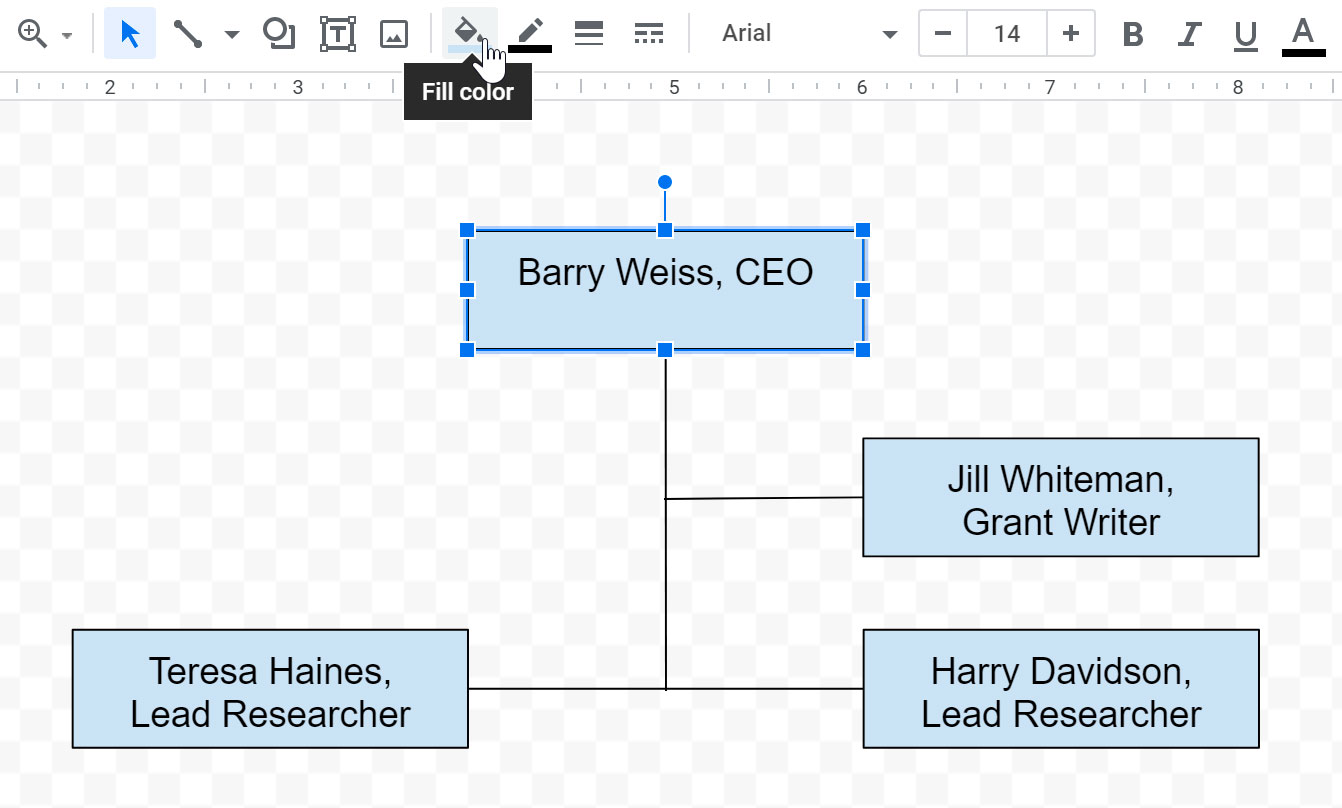
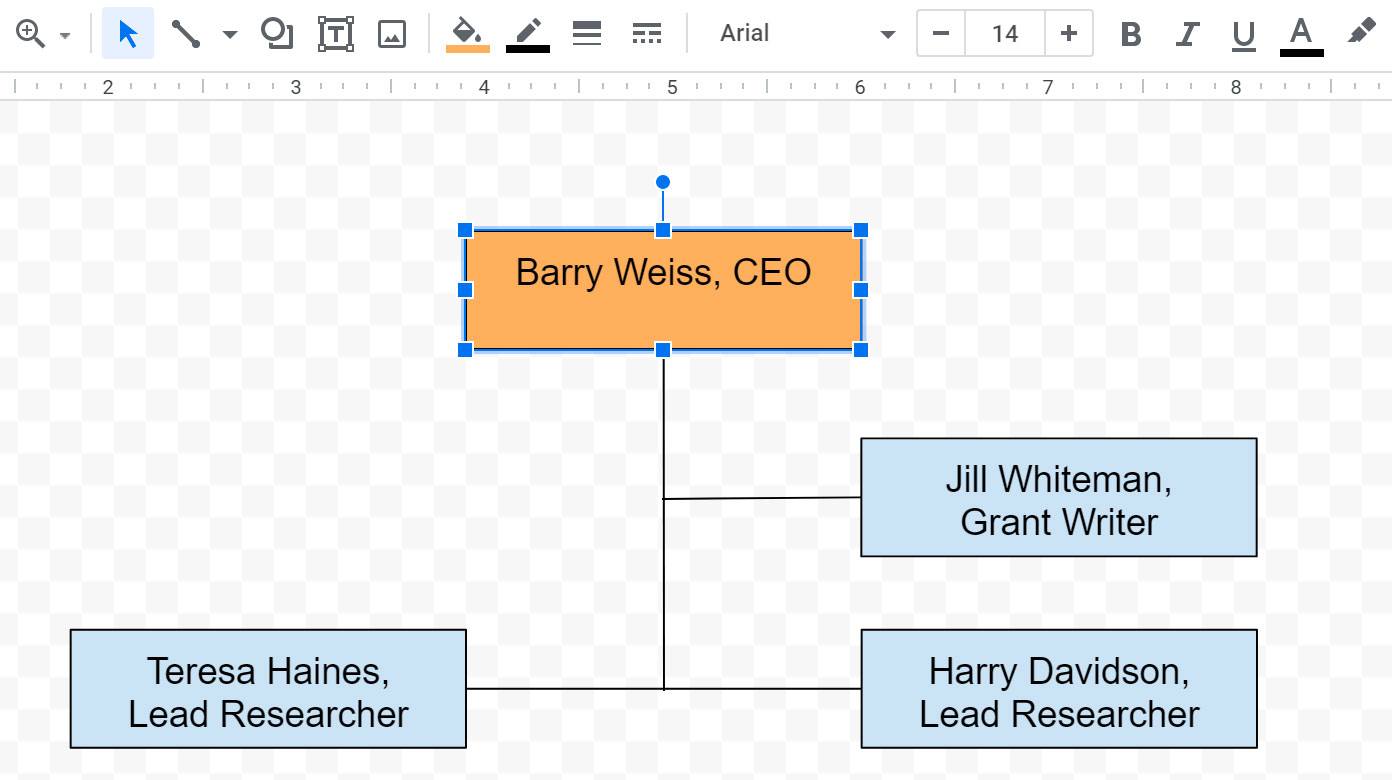
To add or edit the text inside of a text box or shape, double-click it to open the text editing box.
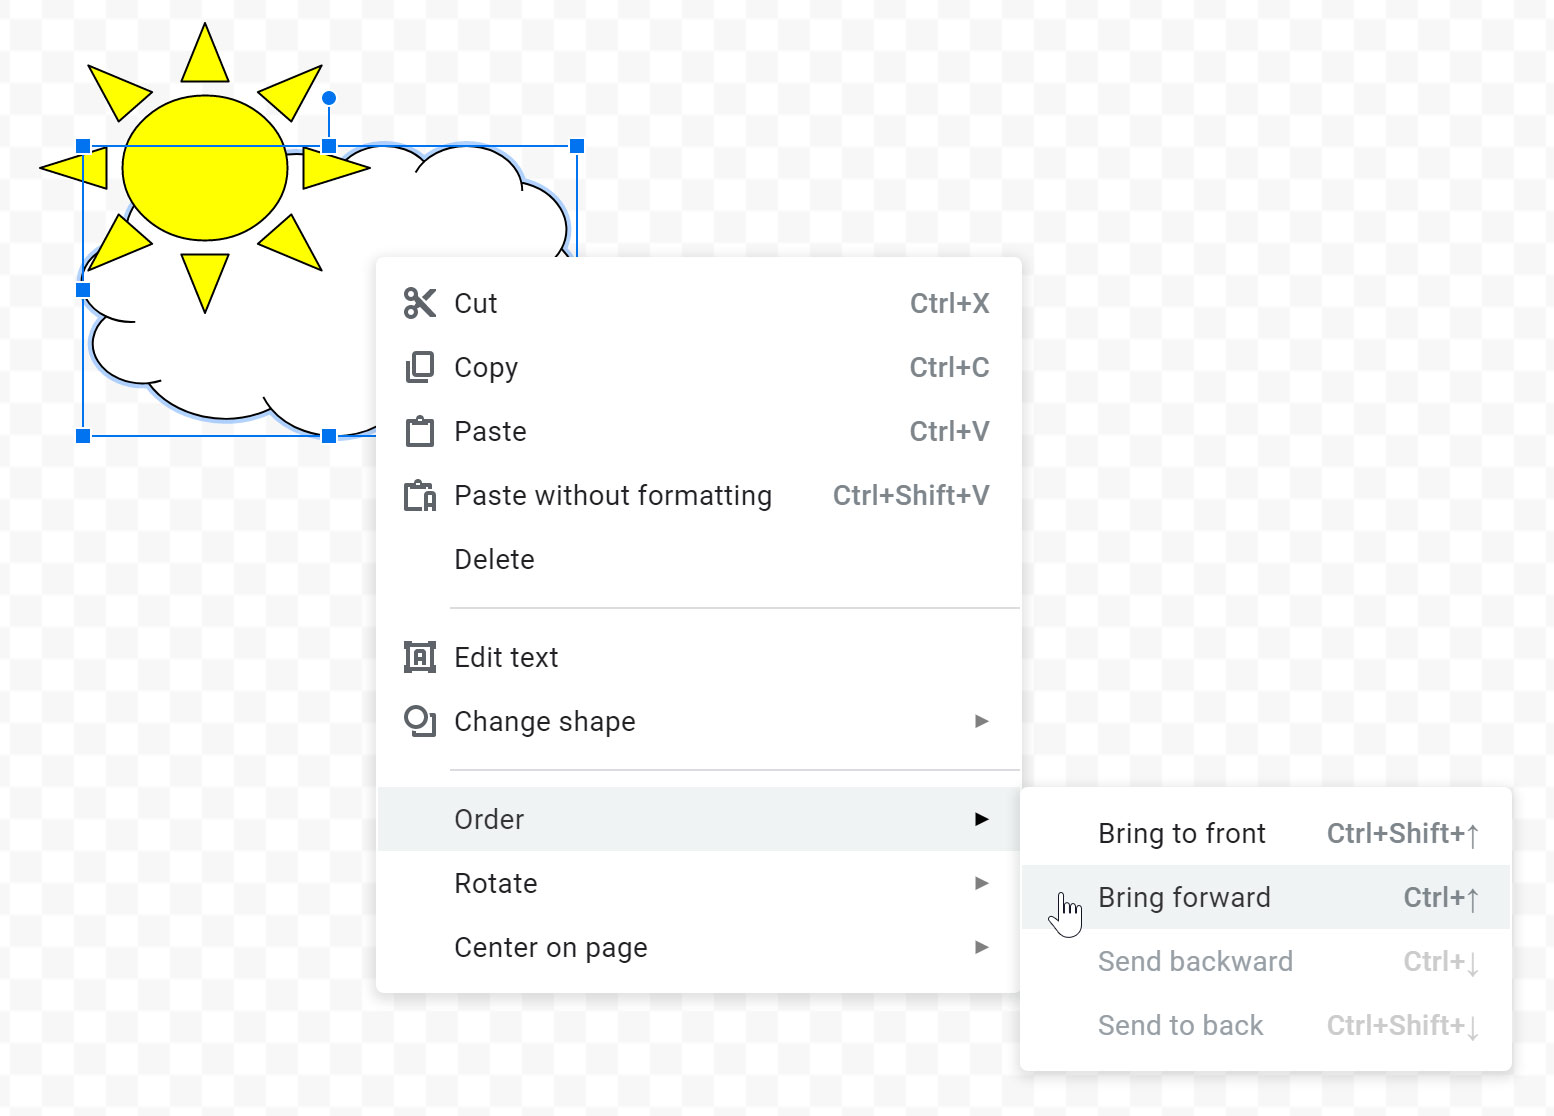
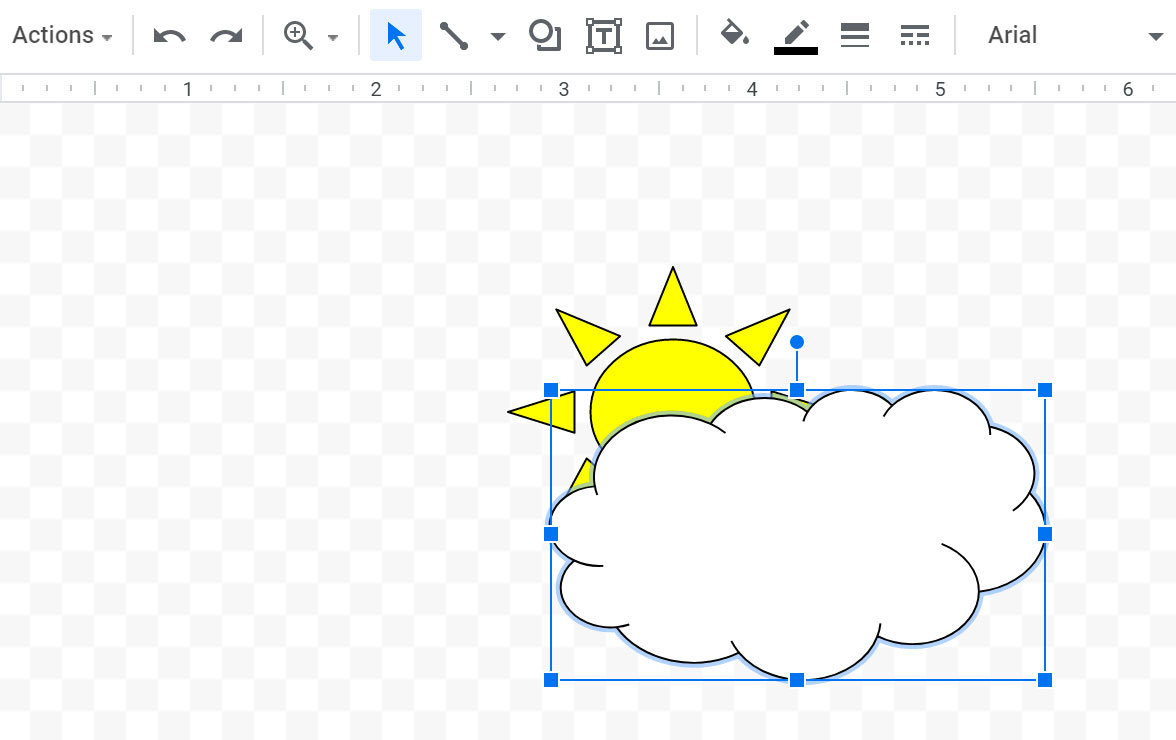
If one shape overlaps another, you may need to change the ordering so the correct shape appears in front. You can bring a shape to the front or send it to the back. If you have several overlapping objects, you may need to use the Bring forward or Send backward options to achieve the correct ordering.
/en/googledocuments/text-styles/content/