Google Docs: Adjusting Margins

Lesson 34: Adjusting Margins

/en/googledocuments/adding-citations/content/

Adjusting Margins

Sometimes you need to adjust the margins of your document to get it just right. Well, Google Docs provides two different ways to set them how you like. In this lesson, you'll learn how to use the ruler in your document and the Page Setup dialog box to set the margins.

Watch the video below to learn more about adjusting margins in Google Docs.

Adjusting margins in Page Setup

One way to change the margins is to go to the Page Setup dialog box.
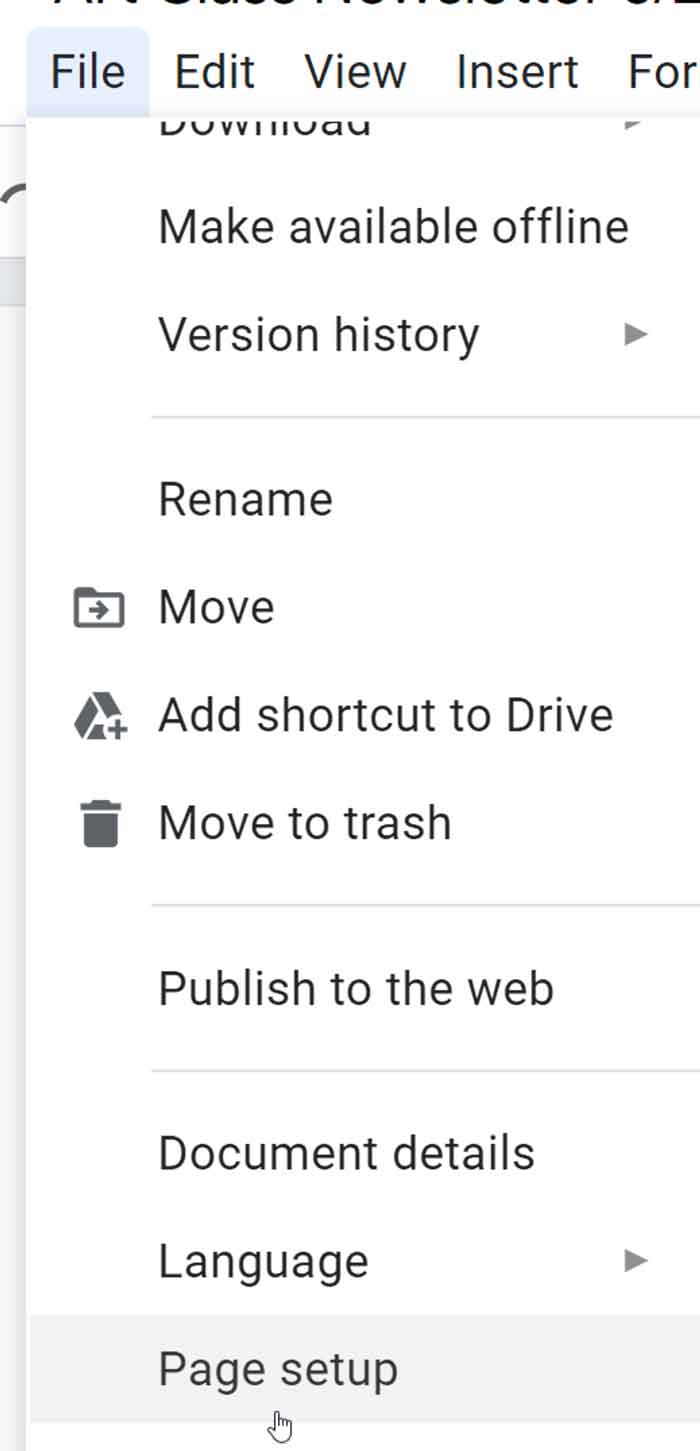
  1. Click File and select Page Setup.clicking page setup
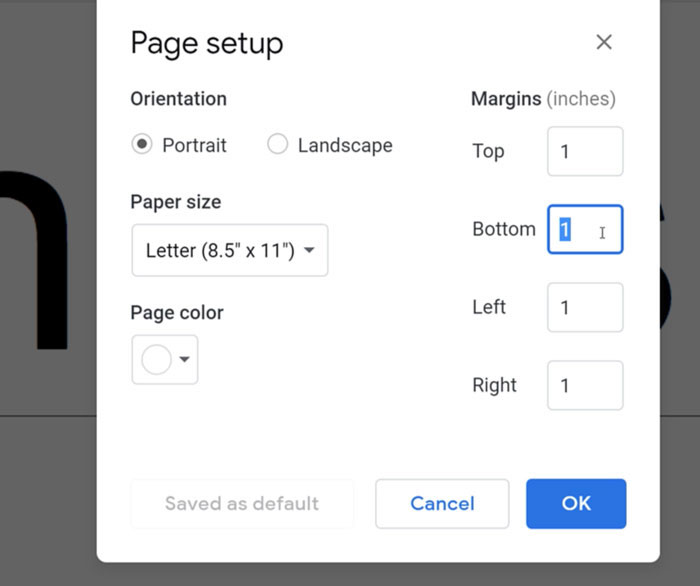
  2. Now you can change each margin by clicking a box and typing a new measurement.
    adjusting margins using page setup dialog box
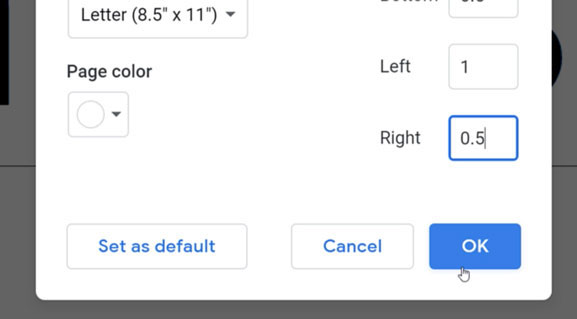
  3. Click OK when you’re done.
    clicking ok button
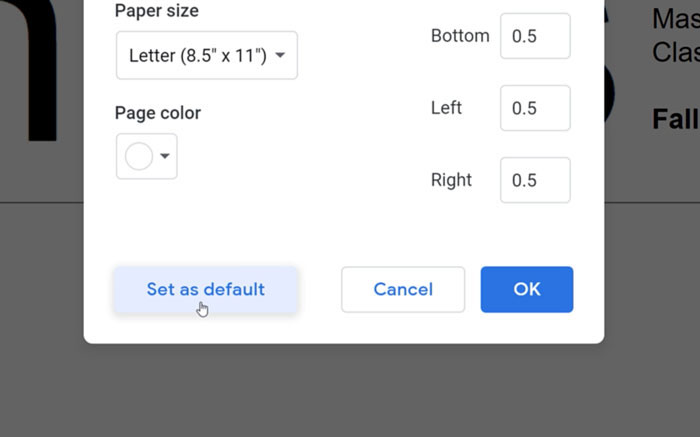
  4. The default margins are set to one inch on each side. However, you can change them by clicking Set as Default after you change the margins.
    clicking set as default button
  5. The default margins take effect whenever you create a new document. They will not affect existing documents.

Adjusting margins with the ruler

Another way to change the margins is to use the ruler.
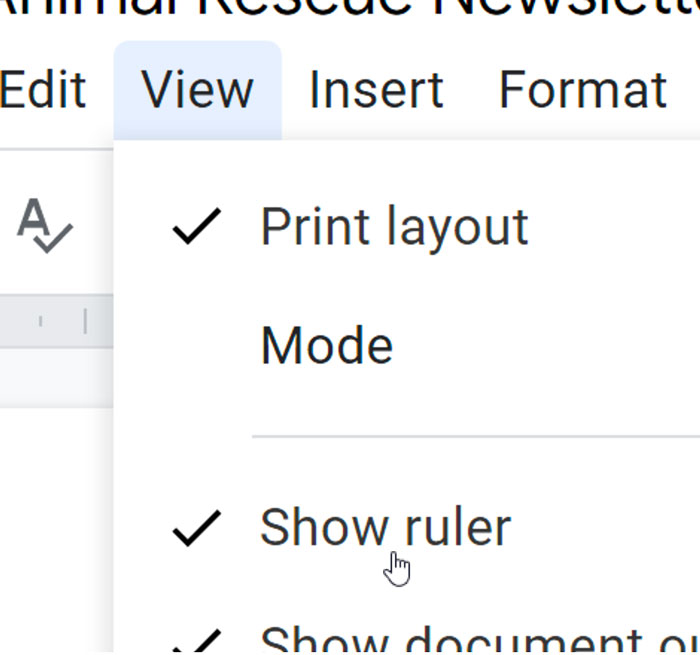
  1. If you don’t see the ruler above and to the left of your document, click View and select Show ruler.
    selecting show ruler button
  2. Go to the gray portion at either end of a ruler.
    top and left ruler
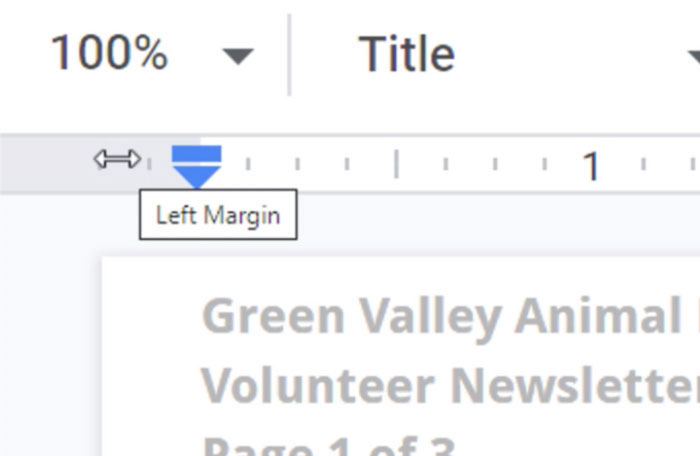
  3. Your cursor will become an arrow.
    cursor is an arrow
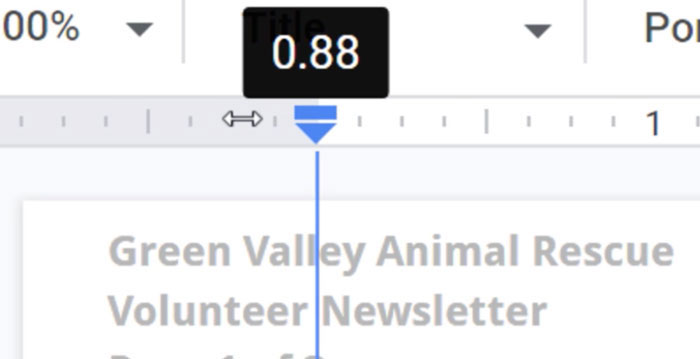
  4. Click and drag to change the margins.
    adjusting margins with ruler

Remember that adjusting the margins affects every page of your document. Currently, you cannot set different margins for individual pages. Still, this feature may be useful when you need to customize your document.

/en/googledocuments/keyboard-shortcuts/content/