Google Keep -
Organizing Notes

Google Keep
Organizing Notes


/en/google-keep/collaborator-tool/content/
With Google Keep's built-in features, you can organize your notes by color-coding, labeling, and pinning them. To add more details, you can also insert images and links. Each note can be customized and categorized the way you want.
Watch the video below to learn how to organize your notes.
For this lesson, we have some example notes already created. We are using an iPhone, so there may be some subtle differences if you are using an Android phone. If you want to learn how to create a note, checklist, or reminder, check out our Google Keep tutorial.
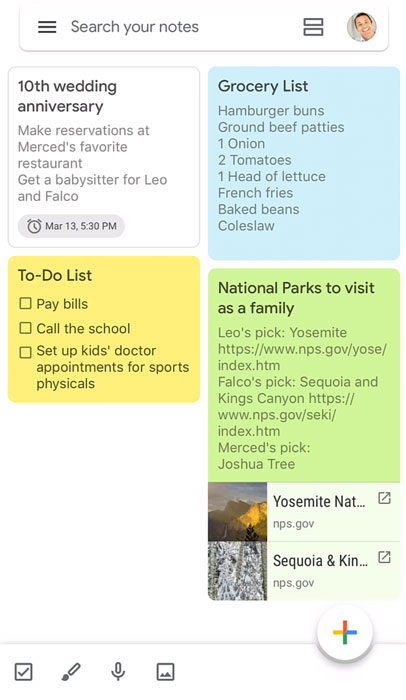
To make the note stand out, we'll add an image. First, tap the square plus icon.
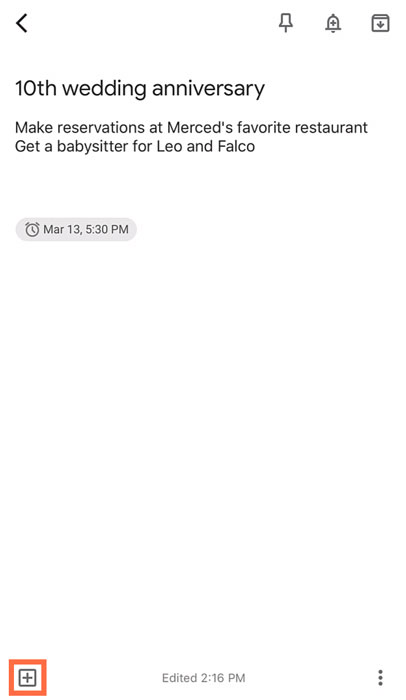
Select Choose image from the menu.
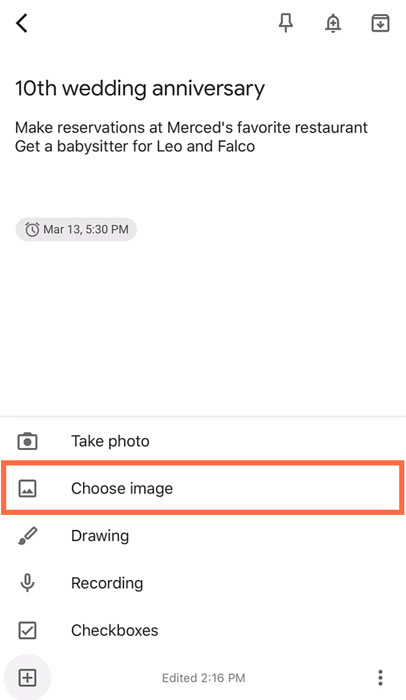
You may need to allow Google Keep to access your phone’s images. Next, select a photo.
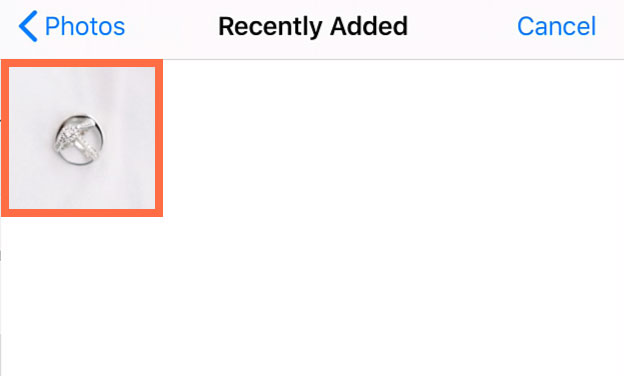
The photo will appear on the note.
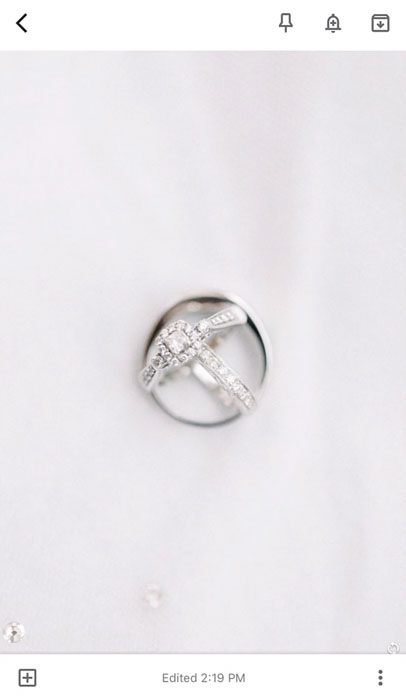
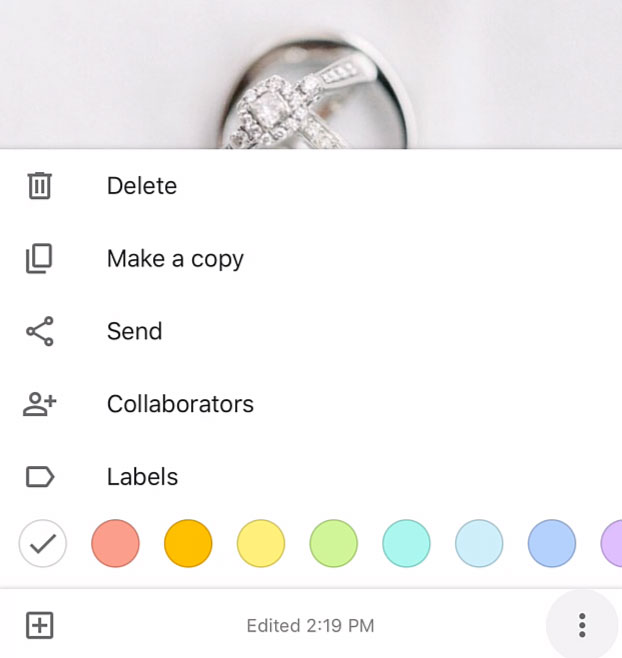
To change the note color, tap the More icon.
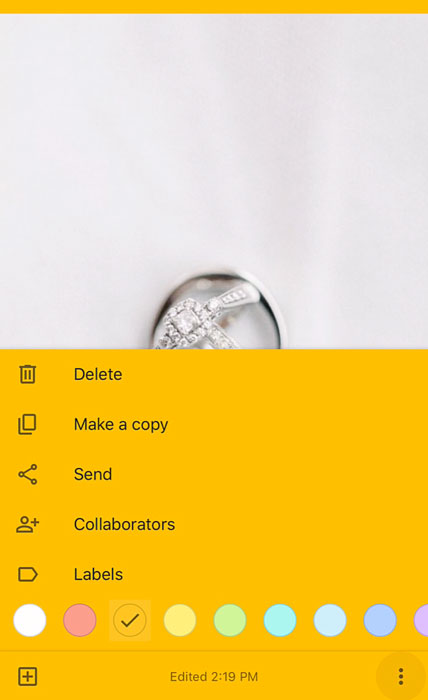
Then, select the color that you want.
The note will immediately change to the color that you choose.
Since this note is an important reminder, let’s pin this note to the top of the home screen. Tap the pushpin icon on the top toolbar.
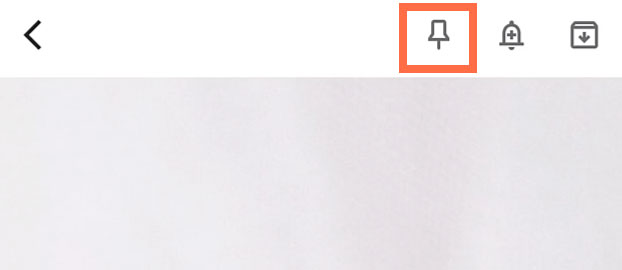
Tap the back arrow to return to the home screen.
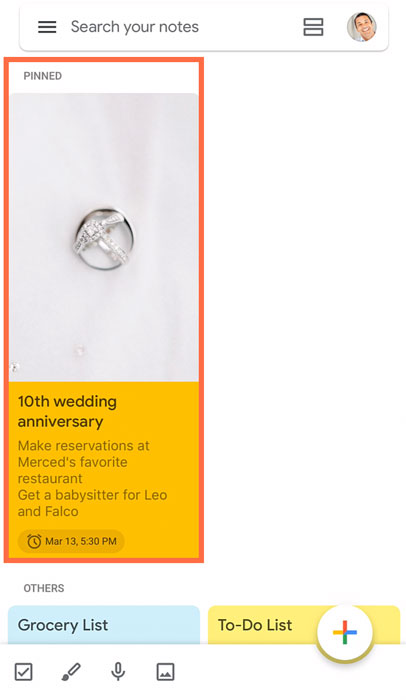
Notice that the note has been pinned to the top.
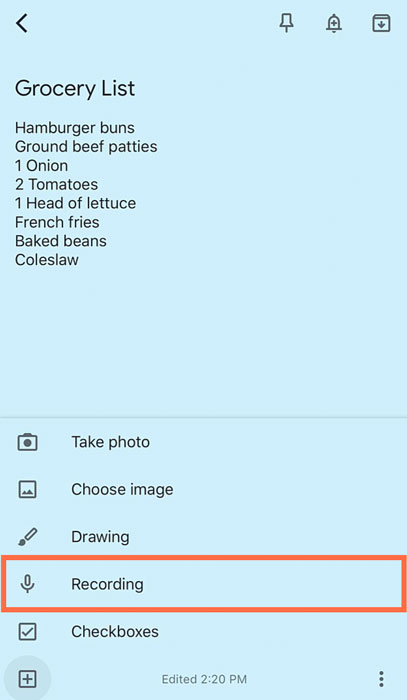
Instead of typing a note, you can use the voice-to-text function. First, tap the square plus icon.
Then, tap Recording. You may need to allow microphone access in your phone’s settings.
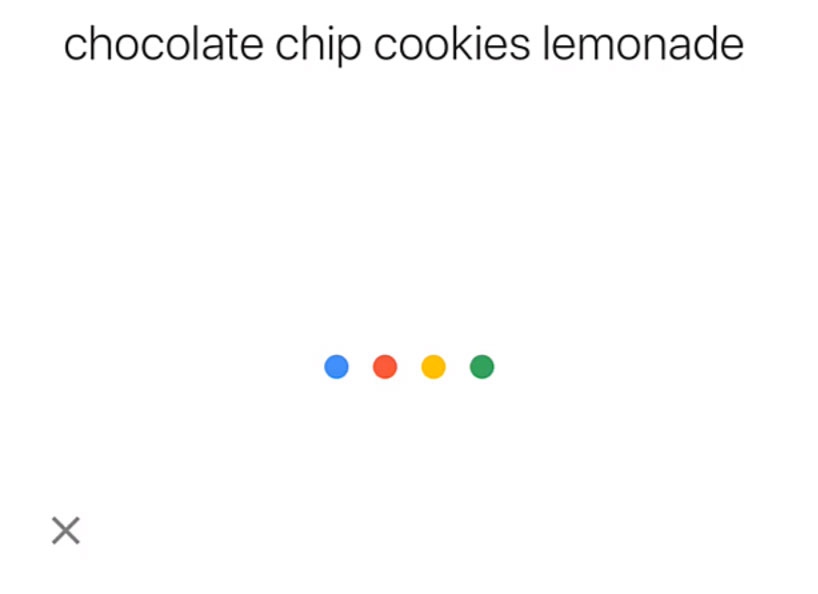
Now, what you say will show up on the screen, for example: chocolate chip cookies lemonade. Once you are done recording, it will take you back to the note.
It’s important to note that what you say may not always be grammatically correct while using voice capture, but Google Keep also adds the voice recording to the note to help.
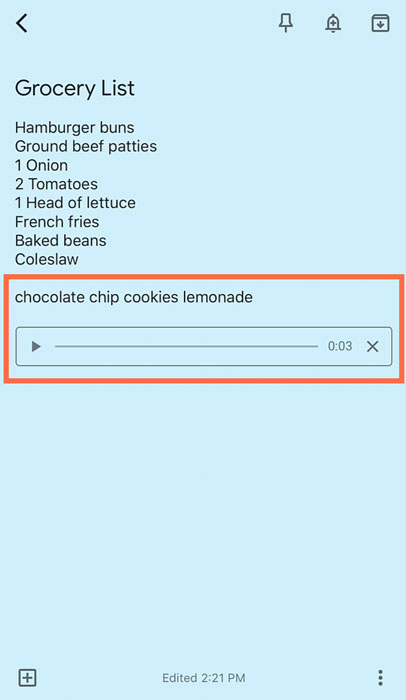
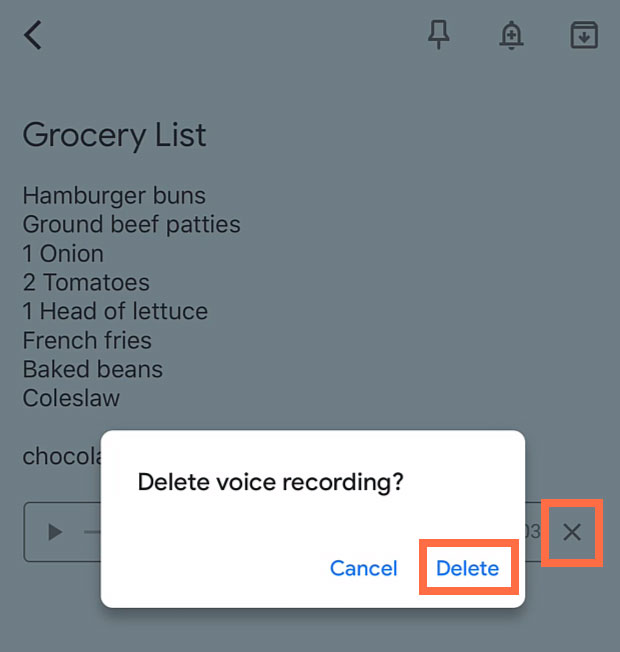
If you don’t want the recording, tap the X followed by Delete.
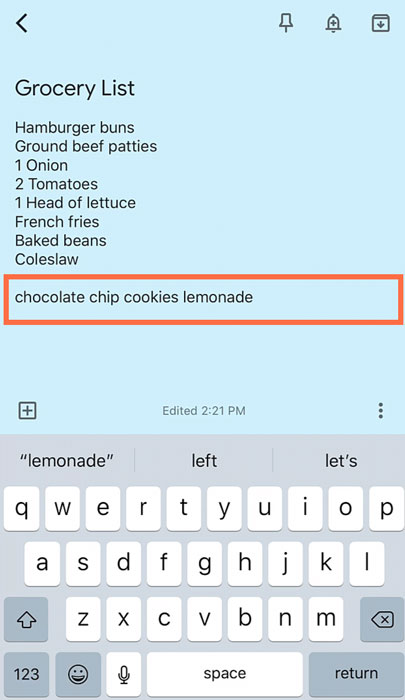
The text from the recording will remain.
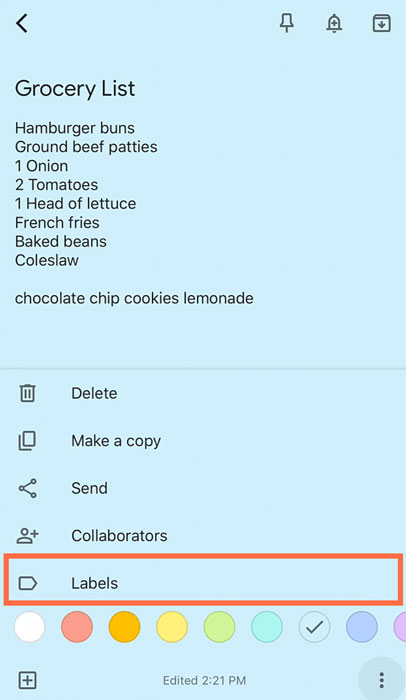
Tap the More icon.
Then, select Labels from the menu.
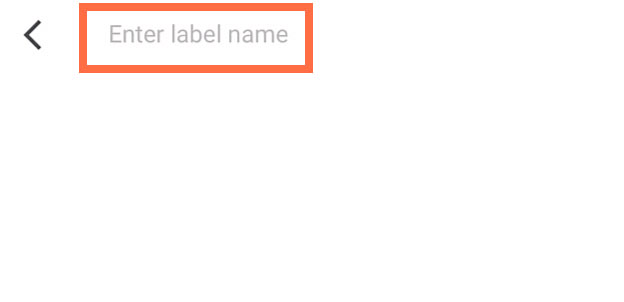
Tap Enter label name.
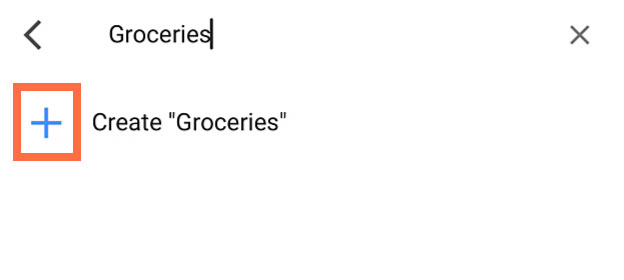
In our example, we’ll type Groceries then the plus sign to create the label.
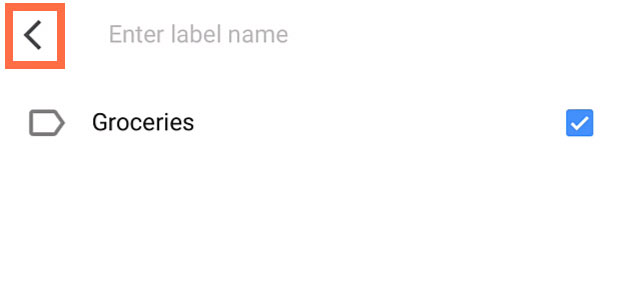
Then, tap the back arrow. You’ll see the label show up at the bottom of the note.
Tap and hold the note for a second then let go.
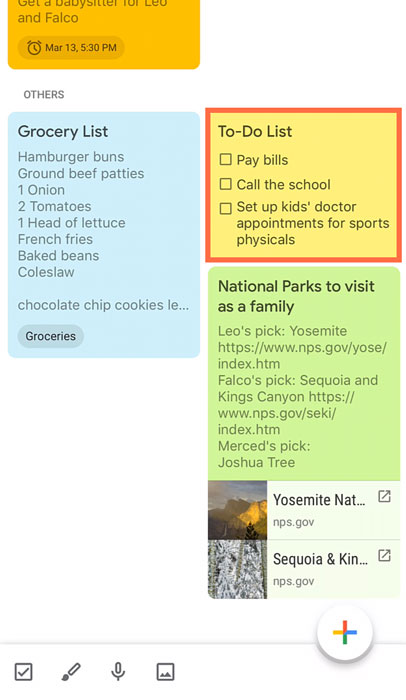
The top toolbar appears. Tap the label icon.
Since this note is a to-do list, let’s make a label called Important.
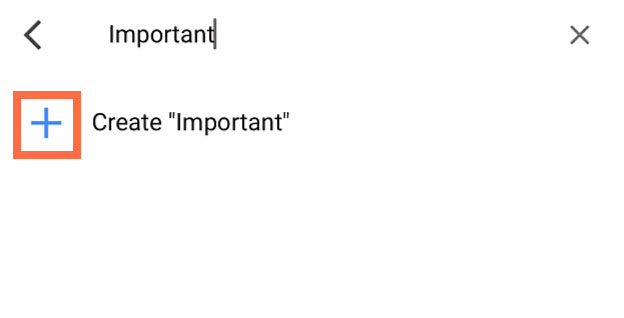
When you are done, tap the back arrow to have the label added to the note.

From the home screen, tap the Main menu icon.
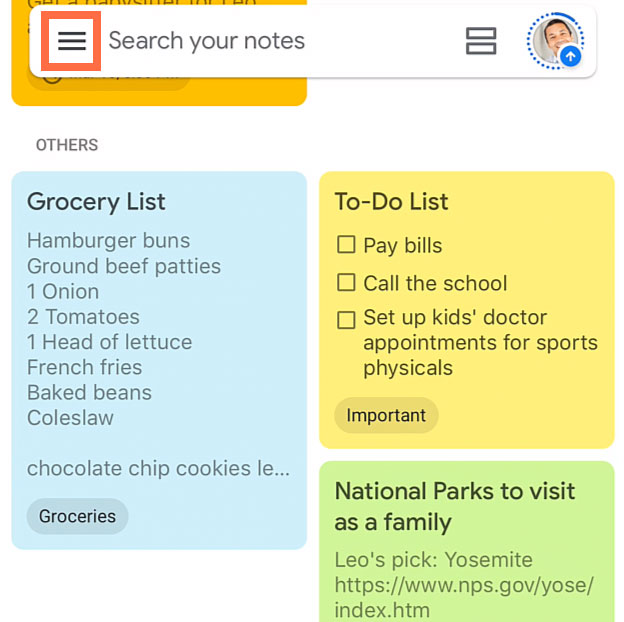
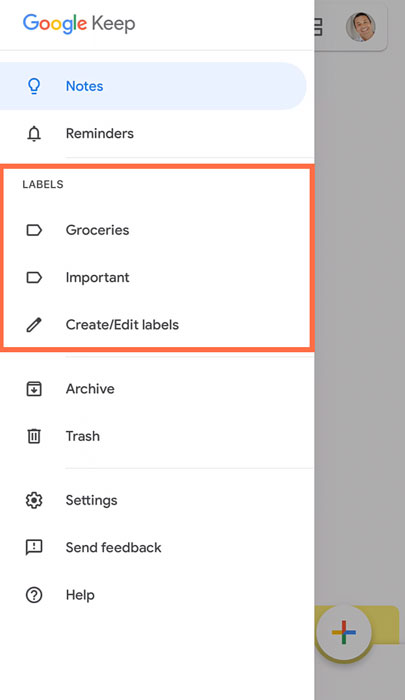
You’ll see the labels listed in the menu pane. Simply, tap the label to see the notes in that category.
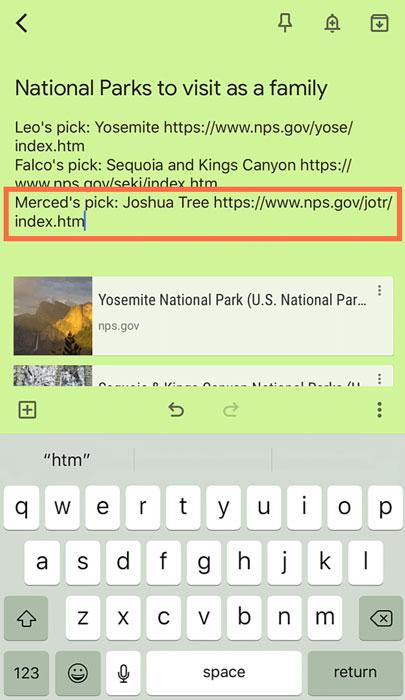
To add a link, you can copy the URL and simply paste it into the note.
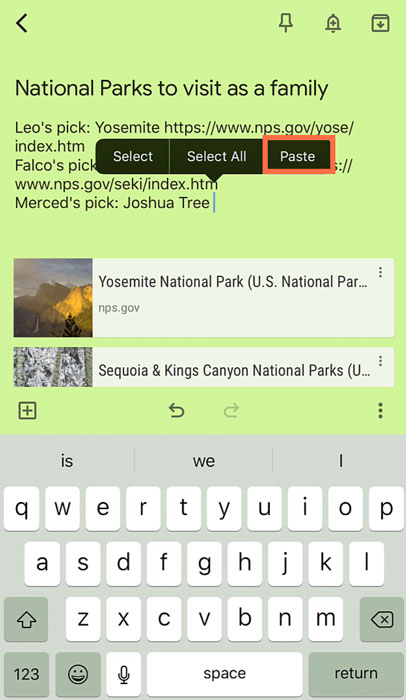
Whenever you need it, copy and paste it into your phone’s web browser.
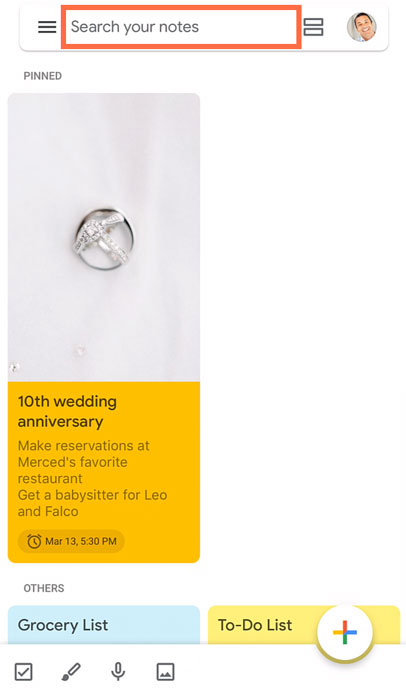
If you have many notes to look through on your screen, you can use the Search your notes feature.
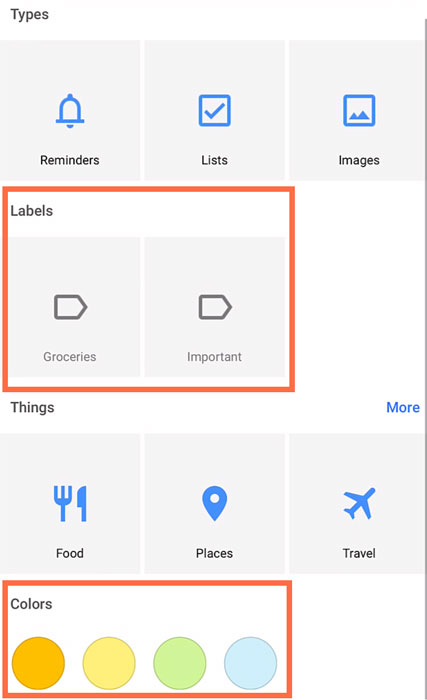
The search provides some suggestions to help you find what you are looking for such as labels or colors.
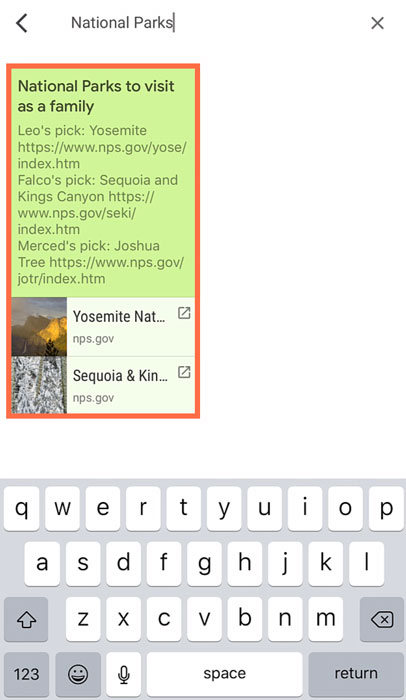
You can also type some keywords. Once you’ve found the note, tap it to view it.
The Google Keep app has many features to help you create and sort notes exactly the way you want.