Gmail -
Sending Email

Gmail
Sending Email


/en/gmail/setting-up-a-gmail-account/content/
Now that you've created a Gmail account, you can start sending email messages. Writing an email can be as simple as typing a message, or you can use text formatting, attachments, and a signature to customize your message.
In this lesson, we'll show you how to compose an email, add an attachment, and create a signature that will appear on all of the messages you send.
Watch the video below to learn more about sending email with Gmail.
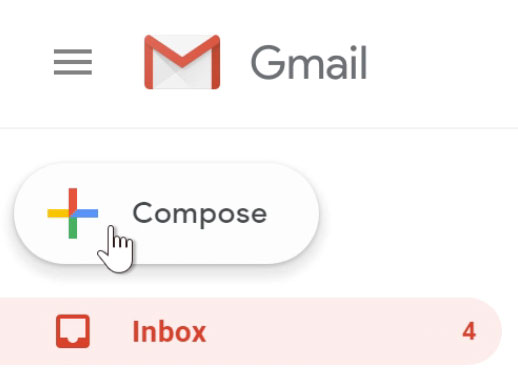
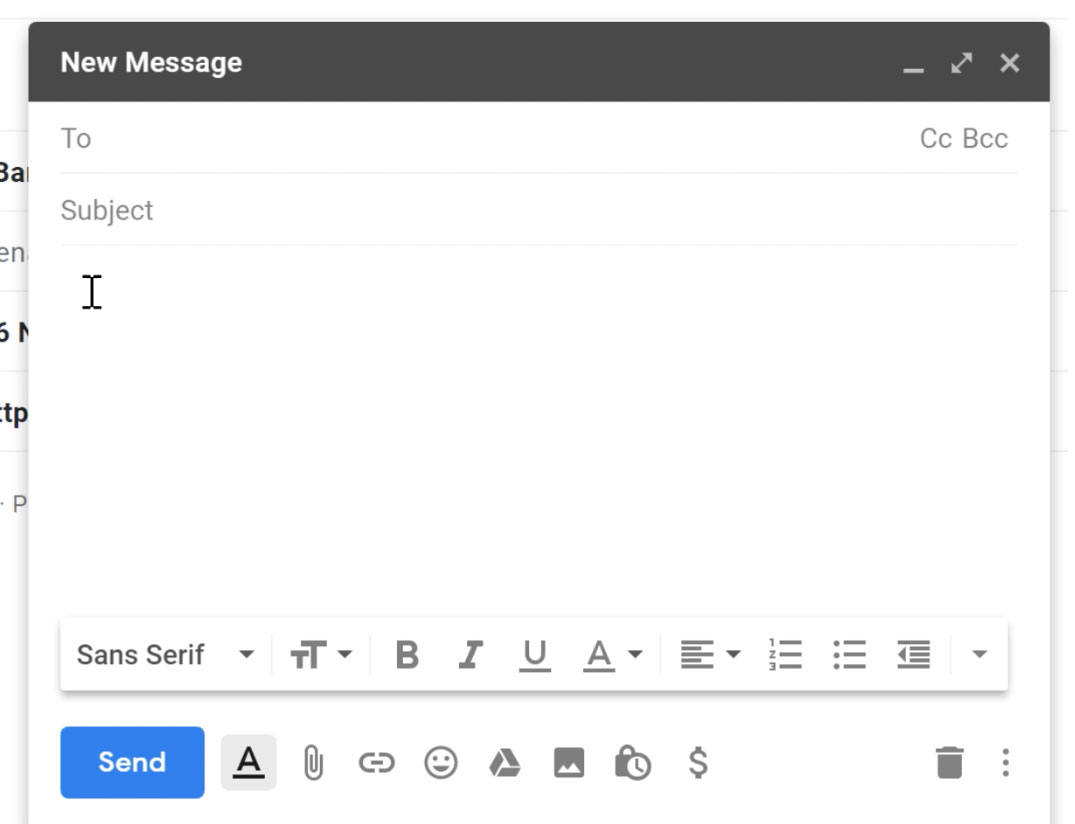
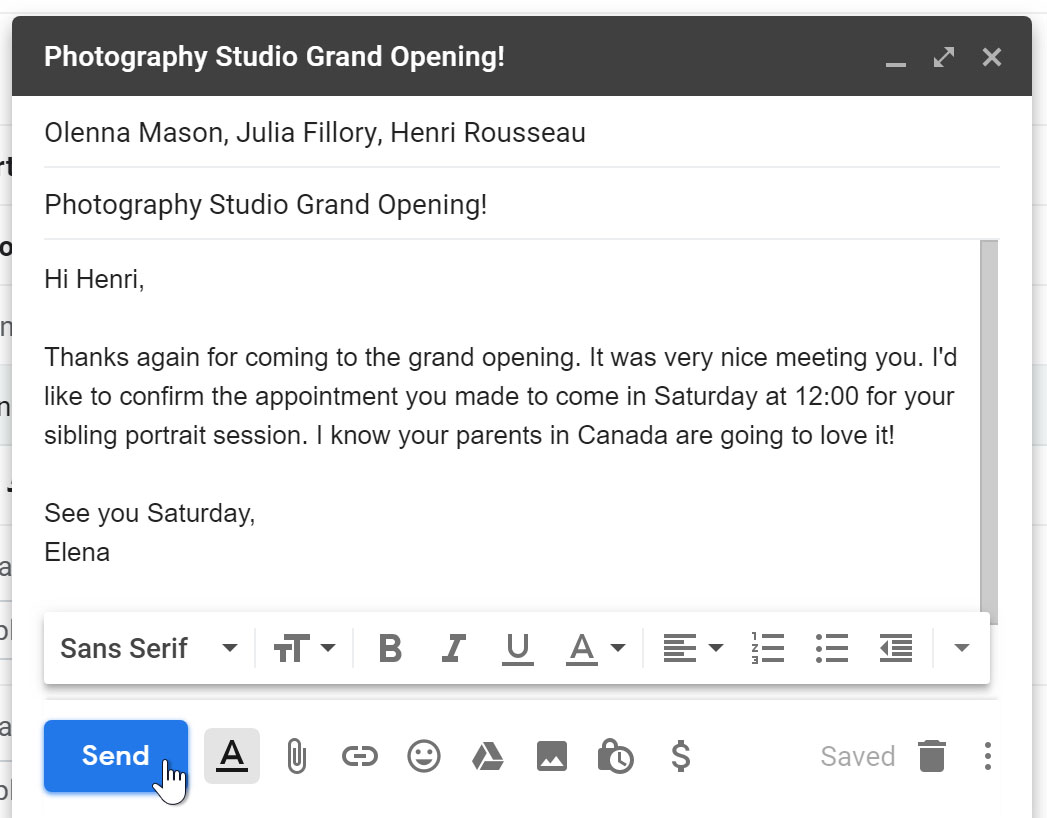
When you write an email, you'll be using the compose window. This is where you'll add the email address of the recipient(s), the subject, and the body of the email, which is the message itself. You'll also be able to add various types of text formatting, as well as one or more attachments. If you want, you can even create a signature that will be added to the end of every email you send.
Click the buttons in the interactive below to learn about the different parts of the compose window.
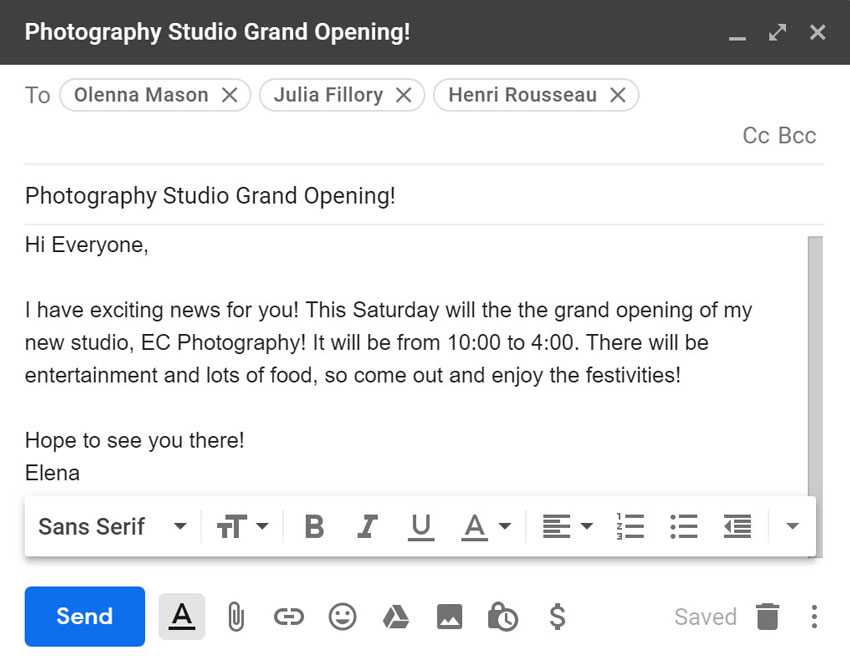
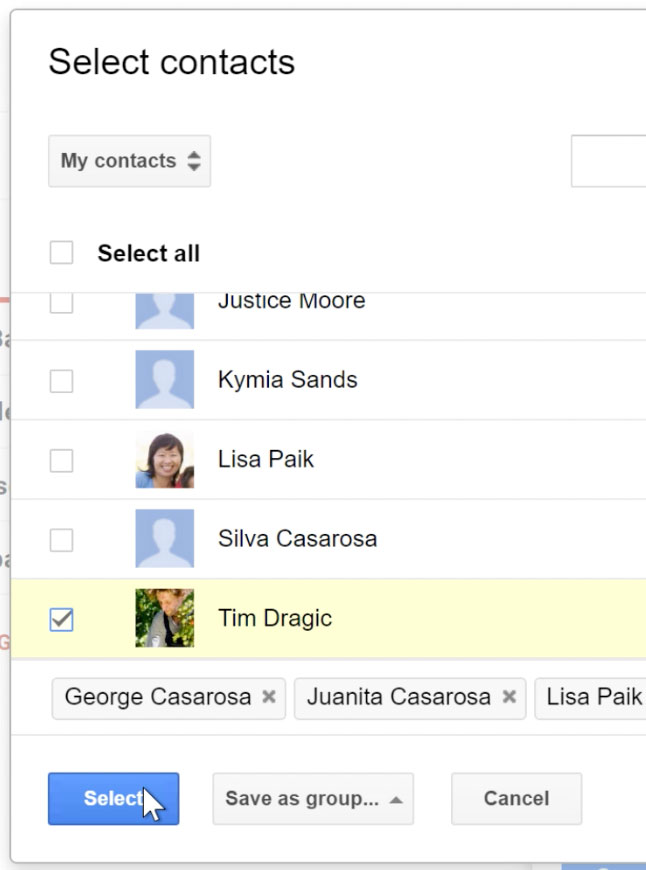
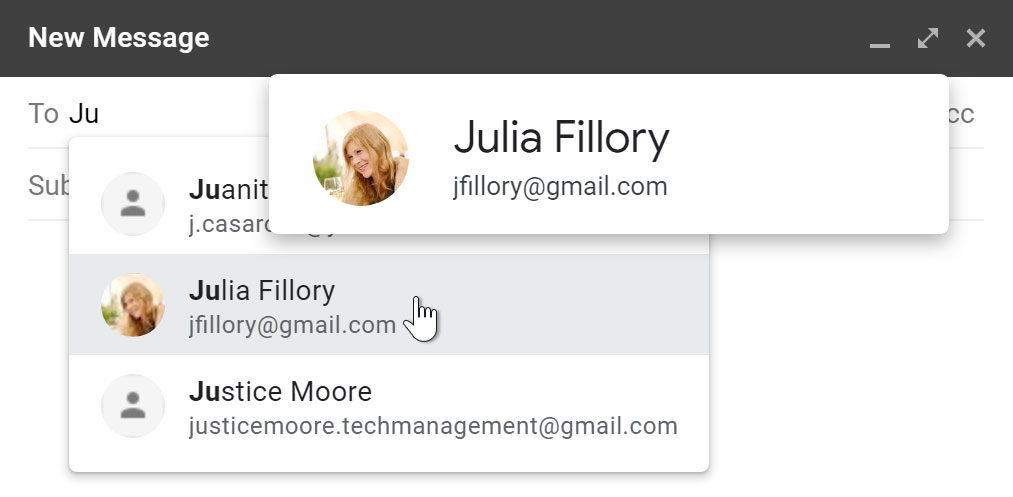
If the person you are emailing is already one of your contacts, you can start typing that person's first name, last name, or email address, and Gmail will display the contact below the To: field. You can then press the Enter key to add the person to the To: field.
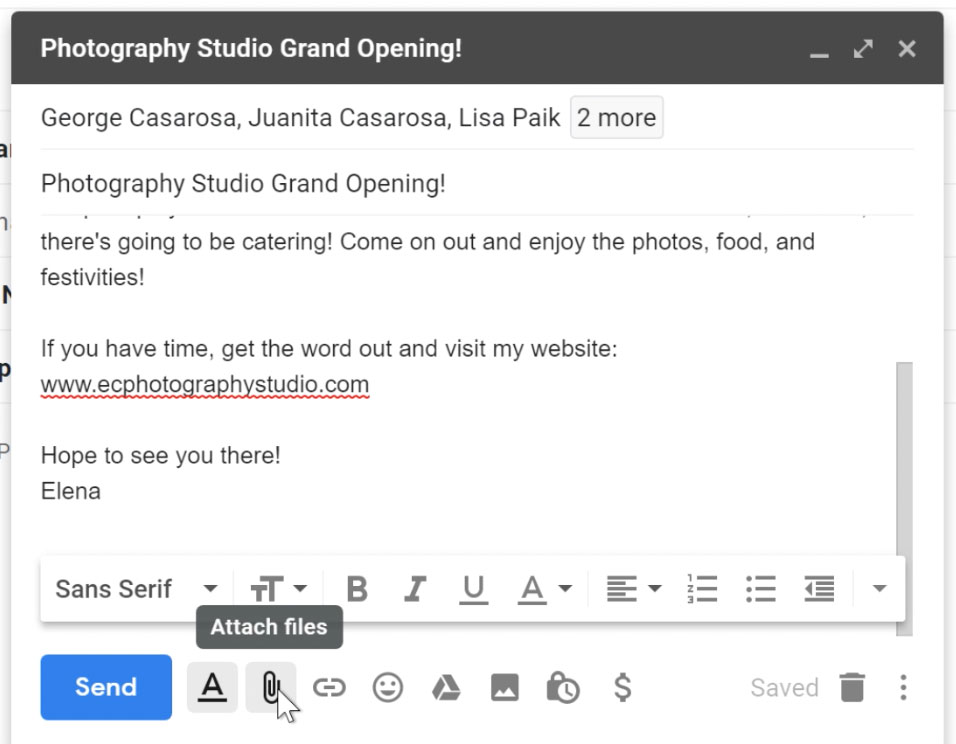
An attachment is simply a file (like an image or document) that is sent along with your email. For example, if you are applying for a job, you might send your resume as an attachment, with the body of the email being the cover letter. It's a good idea to include a message in the body of your email explaining what the attachment is, especially if the recipient isn't expecting an attachment.
Remember to attach your file before you click Send. Forgetting to attach a file is a surprisingly common mistake.
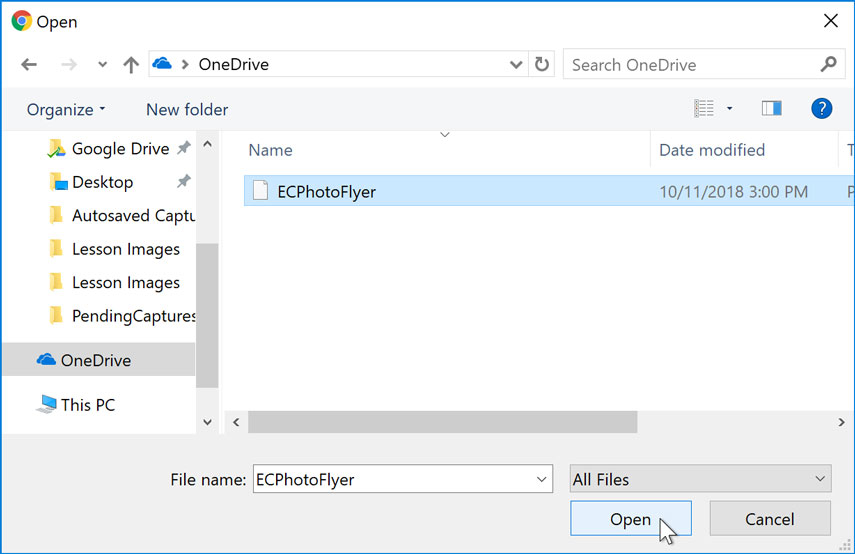
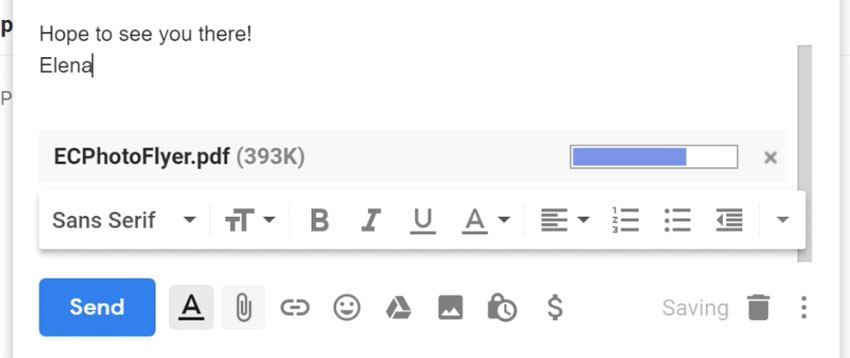
You can click Send before the attachment finishes uploading. It will continue to upload, and Gmail will automatically send the email once it's done.
Gmail allows you to add various types of formatting to your text.
Click the formatting button at the bottom of the compose window to see different formatting options.

Click the buttons in the interactive below to learn about different formatting options in Gmail.
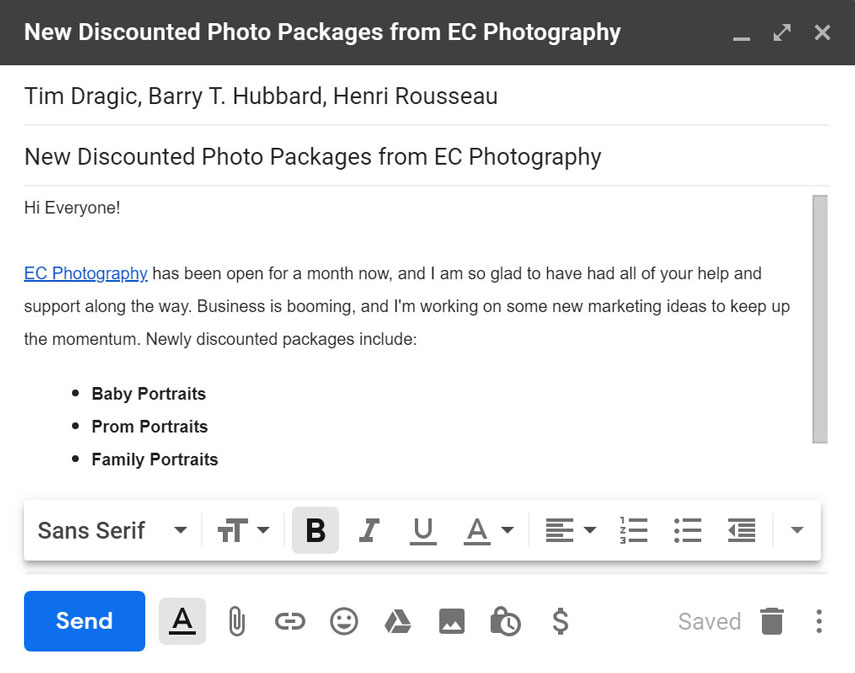
For more serious emails, like job applications, be careful not to add formatting that would seem too informal, such as bright colors or emoticons.
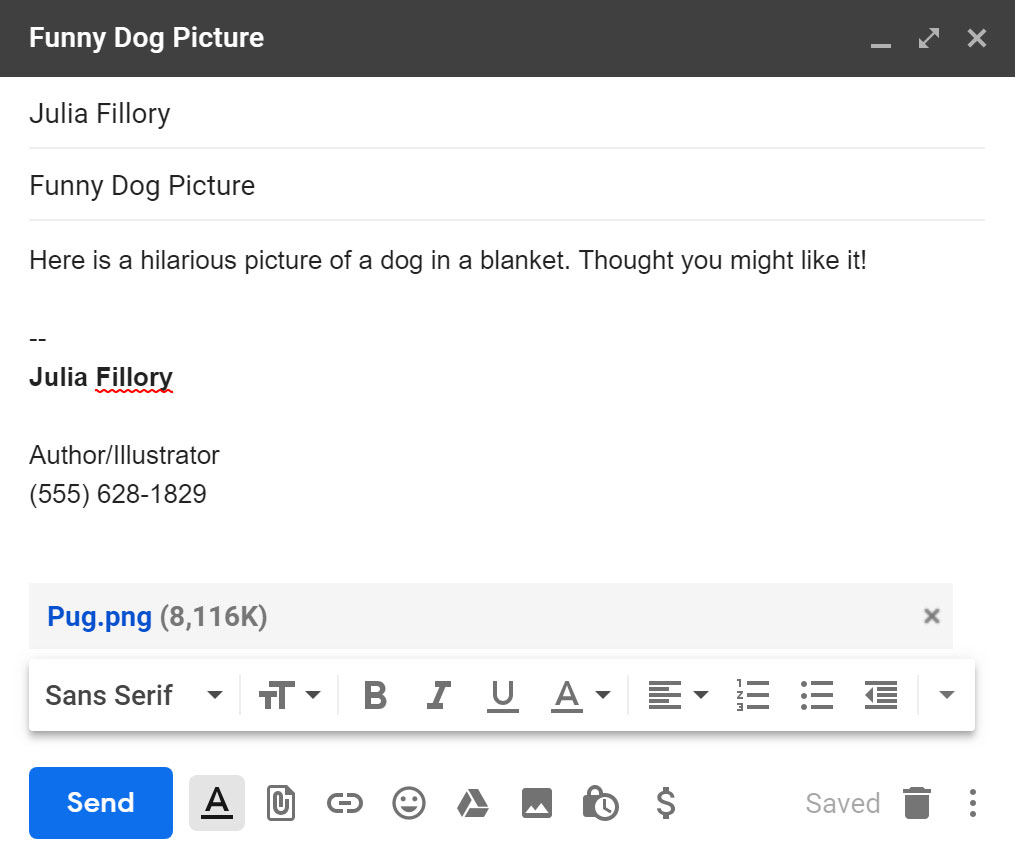
A signature is an optional block of text that appears after every email you send. By default, Gmail does not include a signature, but it's easy to create one. It will typically include your name and some contact information, like your phone number or email address. If you're using Gmail at work, you may want to include your title and your company's address or website.
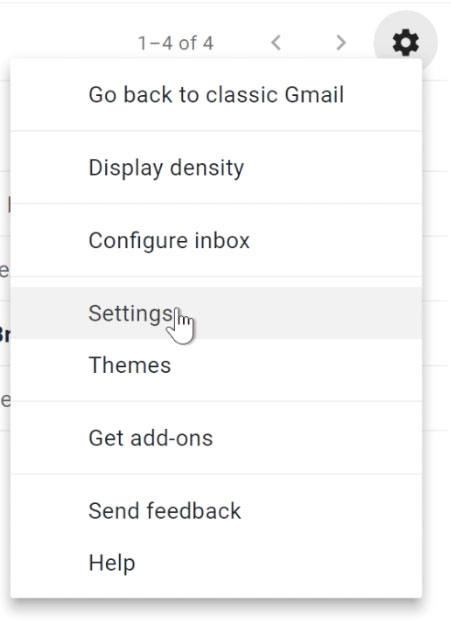


You should keep your signature brief. Instead of listing all of the phone numbers, email addresses, and mailing addresses where you can be reached, just list the most important ones.
Keep in mind that your signature will be seen by many different people, so you may not want to include your home address or anything too personal. Even if you only email people you know, someone can still forward your email to someone else, which can reveal your signature to even more people.

/en/gmail/responding-to-email/content/