As you add more content to a worksheet, organizing this information becomes especially important. You can quickly reorganize a worksheet by sorting your data. For example, you could organize a list of contact information by last name. Content can be sorted alphabetically, numerically, and in many other ways.
Watch the video below to learn more about sorting data in Excel.
Types of sorting
When sorting data, it's important to first decide if you want the sort to apply to the entire worksheet or just a cell range.
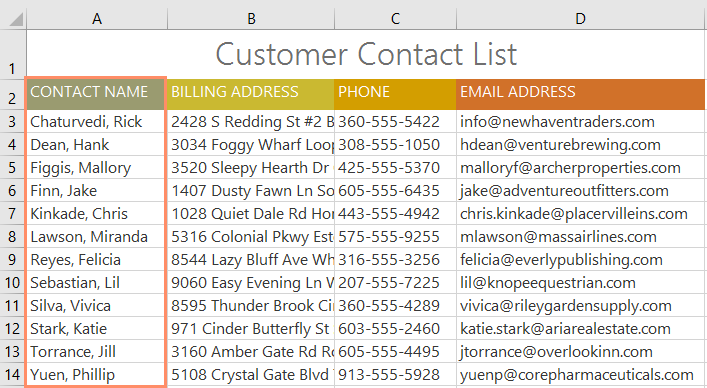
Sort sheet organizes all of the data in your worksheet by one column. Related information across each row is kept together when the sort is applied. In the example below, the Contact Name column (column A) has been sorted to display the names in alphabetical order.
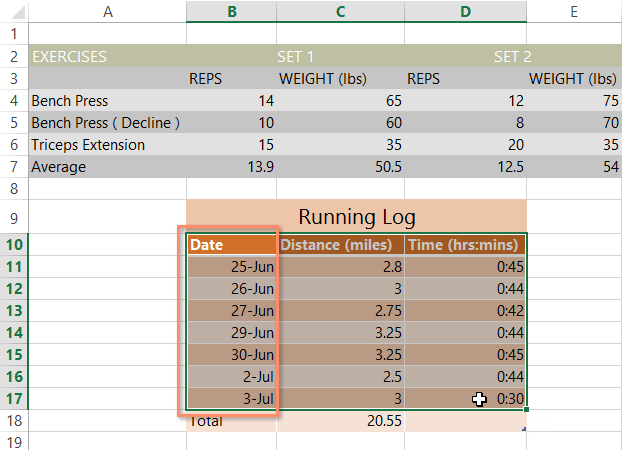
Sort range sorts the data in a range of cells, which can be helpful when working with a sheet that contains several tables. Sorting a range will not affect other content on the worksheet.
To sort a sheet:
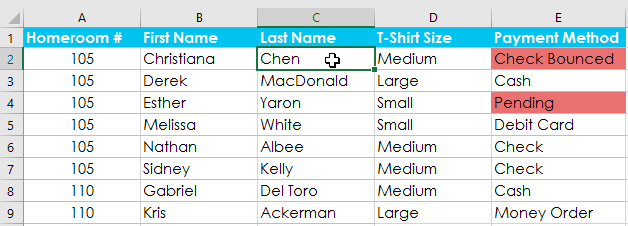
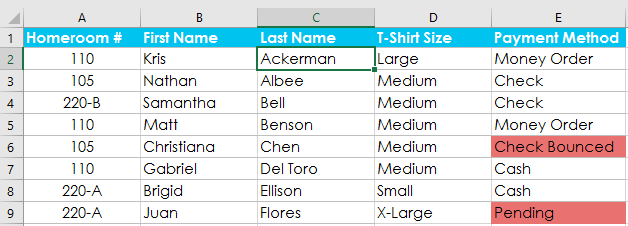
In our example, we'll sort a T-shirt order form alphabetically by Last Name (column C).
Select a cell in the column you want to sort by. In our example, we'll select cell C2.
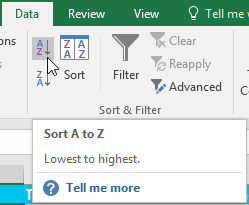
Select the Data tab on the Ribbon, then click the A-Z command to sort A to Z, or the Z-A command to sort Z to A. In our example, we'll sort A to Z.
The worksheet will be sorted by the selected column. In our example, the worksheet is now sorted by last name.
To sort a range:
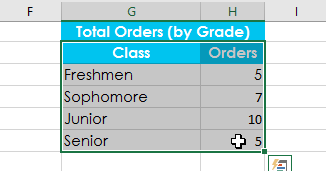
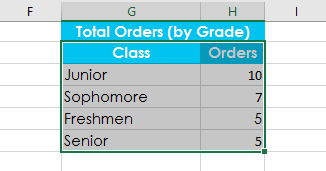
In our example, we'll select a separate table in our T-shirt order form to sort the number of shirts that were ordered in each grade.
Select the cell range you want to sort. In our example, we'll select cell range G2:H6.
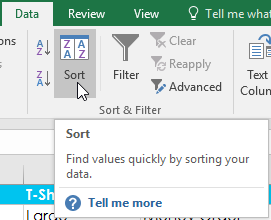
Select the Data tab on the Ribbon, then click the Sort command.
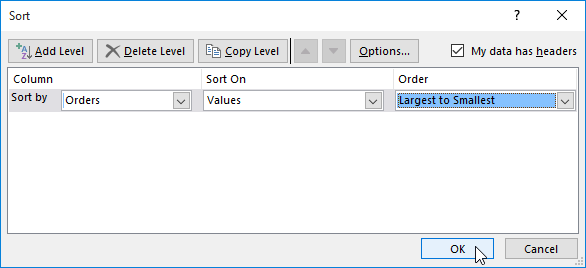
The Sort dialog box will appear. Choose the column you want to sort by. In our example, we want to sort the data by the number of T-shirt orders, so we'll select Orders.
Decide the sorting order (either ascending or descending). In our example, we'll use Largest to Smallest.
Once you're satisfied with your selection, click OK.
The cell range will be sorted by the selected column. In our example, the Orders column will be sorted from highest to lowest. Notice that the other content in the worksheet was not affected by the sort.
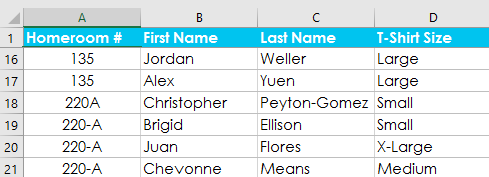
If your data isn't sorting properly, double-check your cell values to make sure they are entered into the worksheet correctly. Even a small typo could cause problems when sorting a large worksheet. In the example below, we forgot to include a hyphen in cell A18, causing our sort to be slightly inaccurate.
Custom sorting
Sometimes you may find that the default sorting options can't sort data in the order you need. Fortunately, Excel allows you to create a custom list to define your own sorting order.
To create a custom sort:
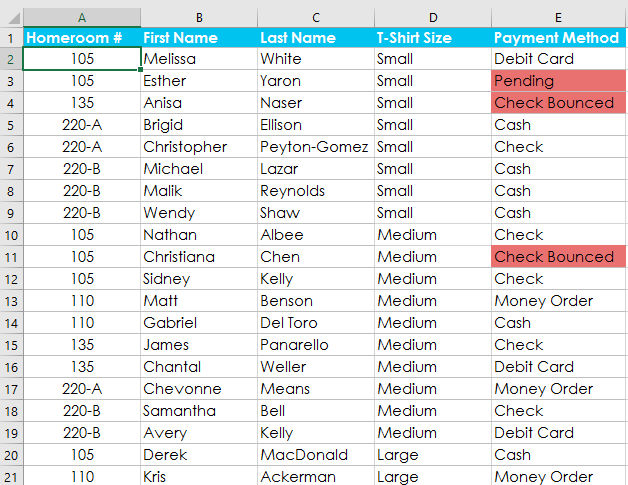
In our example below, we want to sort the worksheet by T-Shirt Size (column D). A regular sort would organize the sizes alphabetically, which would be incorrect. Instead, we'll create a custom list to sort from smallest to largest.
Select a cell in the column you want to sort by. In our example, we'll select cell D2.
Select the Data tab, then click the Sort command.
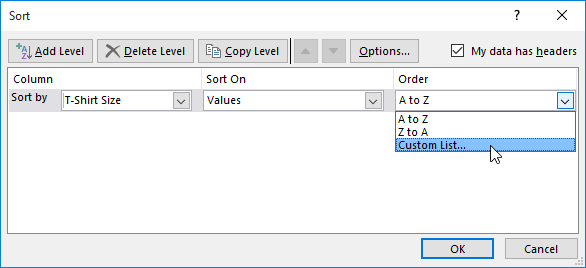
The Sort dialog box will appear. Select the column you want to sort by, then choose Custom List... from the Order field. In our example, we will choose to sort by T-Shirt Size.
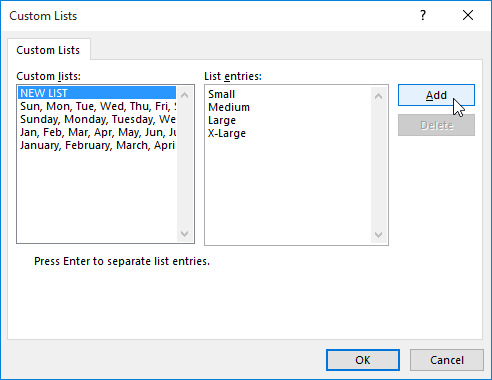
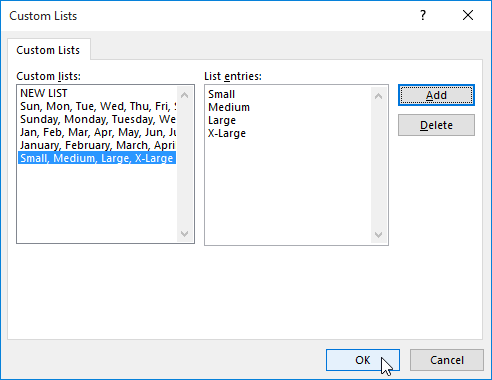
The Custom Lists dialog box will appear. Select NEW LIST from the Custom Lists: box.
Type the items in the desired custom order in the List entries: box. In our example, we want to sort our data by T-shirt size from smallest to largest, so we'll type Small, Medium, Large, and X-Large, pressing Enter on the keyboard after each item.
Click Add to save the new sort order. The new list will be added to the Custom lists: box. Make sure the new list is selected, then click OK.
The Custom Lists dialog box will close. Click OK in the Sort dialog box to perform the custom sort.
The worksheet will be sorted by the custom order. In our example, the worksheet is now organized by T-shirt size from smallest to largest.
Sorting levels
If you need more control over how your data is sorted, you can add multiple levels to any sort. This allows you to sort your data by more than one column.
To add a level:
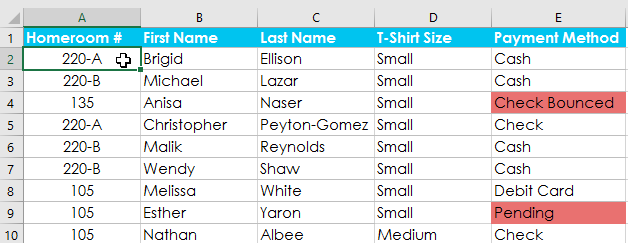
In our example below, we'll sort the worksheet by T-Shirt Size (Column D), and then by Homeroom Number (column A).
Select a cell in the column you want to sort by. In our example, we'll select cell A2.
Click the Data tab, then select the Sort command.
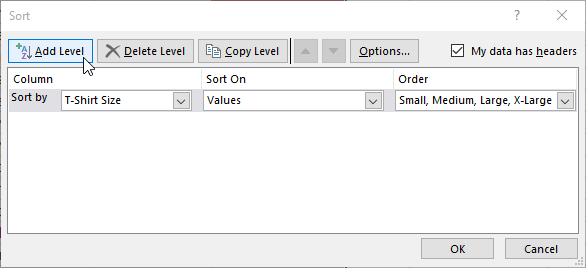
The Sort dialog box will appear. Select the first column you want to sort by. In this example, we will sort by T-Shirt Size (column D) with the custom list we previously created for the Order field.
Click Add Level to add another column to sort by.
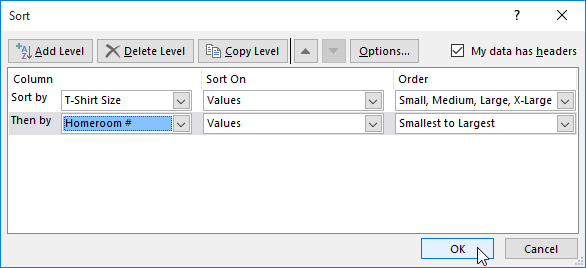
Select the next column you want to sort by, then click OK. In our example, we'll sort by Homeroom # (column A).
The worksheet will be sorted according to the selected order. In our example, the orders are sorted by T-shirt size. Within each group of T-shirt sizes, students are sorted by homeroom number.
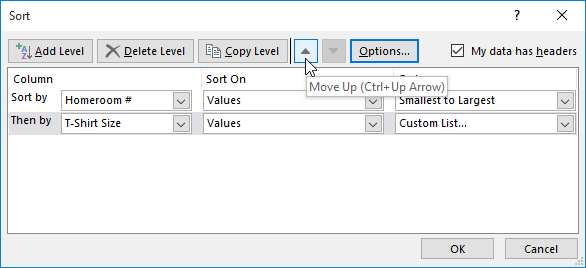
If you need to change the order of a multilevel sort, it's easy to control which column is sorted first. Simply select the desired column, then click the Move Up or Move Down arrow to adjust its priority.