
Excel 2013 -
Printing Workbooks

Excel 2013
Printing Workbooks

search
menu
/en/excel2013/page-layout/content/
There may be times when you want to print a workbook to view and share your data offline. Once you've chosen your page layout settings, it's easy to preview and print a workbook from Excel using the Print pane.
Review our Page Layout lesson to learn more about preparing your workbook for printing.
Optional: Download our practice workbook.
 Clicking the File tab
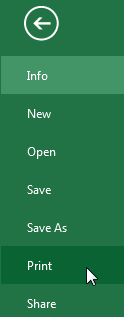 Clicking Print
Click the buttons in the interactive below to learn more about using the Print pane.
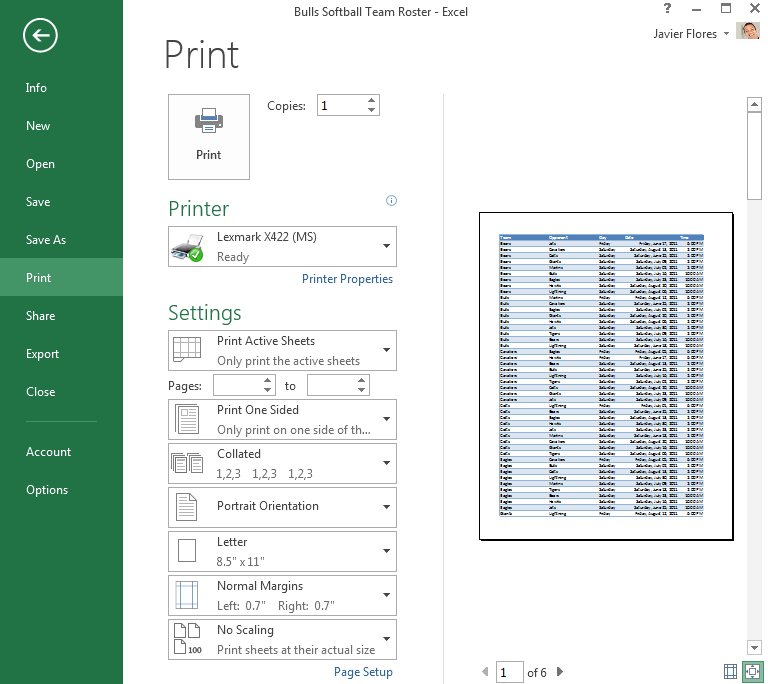
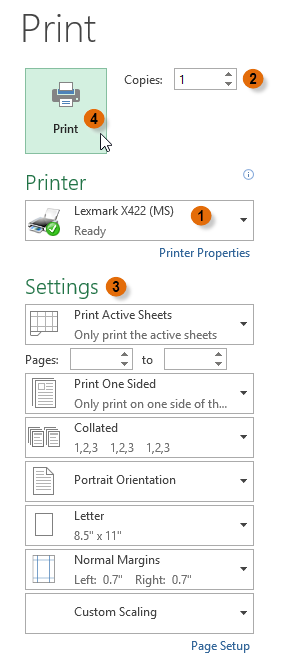
If your printer uses different paper sizes, you can choose the paper size you want to use.

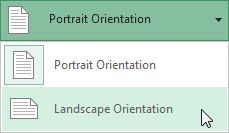
Here, you can choose portrait or landscape orientation.
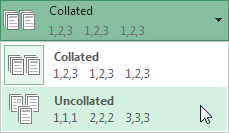
If you are printing multiple copies, you can choose whether you want the copies collated or uncollated.
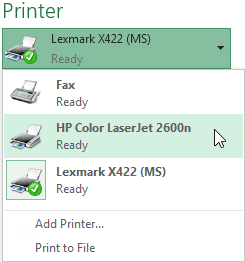
You may need to select the printer you want to use if your computer is connected to multiple printers.
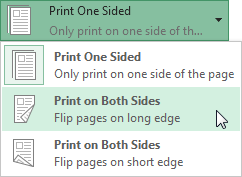
Here you can choose whether to print on one side or both sides of the paper.
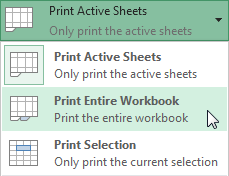
Here, you can choose to print the active sheets, the entire workbook, or a selection of cells.
When you are ready to print the workbook, click the Print button.
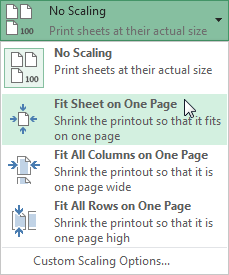
Here, you can choose how to scale your worksheets for the printed page. You can scale worksheets at their actual size, fit the entire worksheet on one page, fit all columns on one page, or fit all rows on one page.
While scaling can sometimes be helpful for condensing a worksheet, note that the text will become more difficult to read as it is scaled down.
Here, you can adjust the page margins, which can help your data fit more comfortably on the page.

You can click the arrows to view a different page in Print Preview.
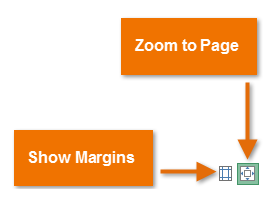
You can click the Zoom to Page button on the right to zoom in and out of the Preview pane.
You can click the Show Margins button on the left to show the margins in the Preview pane.
Here, you can see a preview of how your worksheets will look when printed.
Here, you can choose how many copies of the workbook you want to print.
If you're planning to print multiple copies, it's a good idea to print a test copy first.
 Printing a workbook
Before you print an Excel workbook, it's important to decide exactly what information you want to print. For example, if you have multiple worksheets in your workbook, you will need to decide if you want to print the entire workbook or only active worksheets. There may also be times when you want to print only a selection of content from your workbook.
Worksheets are considered active when selected.
 Selecting multiple worksheets to print
 Printing active worksheets
 Clicking the Print button
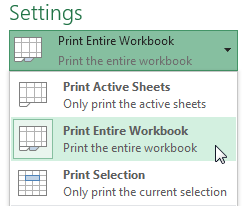 Printing the entire workbookClicking the Print button
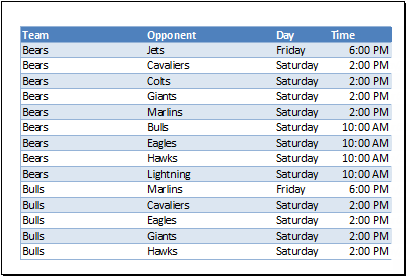
In our example, we'll print a selection of content related to upcoming softball games in July.
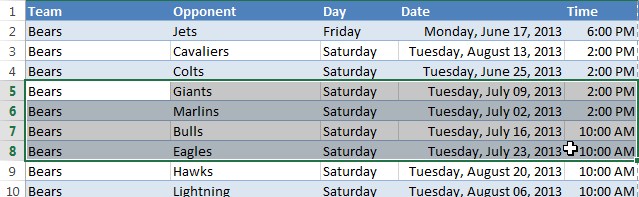 Selecting a print area
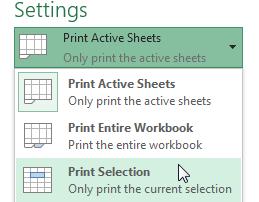 Printing only the selected cells
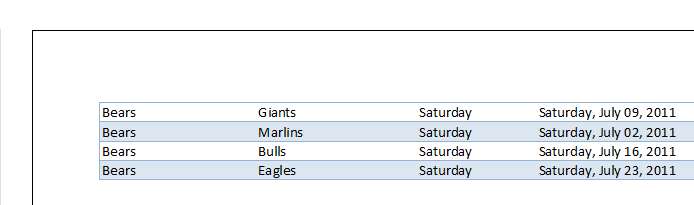 Viewing the selection in the Preview paneClicking the Print button
If you prefer, you can also set the print area in advance so you'll be able to visualize which cells will be printed as you work in Excel. Simply select the cells you want to print, click the Page Layout tab, select the Print Area command, then choose Set Print Area.
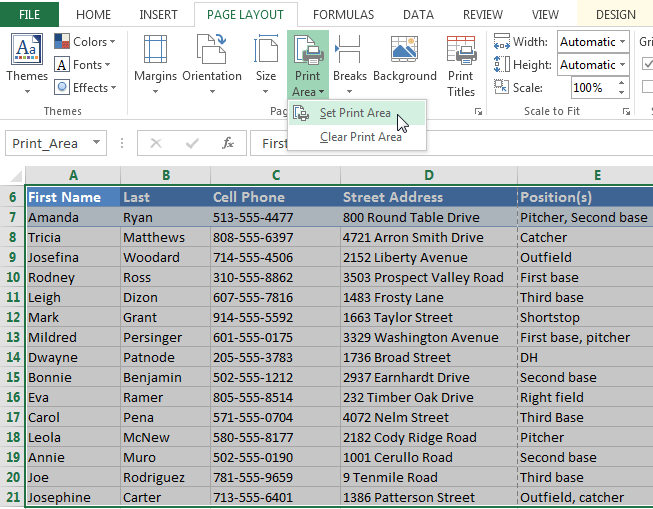 Setting a print area
On occasion, you may need to make small adjustments from the Print pane to fit your workbook content neatly onto a printed page. The Print pane includes several tools to help fit and scale your content, such as scaling and page margins.
If some of your content is being cut off by the printer, you can use scaling to fit your workbook to the page automatically.
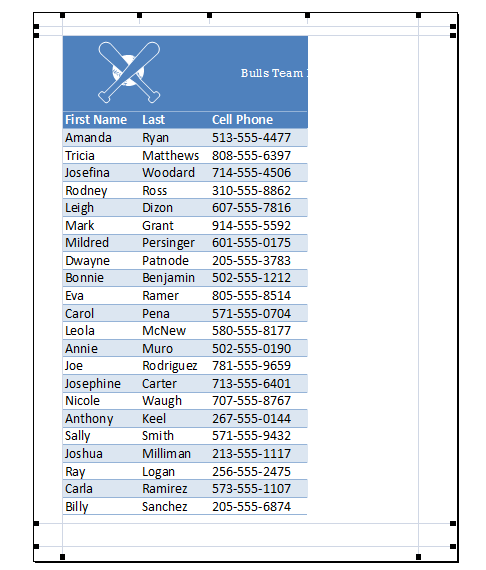 Viewing a cut off worksheet in the Preview pane
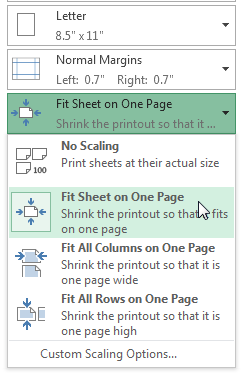 Fitting a worksheet onto one page
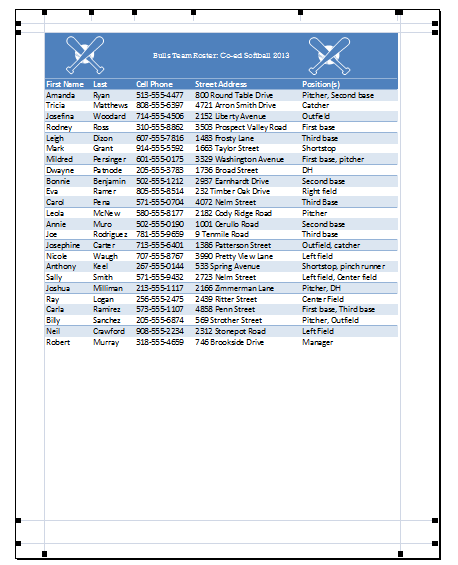 The scaled worksheetClicking the Print button
Keep in mind that worksheets will become more difficult to read as they are scaled down, so you may not want to use this option when printing a worksheet with a lot of information.
Sometimes you may only need to adjust a single margin to make your data fit more comfortably. You can modify individual page margins from the Preview pane.
 Showing the margins
 until the cursor becomes a double arrow
 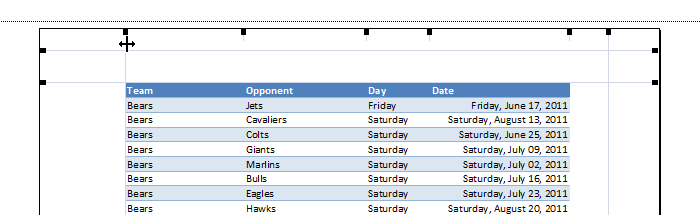 Hovering the mouse over a margin
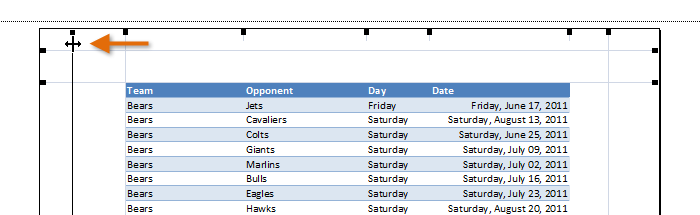 Decreasing the margin width
 The new margin width
/en/excel2013/simple-formulas/content/