Excel 2007 -
Modifying Columns, Rows, and Cells

Excel 2007
Modifying Columns, Rows, and Cells


/en/excel2007/starting-a-workbook/content/
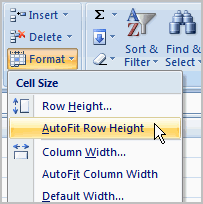 When you open a new blank workbook, the cells, columns, and rows are set to a default size. You have the ability to change the size of each, as well as to insert new columns, rows, and cells as needed. In this lesson, you will learn various methods to modify the column width and row height, as well as how to insert new columns, rows, and cells.
Download the example to work along with the video.
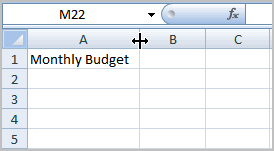
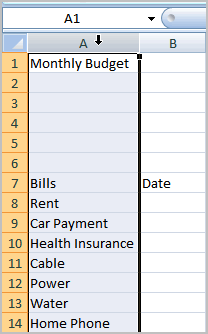
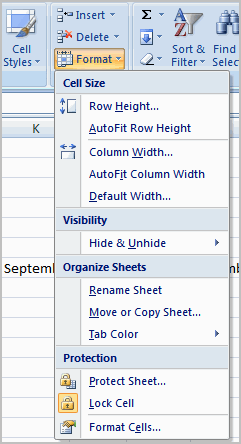
If you see pound signs (#######) in a cell, it means that the column is not wide enough to display the cell content. Simply increase the column width to show the cell content.
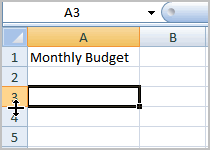

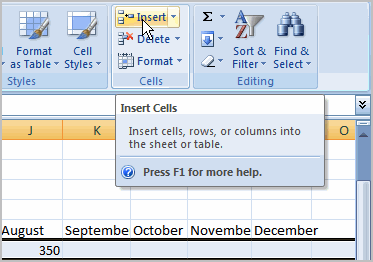
The new row always appears above the selected row.
Make sure you select the entire row below where you want the new row to appear and not just the cell. If you select just the cell and then click Insert, only a new cell will appear.
The new column always appears to the left of the selected column. For example, if you want to insert a column between September and October, select the October column, then click the Insert command.
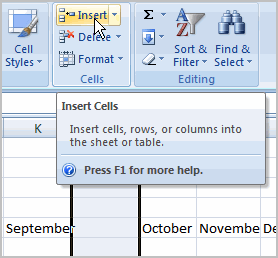
Make sure you select the entire column to the right of where you want the new column to appear and not just the cell. If you select just the cell and then click Insert, only a new cell will appear.
Use the Budget workbook or any Excel workbook you choose to complete this challenge.
/en/excel2007/formatting-text/content/