
Excel -
Getting Started with Excel

Excel
Getting Started with Excel

search
menu
Excel is a spreadsheet program that allows you to store, organize, and analyze information. While you may think Excel is only used by certain people to process complicated data, anyone can learn how to take advantage of the program's powerful features. Whether you're keeping a budget, organizing a training log, or creating an invoice, Excel makes it easy to work with different types of data.
Watch the video below to learn more about Excel.
The procedures in this tutorial will work for all recent versions of Microsoft Excel, including Excel 2019, Excel 2016, and Office 365. There may be some slight differences, but for the most part these versions are similar. However, if you're using an earlier version, you may want to refer to one of our other Excel tutorials instead.
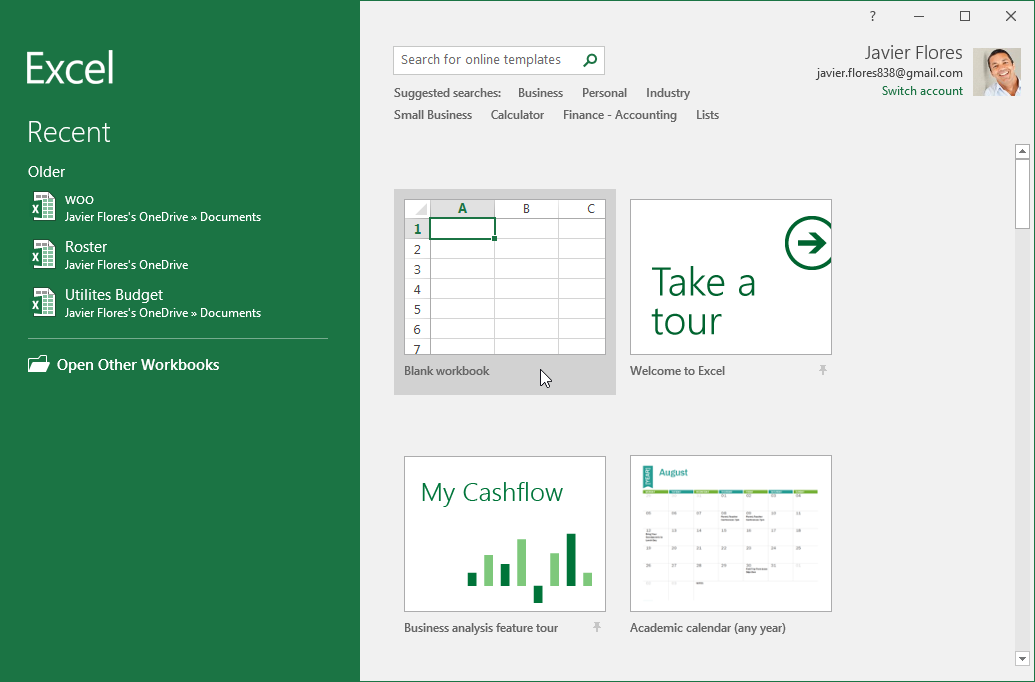
When you open Excel for the first time, the Excel Start Screen will appear. From here, you'll be able to create a new workbook, choose a template, and access your recently edited workbooks.
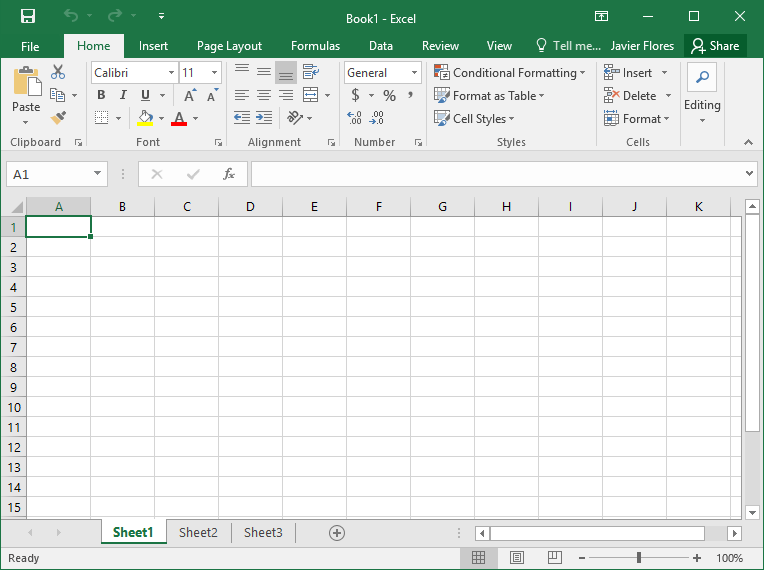
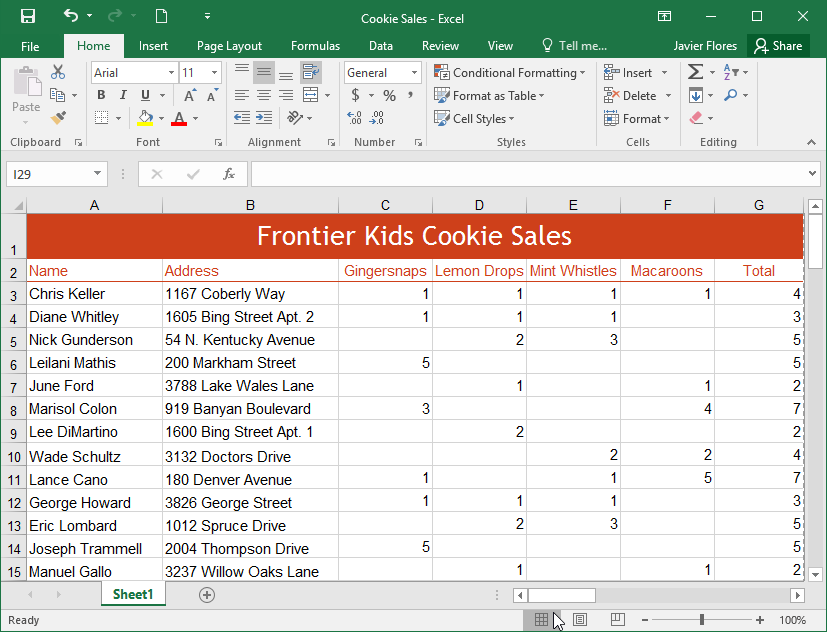
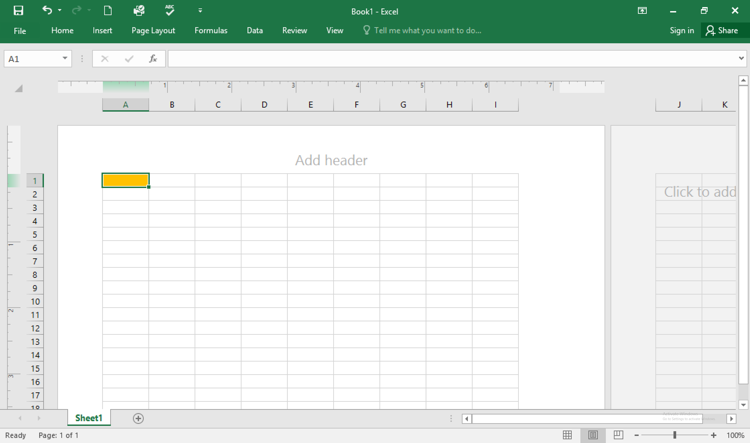
Some parts of the Excel window (like the Ribbon and scroll bars) are standard in most other Microsoft programs. However, there are other features that are more specific to spreadsheets, such as the formula bar, name box, and worksheet tabs.
Click the buttons in the interactive below to become familiar with the parts of the Excel interface.
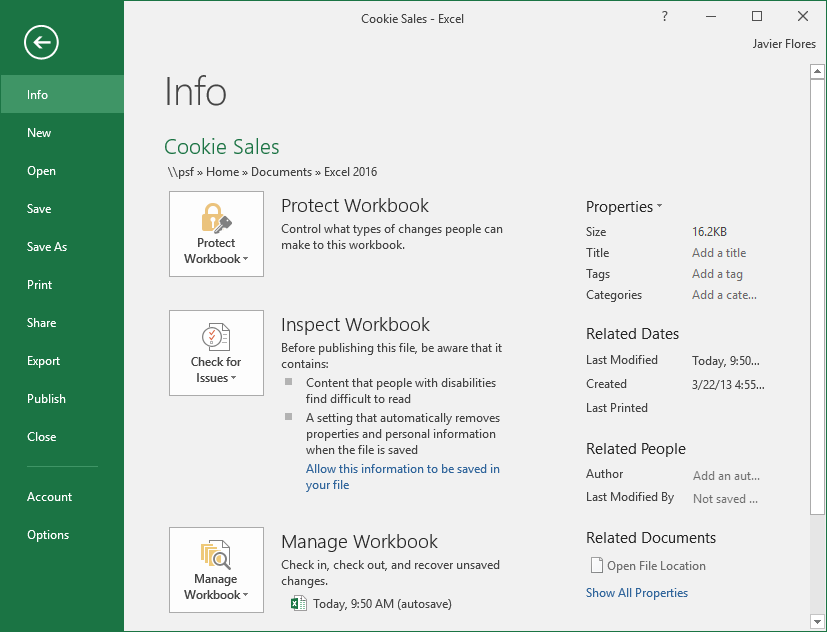
The Ribbon and Quick Access Toolbar are where you will find the commands to perform common tasks in Excel. The Backstage view gives you various options for saving, opening a file, printing, and sharing your document.
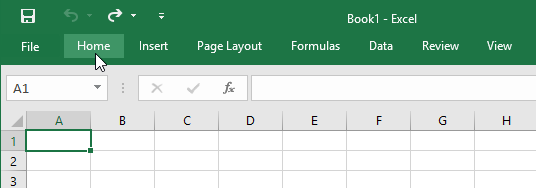
Excel uses a tabbed Ribbon system instead of traditional menus. The Ribbon contains multiple tabs, each with several groups of commands. You will use these tabs to perform the most common tasks in Excel.


Certain programs, such as Adobe Acrobat Reader, may install additional tabs to the Ribbon. These tabs are called add-ins.
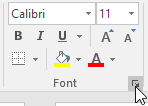
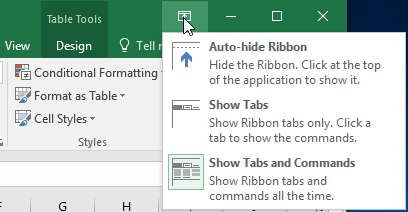
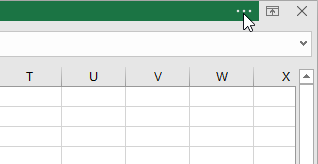
The Ribbon is designed to respond to your current task, but you can choose to minimize it if you find that it takes up too much screen space. Click the Ribbon Display Options arrow in the upper-right corner of the Ribbon to display the drop-down menu.
There are three modes in the Ribbon Display Options menu:
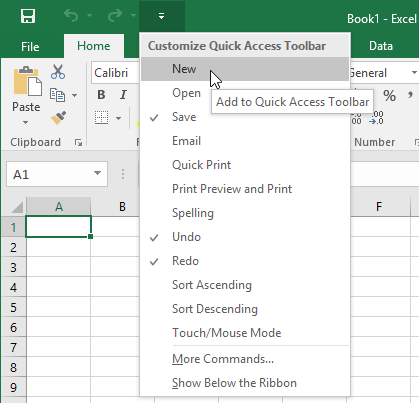
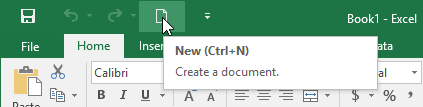
Located just above the Ribbon, the Quick Access Toolbar lets you access common commands no matter which tab is selected. By default, it includes the Save, Undo, and Repeat commands. You can add other commands depending on your preference.
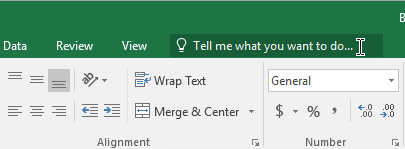
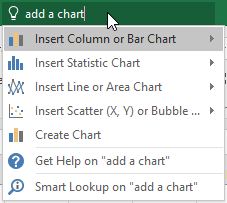
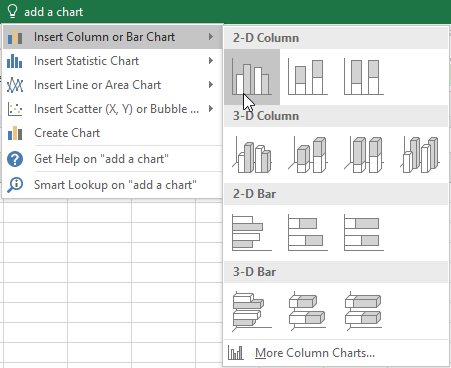
The Tell me box works like a search bar to help you quickly find tools or commands you want to use.
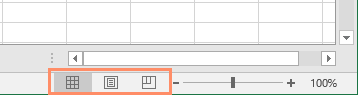
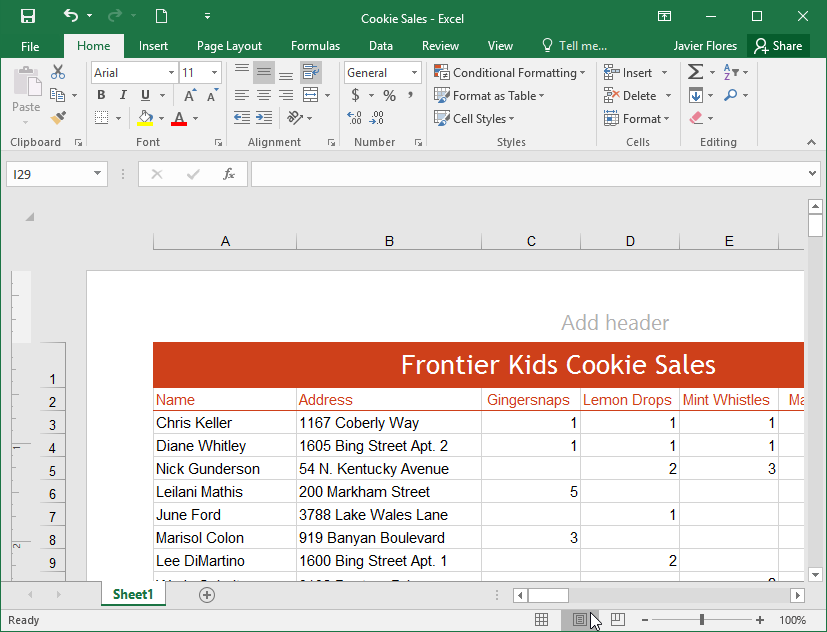
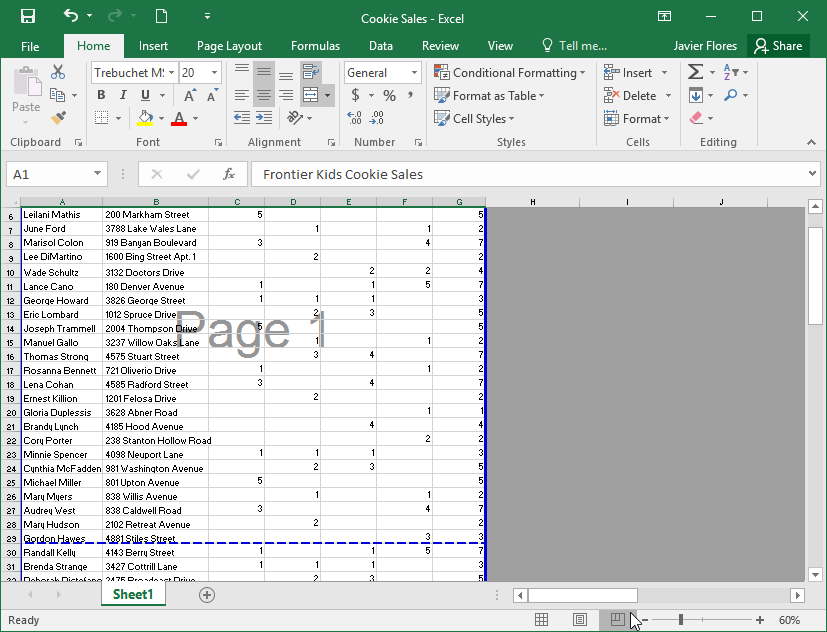
Excel has a variety of viewing options that change how your workbook is displayed. These views can be useful for various tasks, especially if you're planning to print the spreadsheet. To change worksheet views, locate the commands in the bottom-right corner of the Excel window and select Normal view, Page Layout view, or Page Break view.
Backstage view gives you various options for saving, opening a file, printing, and sharing your workbooks.
Click the buttons in the interactive below to learn more about using Backstage view.
/en/excel/understanding-onedrive/content/