
Digital Photography -
Composing Your Shot

Digital Photography
Composing Your Shot

search
menu
/en/digitalphotography/lighting/content/
 A photo with good composition
Let's imagine you're painting a picture. You can decide exactly what you want the painting to look like: Which people or objects are in the painting, where they are located on the canvas, and what kind of background is in place.
In photography, you can do all of these things simply by changing the position and angle of the camera. The way everything is arranged in your photo is called the composition. By paying attention to the composition of your photos, you can improve and enhance them.
Below are some tips for improving the composition in your photos. These are not rules you must follow all the time, but rather suggestions to help you take more successful photos. Remember, with digital cameras you can always delete photos you don't like, so don't be afraid to experiment.
 Too much unnecessary background
 Good amount of background
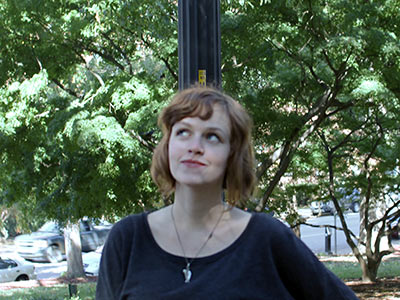 An example of a merger
 Cropping out the subject's head and feet
 Allowing extra space for the subject's head and feet
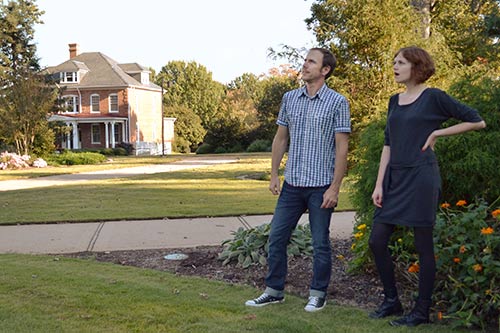 Moving farther away to capture more background
 Moving closer to emphasize subjects
 Shooting from a high angle
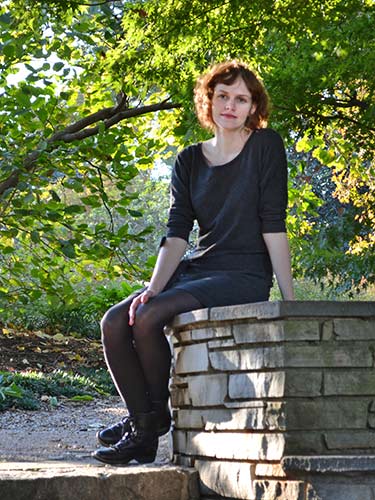
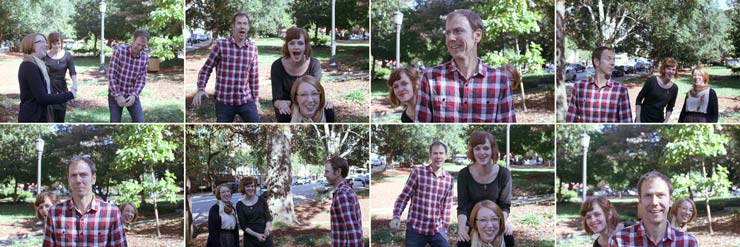 Taking a variety of shots
When you're taking a photo, you don't have to place your subject exactly in the center. In fact, you can often make a photo look more natural by placing your subject off center. You can do this by using a technique photographers call the rule of thirds.
To use the rule of thirds, you'll need to imagine that the photograph is divided into thirds horizontally and vertically. The places where the lines intersect are called power points, and these are often good places to put your subject. For example, in the photo below the lighthouse is placed on the upper-left power point. This allowed the photographer to include the ocean on the right side, which makes the composition even more attractive.
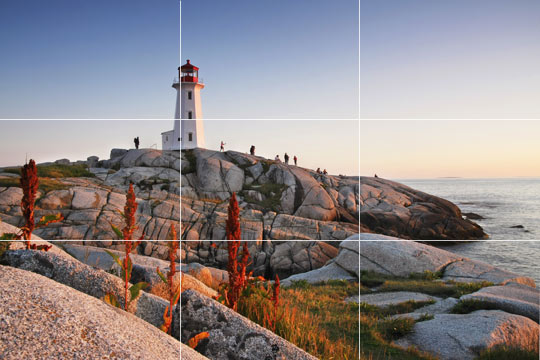 Using the rule of thirds to compose the photo
Although you can place your subject on any of the four power points, there will often be one that works better than the others. For example, if your subject is looking to one side, you'll usually want to have more space on that side so the subject is looking "into" the photo.
In the photo below, the subject's eyes are placed near the upper-right power point so he is looking into the photo.
 Using the rule of thirds in a portrait
If you're shooting a landscape, try placing the horizon near the top or bottom grid line. In the photo below, the mountains are near the bottom grid line, which helps to give shape to the photo and which also allows more clouds to be shown.
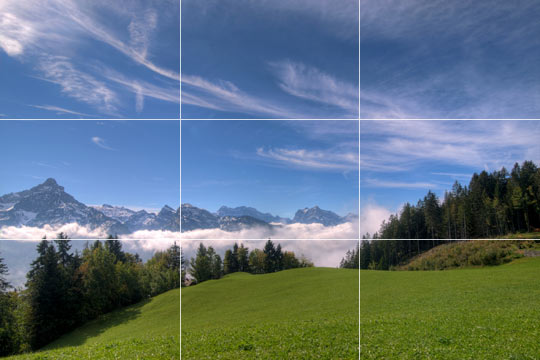 Composing a landscape with the rule of thirds
Keep in mind that the rule of thirds is only meant to be a guideline. Every photo is different, so you'll have to experiment to see whether the rule of thirds will improve it.
/en/digitalphotography/photographing-at-night/content/