
Access 2016 -
Working with Forms

Access 2016
Working with Forms

search
menu
/en/access2016/working-with-tables/content/
While you can always enter data directly into database tables, you might find it easier to use forms. Forms ensure you're entering the right data in the right location and format. This can help keep your database accurate and consistent.
This lesson will address the benefits of using forms in a database. You will review examples of different forms and form components. Finally, you will learn how to use forms to enter new records and view and edit existing ones.
Throughout this tutorial, we will be using a sample database. If you would like to follow along, you'll need to download our Access 2016 sample database. You will need to have Access 2016 installed on your computer in order to open the example.
Watch the video below to learn more about working with forms in Access.
Many of us fill out forms so often that we hardly notice when we're asked to use them. Forms are so popular because they're useful to the person asking for the information and to the person providing it. They are a way of requiring information in a specific format, which means the person filling out the form knows exactly which information to include and where to put it.
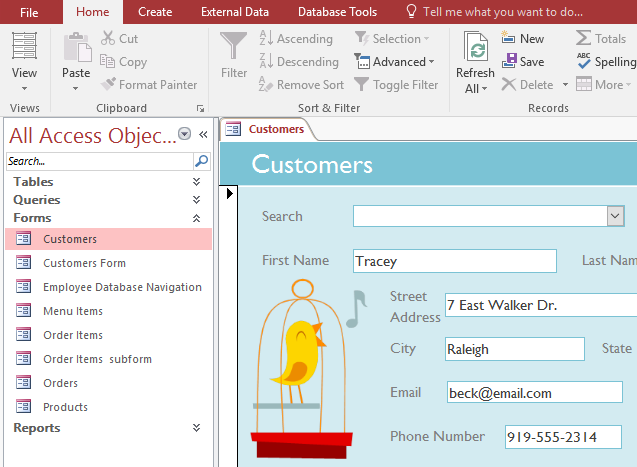
This is just as true of forms in Access. When you enter information into a form in Access, the data goes exactly where it's supposed to go: into one or more related tables. While entering data into simple tables is fairly straightforward, data entry becomes more complicated as you start populating tables with records from elsewhere in the database. For instance, the orders table in a bakery's database might link to information on customers, products, and prices drawn from related tables. For example, in the Orders Table below the Customer ID field is linked to the Customers table.
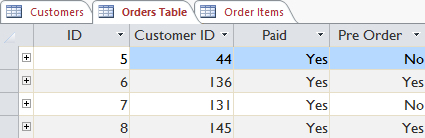
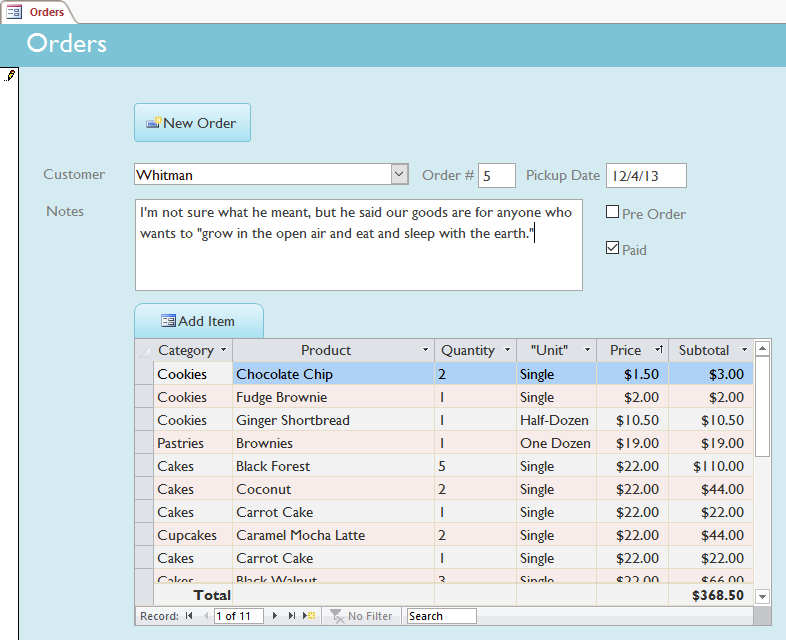
In fact, in order to see the entire order you would also have to look at the Order Items table, where the menu items that make up each order are recorded.

The records in these tables include ID numbers of records from other tables. You can't learn much just by glancing at these records because the ID numbers don't tell you much about the data they relate to. Plus, because you have to look at two tables just to view one order, you might have a difficult time even finding the right data. It's easy to see how viewing or entering many records this way could become a difficult and tedious task.
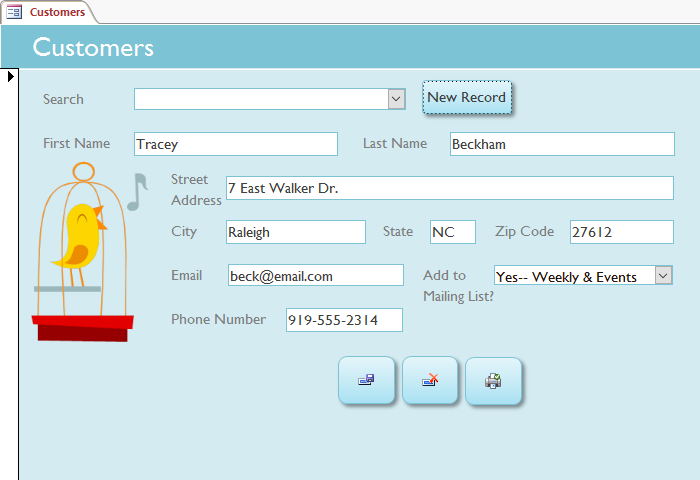
A form containing the same data might look like this:
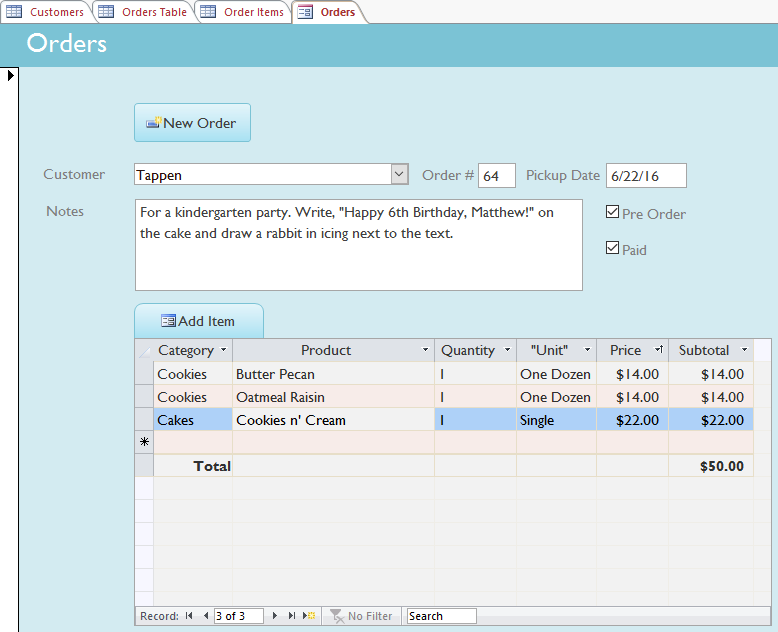
As you can see, this record is much easier to understand when viewed in a form. Modifying the record also would be easier because you wouldn't have to know any ID numbers to enter new data. When you're using a form, you don't have to worry about entering data into the right tables or in the right format—the form can handle these things itself. There's no need to go back and forth between tables because forms bring all of the information you need together in one place.
Not only do forms make the data entry process easier for the user, but they also keep the database itself working smoothly. With forms, database designers can control exactly how users are able to interact with the database. They can even set restrictions on individual form components to ensure all of the needed data is entered and that it's all entered in a valid format. This is useful because keeping data consistent and organized is essential for an accurate and powerful database.
Depending on the database you're using, the forms you work with may include special tools and features that let you perform common tasks with one click of a button. You'll see examples of these tools in the interactives later in this lesson. However, no matter what type of form you're working with, you can follow the same procedures for carrying out certain basic tasks.
There are two ways to add a new record to a form:

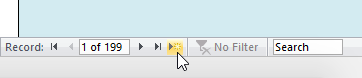
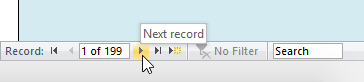
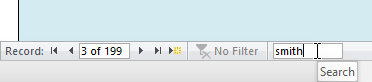
There are two ways to find and view an existing record using a form, and they both use the Navigation bar at the bottom of the screen:


The exact procedure you use for filling out a form will vary depending on the content and design of the form you're using. The forms in your database might be similar to the examples in the two interactives below. Between them, they include most of the features you'll commonly encounter in forms.
Click the buttons in the interactive below to learn about a simple form.
Some forms may include more options, like calendar buttons, drop-down lists, yes/no checkboxes, subforms, and embedded tables.
Click the buttons in the interactive below to learn about a more complex form.
/en/access2016/sorting-and-filtering-records/content/