
Access 2016 -
Creating Reports

Access 2016
Creating Reports

search
menu
/en/access2016/more-query-design-options/content/
If you need to share information from your database with someone but don't want that person actually working with your database, consider creating a report. Reports allow you to organize and present your data in a reader-friendly, visually appealing format. Access makes it easy to create and customize a report using data from any query or table in your database.
In this lesson, you will learn how to create, modify, and print reports.
Throughout this tutorial, we will be using a sample database. If you would like to follow along, you'll need to download our Access 2016 sample database. You will need to have Access 2016 installed on your computer in order to open the example.
Watch the video below to learn more about creating reports.
Reports give you the ability to present components of your database in an easy-to-read, printable format. Access lets you create reports from both tables and queries.
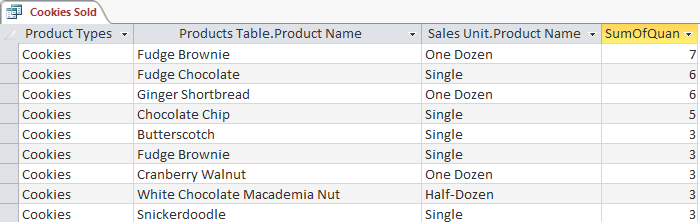

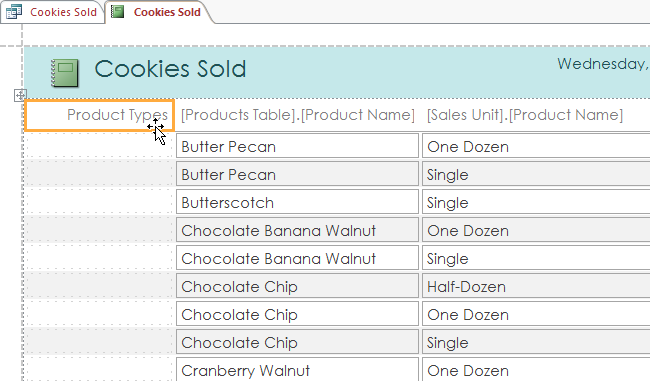
Just like tables and queries, reports can be sorted and filtered. Simply right-click the field you want to sort or filter, then select the desired option from the menu.
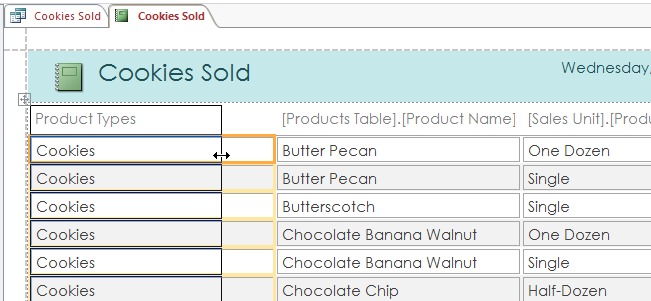
You might find that your report contains some fields you don't really need to view. For instance, our report contains the Zip Code field, which isn't necessary in a list of orders. Fortunately, you can delete fields in reports without affecting the table or query where you grabbed your data.
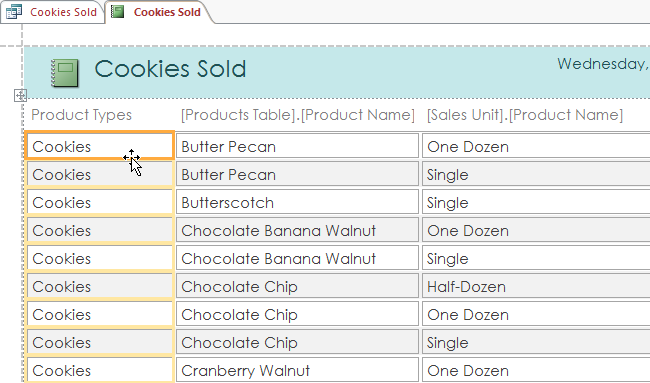
When you delete a field, be sure to delete its header as well. Simply select the header and press the Delete key.
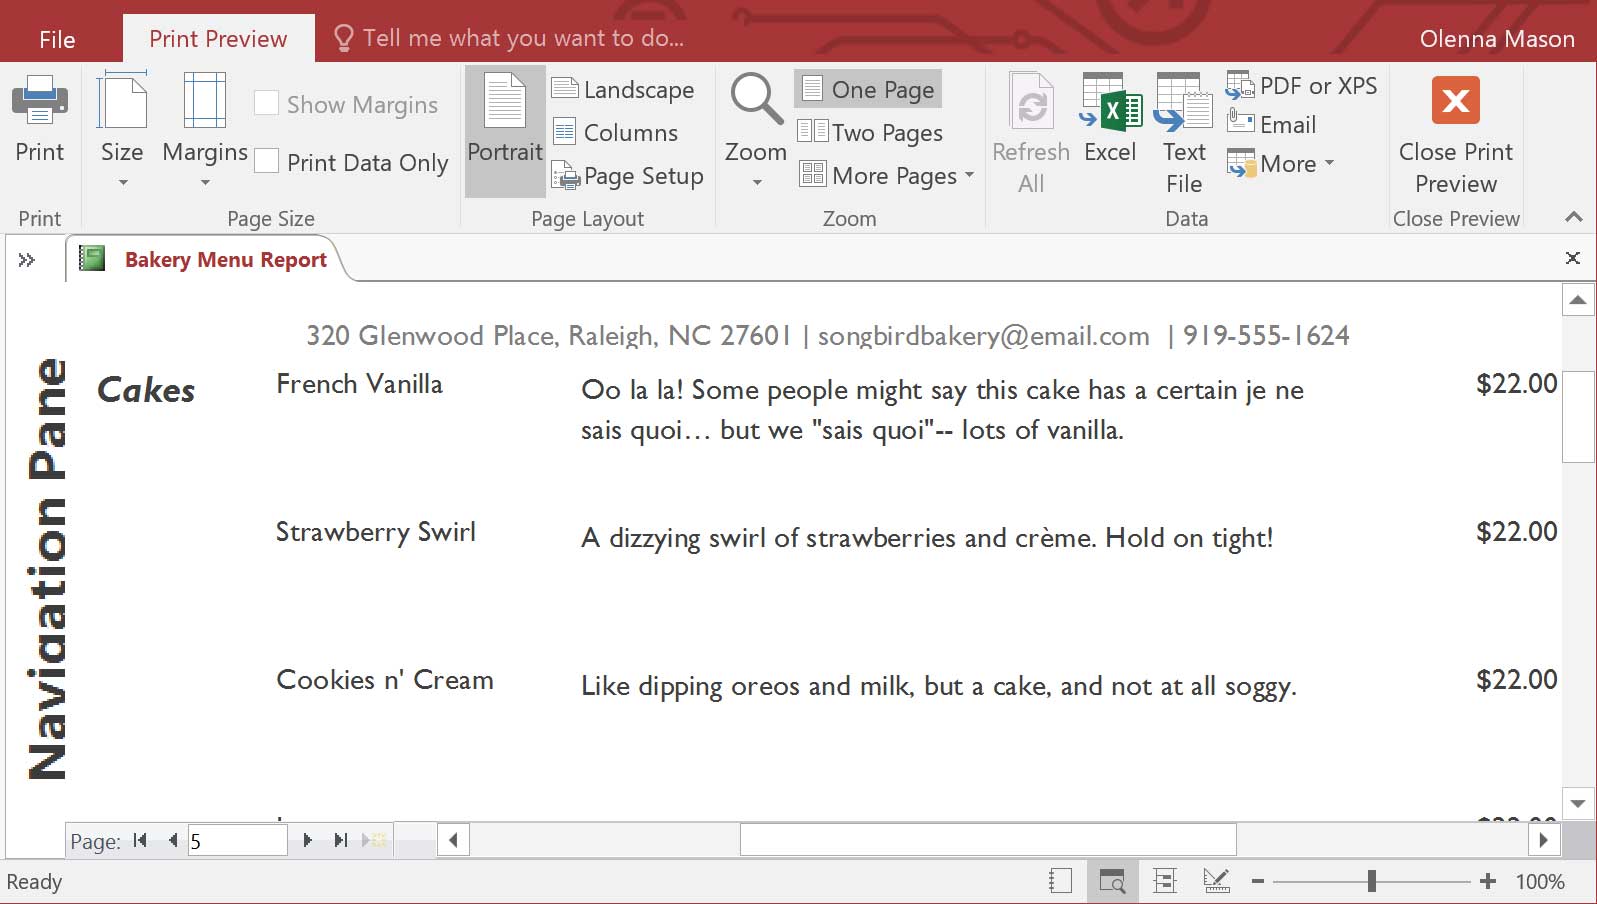
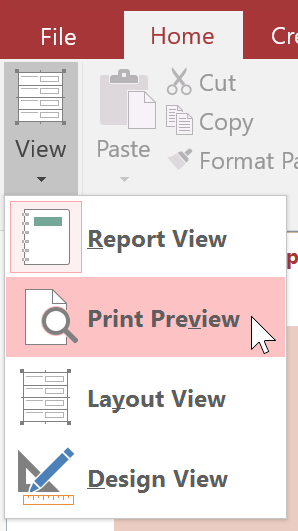
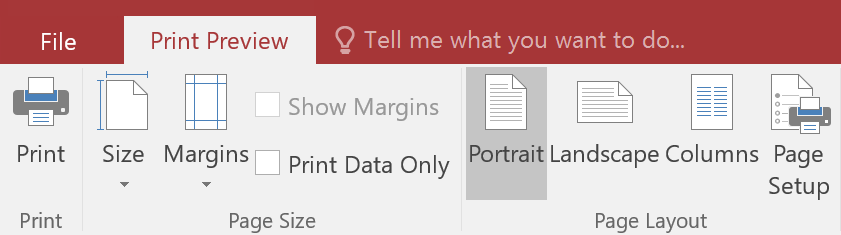
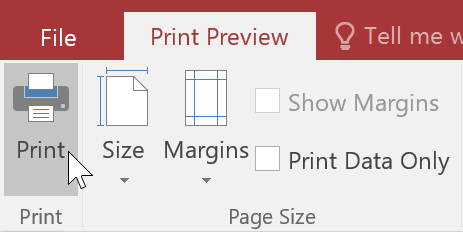
While you can print reports using commands in Backstage view, you can also use Print Preview. Print Preview shows you how your report will appear on the printed page. It also allows you to modify the way your report is displayed, print it, and even save it as a different file type.
Watch the video below to learn more about printing reports.
Click the buttons in the interactive below to learn about Print Preview.
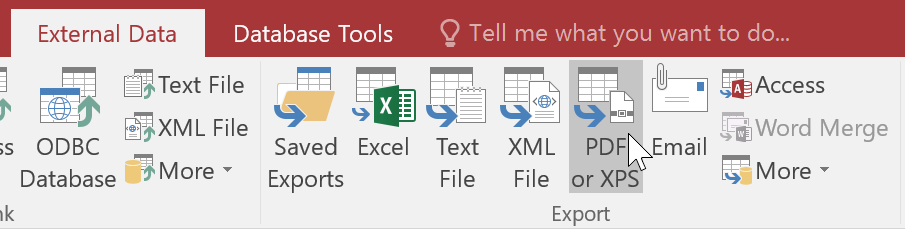
Export options allow you to save your report in another format. This makes it possible to view your report in other programs.
You can save reports in other formats so they'll be viewable outside of Access. This is called exporting a file, and it allows you to view and even modify reports in other formats and programs.
Access offers options to save your report as an Excel file, text file, PDF, HTML document, and more. Experiment with the different export options to find the one that best suits your needs.
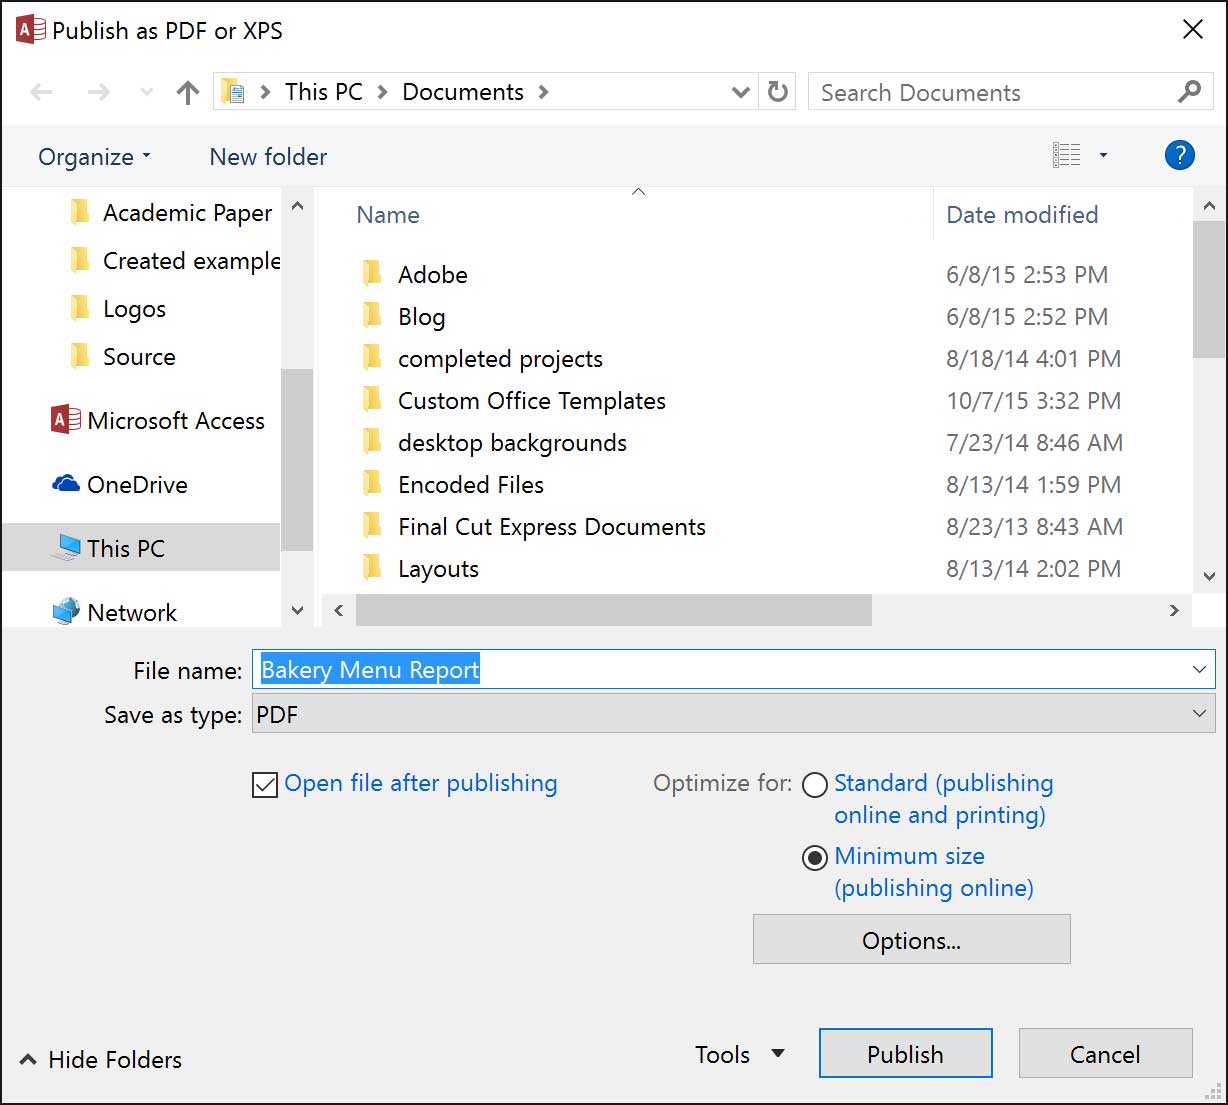
Some export options will cause the Export Wizard to appear. Simply follow the instructions to export your report.

/en/access2016/advanced-report-options/content/