Access 2013 -
Managing Databases and Objects

Access 2013
Managing Databases and Objects


/en/access2013/getting-started-with-access/content/
Each Access database consists of multiple objects that let you interact with data. Databases can include forms for entering data, queries for searching within it, reports for analyzing it, and tables for storing it. Whenever you work with your database, you are working with many of these objects at once. Fortunately, Access makes managing these objects pretty easy.
In this lesson, you will learn how to to open and close databases, as well as how to open, close, and save objects.
Throughout this tutorial, we will be using a sample database. If you would like to follow along, you'll need to download our Access 2013 sample database. You will need to have Access 2013 installed on your computer in order to open the example.
Before you enter data or modify your objects, you will need to open your database.
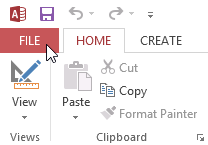 Clicking the File tab
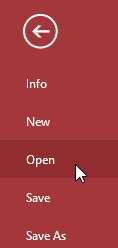 Clicking Open
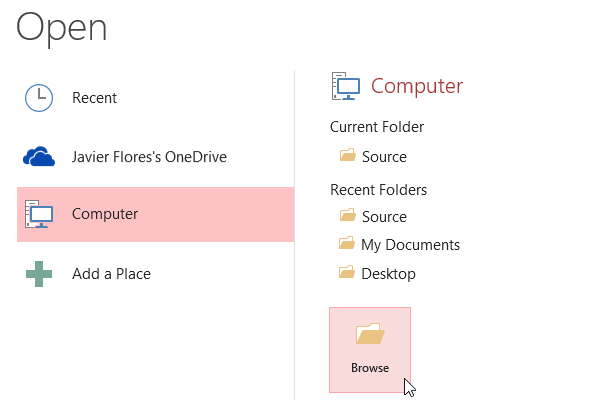 Clicking Browse
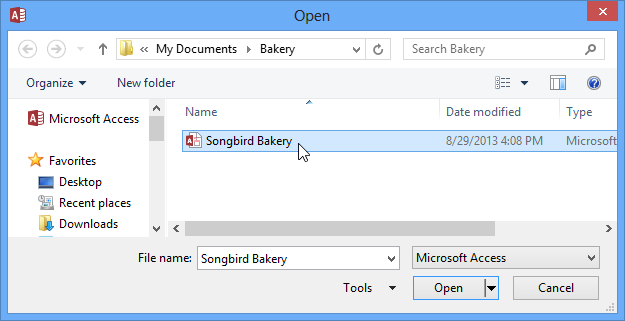 Opening an Access database
 Enabling database content
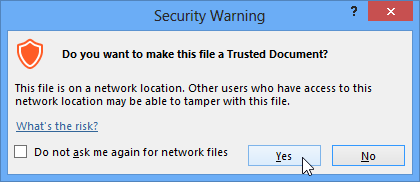 Making the database a trusted document
You may also be prompted to sign in to the database. Select your name from the login list. If your name does not appear, click Add User to enter your information.
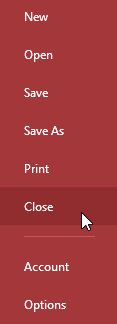 Clicking Close
 Saving unsaved objects
It's helpful to think of your database as a large binder or folder in which you store your data. The data itself is contained in database objects. Access treats each of these objects as separate documents, which means you will have to open and save them individually in order to work with them.
You may have noticed that this lesson contains no instructions for saving a database. This is because you cannot save an entire database at once. Rather, you must individually save the objects contained within the database.
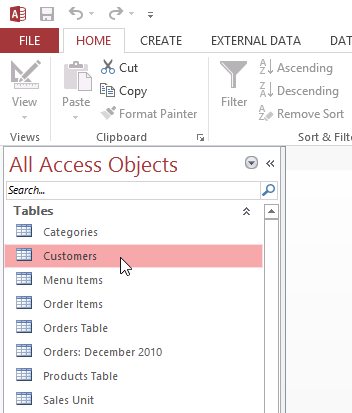 Opening an object
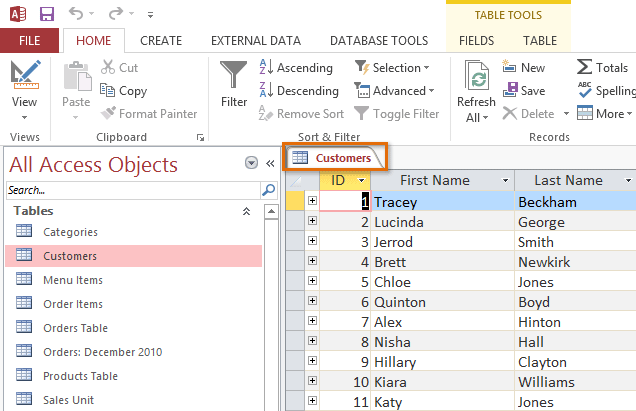 The object opened in Access
By default, the most recently opened object will appear in the main window as the current object. To view another open object, click its tab in the Document Tabs bar.
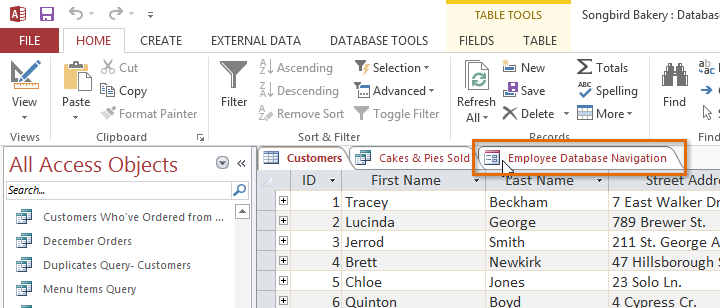 Clicking a tab to open a different object
You'll need to save any changes you make to each object before closing your database. Remember, saving early and often can prevent your work from being lost. However, you will also be prompted to save any unsaved work when you attempt to close your database.
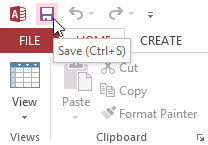 Clicking the Save command
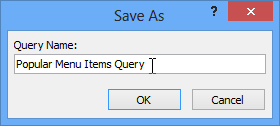 Saving an object
 Closing an object
You can also close an object by right-clicking its tab on the Document Tabs bar and selecting Close. Select Close All to close all open objects.
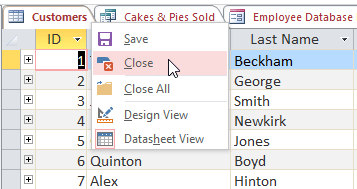 Right-clicking to close an object
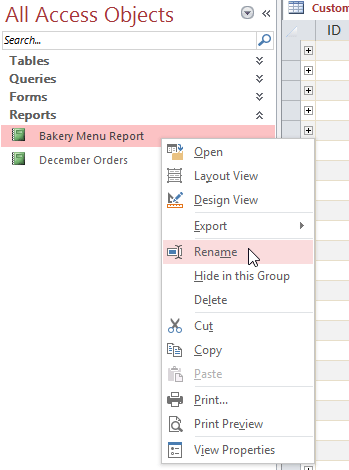 Clicking Rename
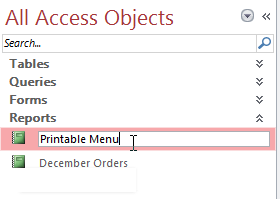 Renaming an object
/en/access2013/working-with-tables/content/