Access 2010 -
Getting Started in Access

Access 2010
Getting Started in Access


/en/access2010/introduction-to-objects/content/
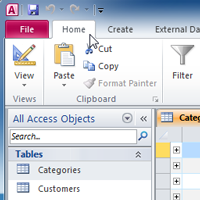
Whenever you're learning a new program, it's important to familiarize yourself with the program window and the tools within it. Working with Access is no different. Knowing your way around the Access environment will make learning and using Access much easier.
In this lesson, you will familiarize yourself with the Access environment, including the Ribbon, Backstage view, Navigation pane, Document Tabs bar, and Record Navigation bar. You will also learn how to navigate with a navigation form, if your database includes one.
Throughout this tutorial, we will be using a sample database. If you would like to follow along, download our example and use it to follow the procedures demonstrated in this lesson. You will need to have Access 2010 installed on your computer in order to open the example.
If you are familiar with Access 2007, you'll notice that there are not too many changes to the 2010 interface other than the addition of Backstage view
However, if you are new to Access, you will first need to take some time to familiarize yourself with the Access environment.
Click the buttons in the interactive below to learn how to navigate the Access window.

You can use the record search box to search for any term in the currently open object. The first result that matches your search term will appear highlighted with a yellow border. To navigate through additional results, press the Enter key.

The Record Navigation bar allows you to navigate records one at a time. Click the arrows to navigate through them. You can jump to a specific record by typing its ID number into the white box.

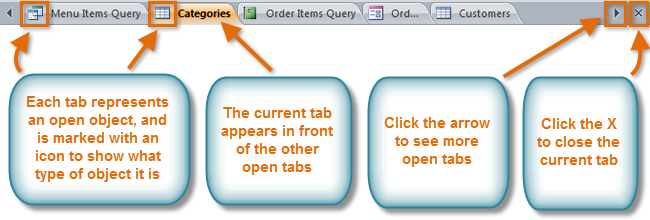
All open objects are displayed on the Document Tabs bar. To view an object, click its tab. Click the X on the right end of the bar to close the current tab. To see more tabs, click the arrow.
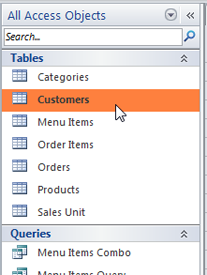
The Navigation pane displays all of the objects contained in your database. The objects are grouped by type. To open an object, double-click it.
If you'd like, you can hide the Navigation pane by clicking the double arrows in the top-right corner.
The Quick Access toolbar lets you access common commands no matter which tab you've selected in the Ribbon. By default, it shows the Save, Undo, and Redo commands. If you want, you can add additional commands to the toolbar by clicking the drop-down arrow.

The Ribbon contains all of the commands you will need in order to perform common tasks. It contains multiple tabs, each made up of several groups of commands.
In addition to normal tabs, special contextual tabs will appear when you are working with certain objects in certain views. These tabs are displayed in contrasting colors.
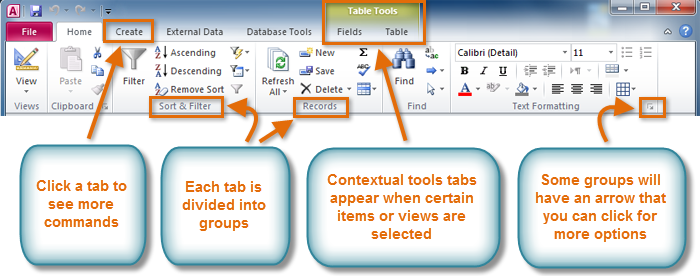
The Ribbon and Quick Access toolbar are where you will find the commands you will use to perform common tasks in Access. If you are familiar with Access 2007, you will find that the main difference in the Access 2010 Ribbon is that commands such as Open and Print are now housed in Backstage view.
The Ribbon contains multiple tabs, each with several groups of commands. Some tabs, like Form Layout Tools and Table Tools, may appear only when you are working with certain objects like forms and tables. These tabs are called contextual tabs, and they are highlighted in a contrasting color to distinguish them from normal tabs.
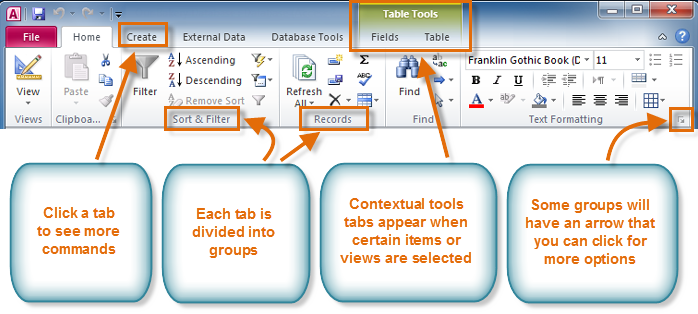 The Ribbon in Access 2010
The Ribbon is designed to be easy to use and responsive to your current task; however, if you feel that it's taking up too much of your screen space you can minimize it.
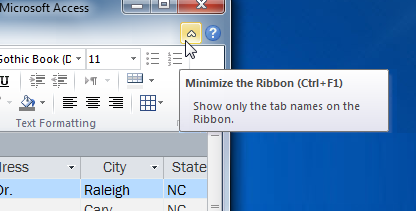 Minimizing the Ribbon
When the Ribbon is minimized, you can make it reappear by clicking a tab. However, the Ribbon will disappear again when you are not using it.
The Quick Access toolbar is located above the Ribbon, and it lets you access common commands no matter which tab you are on. By default, it shows the Save, Undo, and Repeat commands. If you'd like, you can customize it by adding additional commands.
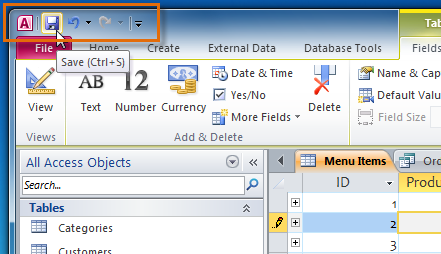 Saving the current object with the Quick Access toolbar
Note that the Save command only saves the current open object. In addition, the Undo command will not undo certain actions, like adding a record. Pay close attention to your information when using the Undo command to make sure it has the desired effect.
Backstage view gives you various options for opening, saving, printing, and viewing more information about your database. It is similar to the Office Button Menu from Access 2007 and the File Menu from earlier versions of Access. However, unlike these menus, it is a full-page view, which makes it easier to work with.
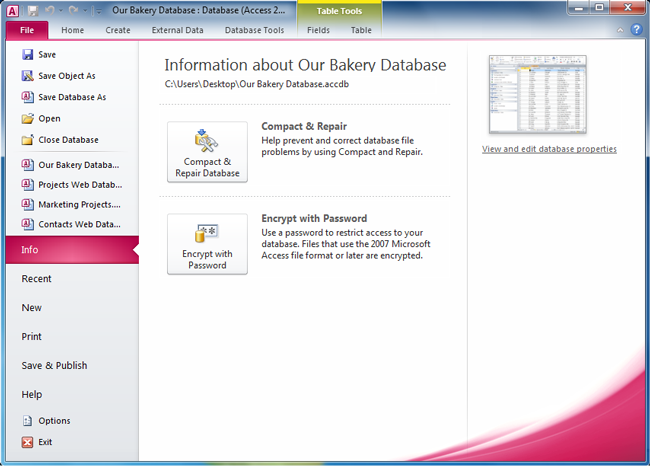 Backstage view in Access 2010
Click the buttons in the interactive below to learn about the different things you can do in Backstage view.

In the Options pane, you can change various Access options. For example, you can choose a form to automatically display when your database is opened or modify the default cell and font style.

From the Help pane, you can access Microsoft Office Help or check for updates to your software.

Save & Publish provides advanced options for saving your database.

The Print pane contains options for printing the current object in your database.

From the New pane, you can create a new database from scratch, or you can choose from a selection of templates.

The Recent pane displays a more complete list of recently opened databases. It also contains an option to change the number of recent databases that are displayed in the shortened list above.
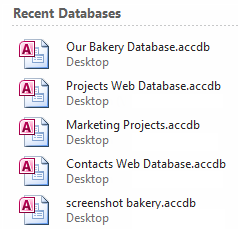
Info contains information on your database. It also contains options that let you compact and repair your database to fix file problems and encrypt it with a password.

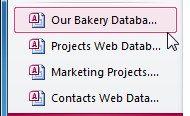
The last four databases opened are displayed here for easy access.
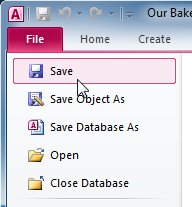
Various commands that let you save, open, and close objects and databases are now found in Backstage view.
Note that Save saves only the current object, not the entire database.
The Navigation pane is a list containing every object in your database. For easier viewing, the objects are organized into groups by type. You can open, rename, and delete objects using the Navigation pane.
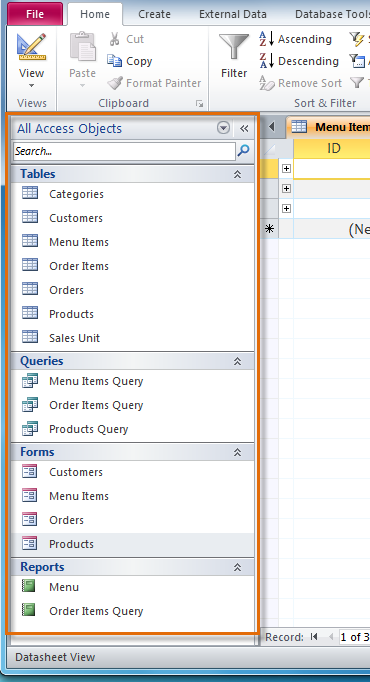 The Navigation Pane in Access 2010
The Navigation pane is designed to help you manage all of your objects, but if you feel that it takes up too much of your screen space you can minimize it.
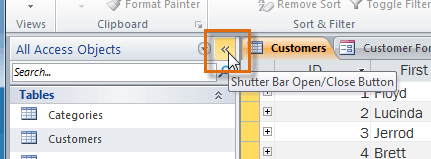 Minimizing the Navigation Pane
If you would like to make the Navigation pane smaller without fully minimizing it, you can resize it. Simply click and drag the right border of the Navigation pane. When it is the desired size, release your mouse.
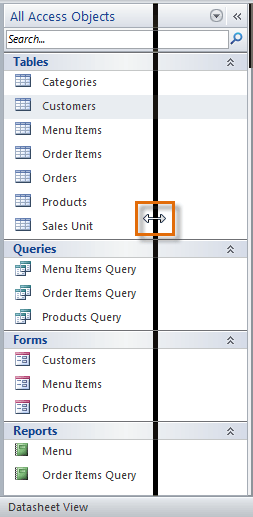 Resizing the Navigation Pane
By default, your objects are sorted by type, with the tables in one group, the forms in another, and so on. However, if you want you can sort the objects in the Navigation pane into groups of your choosing.
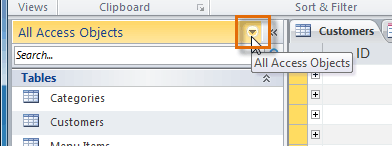 Clicking to re-sort the objects into new groups
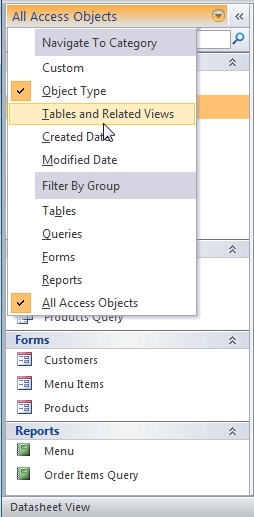 Selecting a new way to group the objects
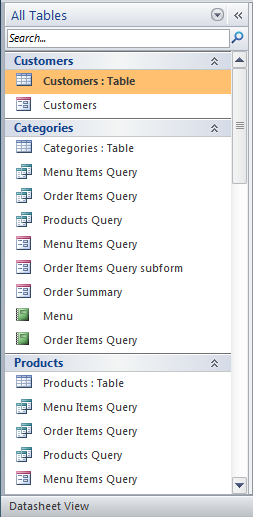 The Navigation Pane with the objects now sorted by tables and related views
To further customize the appearance of the Navigation pane, you can minimize groups of objects you don't want to see. Simply click the upward double arrow ![]() next to the name of the group. To restore the group to its full size, click the downward double arrow
next to the name of the group. To restore the group to its full size, click the downward double arrow ![]() .
.
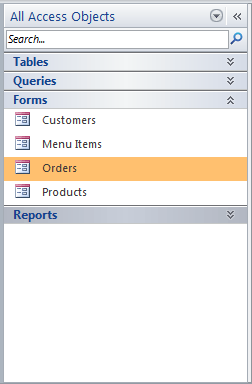 The Navigation Pane after minimizing the Tables, Queries, and Reports groups
Some databases include a navigation form that opens automatically when the database is opened. Navigation forms are designed to be a user-friendly replacement for the Navigation pane. They contain tabs that allow you to view and work with common forms, queries, and reports. Having your frequently used objects available to you in one place lets you access them quickly and easily.
To open an object from a navigation form, simply click its tab. The object will be displayed within the navigation form. Once an object is open, you can work with it as you normally would.
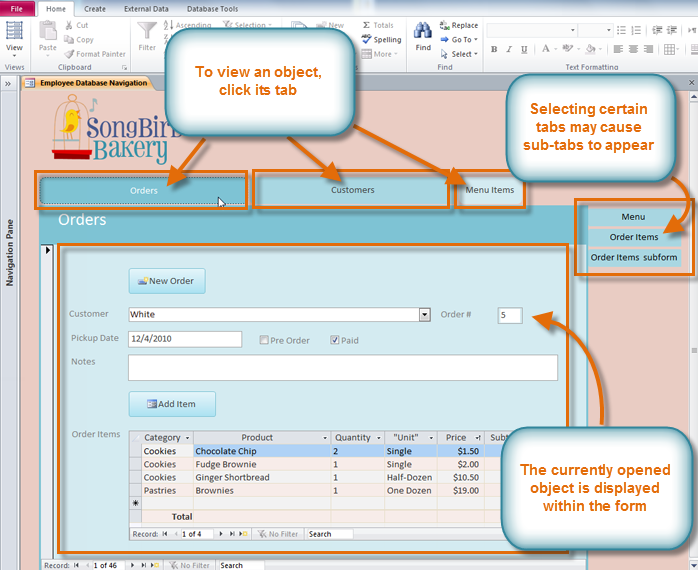 Viewing the Orders form using a navigation form
Generally, navigation forms include only the objects a typical user will need to work with fairly regularly, which is why your navigation form may not include every single form, query, or report. This makes it easier to navigate the database. By hiding tables and rarely used forms, queries, and reports, it also reduces the chance of the database being damaged by users accidentally editing or deleting necessary data.
For this reason, it's important to ask your database designer or administrator before you work with objects that are not available in your navigation form. Once you have the go-ahead, you can simply maximize the Navigation pane and open the objects from there.
/en/access2010/managing-databases-and-objects/content/