Access 2007 -
Using Reports to Make Data Meaningful to Others

Access 2007
Using Reports to Make Data Meaningful to Others


/en/access2007/using-queries-to-make-data-meaningful-part-2/content/
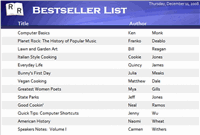 Now that you know how to use queries to analyze the data in a database, it's time to find out how to create a report that will make the data meaningful to someone else. In this lesson, we'll show you how to create a report using the Report command, as well as how to use grouping options and query limits to make the report easier to read and how to identify several report formatting and layout options that can be set in Layout view. Finally, you'll learn how to use Print Preview and save the report.
Download the example to work along with the video.
As you know, queries make the data in a database meaningful to you. Sometimes, though, you need to share that data with someone else. A report is an effective way to present your data using an attractive layout. The text can be formatted in an Access report similar to how it can be done in Word documents.
Access 2007 offers tools that allow you to create and format a report. The Report Wizard walks you through the steps of creating a report. The Report command, however, is much easier to use, and all of the formatting options are still available to you in Layout view once the report is created. With these tools, you can create a report based on a table or query.
One of the easiest ways to create a report is by using a table as the source of the report. For example, in our bookstore scenario we have a table that lists all of the books in our inventory. We want to create a Book Price List report that lists all of the details for each book in our store's inventory. The Report command makes this incredibly easy because it automatically includes every field in the source table in the report.
 Report from Books Table
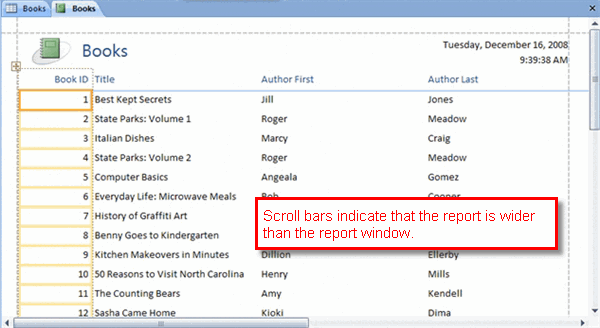 Book Price List
The layout and formatting of the report can be manipulated in Layout view.
Access 2007 can also create a report using a query as the source. The process for creating a report based on a query is identical to the process for creating a report based on a table, which was outlined on the previous page. And just like when making a report from a table, every field and record that appears in the query results will appear on the report.
It's possible to limit the number of records in a report, but only if the report was based on a query. The limit is set in the query itself, using the query design screen.
 Return Limit
Grouping items on a report can make it much more readable. Access 2007 offers a quick and easy way to add grouping to a report.
 Grouping Command for Reports
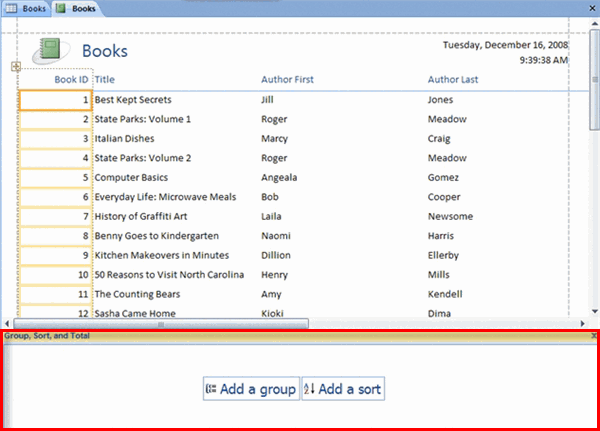 Group, Sort, and Total Dialog Box
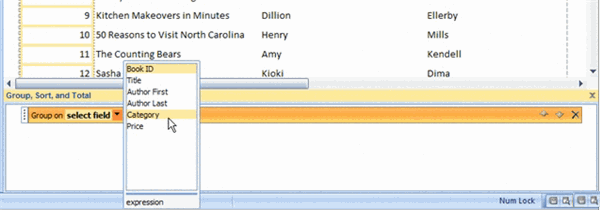 Grouping Drop Down List
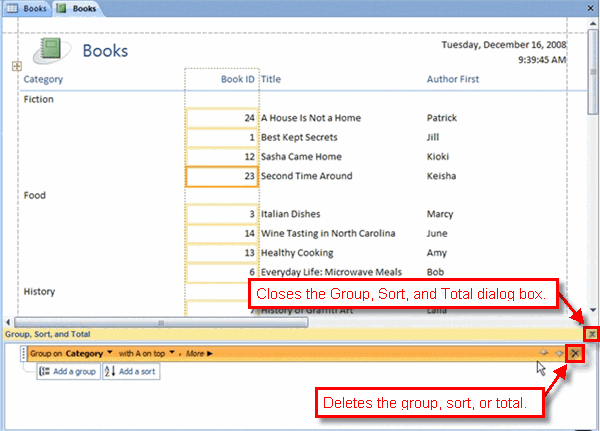 Books Price List Grouped on Category
The Group, Sort, and Total dialog box will remain open until you close it.
Access 2007 opens the created report in Layout view so you can easily make modifications. In Layout view, you can change the look of your report in many different ways, including:
 Logo Command for Report
 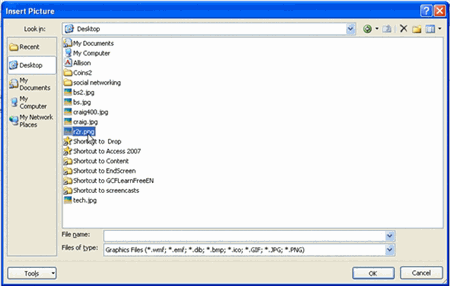 Insert Picture Dialog Box
 Title Command for Report
 If you don't like the standard font face and size Access used to create your report, you can modify them using common Microsoft Office text formatting commands. You can modify the size, font face, font color, alignment, and much more. They all work basically the same way.
 Text Commands for Report
 Like with forms, Access 2007 offers a variety of report styles in the AutoFormat command. To apply a style:
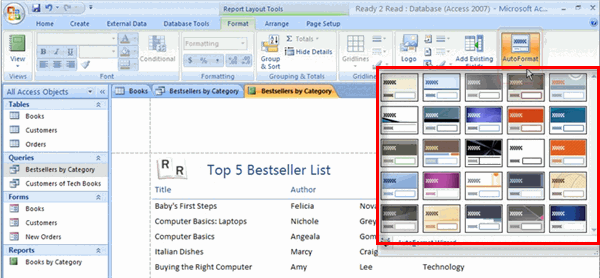 AutoFormats for Report
 When a report is created, it opens in Layout view, like the one in the picture below. The dotted lines are showing where the edge of the page will be in Report view.
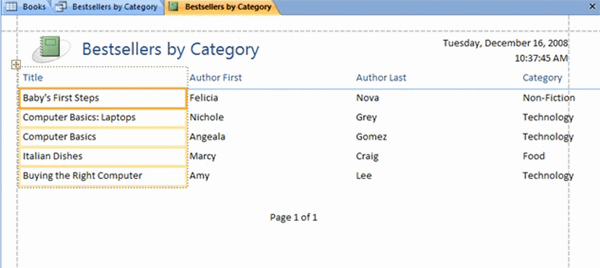 Report in Layout View
 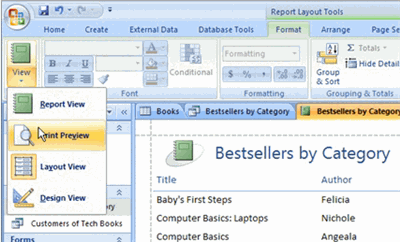 Print Preview Command
 Page Layout Options for Report
All of the standard Microsoft page layout options are available, including:
| Page Layout Option | Description |
| Margins | To set the margins for narrow, wide, or normal |
| Orientation | To select either a portrait or landscape orientation |
| Size | To set paper size |
When you have created and modified a report and try to close it, Access 2007 will prompt you to name and save the report. If you do not need this report again, you do not need to save it. However, if you think you may want to publish it again, it is best to save.
 Save as Dialog Box
 If you haven't already done so, save the sample Ready2Read database to your computer.
- Create a report based on a table.
- Create a report based on query.
- Modify the layout of a report by:
- Resizing or moving columns
- Deleting report elements
- Giving the report a new title
- Applying an AutoFormat style to the report
- Using groups, sorts, or totals in a report