
Access -
Formatting Forms

Access
Formatting Forms

search
menu
/en/access/creating-forms/content/
After creating a form, you might want to modify its appearance. Formatting your forms can help make your database look more consistent and professional. Some formatting changes can even make your forms easier to use. With the formatting tools in Access, you can customize your forms to look exactly the way you want.
In this lesson, you will learn how to add command buttons, modify form layouts, add logos and other images, and change form colors and fonts.
Throughout this tutorial, we will be using a sample database. If you would like to follow along, you'll need to download our Access sample database. You will need to have Access installed on your computer in order to open the example.
Watch the video below to learn more about formatting forms.
Access offers several options that let you make your forms look exactly the way you want. While some of these options—like command buttons—are unique to forms, others may be familiar to you.
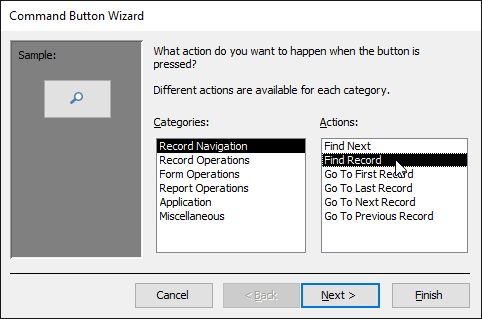
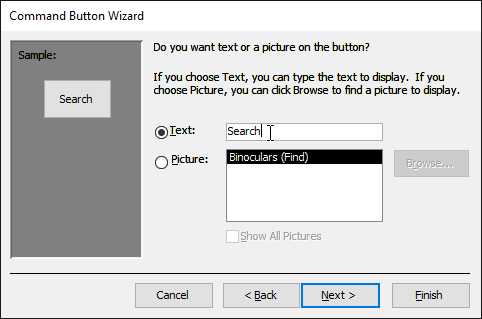
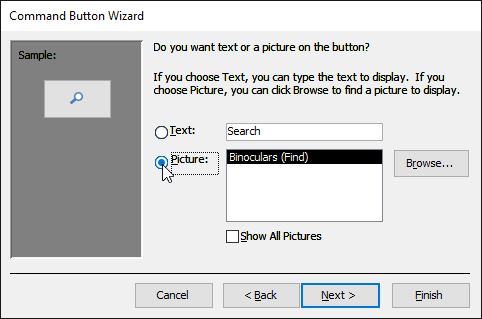
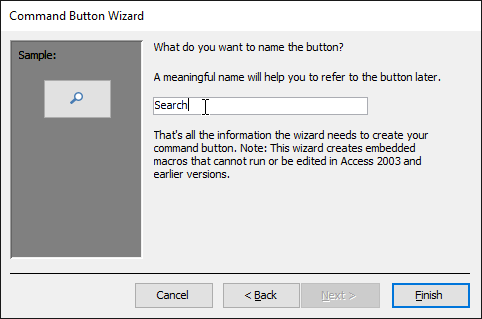
If you want to create a way for form users to quickly perform specific actions and tasks, consider adding command buttons. When you create a command button, you specify an action for it to carry out when clicked. By including commands for common tasks right in your form, you're making the form easier to use.
Access offers several types of command buttons, but they can be divided into a few main categories:

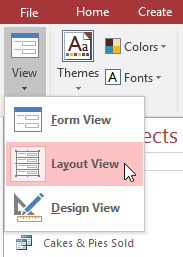
Some users report that Access malfunctions while formatting forms. If you have a problem performing any of these tasks in Layout view, try switching to Design view.
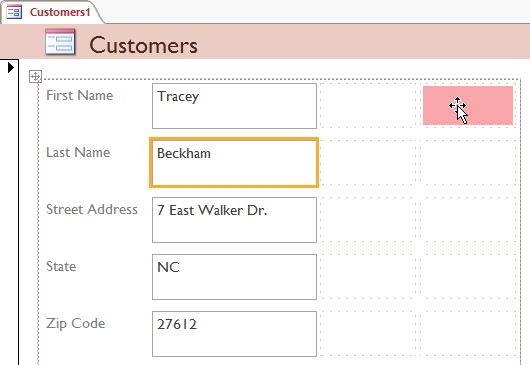
When you create a form, Access arranges the form components in a default layout where the fields are neatly stacked on top of each other, all exactly the same width. While this layout is functional, you might find that it doesn't best fit your information. For instance, in the form below most of the fields are almost completely empty because the data stored there doesn't take up much room.
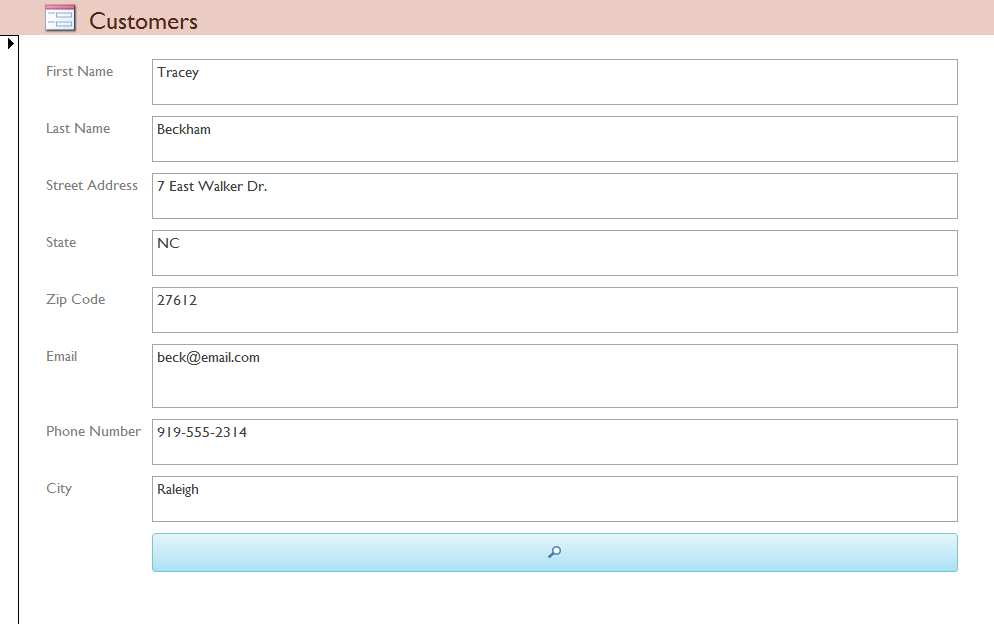
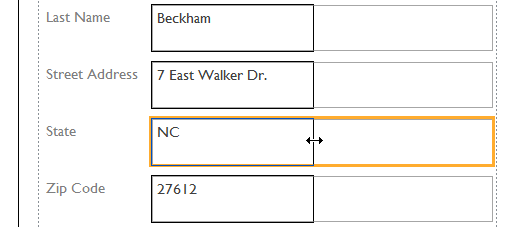
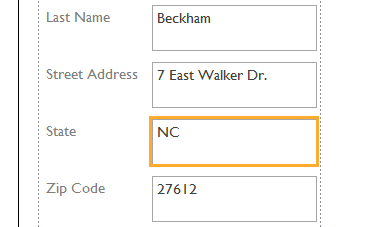
The form would fit the data better if we made the fields and command buttons smaller and even put some of them side by side. However, with the default layout, you won't be able to put two fields next to each other or resize one field or button without resizing all of them. This is because Access lines up form components in rows and columns. When you resize a field, you're really resizing the column that contains it.
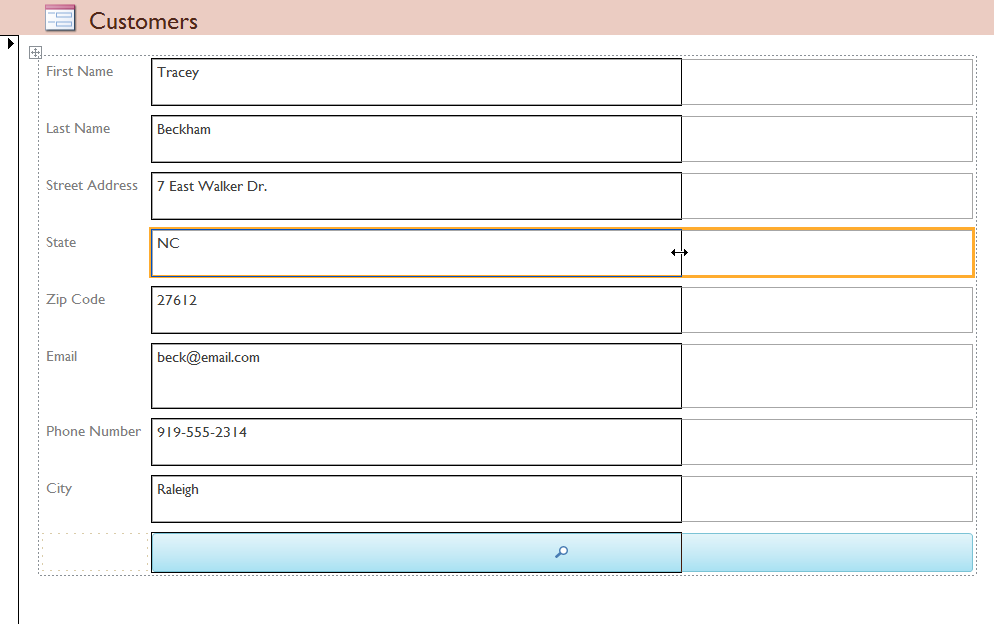
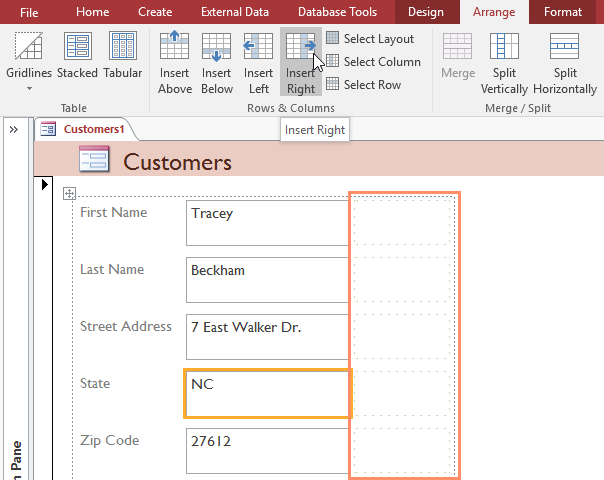
To resize and rearrange our fields the way we want, we'll have to modify the form layout. Because the default layout for our form contains only two columns—one for the field labels and another for the fields—we would have to create a new column to put two fields side by side.
We can do this using the command on the Arrange tab, which contains all of the tools we'll need to customize a form's layout. If you've ever built and modified tables in Microsoft Word, you already know how to use most of these tools. If you're unfamiliar with tables, review our Tables lesson from our Word tutorial.

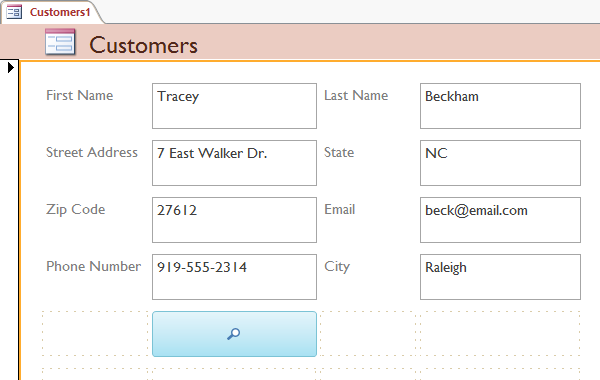
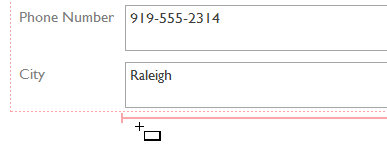
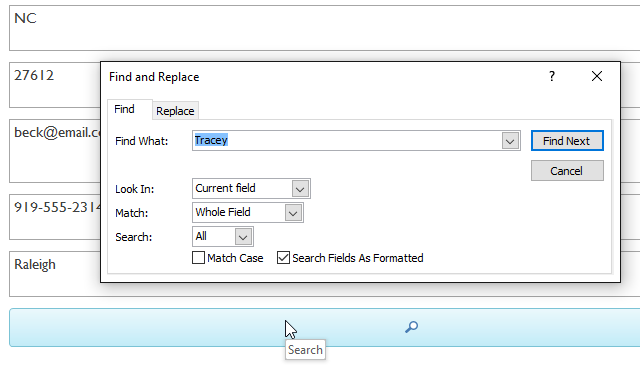
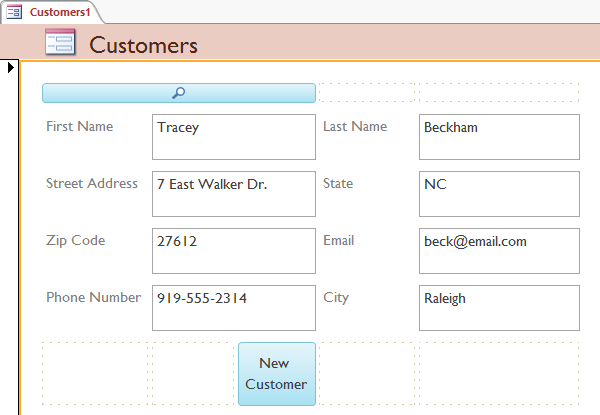
If you want to make a field take up more or less space than one column, you can use the Merge and Split commands. The Merge command combines two or more cells, while the Split command divides a cell. In our example below, the search command at the top of the form is in a merged cell, and the New Customer command at the bottom of the form is in a split cell.
Adding logos and other images to your forms can greatly improve their appearance, as can applying theme colors and fonts. To learn how to add images and theme elements to your forms, review our Advanced Report Options lesson. The procedures are identical.
To further customize the appearance of your forms, you can apply different colors and fonts to individual fields, buttons, labels, and other form components. Modifying form appearance this way is useful if you want to use a certain color or font scheme in a form but don't want these design elements to apply to your entire database.
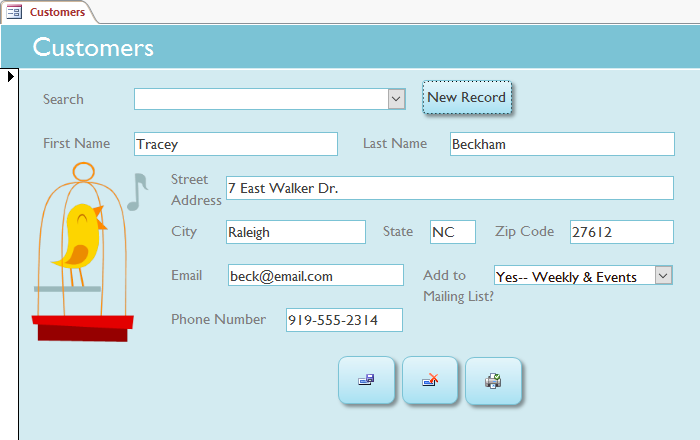
For instance, in the form below we modified the font of our form title. We also applied a new fill and border color to the form fields and are doing the same with the command buttons.
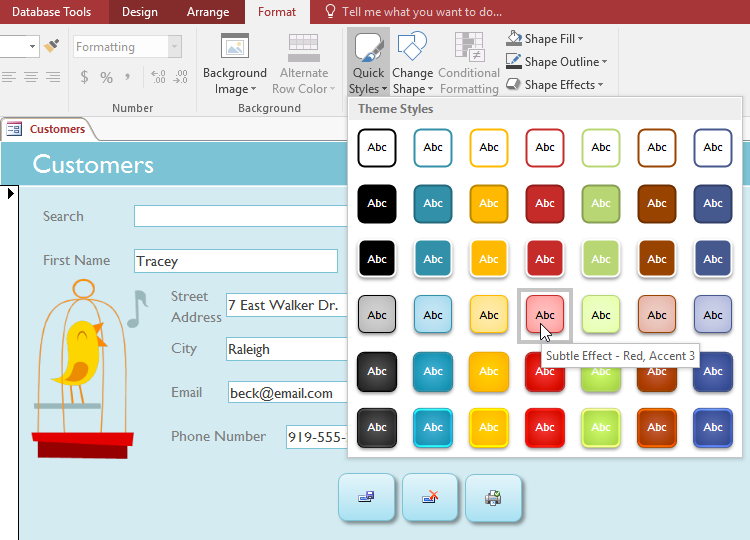
You can make these changes using formatting techniques and tools similar to the ones you would use to modify shapes in Word and other Office programs. Simply select the object you want to modify while in Layout or Design view and use the formatting options on the Format tab to customize its appearance. For more information on making these types of modifications, review the Shapes lesson from our Word tutorial.
/en/access/designing-your-own-database/content/