Access offers several advanced options for creating and modifying reports. The Report Wizard is a tool that guides you through the process of creating complex reports. Once you've created a report—whether through the Report Wizard or the Report command—you can then format it to make it look exactly how you want.
In this lesson, you'll learn how to use the Report Wizard to create complex reports. You'll also learn how to use formatting options to format text, change report colors and fonts, and add a logo.
Throughout this tutorial, we will be using a sample database. If you would like to follow along, you'll need to download our Access sample database. You will need to have Access installed on your computer in order to open the example.
Watch the video below to learn more about using the Report Wizard.
The Report Wizard
While using the Report command is a quick way to create reports from the current object, it's not as helpful if you want to create a report with data from multiple objects. The Report Wizard makes it easy to create reports using fields from multiple tables and queries. It even lets you choose how your data will be organized.
To create a report with the Report Wizard:
Select the Create tab and locate the Reports group. Click the Report Wizard command.
The Report Wizard will appear. In the procedures below, we'll discuss the different pages in the Report Wizard.
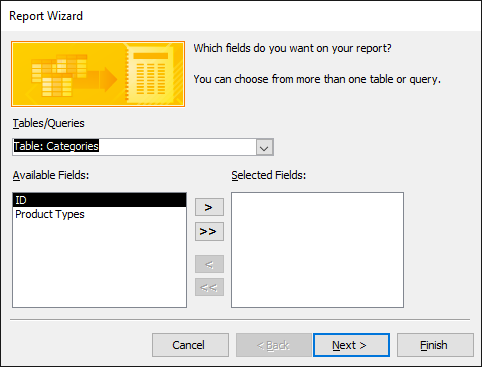
Step 1: Select the fields to include in your report
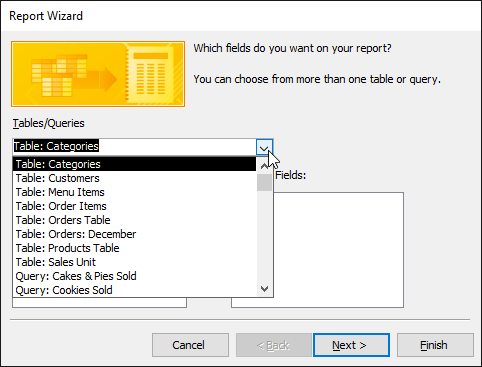
Click the drop-down arrow to select the table or query that contains the desired field(s).
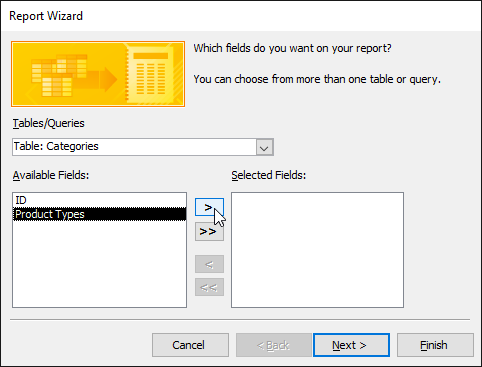
Select a field from the list on the left, and click the right arrow to add it to the report.
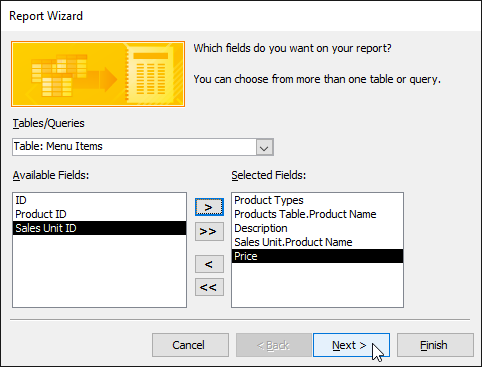
You can add fields from more than one table or query by repeating the above steps. Once you've added the desired fields, click Next.
Step 2: Organize the report
The Report Wizard will provide you with options that let you choose how to view and organize your data. These options group similar data within your fields and organize these fields into multiple levels, like in an outline or bulleted list.
If you are building a report from only one table or query, you can skip to Step 3 below.
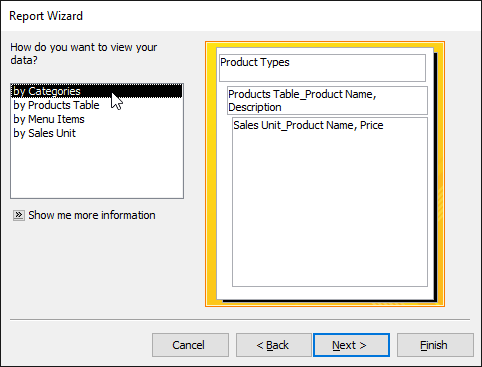
Access will offer a list of several organization options. Select an option from the list to preview it.
Click Next when you are satisfied with the basic organization of your data.
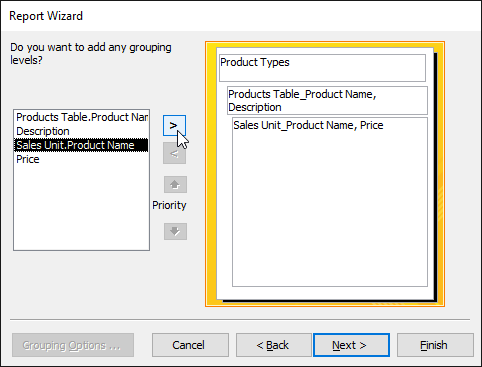
If you're not satisfied with the way your data is organized, you can now modify the grouping levels. Select a field from the list, then click the right arrow to add it as a new level.
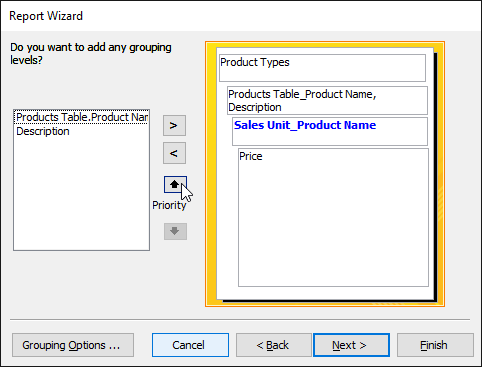
If necessary, modify the order of your grouped fields by selecting a field and clicking the up or down Priority arrow to move it up or down a level.
Once you are satisfied with the organization of your report, click Next.
Step 3: Sort your report data
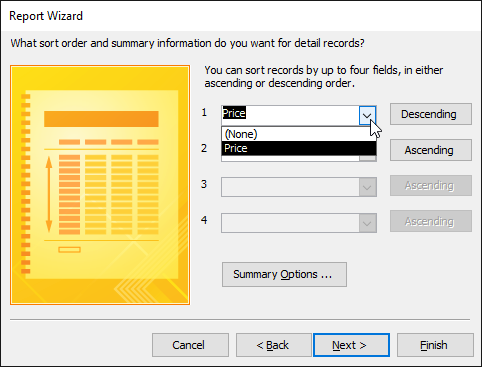
Click the top drop-down arrow, then select the name of the first field you want to sort.
Click the button on the right to change the sort to ascending or descending.
Add any additional sorts. You can sort up to four fields. The sort will be applied from top to bottom, meaning the sort at the top of the list will be the main sort.
When you are satisfied with the way your data is sorted, click Next.
Depending on the grouping you have chosen for your data, your sorting options may be limited.
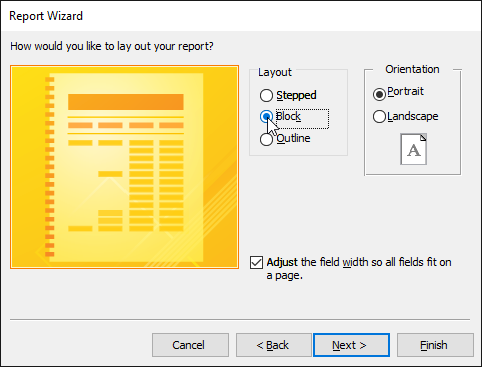
Step 4: Select a layout and title
Click the various layout options to see how they look, then select one to use in your report.
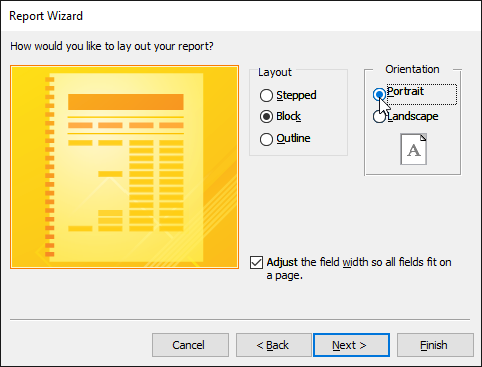
Select either a portrait (tall) or landscape (wide) orientation for your report.
Once you are satisfied with your report layout, click Next.
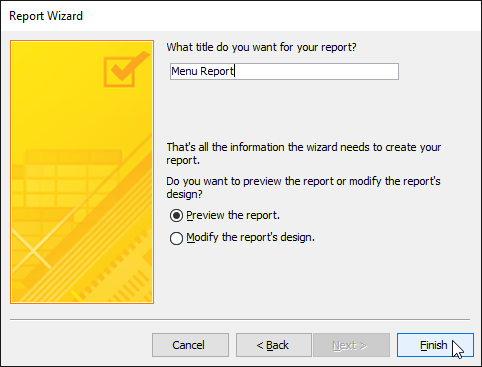
Select the text box, then type the title you want for your report.
Select whether you want to preview the report or modify its design, then click Finish.
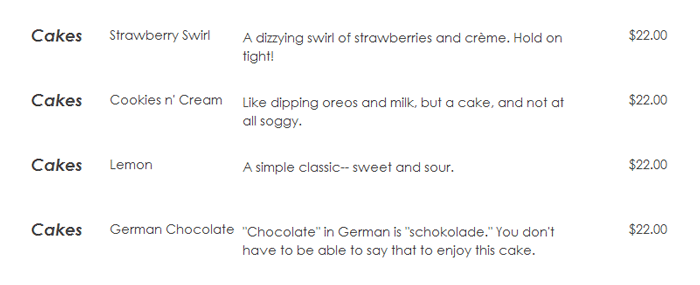
Your report will be created and saved.
You may have to adjust your field and row size and location to make sure your data looks the way you want it to. To do this, you'll need to switch to Design view. When you're done, switch back to Report view to see your changes.
Formatting reports
One of the strengths of reports is that you can modify their appearance to make them look how you want. You can add headers and footers, apply new colors, and even add a logo. All of these things can help you create visually appealing reports.
Watch the video below to learn more about formatting reports in Access.
Modifying report text
The bulk of the information in your report comes straight from the query or table you built it from, which means you can't edit it within the report. However, you can change, add, or delete label text, headers, and footers to make your report clearer and easier to read. For example, in our report we decided we didn't need the field headings to understand our data, so we simply deleted them.
Just like other Office programs, Access allows you to modify the text color and font, add shapes, and more. If you're not sure how to perform basic text and shape formatting, visit the Formatting Text and Shapes lessons from our Word tutorial.
Modifying the page header and footer
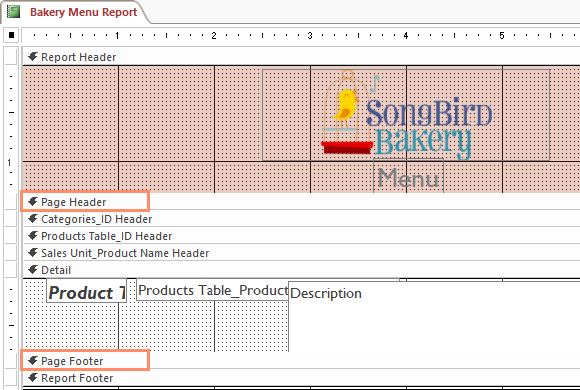
To view and modify the header and footer that appear on each page of your report, select the View command on the Ribbon and switch to Design view. The header and footer are located in the white space beneath the Page Header and Page Footer bars.
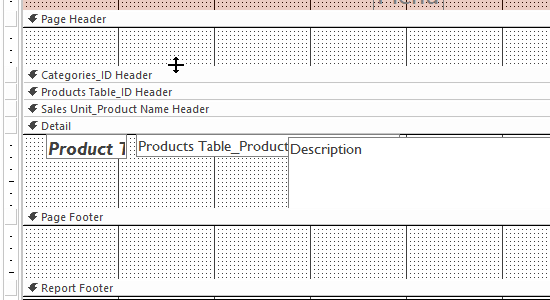
Depending on your report's design, sometimes you may find that there is no white space in the page header and footer, as in the image above. If this is the case, you must resize the header and footer before you can add anything to them. Simply click and drag the bottom border of the header or footer to make it larger.
To add text to a header or footer:
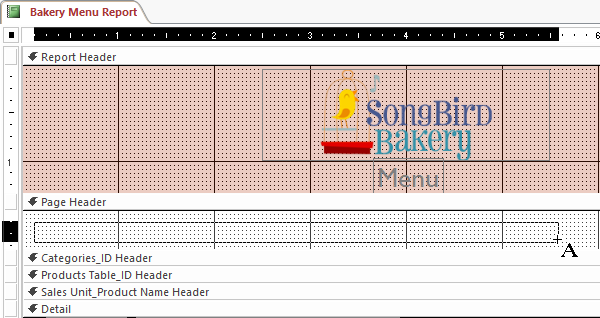
Select the Design tab, locate the Controls group, then click the Label command.
Click and drag the mouse inside the white area to create your label. Release the mouse when it is the desired size.
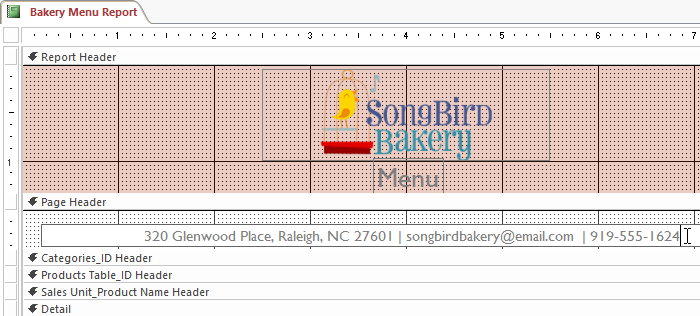
Click the text box, then type the desired text.
To add the date and time to a header or footer:
Select the Design tab, locate the Header/Footer group, then click the Date and Time command.
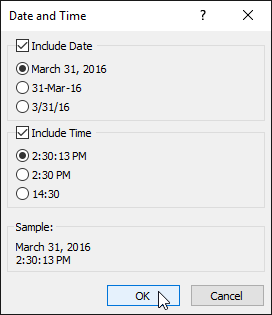
A dialog box will appear. Select the desired formatting options. A preview of the text that will be included in your report will appear.
When you are satisfied with the appearance of the date and time, click OK.
By default, the date and time appear in the header. If you would like to move them to the footer instead, simply click the date and time boxes and drag them to the desired location.
To add page numbers to a header or footer:
Select the Design tab, then locate the Header/Footer group.
Click the Page Numbers command.
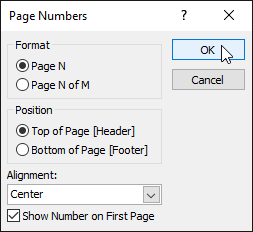
The Page Numbers dialog box will appear. Under Format, choose Page N to display the number of only the current page, or Page N of M to display the number of the current page and the number of total pages.
Under Position, choose Top of Page or Bottom of Page to control where the page numbers appear.
Click the drop-down arrow to select the alignment of the page numbers.
When you are satisfied with the settings, click OK.
Modifying your report's appearance
To add a logo:
From the Design tab, click the View command, then select Layout View from the drop-down list.
Locate the Header/Footer group, then click the Logo command.
A dialog box will appear. Locate and select the desired file, then click OK to add it to your report.
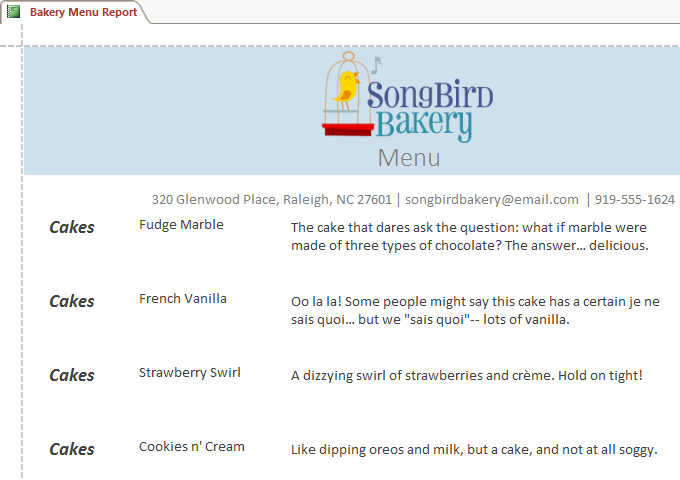
A small version of the image will appear in the header. Click and drag the image border to resize it.
If necessary, move your logo to the desired location by clicking and dragging it.
Themes and fonts
A theme is a set of colors and fonts that applies to the entire database to give it a consistent, professional look. By default, databases use the Office theme. When you change the theme, all of the theme fonts and colors in your database change to match the new theme. Designing and modifying reports using theme elements can help you keep the appearance of your reports consistent.
To change the theme:
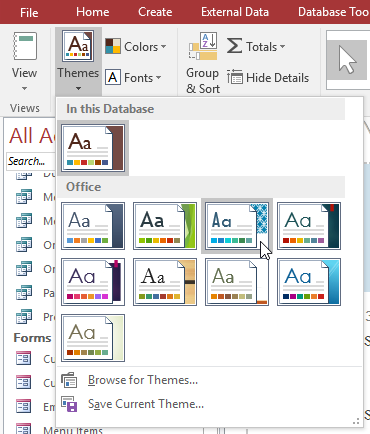
Select the Design tab, locate the Themes group, then click the Themes command.
A drop-down menu will appear. Select the desired theme.
The theme will be applied to your entire database.
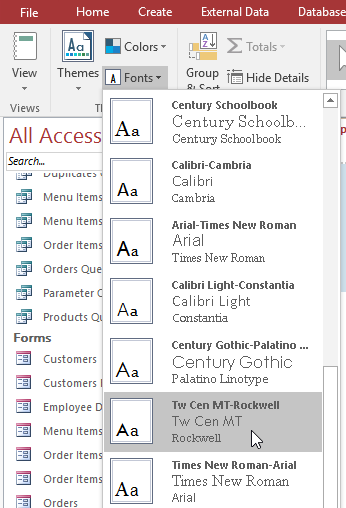
To change the theme fonts:
Select the Design tab, locate the Themes group, then click the Fonts command.
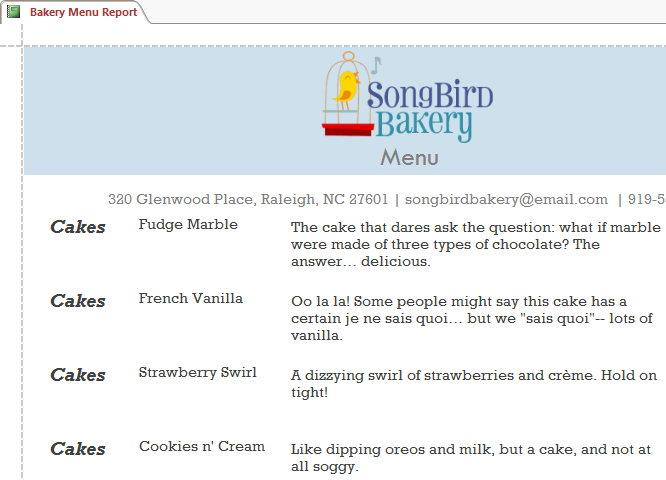
A drop-down menu will appear. Select a set of theme fonts.
The fonts will be applied to your entire database.