
Word 2013 -
Shapes

Word 2013
Shapes

search
menu
/en/word2013/formatting-pictures/content/
You can add a variety of shapes to your document, including arrows, callouts, squares, stars, and flowchart shapes. Want to set your name and address apart from the rest of your resume? Use a line. Need to create a diagram showing a timeline or process? Use flowchart shapes. While you may not need shapes in every document you create, they can add visual appeal and clarity.
Optional: Download our practice document.
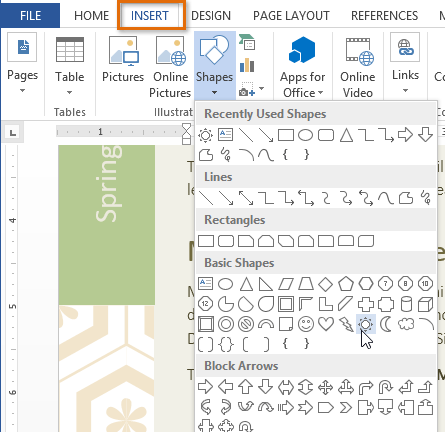 Selecting a shape
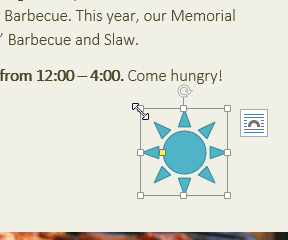 Inserting a new shape
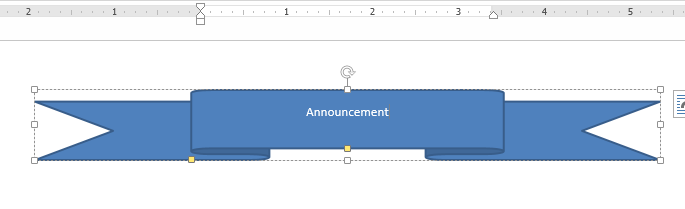
If you want, you can enter text in a shape. When the shape appears in your document, you can begin typing. You can then use the formatting options on the Home tab to change the font, font size, or color of the text.
 Entering text in a shape
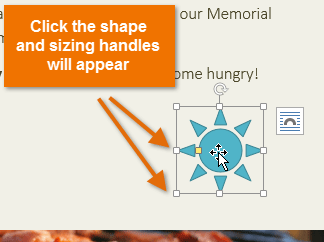 Clicking the shape
 Resizing the shape
Some shapes also have one or more yellow handles that can be used to modify the shape. For example, with star shapes you can adjust the length of the points.
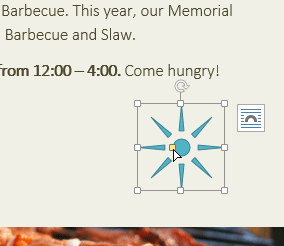 Modifying the shape
To rotate the shape, click, hold, and drag the rotation handle.
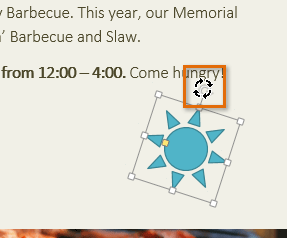 Rotating the shape
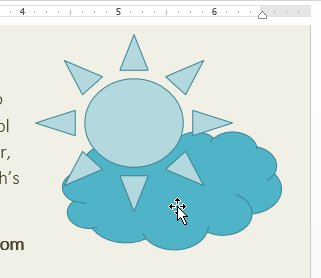
If one shape overlaps another, you may need to change the ordering so the correct shape appears in front. You can bring a shape to the front or send it to the back. If you have multiple images, you can use Bring Forward or Send Backward to fine tune the ordering. You can also move a shape in front of or behind text.
 Right-clicking the shape
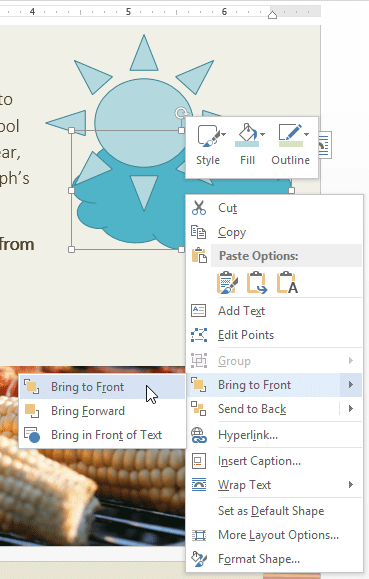 Selecting an ordering option
 The reordered shapes
In some cases, the ordering option you select will not affect the ordering of the shapes. If this happens, try selecting the same option again or try a different option.
If you have many shapes placed on top of each other, it may be difficult to select an individual shape. The Selection Pane allows you to select a shape and drag it to a new location. To access the Selection Pane, click Selection Pane on the Format tab.
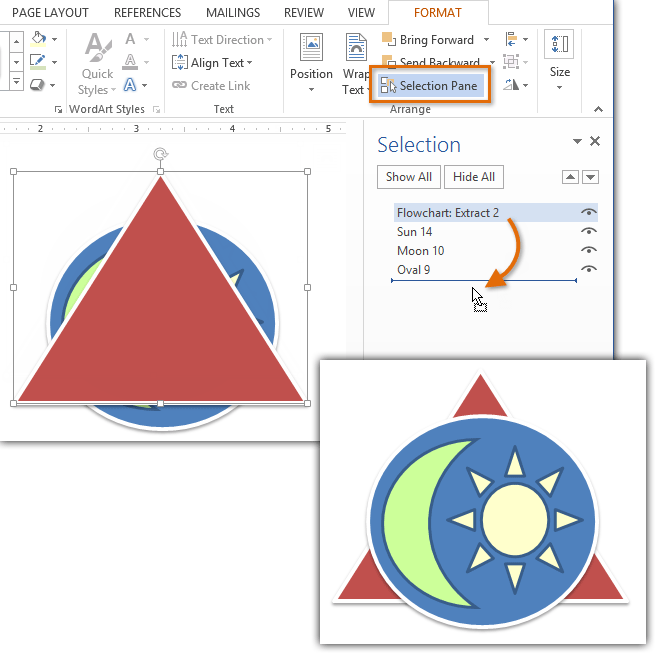 Changing the order of a shape in the Selection Pane
Word allows you to modify your shapes in a variety of ways so you can tailor them to your projects. You can change a shape into a different shape, format a shape's style and color, and add shadow effects.
 Changing a shape
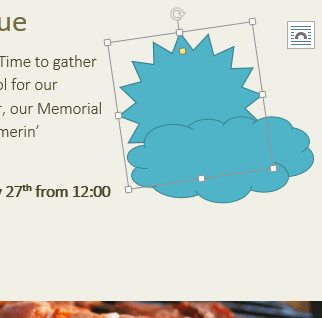 The new shape
Choosing a shape style allows you to apply preset colors and effects to quickly change the appearance of your shape.
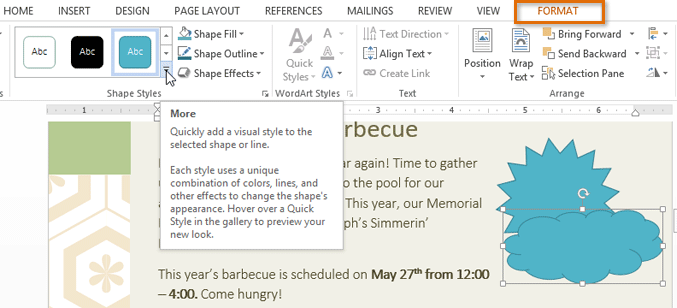 Changing the shape style
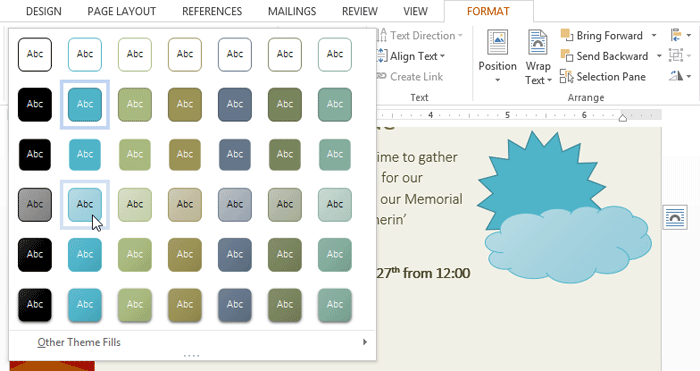 Selecting a shape style
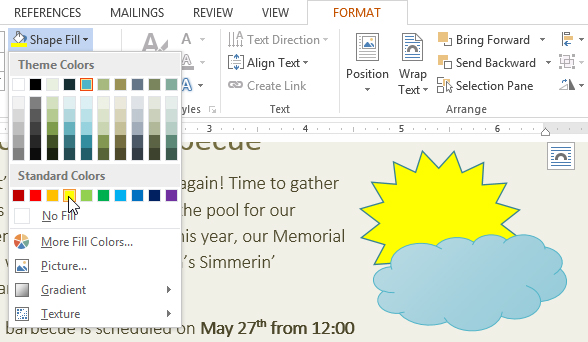 Changing the shape fill color
If you want to use a different type of fill, select Gradient or Texture from the drop-down menu. You can also select No Fill to make it transparent.
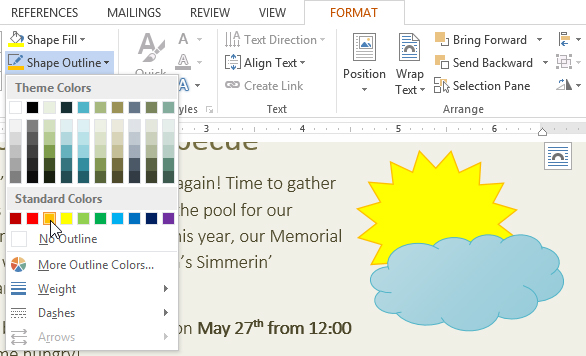 Changing the shape outline color
From the drop-down menu, you can change the outline color, weight (thickness), and whether or not it is a dashed line.
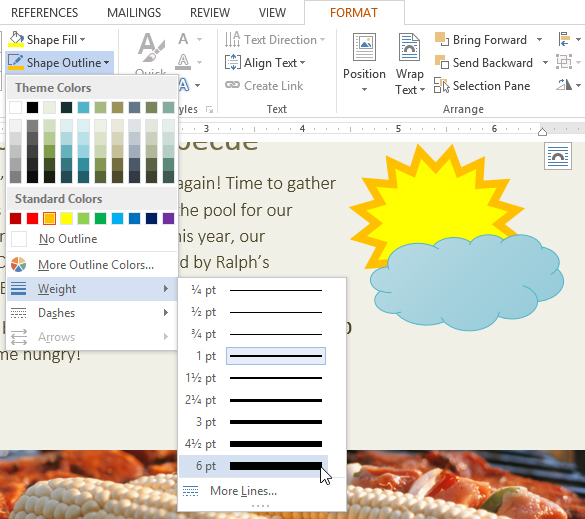 A thicker line
Adding a shadow to a shape can make it appear as though it is floating above the page, and it can help to add contrast between the shape and the background.
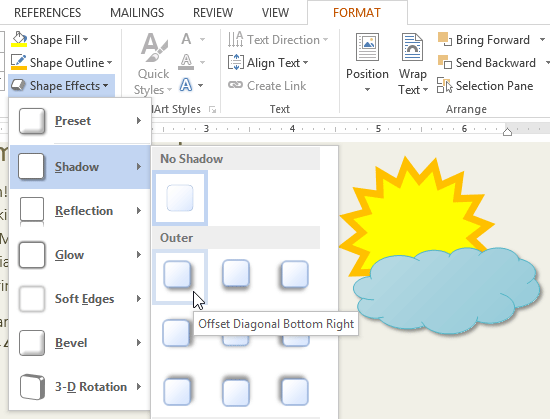 Choosing a shadow type
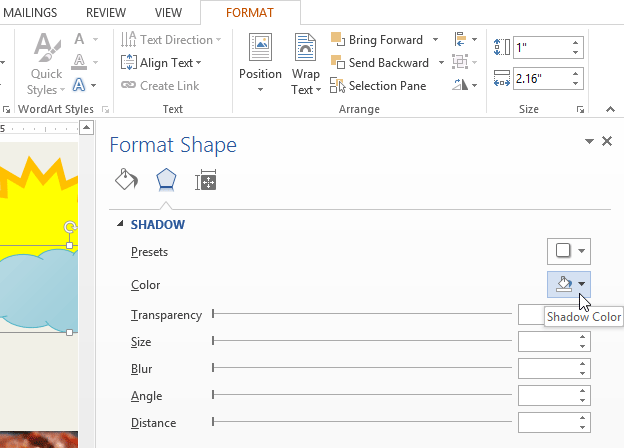
To adjust the shadow color, size, distance and more, select Shadow Options from the drop-down menu. The Format Shape pane will appear on the right side of the Word window, allowing you to customize the shadow.
 The Format Shape pane
There are two kinds of effects you can apply to your shapes to give them a 3D appearance: 3-D Rotation and Bevel. 3-D Rotation gives the appearance that you are viewing an object from a different angle, and it can be applied to any shape. Bevel adds thickness and a rounded edge to shapes, but it doesn't work with every type of shape.
 Choosing a 3-D effect
If you want, you can customize 3-D Rotation. Select 3-D Rotation Options... from the drop-down menu, and the Format Shape pane will appear on the right side of the Word window. From here, you can adjust the rotation values.
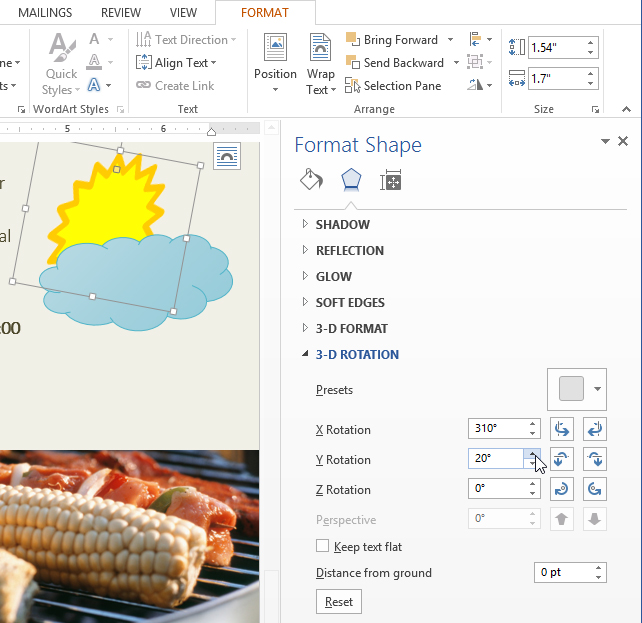 Customizing the 3-D rotation
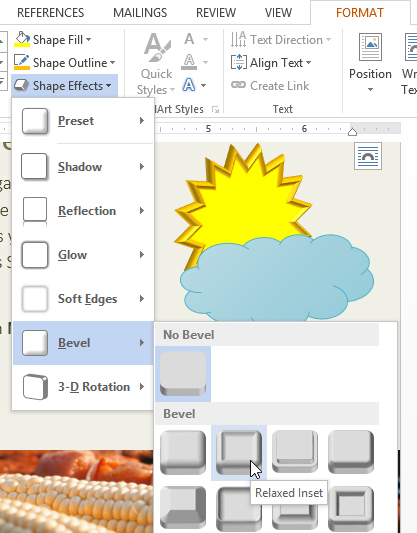 Choosing a bevel preset
If you want, you can customize the bevel effect. Select 3-D Options... from the drop-down menu. The Format Shape pane will appear on the right side of the Word window. From here, you can modify the width, height, and depth of a bevel. You can also change the shape's material to give it a metal, plastic, or translucent appearance, as well as choose the lighting type to change how the shape is illuminated.
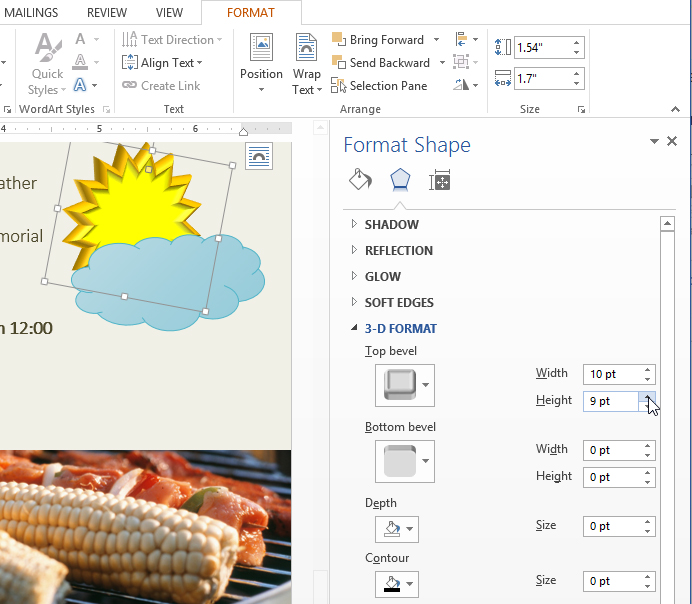 Customizing the bevel
/en/word2013/text-boxes-and-wordart/content/