
Word 2013 -
Indents and Tabs

Word 2013
Indents and Tabs

search
menu
/en/word2013/printing-documents/content/
Indenting text adds structure to your document by allowing you to separate information. Whether you'd like to move a single line or an entire paragraph, you can use the tab selector and the horizontal ruler to set tabs and indents
Optional: Download our practice document.
In many types of documents, you may want to indent only the first line of each paragraph. This helps to visually separate paragraphs from one another. It's also possible to indent every line except for the first line, which is known as a hanging indent.
 First line indent
 Hanging indent
A quick way to indent is to use the Tab key. This will create a first-line indent of 1/2 inch.
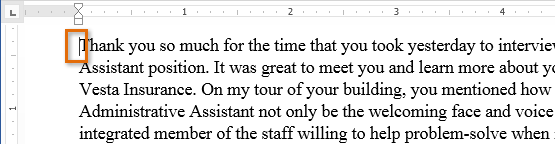 Placing the insertion point
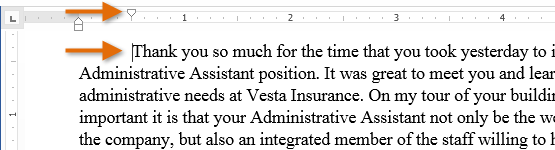 The indented paragraph
If you can't see the ruler, select the View tab, then click the check box  next to Ruler.
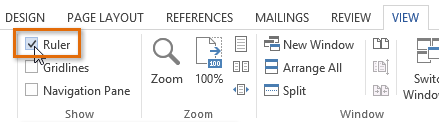 Showing the Ruler
In some cases, you may want to have more control over indents. Word provides indent markers that allow you to indent paragraphs to the location you want. The indent markers are located to the left of the horizontal ruler, and they provide several indenting options:
 : Adjusts the first-line indent
 : Adjusts the hanging indent
 : Moves both the first-line indent and hanging indent markers at the same time (this will indent all lines in a paragraph)
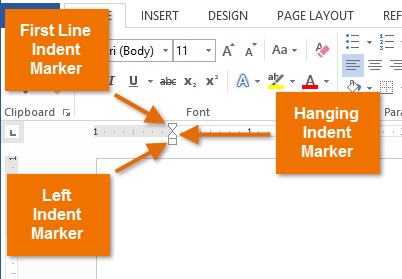 The three indent markers
 Selecting paragraphs to indent
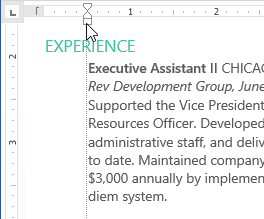 Moving a paragraph
 The indented paragraphs
If you want to indent multiple lines of text or all lines of a paragraph, you can use the Indent commands.
 Selecting text to indent
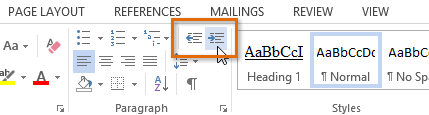 The Indent commands
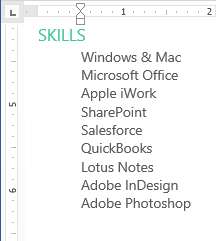 The indented text
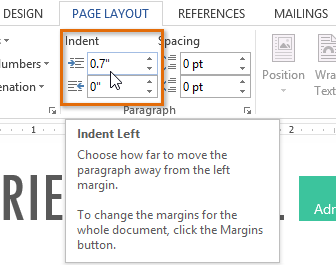
To customize the indent amounts, select the Page Layout tab and enter the desired values in the boxes under Indent.
 Customizing the indent amounts
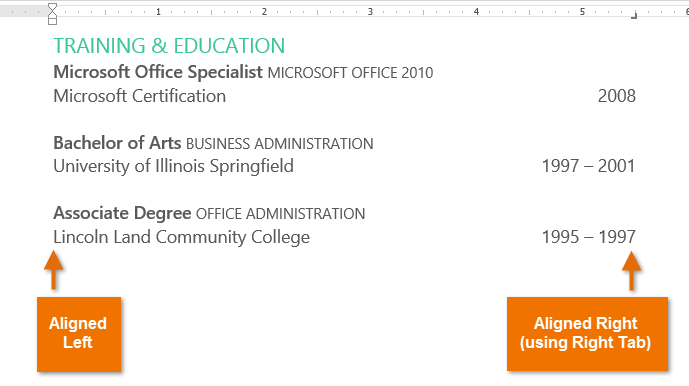
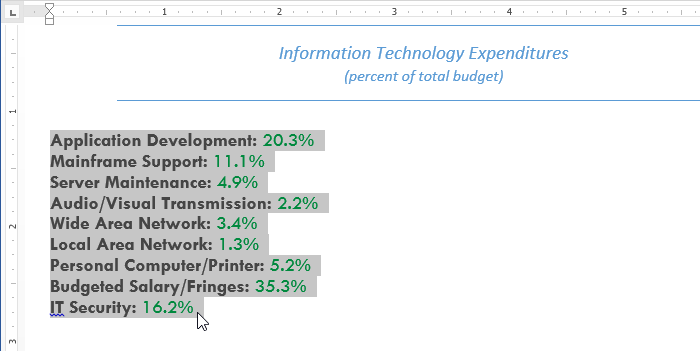
Using tabs gives you more control over the placement of text. By default, every time you press the Tab key, the insertion point will move 1/2 inch to the right. Adding tab stops to the Ruler allows you to change the size of the tabs, and Word even allows you to apply more than one tab stop to a single line. For example, on a resume you could left align the beginning of a line and right align the end of the line by adding a Right Tab.
 Using two types of alignment on the same line
Pressing the Tab key can either add a tab or create a first-line indent, depending on where the insertion point is. Generally, if the insertion point is at the beginning of an existing paragraph, it will create a first-line indent; otherwise, it will create a tab.
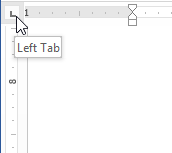
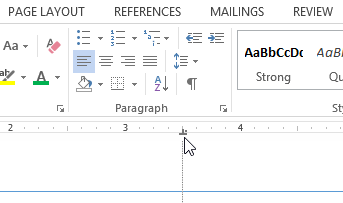
The tab selector is located above the vertical ruler on the left. Hover the mouse over the tab selector to see the name of the active tab stop.
 The tab selector
 : Left-aligns the text at the tab stop
 : Centers the text around the tab stop
 : Right-aligns the text at the tab stop
 : Aligns decimal numbers using the decimal point
 : Draws a vertical line on the document: Inserts the indent marker on the ruler and indents the first line of text in a paragraph: Inserts the hanging indent marker,and indents all lines other than the first line
Although Bar Tab, First Line Indent, and Hanging Indent appear on the tab selector, they're not technically tabs.
 Selecting text to tab
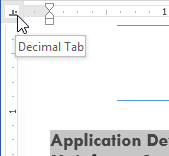 Selecting a tab stop
 Adding a tab stop to the Ruler
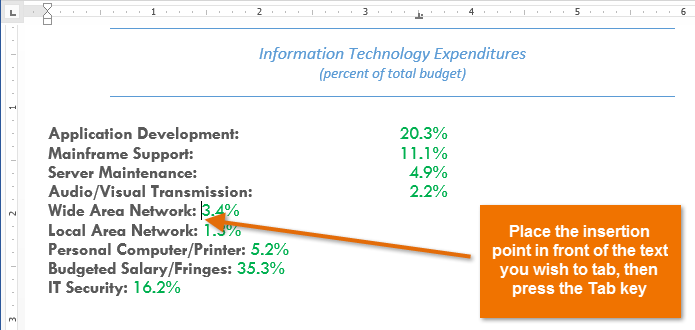 Moving text to the Tab stop
It's a good idea to remove any tab stops you aren't using so they don't get in the way. To remove a tab stop, click and drag it off of the Ruler.
 Removing a tab stop
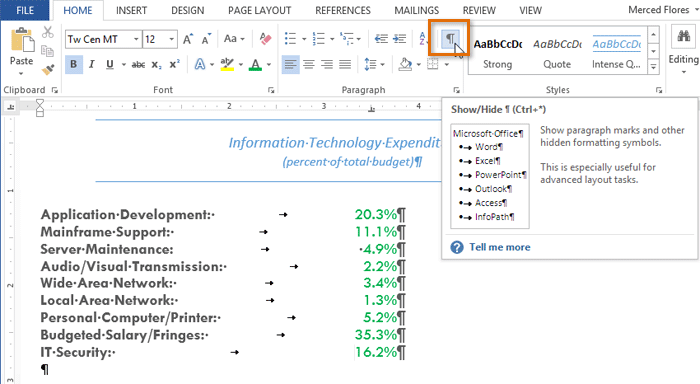
Word can display hidden formatting symbols such as the spacebar ( ), paragraph (
 ), and Tab key (
 ) markings to help you see the formatting in your document. To show hidden formatting symbols, select the Home tab, then click the Show/Hide command.
 Displaying hidden formatting symbols
/en/word2013/line-and-paragraph-spacing/content/