
Word 2013 -
Creating and Opening Documents

Word 2013
Creating and Opening Documents

search
menu
/en/word2013/getting-to-know-word/content/
Word files are called documents. Whenever you start a new project in Word, you'll need to create a new document, which can either be blank or from a template. You'll also need to know how to open an existing document.
When beginning a new project in Word, you'll often want to start with a new blank document.
 Clicking the File tab
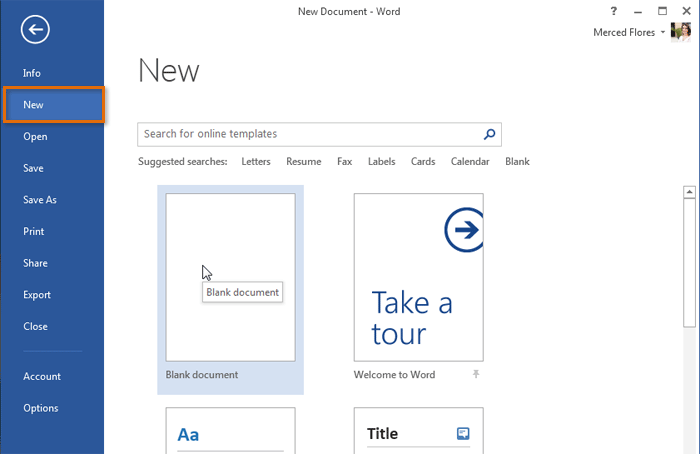 Creating a new document
In addition to creating new documents, you'll often need to open a document that was previously saved. To learn more about saving a document, visit our lesson on Saving and Sharing Documents.
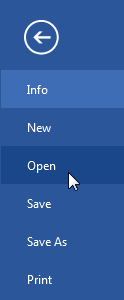 Opening a file
 Opening a locally saved document
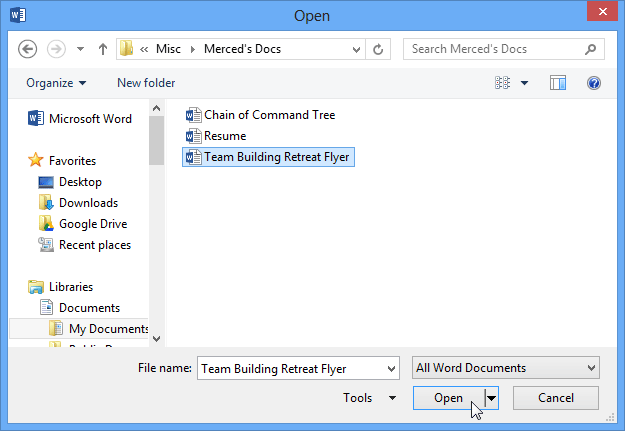 Opening a document
If you've opened the desired presentation recently, you can browse your Recent Documents rather than search for the file.
 Recently opened documents
Word 2013 also allows you to open existing PDF files as editable documents. This is useful when you want to modify a PDF file. Read our guide on Editing PDF Files for more information.
If you frequently work with the same document, you can pin it to Backstage view for quick access.
 will appear next to the document. Click the pushpin icon.
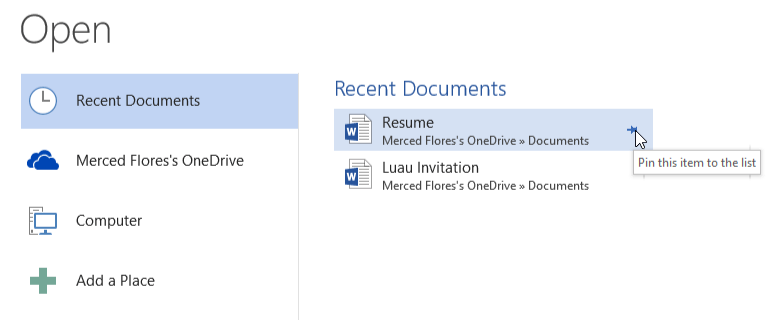

You can also pin folders to Backstage view for quick access. From Backstage view, click Open and locate the folder you want to pin, then click the pushpin icon.
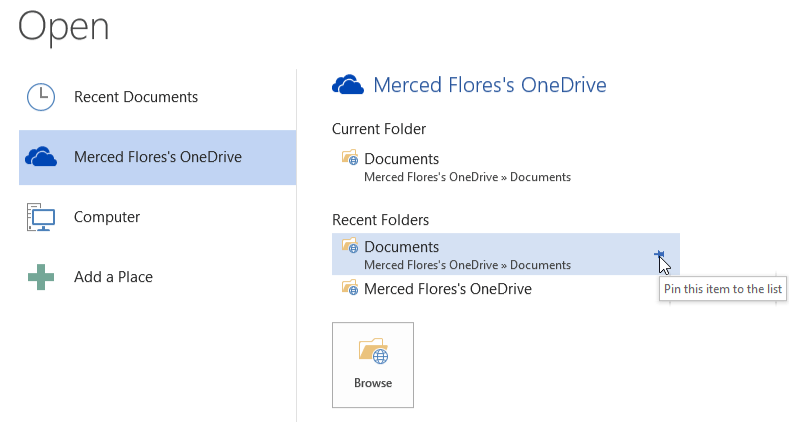 Pinning a folder to Backstage view
A template is a predesigned document you can use to create a new document quickly. Templates often include custom formatting and designs, so they can save you a lot of time and effort when starting a new project.
Navigating to Backstage view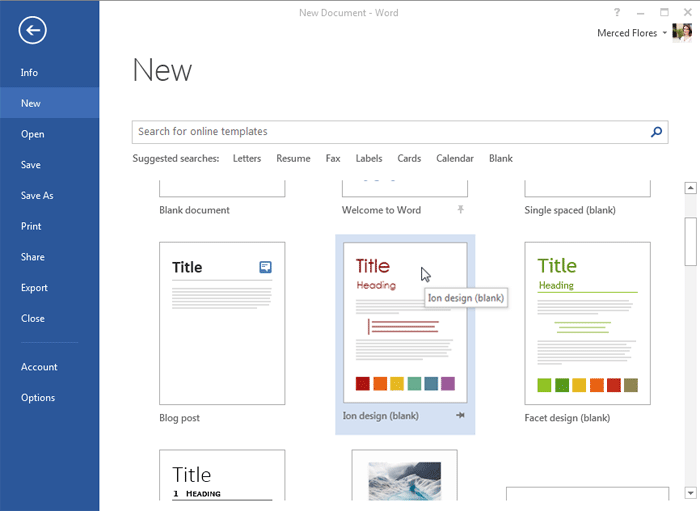 Selecting a template
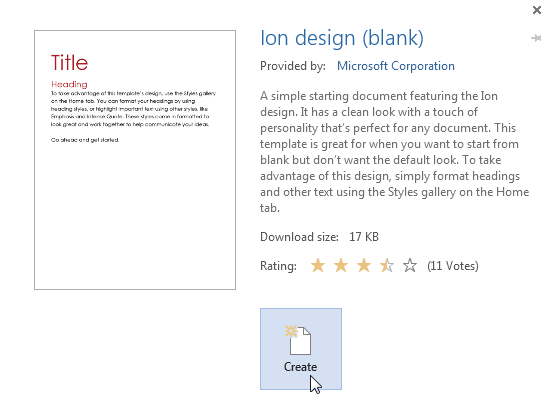 Creating a new document with a template
You can also browse templates by category or use the search bar to find something more specific.
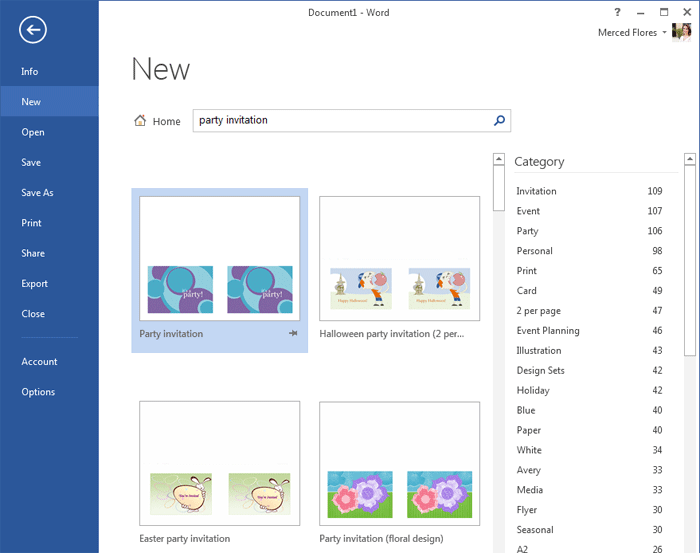 Searching for a template
It's important to note that not all templates are created by Microsoft. Many are created by third-party providers and even individual users, so some templates may work better than others.
Sometimes you may need to work with documents that were created in earlier versions of Microsoft Word, such as Word 2010 or Word 2007. When you open these types of documents, they will appear in Compatibility mode.
Compatibility mode disables certain features, so you'll only be able to access commands found in the program that was used to create the document. For example, if you open a document created in Word 2007 you can only use tabs and commands found in Word 2007.
In the image below, you can see how Compatibility mode can affect which commands are available. Because the document on the left is in Compatibility mode, it only shows commands that were available in Word 2007.
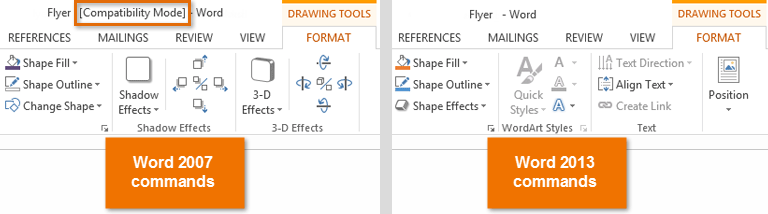 Compatibility mode vs. Normal mode
To exit Compatibility mode, you'll need to convert the document to the current version type. However, if you're collaborating with others who only have access to an earlier version of Word, it's best to leave the document in Compatibility mode so the format will not change.
You can review this support page from Microsoft to learn more about which features are disabled in Compatibility mode.
If you want access to all Word 2013 features, you can convert the document to the 2013 file format.
Note that converting a file may cause some changes to the original layout of the document.
Clicking the File tab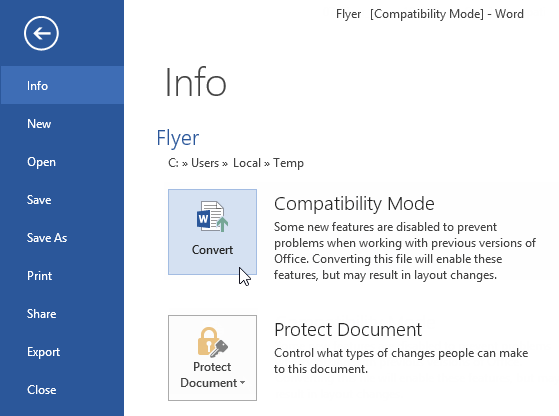 Converting the document to the newest file type
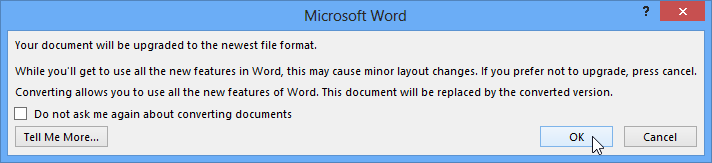 Clicking OK
/en/word2013/saving-and-sharing-documents/content/