
Word 2013 -
Arranging Objects

Word 2013
Arranging Objects

search
menu
/en/word2013/text-boxes-and-wordart/content/
In Word, a page may have multiple objects, such as pictures, shapes, and text boxes. You can arrange the objects the way you want by aligning, ordering, rotating, and grouping them in various ways.
Optional: Download our practice document.
When pictures are first inserted, you may notice that it's difficult to move them. This is because by default, pictures are in line with the text. To arrange them, you'll always need to choose a different text-wrapping setting. To review how to modify text wrapping, visit our lesson on Pictures and Text Wrapping.
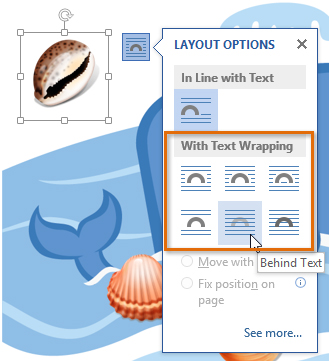 Selecting a text wrap option
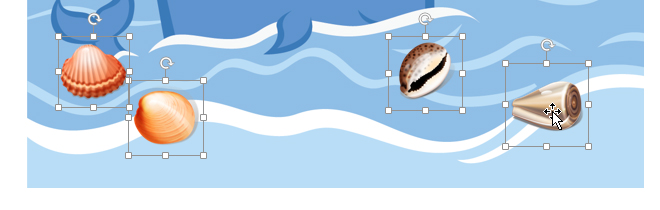 Selecting objects to align
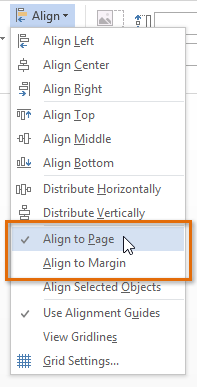
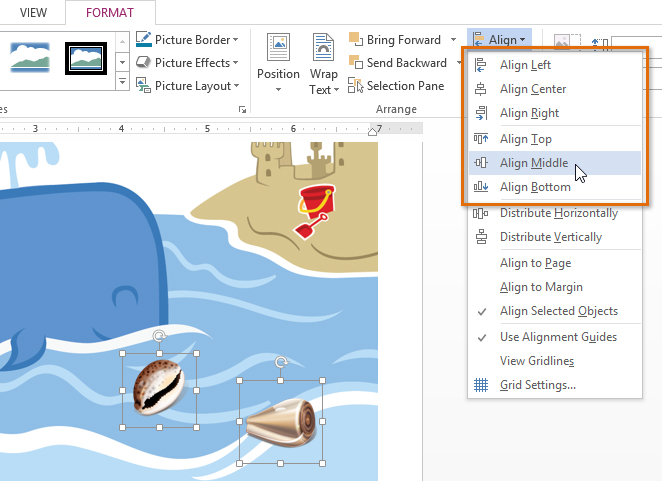 Choosing an alignment option
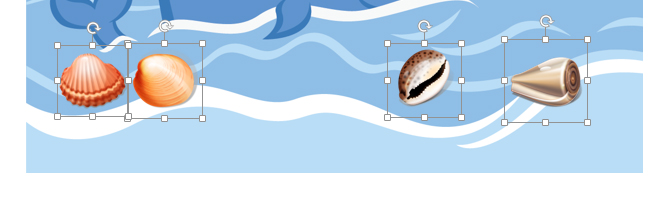 The aligned objects
By default, Align Selected Objects will be selected, which will allow objects to be aligned without moving them to a different part of the page. If you want the objects to move to the top or bottom of the page, select Align to Page or Align to Margin before choosing an alignment option.
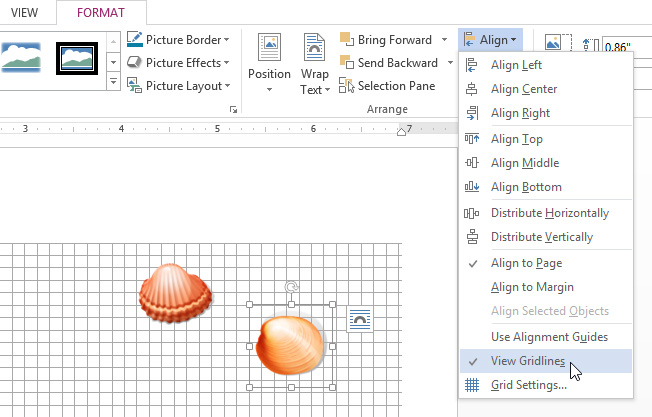
 Arranging objects to the page
If you prefer to align objects manually, select View Gridlines. This option snaps objects to a grid, making it easier for you to align them with the mouse.
 Turning on gridlines
If you have arranged objects in a row or column, you may want them to be an equal distance from one another for a neater appearance. You can do this by distributing the objects horizontally or vertically.
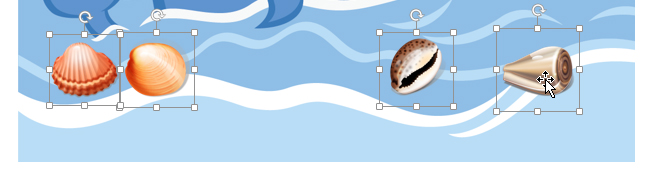 Selecting objects to distribute
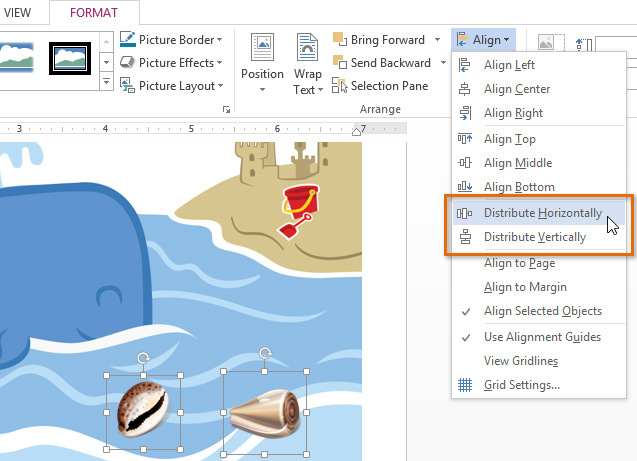 Selecting a distribute option
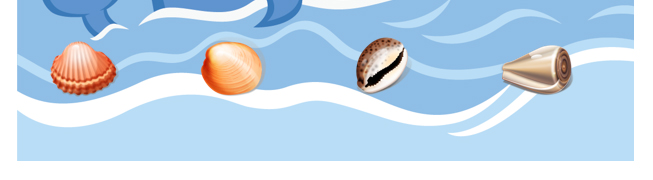 The distributed objects
In addition to aligning objects, Word gives you the ability to arrange objects in a specific order. The ordering is important when two or more objects overlap because it will determine which objects are in the front or the back.
When objects are inserted into a document, they are placed on levels according to the order in which they were inserted into the document. In the image below, the table is on the top level, but we can change the level to put it behind the other objects.
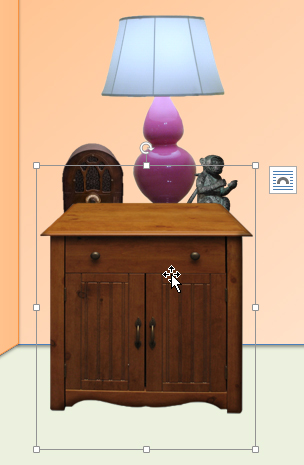 The top level
In our example, we'll change the ordering so the table moves back by one level.
The selected object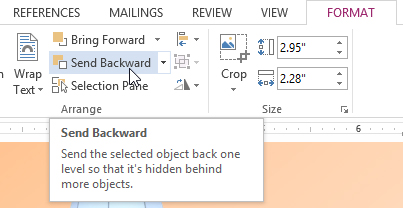 Sending an object backward
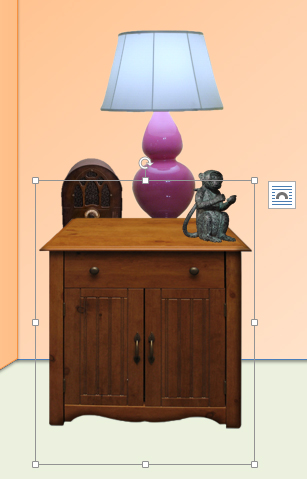 The reordered objects
If you have several objects placed on top of each other, it may be difficult to select an individual object. The Selection Pane allows you to easily drag an object to a new location. To access the Selection Pane, click Selection Pane on the Format tab.
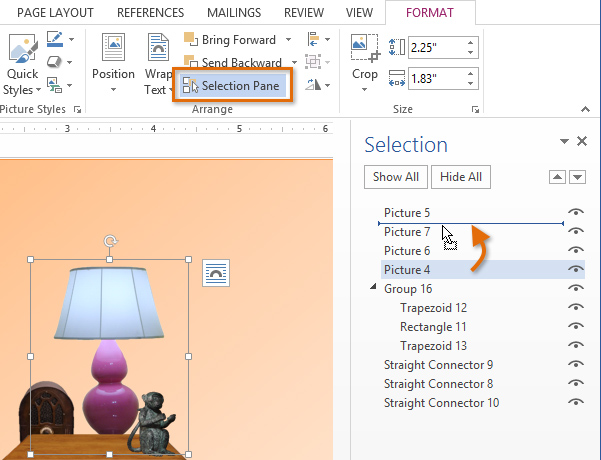 Arranging objects in the Selection Pane
If you want to move an object behind or in front of several objects, it's usually faster to bring it to front or send it to back instead of clicking the ordering commands multiple times.
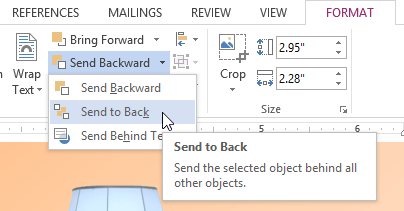 Sending an object to the back
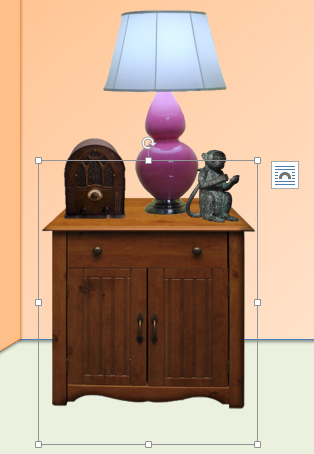 The reordered objects
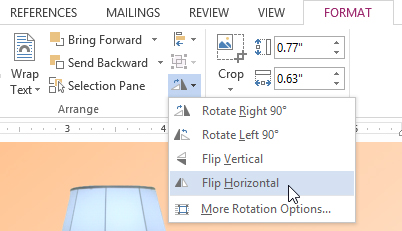 Selecting a rotation option
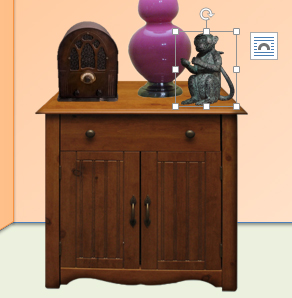 The rotated image
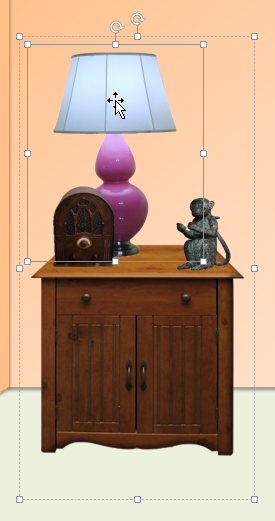
At times, you may want to group multiple objects into one object so they will stay together if they are moved or resized. Often, this is easier than selecting all of the objects every time you want to move them. Shapes, clip art, and text boxes can be grouped together.
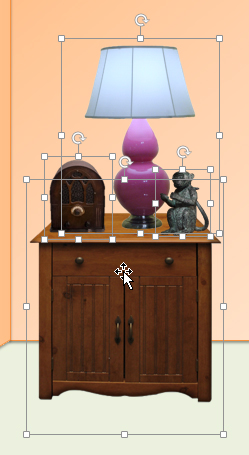 Selecting multiple objects
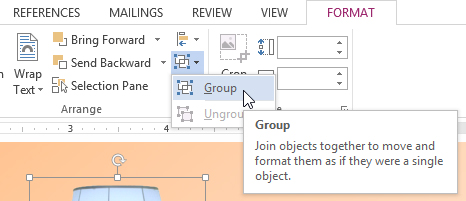 Grouping objects
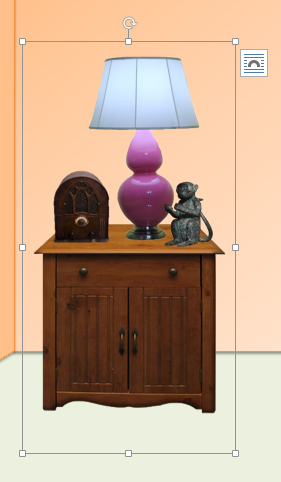 The grouped objects
If you want to edit or move one of the objects in the group, double-click to select the object. You can then edit it or move it to the desired location.
 Moving an object within a group
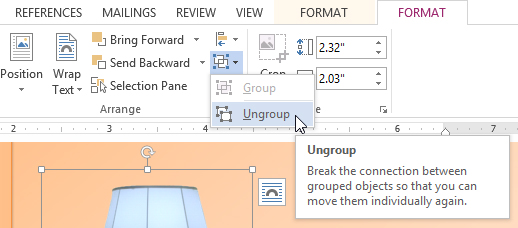 Ungrouping objects
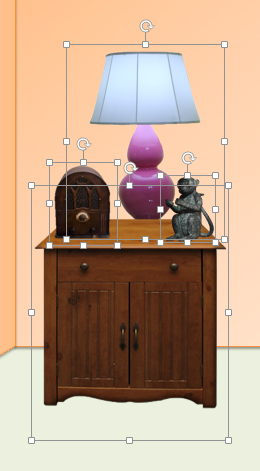 The ungrouped objects
/en/word2013/tables/content/