Shapes are a great way to make your presentations more interesting. PowerPoint gives you several shapes to choose from, and they can be customized to suit your needs, using your own color palette, preferences, and more. While you may not need shapes in every presentation you create, they can add visual appeal.
Watch the video below to learn more about shapes in PowerPoint.
To insert a shape:
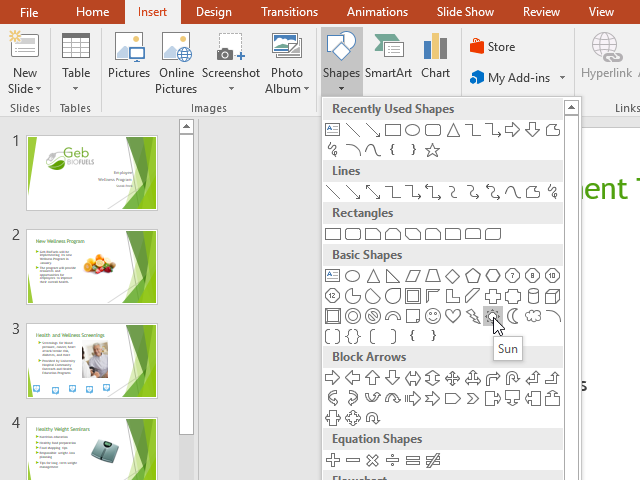
Select the Insert tab, then click the Shapes command in the Illustrations group. A drop-down menu of shapes will appear.
Select the desired shape.
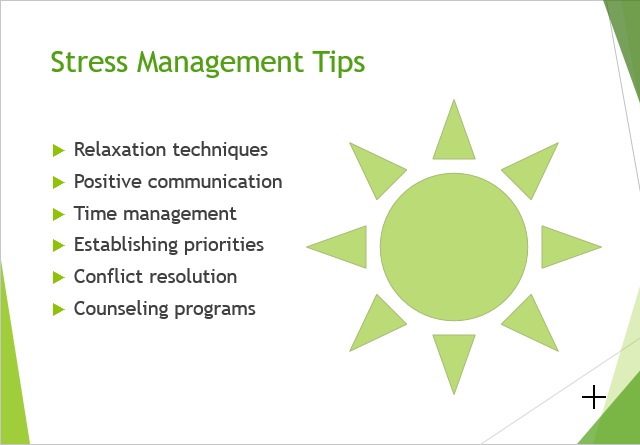
Click and drag in the desired location to add the shape to the slide.
Modifying a shape or text box
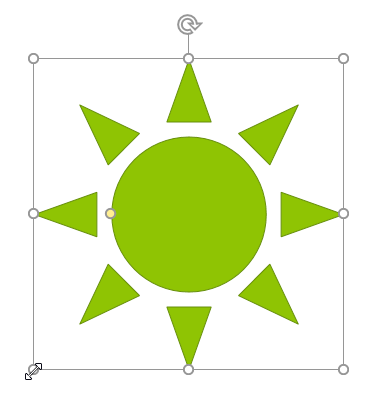
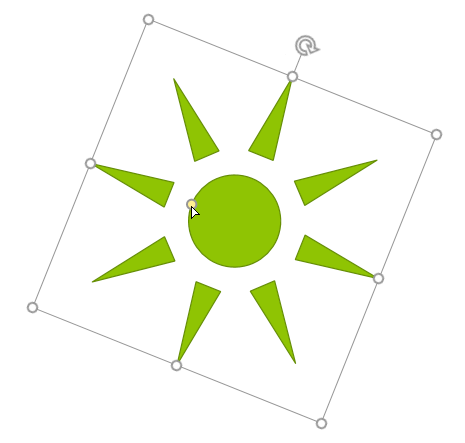
When you click a shape or text box, handles will appear that let you manipulate the shape. There are several types of handles.
Sizing handles: Click and drag the sizing handles until the shape or text box is the desired size. You can use the corner sizing handles to change the height and width at the same time.
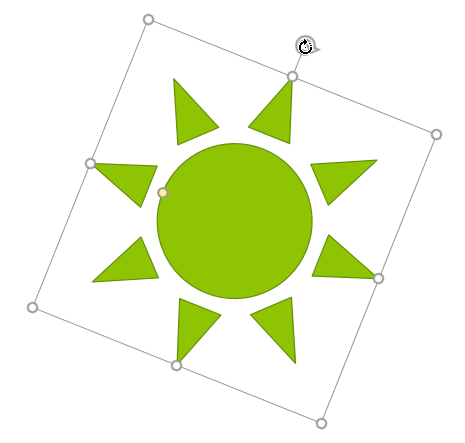
Rotation handle: Click and drag the rotation handle to rotate the shape.
Yellow handles: Some shapes have one or more yellow handles that can be used to customize the shape. For example, with the sun shape, you can change the proportions of the shape.
In addition to resizing, customizing, and rotating shapes, you can align, order, and group them. To learn more, review our Aligning, Ordering, and Grouping Objects lesson.
Formatting shapes and text boxes
PowerPoint allows you to modify shapes and text boxes in a variety of ways so you can tailor them to your projects. You can change shapes and text boxes into different shapes, format their style and color, and add effects.
To change the shape style:
Choosing a shape style allows you to apply preset colors and effects to quickly change the appearance of your shape or text box. These options will depend on the colors that are part of your current theme.
Select the shape or text box you want to change.
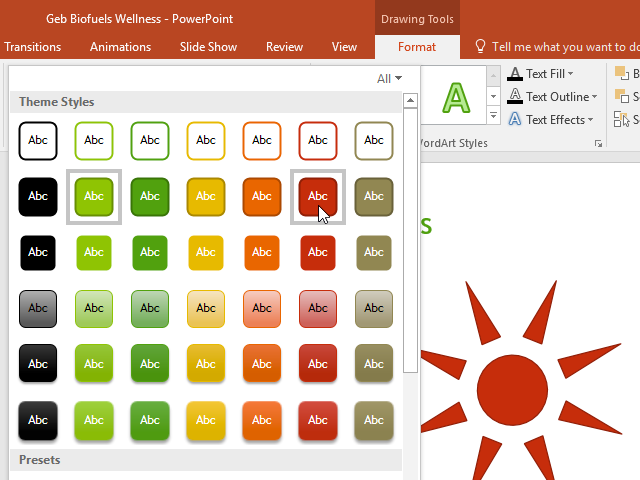
On the Format tab, click the More drop-down arrow in the Shape Styles group.
A drop-down menu of styles will appear. Select the style you want to use.
The shape or text box will appear in the selected style.
To change the shape fill color:
Select the shape or text box you want to change.
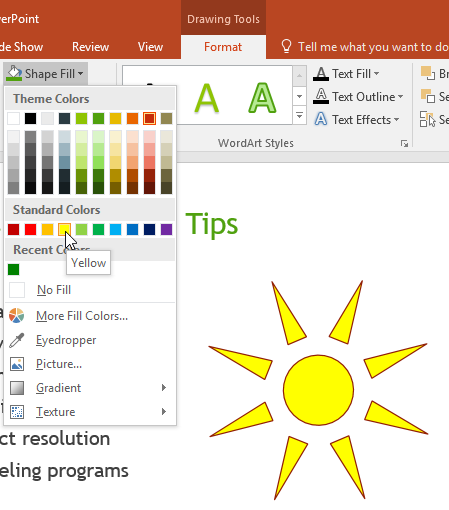
On the Format tab, click the Shape Fill drop-down arrow. The Shape Fill menu appears.
Move the mouse over the various colors. Select the color you want to use. To view additional options, select More Fill Colors.
The shape or text box will appear in the selected color.
If you want to use a different type of fill, select Gradient or Texture from the drop-down menu. You can also select No Fill to make it transparent.
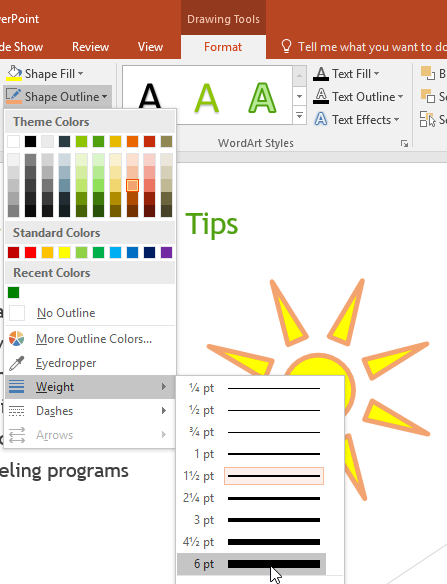
To change the shape outline:
Select the shape or text box you want to change.
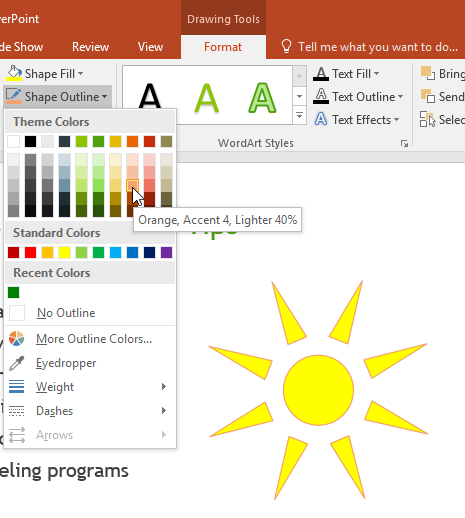
On the Format tab, click the Shape Outline drop-down arrow. The Shape Outline menu will appear.
Select the color you want to use. If you want to make the outline transparent, select No Outline.
The shape or text box will appear in the selected outline color.
From the drop-down menu, you can change the outline color, weight (thickness), and whether it is a dashed line.
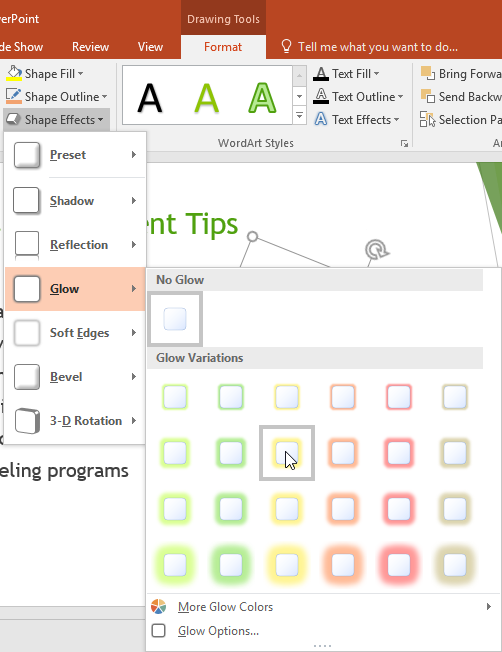
To add shape effects:
Select the shape or text box you want to change.
On the Format tab, click the Shape Effects drop-down arrow. In the menu that appears, hover the mouse over the style of effect you want to add, then select the desired preset effect.
The shape will appear with the selected effect.
To further adjust your shape effects, select Options at the end of each menu. The Format Shape pane will appear, allowing you to customize the effects.
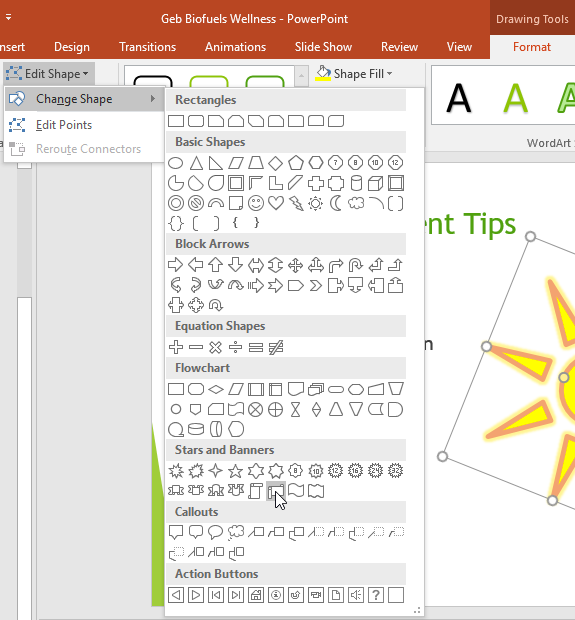
To change to a different shape:
Select the shape or text box you want to change. The Format tab will appear.
On the Format tab, click the Edit Shape command. In the menu that appears, hover the mouse over Change Shape and select the desired shape.
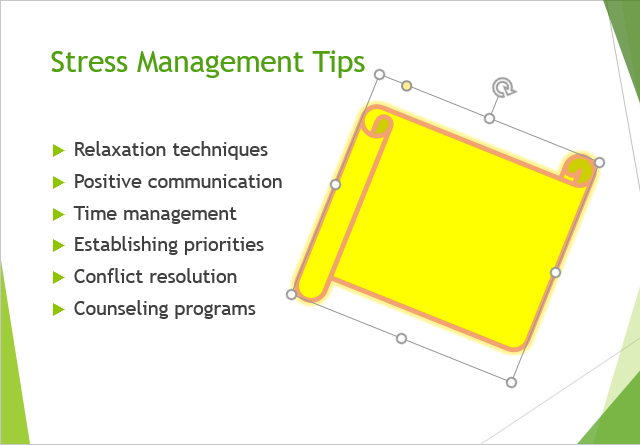
The new shape will appear.
If you want, you can enter text in a shape. When the shape appears in your document, you can simply begin typing. You can then use the formatting options on the Home tab to change the font, font size, or color of the text.