
Outlook 2010 -
Sending and Receiving Email

Outlook 2010
Sending and Receiving Email

search
menu
/en/outlook2010/getting-to-know-outlook-2010/content/
Mail view is the default view for Outlook 2010, which you'll use to manage your email messages.
In this lesson, you'll learn about using Mail view to send and receive email messages. We'll also explain how to use the Compose window, add a signature, set an automatic reply, and more. If you don't have much experience with email, visit our Email 101 tutorial before continuing with this lesson.
Mail view is selected by default whenever you open Outlook 2010. This is likely where you'll spend a lot of your time in Outlook, so it's important to become familiar with the interface.
Click the buttons in the interactive below to learn more about using Mail view in Outlook 2010.
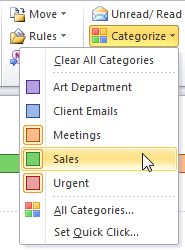
If you have a lot of emails, you can tag your messages to help keep them organized. You can tag messages as read or unread, include them in different categories, or add a flag.
The Move command will move the currently selected message to a folder.
Rules allow you to create a new rule for incoming emails. Rules can help you organize emails as they arrive. For example, if you always move emails from a certain person to a folder, you could create a rule to do this automatically.
If you find that you frequently perform the same command in Mail view—for example, sending a group email to a certain team—you can create a shortcut for that command in Quick Steps.
Click Reply or Reply All to respond to the currently selected message. Click Forward to send the message to someone else.
The Delete command will move the selected message to the Deleted Items folder.
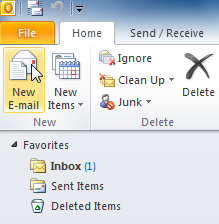
Click the New Email command to open the Compose window. From here, you can write and send email messages.
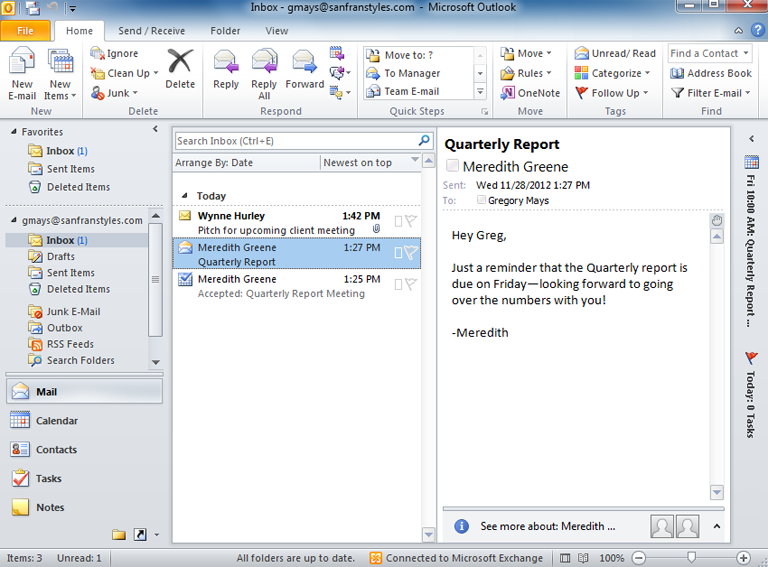
The currently selected message will appear on the right-side of the View pane, also known as the Reading pane.
Email messages in the selected folder will appear in the center of the View pane.
Unread messages will be marked in bold.
Click a message to view it in the Reading pane.
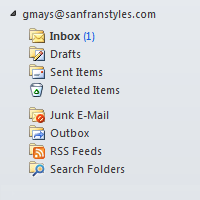
Click to navigate between different folders in the Navigation pane.
The number of unread messages will appear beside each folder.

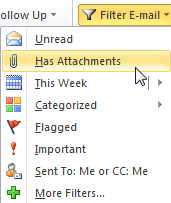
You can use filters to find a specific email.
For example, if you were looking for an email with an attachment, you could apply the Has Attachments filter.
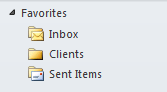
You can save your most used folders as Favorites, which will appear at the top of the Navigation pane.
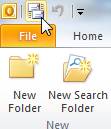
Click the Send/Receive All Folders command on the Quick Access toolbar to check for new email messages.
If you're looking for a certain email, you can find it with the Search bar.

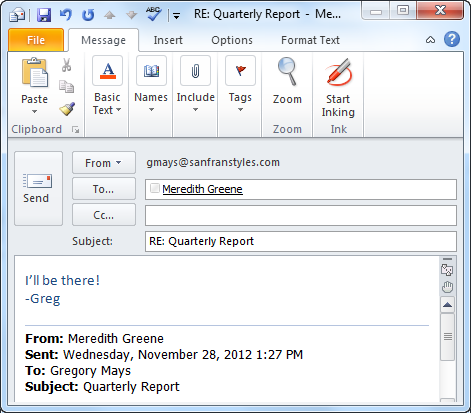
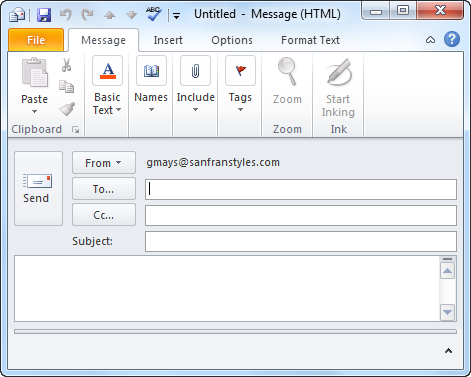
When you write an email, you'll be using the Compose window. This is where you'll add the email address of the recipient(s), the subject, and the body of the email, which is the message itself. You'll also be able to add various types of text formatting, as well as attachments.
 Composing a new email message
Click the buttons in the interactive below to become familiar with the Compose window.
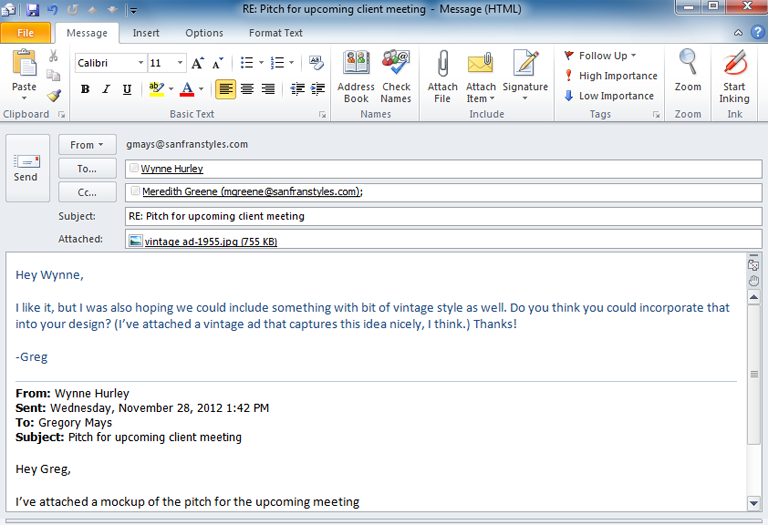
If you're replying to a message or forwarding it on to someone else, the original message will be copied into the Compose window below the body of your message.
The body is the actual text of the email message.
Any files you have attached to the email will appear here.
The subject should say what the email is about.
Keep the subject brief, but give the recipients a reasonable idea of what's in the message.
Cc stands for "carbon copy." This is used when you want to send an email to someone who is not the main recipient. This helps to keep that person "in the loop" while letting them know that they probably don't need to reply to the message.
You can add recipients to the Cc: field as you would the To: field.
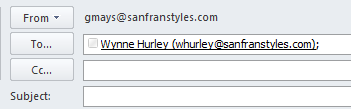
Whenever you send an email, you'll add recipients to the To: field. Recipients are the people you are sending the email to. You will need to type the email address for each recipient, separated by a semi-colon.
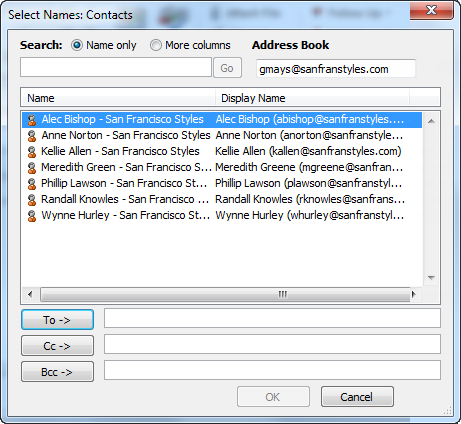
You can also click the To... command to select contacts from your contacts list.
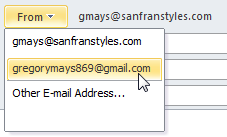
The From: field indicates who is sending the message.
If you have multiple accounts in Outlook, click the From command to select which account you'll use to send the message.
When you are satisfied with your message, click Send to send it to the recipients.
The Compose window includes special tabs on the Ribbon, including Message, Insert, Options, and Format Text.
The Message tab contains the most commonly used commands for the Compose window.
Formatting allows you to change the look and feel of your message. For example, you can change the font style, size, and color, and include links.
If you're familiar with Microsoft Word, these formatting options should feel very familiar. Click the Format Text tab on the Ribbon for additional formatting options.
Click the Address Book command to choose recipients from your contacts list.
The commands in the Include group allow you to quickly attach a file, send a calendar appointment, or add a custom signature to your message.
If an email is urgent, you can mark it with a flag so the recipients will know to respond quickly.
Be sure to use flags carefully. Many people tend to overuse flags in Outlook, which greatly reduces their effectiveness.
Once you're familiar with the basics of Mail view, you can start taking advantage of its most helpful features with these additional tips.
A signature is an optional block of text that appears at the end of every email you send. If you send a lot of email messages, signatures can save you a lot of time. They're also a good way to share your title and additional contact information, such as a phone number, with new contacts.
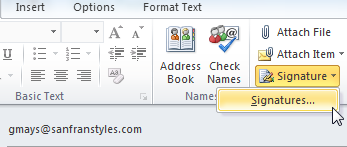 Clicking Signatures...
 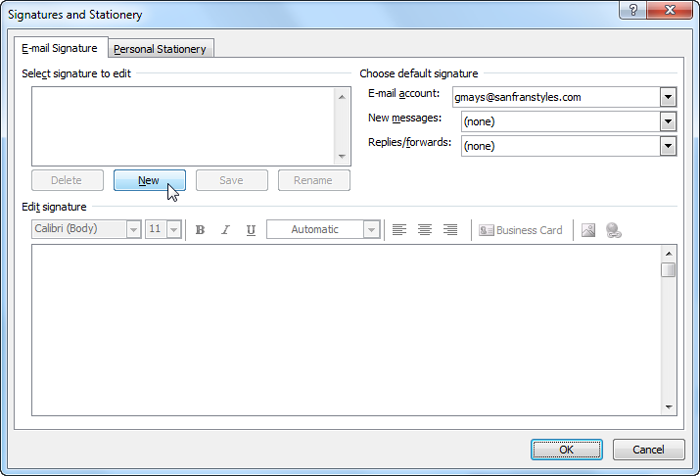 Adding a new signature
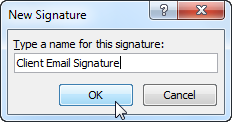 Adding a signature name
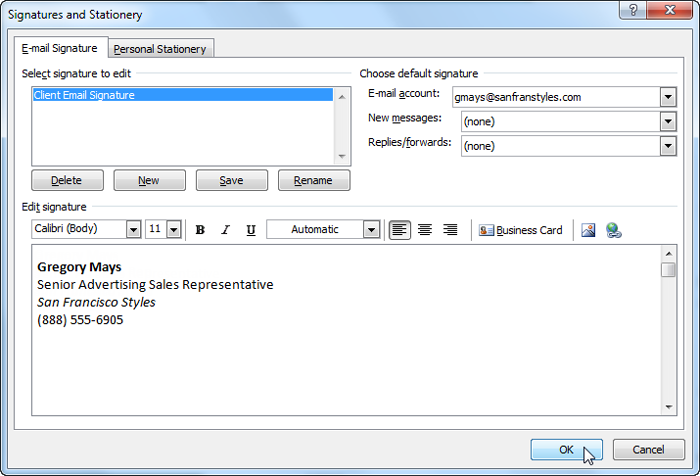 Saving a new signature
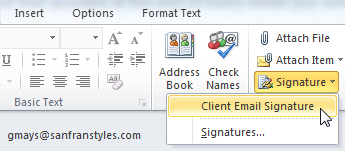 Adding the custom signature
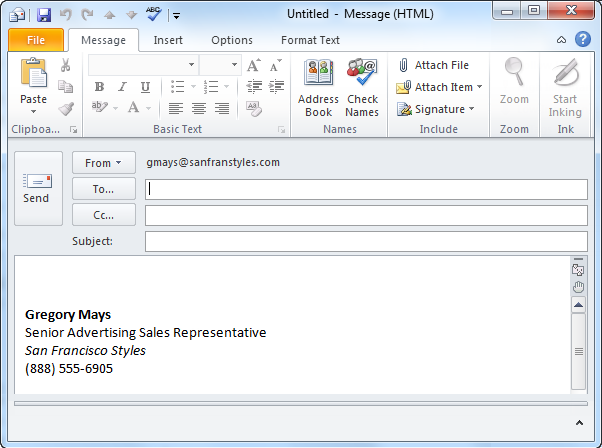 The added signature
If you won't be able to answer your messages for several days, it's easy to set an automatic reply (also known as a vacation reply), which will automatically reply to any messages you receive. A vacation reply typically includes the date you plan to return and contact information while you're unavailable.
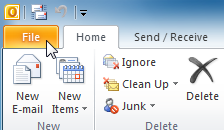 Clicking the File tab
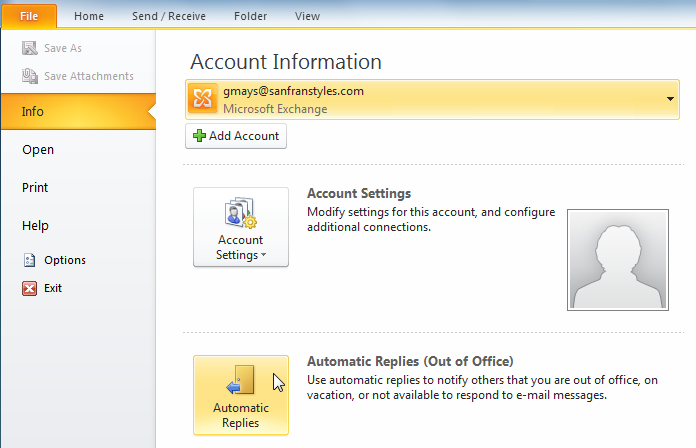 Clicking Automatic Replies
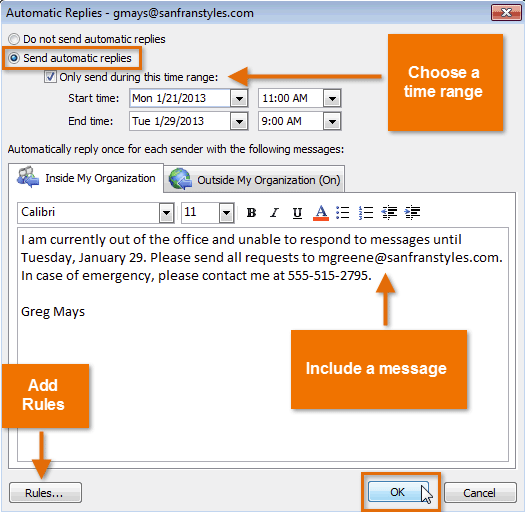 Setting an automatic reply
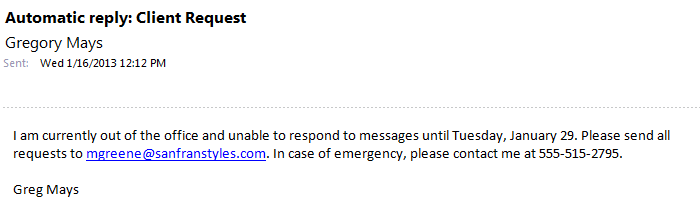 An automatic reply
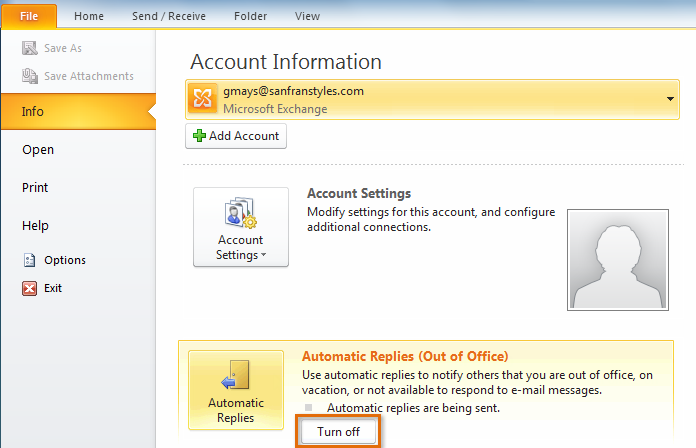 Turning off automatic replies
You will not be able to use this feature without a Microsoft Exchange Account, which is typically only used in the workplace.
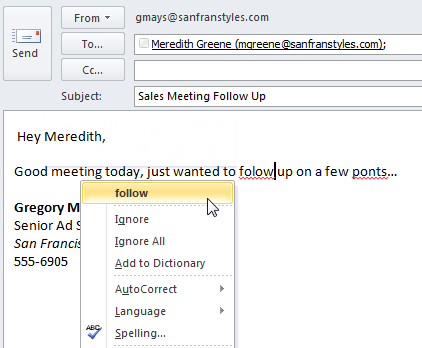 Correcting spelling errors in the Compose window
If you need to reference or document an important message away from your computer, it's easy to print an email message.
Clicking the File tab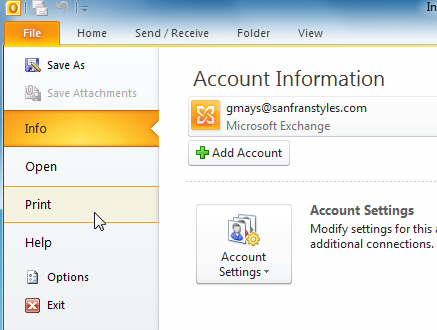 Clicking Print in Backstage view
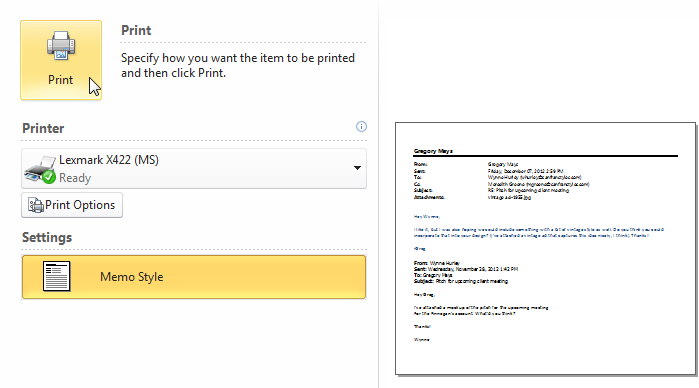 Printing an email message
/en/outlook2010/organizing-and-managing-email/content/